Issue : Unable to open iTunes.When you open iTunes it gives you error message “The iTunes Library file is locked, on a locked disk, or you do not have write permission for this file.” and finally you will have to quit the iTunes.So basically you could not open iTunes.
When researched on this issue I found that one of the reasons for this problem is moving the whole iTunes folder from other Mac or external hard drive or using “Migration Assistant” to move your profile over.
I ran repair disk permissions and that still did not fix and obviously it will not because the iTunes Library and its supporting files are in my user profile folder.Apparently, when you use the Disk Utility in Repair Permissions – a standard troubleshooting maneuver in OS X – it doesn’t actually repair the permission settings on folders and files in your Home folder.
 |
| Unable to open iTunes-The iTunes Library file is locked, on a locked disk |
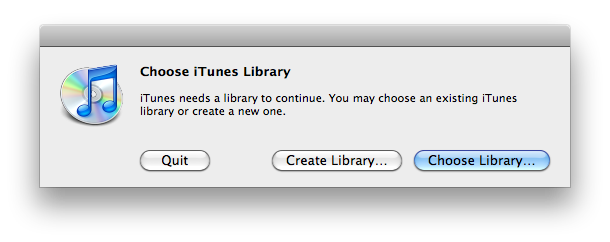 |
| Unable to open iTunes-The iTunes Library file is locked, on a locked disk |
Solution to Unable to open iTunes-The iTunes Library file is locked, on a locked disk
There are multiple ways out there published on internet to fix it.But I found one very simple and always working solution which you could try first.Before following this first steps it is advisable to make sure you know where your songs are and what all location they are added from because we are going to delete the iTunes Library.itl file, which contains the exact same information like a playlist file.
Step -1- Fix Unable to open iTunes-The iTunes Library file is locked, on a locked disk
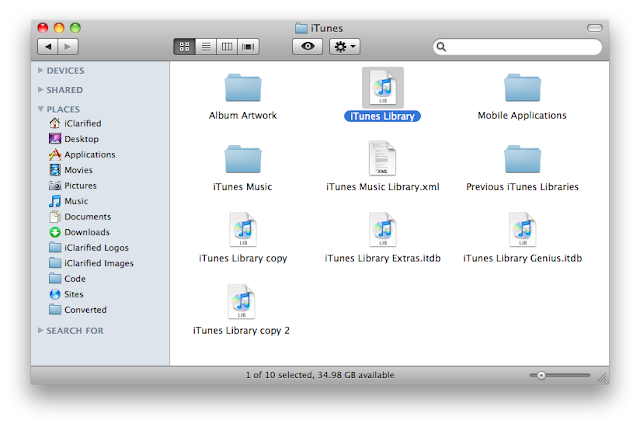
1. Click on the Go menu and select Go to Folder…
2. Type ~/Music/iTunes .
 |
| Unable to open iTunes-The iTunes Library file is locked, on a locked disk |
3. Delete the iTunes Library.itl file.
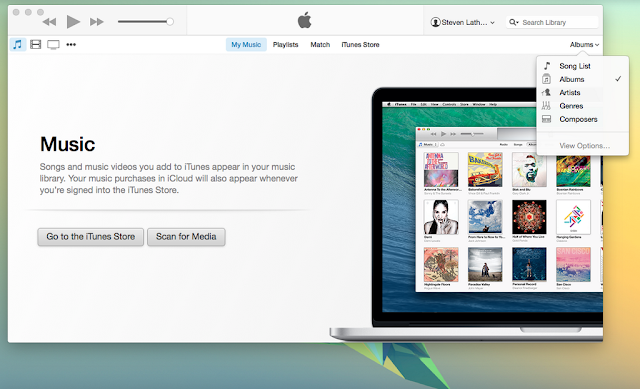
4. Launch the iTunes application by clicking its icon in the dock and this will automatically create an iTunes Library.itl files.
 |
| Unable to open iTunes-The iTunes Library file is locked, on a locked disk |
Step-2
If step -1 does not work try this second step.You can actually just fix those permissions by
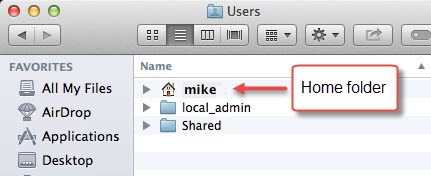
- Going into: Macintosh HD > Users
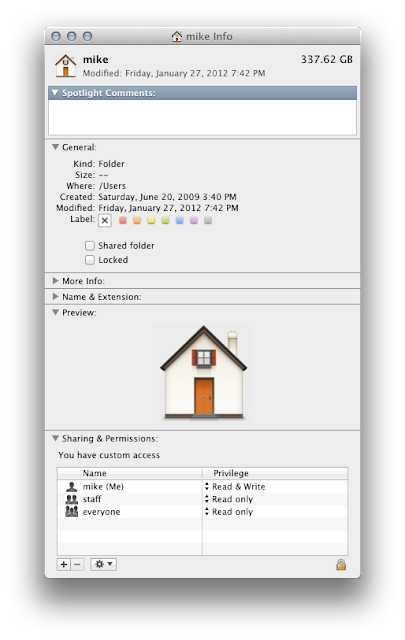
- Right-click on your user name (home folder) and select Get Info.

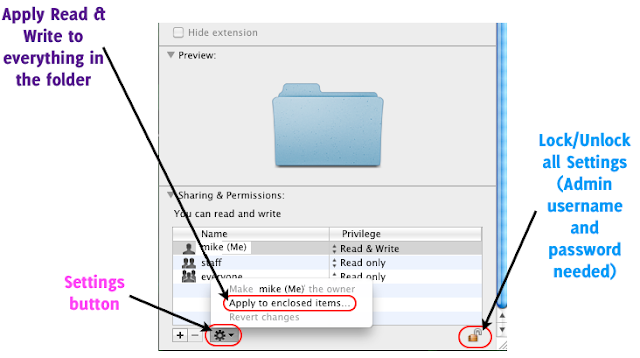
Unable to open iTunes-The iTunes Library file is locked, on a locked disk - Click the lock at the bottom and enter your password.
- Your permissions at the moment for that folder should be Read & Write for you,Read only for staff and everyone.

Unable to open iTunes-The iTunes Library file is locked, on a locked disk - Click the gear icon at the bottom, and select Apply to enclosed items.

Unable to open iTunes-The iTunes Library file is locked, on a locked disk - The last step will take a few minutes to complete, but once done, everything in your home folder should now have their proper permissions.
Step 3
Here’s another solution, since I just ran into this as well. The issue was created when I copied over my iTunes library, the “iTunes Library.xml” and “iTunes Library.itl” files were both still owned by my previous user id, not my current id.And that’s why I was Unable to open iTunes and got the error “The iTunes Library file is locked, on a locked disk”.But it uses sudo and chown from the command line, so if you’re not comfortable doing this, please don’t (you can do a lot of damage if you make a mistake).
1. Open Terminal from utilities folder.
2. Using the Terminal application, go do your Music folder:
3. Type cd ~/Music and hit Enter/Return.
4. Then forcibly reset the user info for your entire library by typing the command.
sudo chown -R [login]:staff iTunes
where [login] is your username (not the full displayname, just the shortname).
So for example, let’s say my username is nsohail then this command would be.
sudo chown -R nsohail:staff iTunes
Step 4
This is another simple method of fixing issue: Unable to open iTunes as it gives error message “The iTunes Library file is locked, on a locked disk, or you do not have write permission for this file.”
1. Click on the Go menu and select Go to Folder…
2. Type ~/Music/iTunes .
3. Move your iTunes library Data file to your desktop.
4. Start iTunes – your play list will be empty.
5. Quit iTunes and copy the data file from Desktop back in to the iTunes folder.
6. Start iTunes and it should work just fine with all your old history preserved.




![The Apex Legends Digital Issue Is Now Live! Apex Legends - Change Audio Language Without Changing Text [Guide]](https://www.hawkdive.com/media/5-Basic-Tips-To-Get-Better-On-Apex-Legends-1-218x150.jpg)







Thanks a ton, step 2 saved my life.
Thank you! Moving the library folder to the desktop and back did NOT work but the changing permissions one did. And yes, it took so long (like 3 minutes) that I thought I was totally screwed and had broken something but… it worked. Thank you again!