



























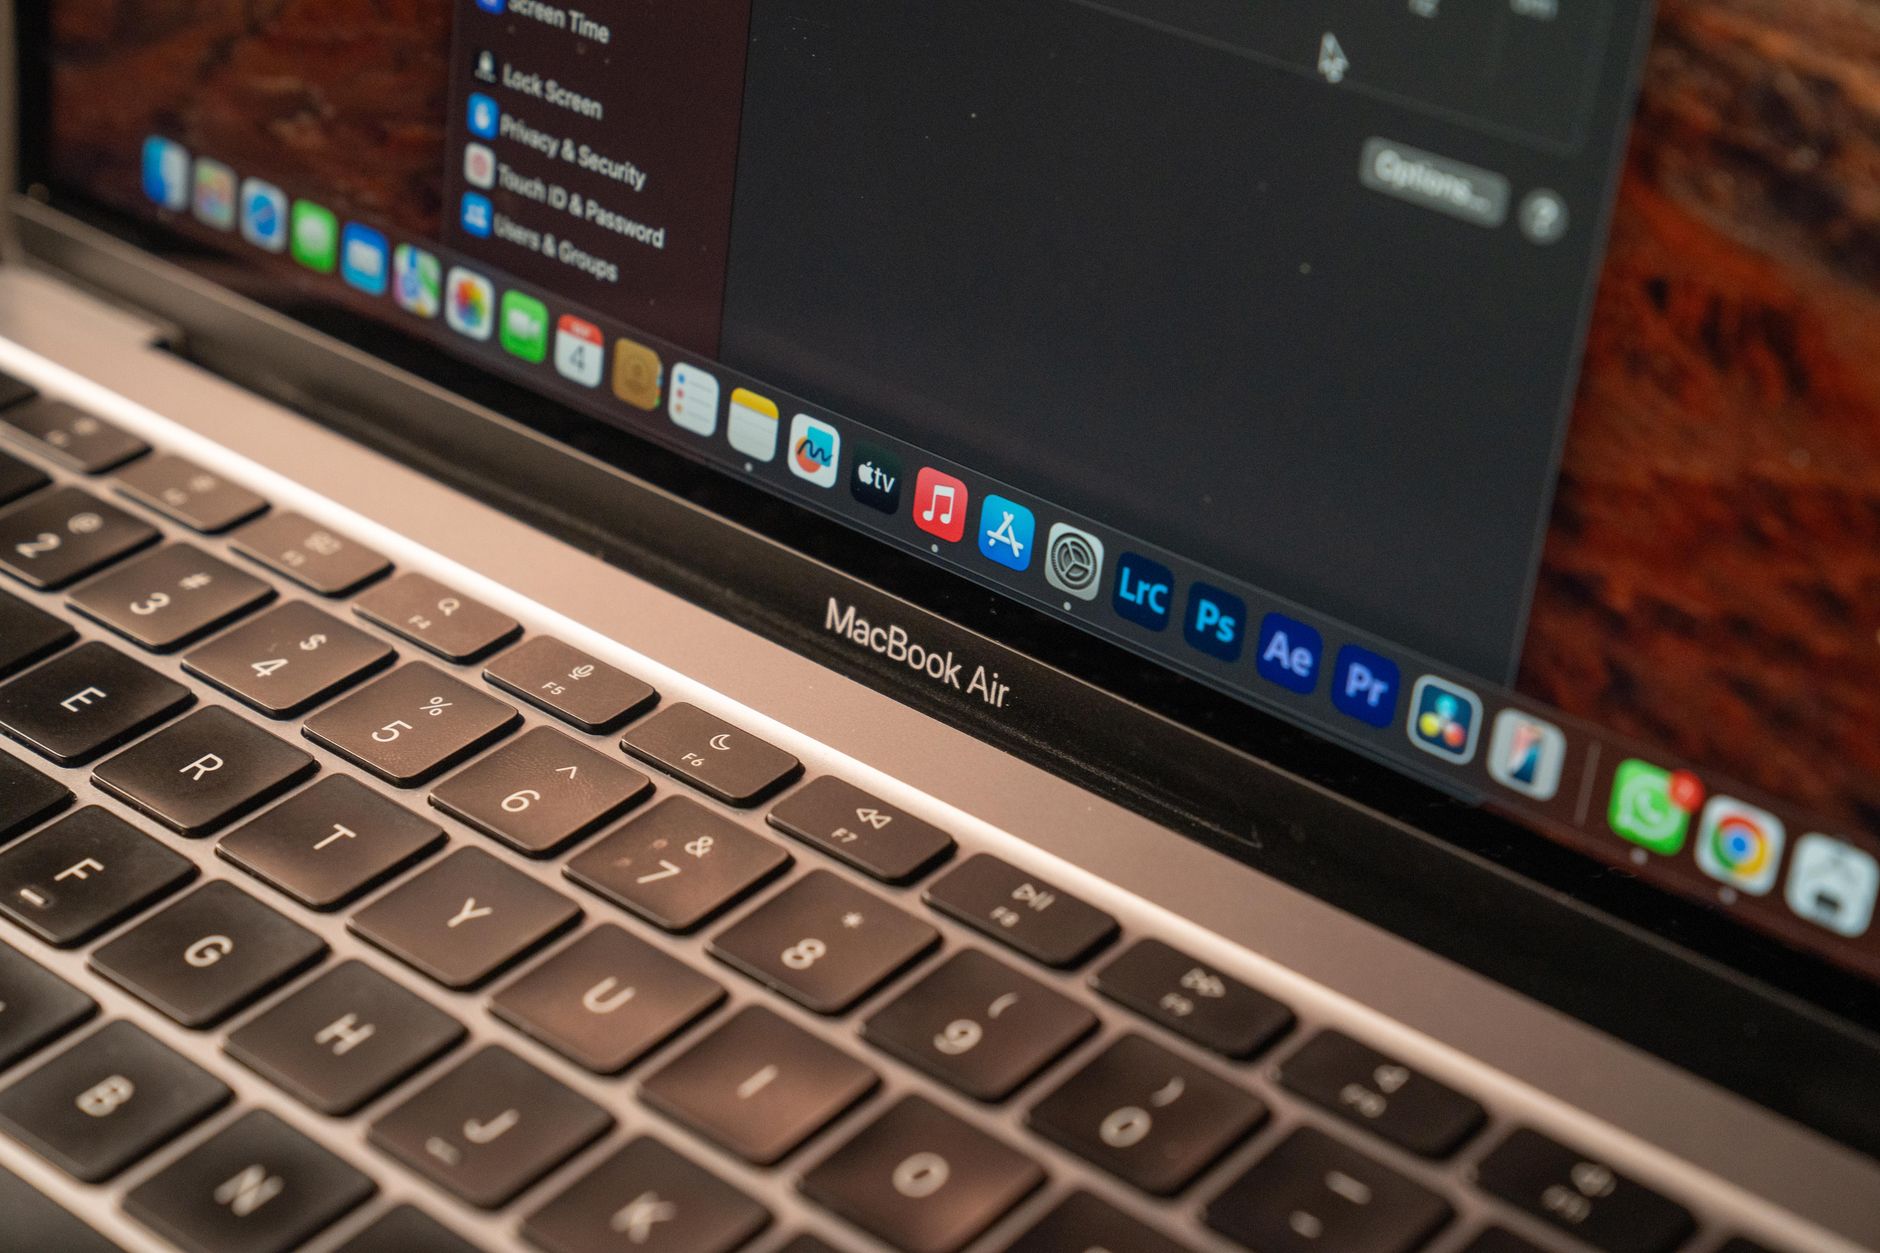
If your Mac has slowed to a crawl after installing a recent macOS update, you’re not imagining it. A growing number of users in the Apple Support Community report significant performance degradation following major system upgrades, with symptoms ranging from beach-balling in Finder to sluggish app launches, stuttering animations, and fans spinning up under light workloads. This is a widespread reported issue affecting both Apple silicon and Intel Macs, and while Apple hasn’t formally acknowledged a single root cause, the fixes below consistently restore normal performance.
This guide walks through what triggers the slowdown, the exact steps to fix it, and when the problem points to something deeper that requires official support.
What Causes This Issue
Post-update slowdowns rarely come from one source. In most cases, several background processes pile up simultaneously, competing for CPU, memory, and disk bandwidth. The most common culprits include:
- Spotlight reindexing: After a major update, macOS rebuilds its metadata index for the entire drive. This can consume significant CPU and disk I/O for hours, sometimes days on larger drives.
- Photos and Music library upgrades: The system silently migrates library databases in the background, hammering the SSD.
- iCloud resyncing: Documents, Desktop, Photos, and Messages often re-verify against Apple’s servers after an OS change.
- Legacy launch agents: Older third-party helper tools built for previous macOS versions can misbehave, leaking memory or looping in the background.
- Kernel extensions and login items: Deprecated kexts from antivirus, VPN, or virtualization software are a frequent source of sustained CPU pressure.
- Swap thrashing: Macs with 8 GB of RAM often experience heavy swap usage after updates because newer system daemons demand more memory.
- Corrupted system caches: An interrupted or partial install can leave stale caches that force macOS to work harder than necessary.
Users in the Apple Support Community consistently observe that giving the Mac 24 to 48 hours of uninterrupted, plugged-in idle time resolves a portion of these issues on its own — but only a portion. The steps below address what waiting alone won’t fix.
Step-by-Step Fixes
Work through these in order. Most users report significant improvement by step 4.
- Restart your Mac properly. Not sleep, not lid-close — a full restart from the Apple menu. This clears memory pressure, resets background daemons, and forces macOS to release stuck processes. Skip this and later steps may fail silently.
- Check Activity Monitor for runaway processes. Open Activity Monitor from Applications > Utilities. Sort by CPU, then by Memory. Look for processes like mds_stores, photoanalysisd, cloudd, or bird running hot. If mds or mds_stores are consuming 100%+ CPU, Spotlight is still indexing — let it finish or force a rebuild (step 5).
- Free up storage. macOS needs at least 15–20% free space to perform well. Go to System Settings > General > Storage and remove large unused files, old iOS backups, and cached developer data. SSD performance drops sharply when the drive fills up.
- Audit login items and background extensions. Open System Settings > General > Login Items & Extensions. Disable anything you don’t actively use, especially older utilities from vendors that haven’t updated for the current macOS. Users in the Apple Support Community frequently trace slowdowns to outdated cloud sync clients, antivirus agents, and menu bar tools.
- Force a Spotlight reindex. Go to System Settings > Siri & Spotlight > Spotlight Privacy. Drag your Macintosh HD into the exclusion list, wait 30 seconds, then remove it. This wipes the corrupted index and starts fresh. Expect several hours of high CPU while it rebuilds, but performance improves dramatically afterward.
- Reset the SMC and NVRAM (Intel Macs only). For Intel Macs experiencing fan issues or slow wake, shut down, then hold Control + Option + Shift for 7 seconds, then add the power button for another 7 seconds. For NVRAM, restart while holding Option + Command + P + R until you hear the second startup chime. Apple silicon Macs handle this automatically on restart.
- Boot into Safe Mode. On Apple silicon, shut down, then hold the power button until startup options appear, select your disk while holding Shift, and click “Continue in Safe Mode.” On Intel, hold Shift during boot. Safe Mode disables third-party extensions and clears system caches. If the Mac feels fast here, a third-party tool is the cause.
Additional Solutions
If the ordered fixes above didn’t fully restore performance, try these targeted adjustments:
- Disable FileVault temporarily — but only for diagnosis. If performance jumps noticeably with FileVault off, the issue is disk encryption overhead combined with another bottleneck. Re-enable it once you’ve resolved the underlying cause.
- Turn off visual effects. Under System Settings > Accessibility > Display, enable Reduce Motion and Reduce Transparency. On older Macs and base-RAM configurations, this alone smooths out most UI stutter.
- Pause iCloud Drive and Photos sync for 24 hours. If the Mac speeds up, your slowdown is sync-related. Consider optimizing storage settings or excluding large folders from Desktop & Documents sync.
- Reinstall macOS in place. Boot into Recovery (hold power on Apple silicon, or Command + R on Intel), then choose Reinstall macOS. This does not erase data but replaces every system file, fixing corruption from a botched update. Users in the Apple Support Community consistently report this resolves stubborn cases when nothing else works.
- Check for third-party kernel extensions. Open Terminal and run kmutil showloaded to see loaded extensions. Anything not signed by Apple is worth investigating — outdated virtualization, audio, or driver kexts are frequent offenders.
- Upgrade the RAM ceiling in your workflow. If you’re on 8 GB and routinely see swap used exceed 5 GB in Activity Monitor’s Memory tab, the fix isn’t software — the OS has outgrown the hardware. Closing browser tabs and quitting unused apps helps in the short term.
When to Contact Apple Support
Reach out to Apple if you’ve completed the steps above and any of the following still apply:
- Activity Monitor shows a system process pinned at 100% CPU indefinitely, even after a clean reinstall.
- The Mac runs hot or throttles under minimal load, suggesting a hardware sensor or thermal fault.
- Kernel panics appear in the logs (check Console app under Reports).
- Disk Utility’s First Aid reports errors that can’t be repaired.
- The slowdown started immediately after a repair, battery replacement, or storage upgrade.
Book a Genius Bar appointment through the Apple Support app or start a chat session. Have your serial number, macOS version, and a summary of the steps you’ve already tried ready — this shortens the diagnostic process considerably.
FAQ
How long should I wait before assuming the slowdown isn’t temporary? Give the Mac 48 hours of mostly-idle, plugged-in time with the lid open. If it’s still slow after that window, background maintenance isn’t the cause.
Will resetting NVRAM delete my data? No. NVRAM stores small settings like sound volume, display resolution, and startup disk. Your files and apps are untouched.
Is reinstalling macOS safe without a backup? Technically yes, since Reinstall macOS preserves user data. Realistically, always run a Time Machine backup first. Interrupted reinstalls can leave the system unbootable.
Why is my Mac slower than a friend’s identical model? Look at storage fullness, login items, and RAM pressure. Identical hardware performs very differently based on how it’s been configured over time.
Does clearing cache files help? Sometimes, but macOS regenerates most caches automatically. Deleting them manually can cause temporary slowdowns while they rebuild. Rely on Safe Mode boots to clear the caches that actually matter.