
























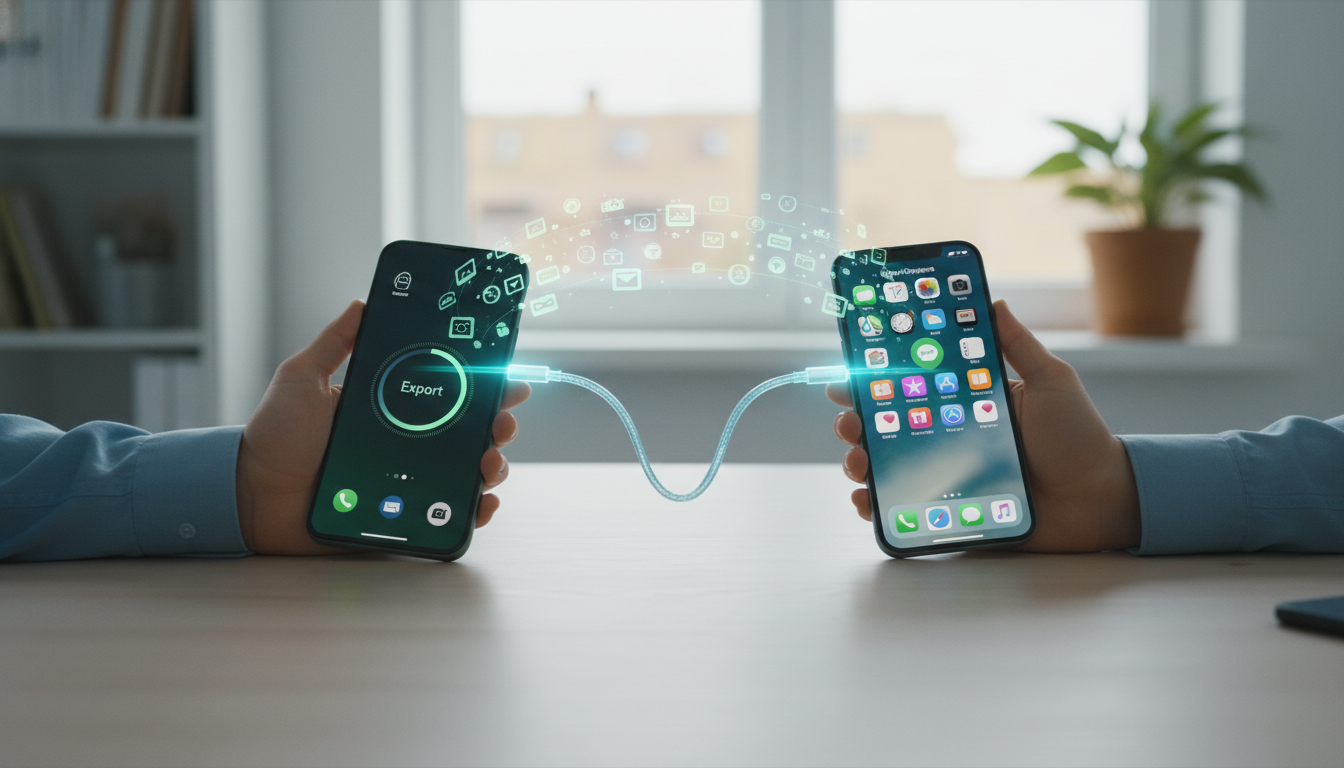
Learning how to transfer data from Android to iPhone 16 can feel intimidating, especially when you have years of photos, contacts, messages, and apps stored on your old device. The good news is that Apple has refined the migration process significantly in 2026, making the switch smoother than ever. Whether you are worried about losing important files, breaking WhatsApp chat history, or messing up your contact list, this comprehensive guide walks you through every step. By the end, you will have all your essential data safely moved to your new iPhone 16, with practical tips to avoid the common pitfalls that frustrate first-time switchers.
Preparing Your Android Device Before the Migration
Before you even touch your new iPhone 16, take time to prepare your Android phone properly. A rushed migration is the leading cause of missing files, broken transfers, and lost contacts. Spend 15–20 minutes on prep work and you will save hours of troubleshooting later.
Start by updating your Android device to the latest OS version available. Apple’s Move to iOS app requires Android 5.0 or later, but newer versions handle large transfers more reliably. Next, ensure both devices are plugged into power, since the migration drains batteries quickly when moving gigabytes of data.
Essential Pre-Transfer Checklist
- Back up your Android phone to Google Drive as a safety net.
- Update Chrome, Gmail, and other Google apps to their latest versions.
- Disable Smart Network Switch in Wi-Fi settings to prevent dropped connections.
- Make sure your iPhone 16 has enough free storage to receive everything.
- Turn off any VPN apps that might interfere with the local Wi-Fi connection.
Pro tip: Export your WhatsApp chats to Google Drive first, even if you plan to use the dedicated WhatsApp transfer feature. Having a cloud backup ensures you can recover conversations if something goes wrong during the android to iphone migration.
Using the Move to iOS App: Step-by-Step
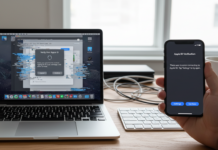
The official Move to iOS app remains the most reliable way to switch from Android to iPhone. Apple updated the tool in early 2026 to handle larger transfers and support newer file types like Live Photos converted from Android motion photos. The app works by creating a private peer-to-peer Wi-Fi network between your two devices.
Important: You must use Move to iOS during the initial setup of your iPhone 16. If you have already set up your device, you will need to erase it and start over, or use alternative methods covered later in this guide.
The Complete Transfer Process
- Turn on your iPhone 16 and follow the setup prompts until you reach the “Apps & Data” screen.
- Tap Move Data from Android.
- On your Android phone, download Move to iOS from the Google Play Store and open it.
- Accept the terms and tap Continue, then tap the search icon in the top-right corner.
- On your iPhone, tap Continue and wait for a ten-digit code to appear.
- Enter that code on your Android device.
- Your Android phone will connect to a temporary Wi-Fi network created by the iPhone.
- Select what you want to transfer: contacts, message history, photos, videos, mail accounts, calendars, and bookmarks.
- Tap Continue and leave both devices alone until the loading bar on the iPhone completes.
- Finish setting up your iPhone 16 normally.
The process typically takes between 20 minutes and two hours depending on data volume. Keep both devices close together, screens on, and connected to power throughout the entire transfer.
Moving Contacts, Messages, and Calendar Entries
For most users, the biggest concern when switching phones is preserving contacts and communication history. Move to iOS handles these automatically, but understanding how the data maps between systems helps you spot problems early.
When you transfer contacts android to ios, the tool pulls entries from both your local phone storage and your Google account. After migration, those contacts appear in the iPhone’s Contacts app and sync to iCloud if you enable it. If you previously used Google Contacts exclusively, you can also add your Google account directly in Settings > Contacts > Accounts and skip the local transfer entirely.
Messages move as a single archive that becomes searchable inside the iOS Messages app. SMS and MMS conversations transfer cleanly, but RCS-only chats may lose some metadata like read receipts and typing indicators. Calendar events come over with original timestamps intact, including recurring meetings and reminders.
Transferring WhatsApp Chats and Media
WhatsApp migration used to be a nightmare for switchers, but Apple and Meta solved this with an official integration. To move WhatsApp Android to iPhone, you need WhatsApp version 2.22.x or later on Android and iOS 16 or higher on the receiving device — both easily met if you are setting up a new iPhone 16.
Here is exactly how to do it:
- Open WhatsApp on your Android phone and go to Settings > Chats > Move Chats to iPhone.
- Follow the on-screen instructions to confirm.
- When prompted by the Move to iOS app, select WhatsApp as one of the data categories to transfer.
- Wait for WhatsApp to prepare your data — this can take several minutes for large chat histories.
- After your iPhone setup completes, open WhatsApp, sign in with the same phone number, and tap “Start” when prompted to import.
Warning: Once you complete the WhatsApp transfer, the chats remain on your Android device but new messages sent to your number will only arrive on the iPhone. Do not delete WhatsApp from Android until you confirm everything imported correctly.
Handling Photos, Videos, and Cloud Files
Photos and videos usually represent the largest chunk of data during migration. Move to iOS transfers camera roll content directly, but you have better alternatives if you store thousands of images or use Google Photos heavily.
The simplest approach for Google Photos users is to install the Google Photos app on your iPhone 16 and sign in with the same Google account. All your photos remain accessible immediately without moving a single byte over Wi-Fi. You can then download favorites to the iOS Photos app or leave everything in the cloud.
Best Methods for Different Photo Libraries
- Small libraries (under 10 GB): Let Move to iOS handle it during initial setup.
- Large libraries (10–100 GB): Use Google Photos app on iPhone or upload to iCloud Photos from a computer.
- Massive libraries (over 100 GB): Transfer via USB-C to your Mac or PC, then sync selectively.
- RAW and ProRAW files: Move manually through a computer to preserve full quality.
For documents stored in Google Drive, Dropbox, or OneDrive, simply install those apps on your iPhone. There is no need to physically move files when cloud storage already handles cross-platform access. If you frequently work with PDFs across devices, you might also find this detailed AcePDF Converter and Editor review useful for managing documents on your new iPhone and Mac setup.
What to Do After the Transfer Completes
Finishing the migration is only half the battle. The first 48 hours with your new iPhone 16 are when most issues surface, so plan to keep your Android device powered on and accessible during that time. Do not factory reset it immediately, no matter how tempting.
Open every important app one by one to verify your data arrived correctly. Pay special attention to banking apps, two-factor authentication tools, and anything tied to your phone number. Apps like Google Authenticator now support encrypted transfers, but legacy 2FA tokens may need to be re-enrolled manually.
If you rely on Apple Notes for syncing across devices, be aware that some users experience hiccups after migration. Our guide on Apple Notes sync issues after iOS updates and how to fix them covers the most reliable solutions if your notes do not appear right away. Similarly, if Wi-Fi acts up during heavy transfers, this walkthrough on macOS Sequoia Wi-Fi disconnecting fixes shares techniques that work for iOS too.
Setting Up Your iPhone 16 for Long-Term Success
Once data is verified, finish your iPhone 16 setup guide with these essentials:
- Enable iCloud Backup under Settings > [Your Name] > iCloud > iCloud Backup.
- Turn on Find My iPhone for theft protection.
- Set up Face ID and a strong alphanumeric passcode.
- Configure Focus modes to replicate your old Do Not Disturb routines.
- Review app notification permissions one by one in Settings > Notifications.
Windows users coming from an Android-and-PC workflow may also enjoy exploring hidden Windows 11 features for power users, while Mac users should check out these hidden macOS Sequoia 15.7 tricks to make iPhone-to-Mac handoff feel seamless. For deeper iPhone troubleshooting resources, the Hawkdive tech help library covers nearly every common issue new switchers face.
Frequently Asked Questions
Can I transfer apps from Android to iPhone?
You cannot transfer the actual app files because Android and iOS use completely different formats. However, Move to iOS automatically creates a list of your free Android apps that have iOS equivalents and downloads them from the App Store during setup. Paid apps must be repurchased, but most subscription services like Netflix, Spotify, and Microsoft 365 work seamlessly once you sign in with the same account.
Does Move to iOS transfer WhatsApp chats?
Yes, as of the 2026 update, Move to iOS officially transfers WhatsApp chat history, media, and settings when you select WhatsApp during the migration process. You must have WhatsApp installed and logged in on Android beforehand, and you need to confirm the transfer inside the WhatsApp settings menu. After arriving on your iPhone, open WhatsApp and complete the import when prompted.
How long does Android to iPhone transfer take?
Transfer time depends on data volume and Wi-Fi conditions. A typical user with 30–50 GB of photos, contacts, messages, and apps can expect 45 minutes to 90 minutes. Larger libraries above 100 GB may take three to four hours. Keep both devices on a stable power connection and avoid using them during the process to prevent slowdowns or interruptions.
What happens if Move to iOS fails midway?
If the transfer fails, your Android data remains untouched, but your iPhone may need to be reset before you can try again. Go to Settings > General > Transfer or Reset iPhone > Erase All Content and Settings, then restart the setup. Common failure causes include weak Wi-Fi signals, low battery, interfering VPNs, and Smart Network Switch on Android. Address those issues before retrying.
Can I transfer data after setting up my iPhone?
Yes, but not through Move to iOS without erasing the iPhone first. You can still bring over contacts via Google account sync, photos via Google Photos or iCloud, and WhatsApp via a manual chat backup process. For complete migrations after setup, most users find it easier to erase the iPhone and start fresh with Move to iOS rather than piecing data together app by app.
Final Thoughts and Next Steps
Successfully learning how to transfer data from Android to iPhone 16 comes down to preparation, patience, and using the right tool for each data type. Move to iOS handles the heavy lifting for most users, while cloud services and manual exports fill in the gaps for specialized files. Take your time, verify everything before wiping your Android device, and do not rush the first week with your new iPhone.
Now that your data is safely moved, dive deeper into your new ecosystem with our roundup of hidden macOS Sequoia 15.7 features Mac users should try in 2026 if you also use a Mac, or troubleshoot common playback problems with our guide to fixing YouTube AI-labeled videos on Apple devices. Both will help you get more out of your iPhone 16 from day one.