


 Header Through Cloudflare")


As a Windows 11 user, you might worry about downloading and install a Microsoft SQL server, right? You’re on the right page, my friend. In this blog post, I will walk you through the process of doing so in detail.
SQL servers are important for people running businesses and organizations as most of them have an online presence today. So if you are running a business or working for an organization, it is most likely they have a database of their own. And SQL is the language they user to communicate to that database and access it from time to time.
And yes, that also inevitably means that you must learn the SQL language as it is the need of the hour. Anyways, let’s get started on how to download and install the SQL server on your Windows 11 computer.
Read: How To Fix Google Chrome Lagging On Windows 11?
How To Download And Install Micrsoft SQL Server On Windows 11?
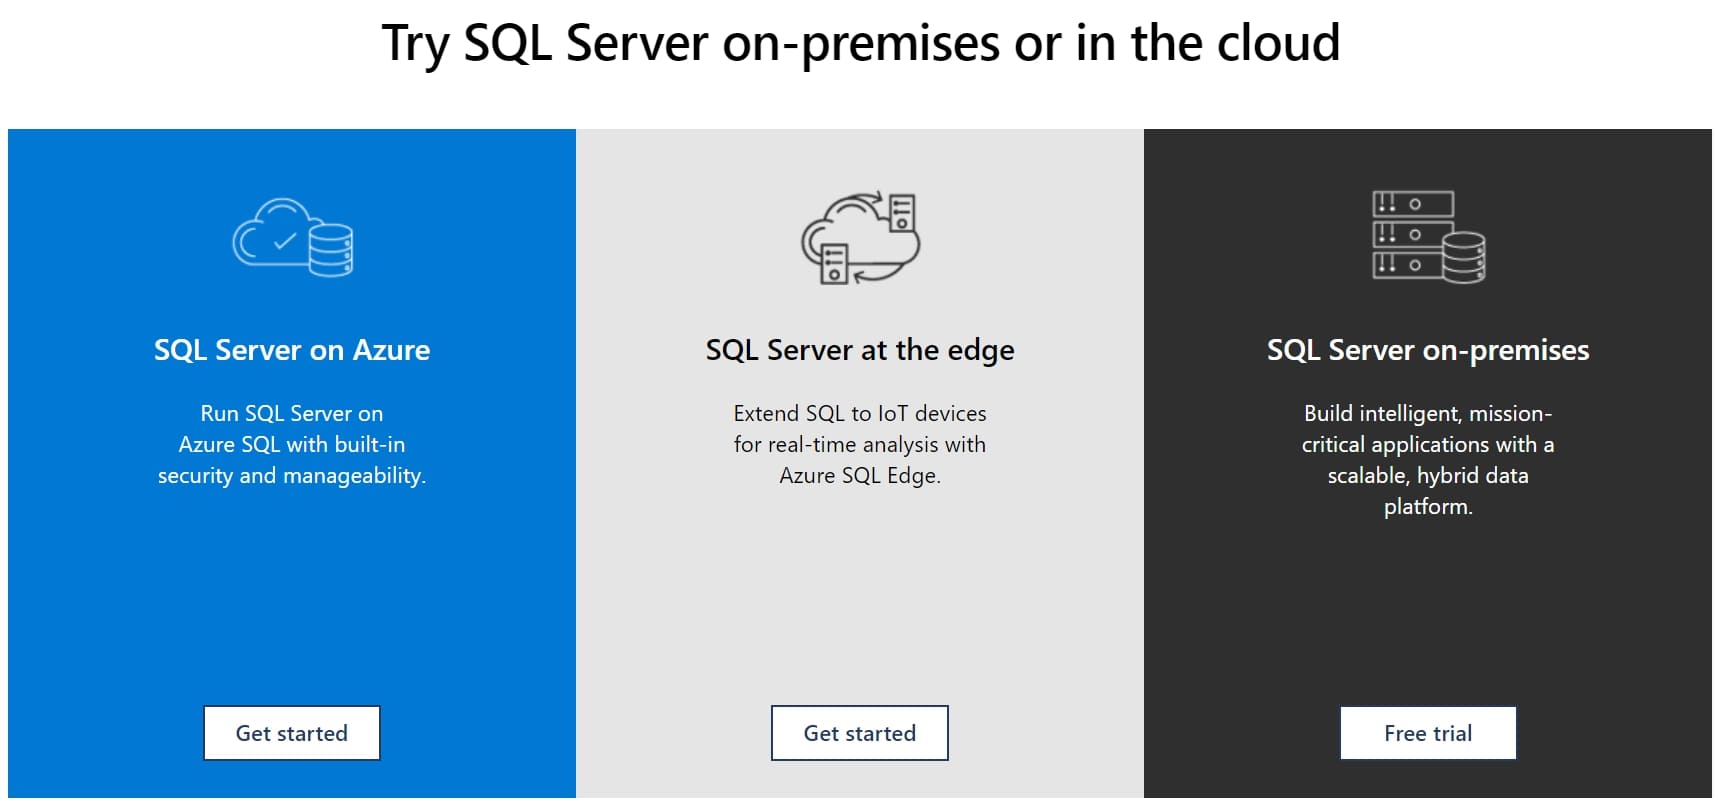
Step 1: Go to the official Microsoft SQL server page, where you will get two options. First, download the developer edition, and second, download the express edition.
In the developer edition, Micrsoft gives you full access to the features of the server and the license. However, you can only use it for developing something or testing your productions.
On the other hand, the express edition gives you 10 GB of storage and 1GB of RAM to produce your developments. Moreover, you do not need a license to run the Express edition and use it on your desktops. The process of installing both the editions is the same.
Download And Installing Developer Edition
Step 2: Click on Download Now under Developer Edition.
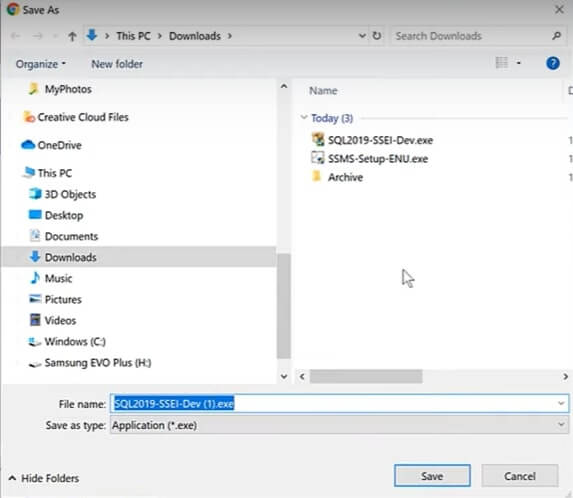
Step 3: A download window will appear with the name SQL 2019. Click on Cancel.
Step 4: Moreover, go to the download folder and double-click on the file.
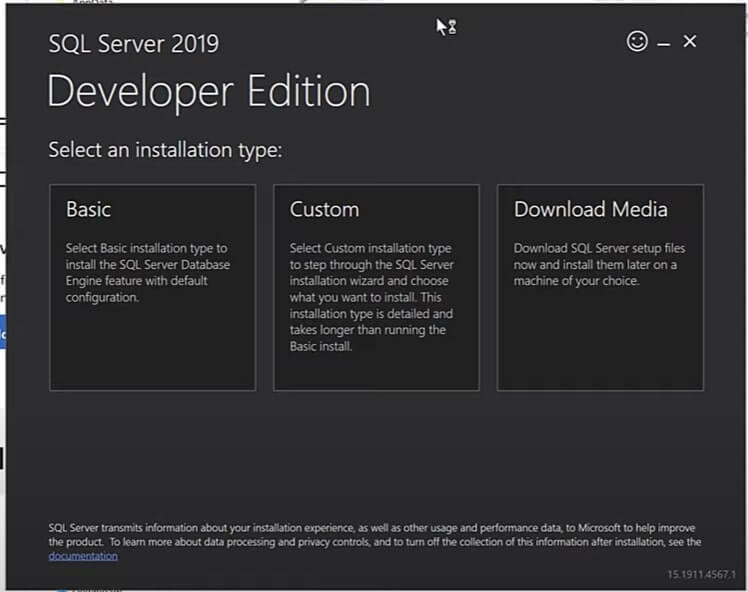
Step 5: Launch the installation process, and here you get three options. First is basic, second is Custom, and third is Download Media.
Step 6: Skip download media for now if you are downloading the SQL server for the first time. Choose Basic and click on Accept for license terms after reading them.
Step 7: Furthermore, choose your installation location and click on Install.
Step 8: After the installation process is over, there will be four different files like Instance Name, SQL Administrators, Features installed, and version.
Step 9: Click on Connect Now, which will open the command prompt window to open.
Step 10: Close the window.
Must Read: How To Split Screen In Windows 11 For Multitasking?
Install SQL Server Management Studio In Windows 11
Step 1: Click on SSMS, which will take you to the SQL Server Management Studio page.
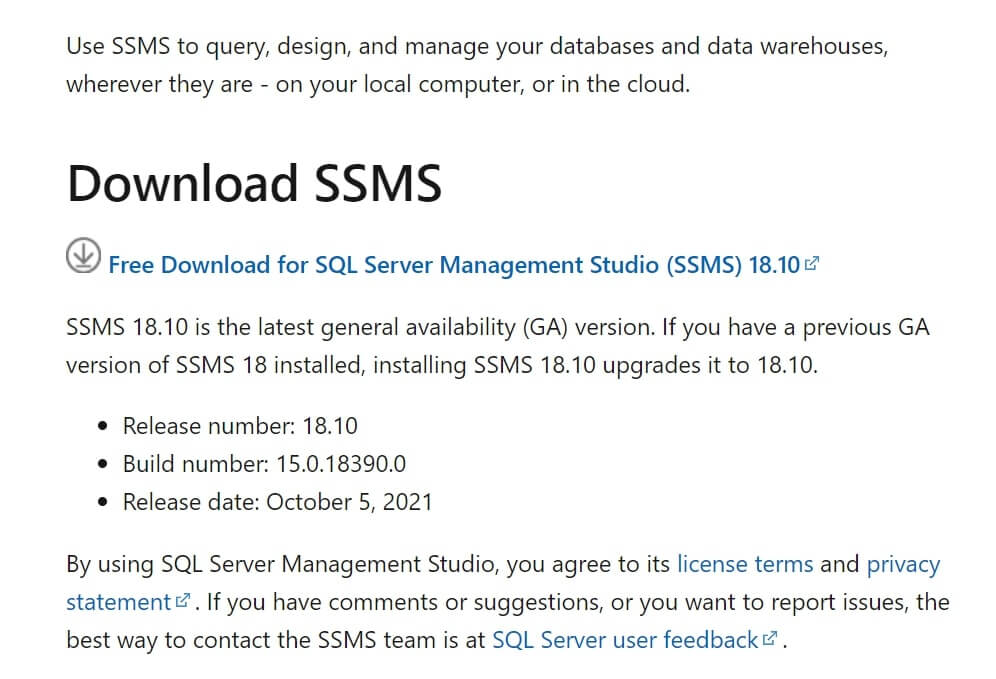
Step 2: Moreover, click on the SQL Server Management Studio link and tap on Save File.
Step 3: Save this file to your local drive and go to the folder. Now double-click on the file to launch it.
Step 4: The setup window will appear, and here you can choose the location where you want to save the file.
Complete Installation Of SQL Management Server Studio
Step 5: Click on Install.
Step 6: Close the window after the installation is complete.
Step 7: Furthermore, go back to your Start Menu and search for SQL server management studio.
Step 8: Furthermore, double-click on it, and the login page will appear once it shows up.
Step 9: You should be able to see your server name. However, if that’s not visible, click on the drop-down arrow on the server and tap on Browse.
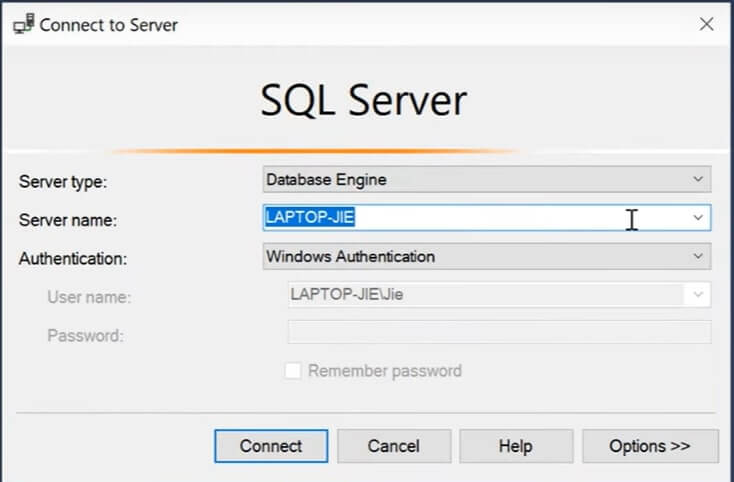
Step 10: Choose your SQL server and click on Connect.
After that, the SQL server will connect, and Windows 11 is good to go.
How To Install Use SQL Server Management Studio In Windows 11?
After downloading and installing the SQL server management studio, follow these steps:
- Create an account in gearhost.com and log in.
- Go to the Database menu and find the database to open and see the details.
- Furthermore, take down the name of the server as well as the username and password.
- After that, launch Microsoft SQL Server Management studio.
- Make sure that the Database engine is the type of server and enter the server name.
- Authenticate with SQL server authentication and enter your database username.
- Moreover, type the database password and click on Connect.
Conclusion
There are several benefits of downloading and installing SQL Server in Windows 11. In addition, it offers enhanced performance with built-in data compression and encryption. Moreover, it provides efficient management tools that help in securing business information.
Should Read: How To Install Windows 11 On An Unsupported CPU?


