


 Header Through Cloudflare")


Many users have been facing issues with their Google Chrome browser lagging after upgrading to Windows 11. The same is also true for some users who are still using Windows 10. So why is this happening in the first place?
The reason differs from user to user, but the common problems are corrupt software in the PC, too many open tabs, high volume of caches and unnecessary browser extensions, etc. However, no matter what, the cause of your system acting like this can vary from one issue to another or could be a mix of everything.
So, here in this blog post, I have given some tried and tested ways that are simple and will not need you to run to a technician.
Method 1: Fix Google Chrome Lagging On Windows 11
Step 1: After you open Google Chrome and see it lagging with a blank white screen or running too slow, click on the three vertical dots from the top-right.
Step 2: Scroll down and select Settings. Find Advanced and tap on it.
Step 3: Go to Use Hardware Acceleration When Available and turn it off.
Step 4: Furthermore, click on Relaunch.
Step 5: Now, restart your laptop and open Google Chrome to check if it’s working.
With this method, your Chrome browser is sure to open and run smoothly like before.
Read: How To Enable TPM 2.0 For Windows 11
Method 2: Fix Google Chrome Lagging On Windows 11
Step 1: On your Windows 11 PC or Windows 10 PC, go to Start and select Control Panel.
Step 2: Open Network And Internet.
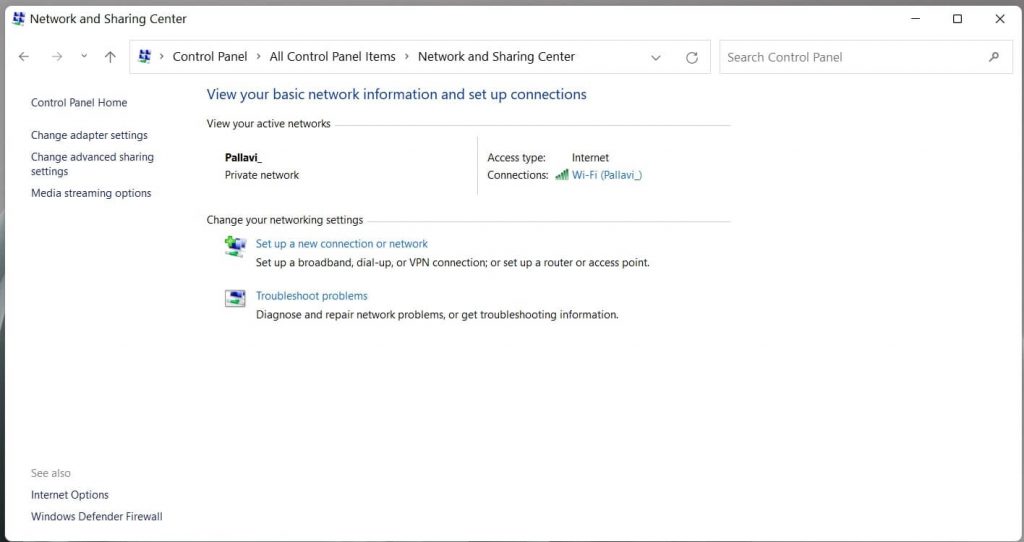
Step 3: Furthermore, open the Network and Sharing Center.
Step 4: Double click on your internet connection.
Step 5: Click on Properties.
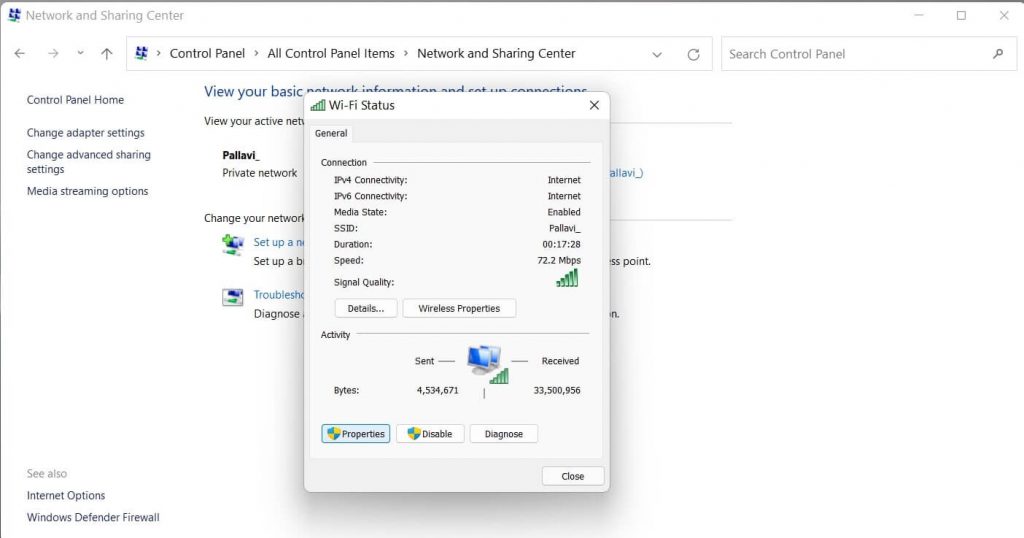
Step 6: Select Internet Protocol Version 4 and tap on Properties.

Step 7: Select Use the following DNS server addresses.
Step 8: In the Preferred DNS section, enter 8.8.8.8, and in the Alternate DNS server, enter 8.8.4.4.
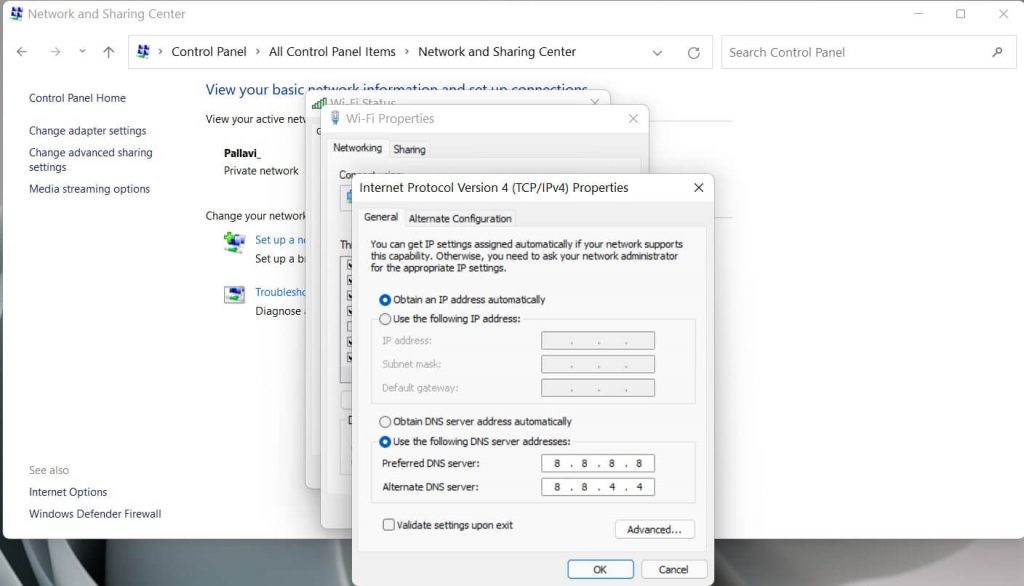
Step 9: Click on Okay.
Now check if your Chrome browser is working fine; if not, let’s move on to the next step.
Method 3: Fix Google Chrome Lagging On Windows 11
Step 1: Open Google Chrome on Windows and click on the three vertical dots from the top-right section.
Step 2: Once again, scroll down and select Settings.
Step 3: Furthermore, click on Advanced Options.
Step 4: Go to Privacy and Security and click on Clear Browsing Data.
Step 5: Select All Time under the Basic tab.
Step 6: Moreover, go to the Advanced tab and select All Time again.
Step 7: Select everything except for the password and data.
Step 8: Furthermore, tap on Clear Data.
Now that your Chrome browser is no longer jammed with heavy data from the past, it should start working fine. However, if it does not, you can go to the next step.
Method 4: Fix Google Chrome Lagging On Windows 11
Step 1: Once again, open Google Chrome and go to the Settings option by clicking on the three vertical dots from the top-right.
Step 2: Go to Advanced Settings and scroll down to find Press Restore Settings To The Original Default.
Step 3: Furthermore, on the popup menu, tap on Restore settings to confirm.
This setting should fix your slow Chrome or lagging browser problem. However, if this also does not work, try the next step.
Read More: How To Flush DNS Cache In Windows 11
Method 5: Fix Google Chrome Lagging On Windows 11
Step 1: From your Start menu, go to the Settings app.
Step 2: Open Network and Internet. Furthermore, open Advanced Network settings and click on Network reset.
Step 3: Tap on Reset Now and click on Yes to confirm.
Step 4: Restart your computer.
By now, the lagging problem in Chrome should get resolved. In case your Google Chrome is still bugging you, here’s what you can do.
Should Read: How To Change Touch Keyboard Themes On Windows 11?
How To Roll Back To Windows 10?
Step 1: On your Windows 11 system, go to the Settings app and click on Update and Security.
Step 2: Furthermore, go to Activation, and here you will see the Windows 11 update.
Step 2: To downgrade, go to Recovery and click on the second option. Your computer will start downgrading.
Step 3: You will also have to select the reason for which you are downgrading to Windows 10.
Step 4: Click on No Thanks and click Next for the next two options that come up.
Step 5: Furthermore, click on Downgrade to Windows 10.
Step 6: Now, your computer will restart, which will take you a while.
At this point, after your computer restarts, enter the same password that you had for Windows 10, and your Google Chrome should start working normally.
Should Read: Windows 11 Installation Assistant: How To Upgrade For Free?
Conclusion
There is a rumor going around that due to Microsoft Edge coming to Windows 11 as a full-fledged browser, Microsoft is tactfully trying to mess with Google Chrome. Regardless of what the truth is, these methods will surely be of great help to you.
Must Read: How To Install Windows 11 On An Unsupported CPU?


