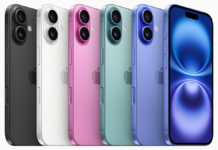
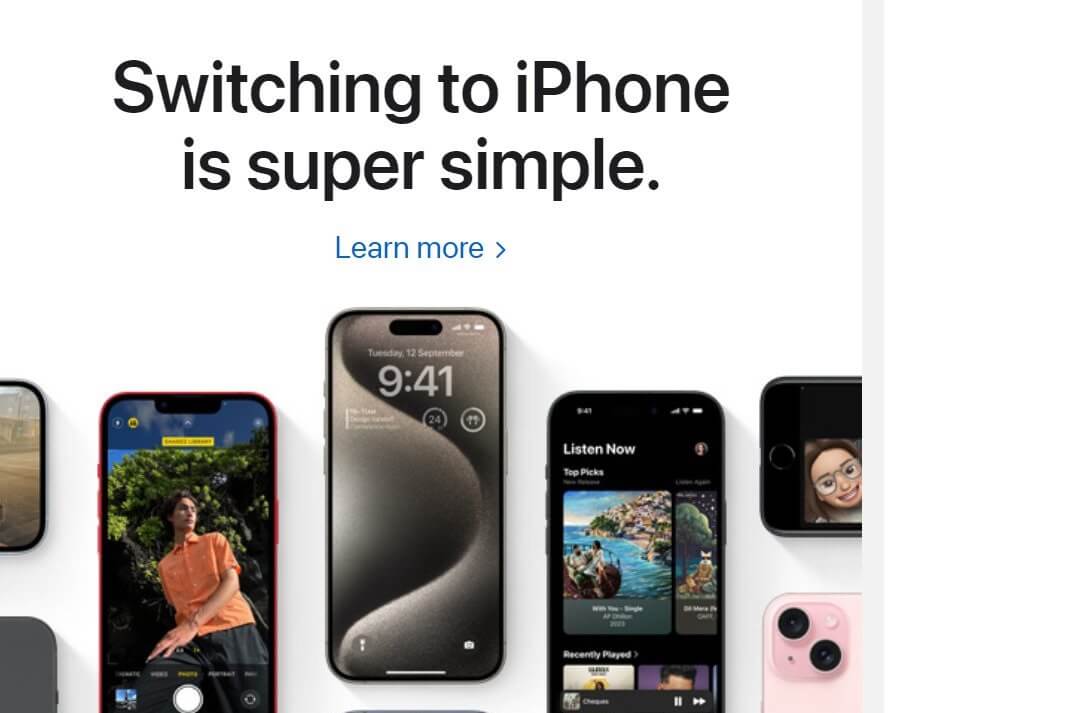
To transfer music from your computer to your iPhone 15, you can use iTunes or the Finder app (on macOS Catalina and later versions). Check out these instructions that are applicable to both methods:
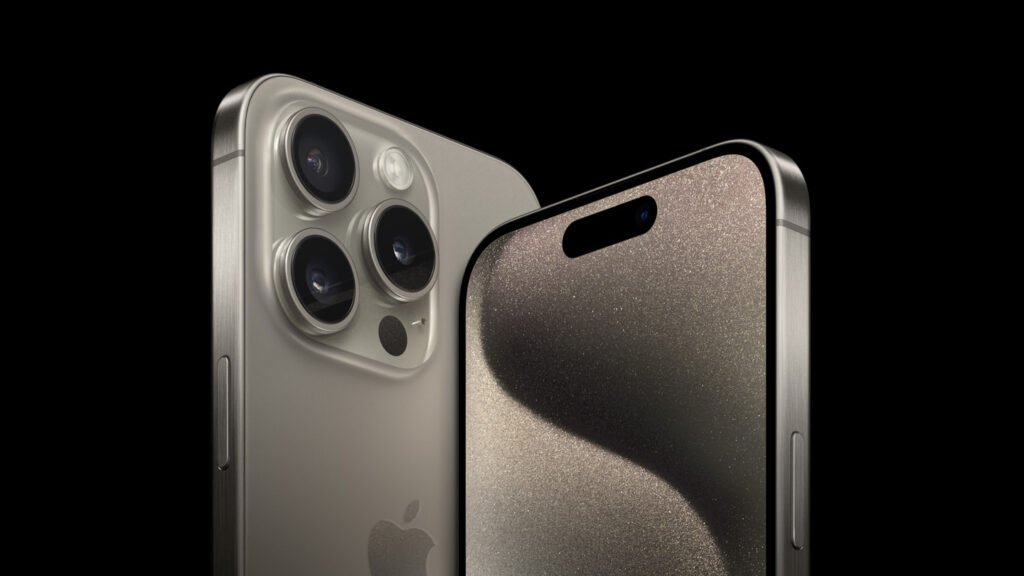
Using iTunes:
- Install iTunes: First and foremost, ensure you have iTunes installed on your computer. If you don’t have it, download and install the latest version from the Apple website.
- Connect Your iPhone 15: Users need to have a USB cable to connect their iPhone to their computer. Unlock your iPhone and click on trust the computer when it prompts.
- Open iTunes: Launch iTunes on your computer.
- Add Music to iTunes Library: If your music is not already in iTunes, add it to your iTunes library. You can do this by going to “File” > “Add File to Library” or “Add Folder to Library” and selecting the music files or folder.
- Sync Music to iPhone: In iTunes, go to the “Music” tab and check the box next to “Sync Music.” You can choose to sync your entire library or select playlists, artists, albums, and genres. Click “Apply” or “Sync” to transfer the music to your iPhone.
- Eject Your iPhone: Once the syncing process is complete, safely eject your iPhone from your computer.
Also Read- How To Transfer Music From iTunes On PC To iPhone?
Using Finder (macOS Catalina and later):
- Connect Your iPhone: Use a USB cable to connect your iPhone to your Mac. Once again, you have to repeat the process of unlocking your iPhone when the computer prompts.
- Open Finder: Open the Finder app on your Mac.
- Select Your iPhone: In the Finder sidebar, locate and select your iPhone under “Locations.”
- Navigate to Music Tab: Click on the “Music” tab in the Finder window.
- Add Music to iPhone: Drag and drop the music files from your computer to the “Music” tab in the Finder window. Additionally, users can use the “Add to” button if available.
- Sync Music: If prompted, click the “Sync” button to transfer the music to your iPhone.
- Eject Your iPhone: Once the syncing process is complete, safely eject your iPhone from your computer.
After completing these steps, you should have successfully transferred music from your computer to your iPhone. Keep in mind that the specific steps may vary slightly depending on your iTunes or macOS version.
Transferring music from an Android device to an iPhone involves a few steps, as the two platforms use different ecosystems. Here’s a method you can use:
Method 1: Using a Computer and iTunes (or Finder on macOS Catalina and later):
- Transfer Music to Computer:
- The first part of this process is to connect the Android device to the computer via USB.
- Copy the music files from your Android device to a folder on your computer.
- Import Music to iTunes or Finder:
- Open iTunes on your computer (or Finder if you’re on macOS Catalina or later).
- Go to “File” > “Add File to Library” or “Add Folder to Library” and select the music files or folder you copied from your Android device.
- Connect Your iPhone:
- Use a USB cable to connect your iPhone to your computer.
- Repeat the same process of unlocking the iPhone when the computer prompts.
- Sync Music to iPhone:
- In iTunes or Finder, go to the “Music” tab.
- Choose to sync your entire library or selected playlists, artists, albums, and genres.
- Click “Apply” or “Sync” to transfer the music to your iPhone.
Also Read- How To Transfer Music From iPhone To iPhone
Method 2: Using Cloud Services:
- Upload Music to Cloud:
- On your Android device, upload your music to a cloud service like Google Drive, Dropbox, or OneDrive.
- Access Cloud on iPhone:
- On your iPhone, download and install the corresponding cloud service app from the App Store.
- Sign in to your account and access the uploaded music.
- Download Music to iPhone:
- On your iPhone, use the cloud service app to download the music files.
- Alternatively, you can use the Files app on iOS to access and download files from cloud services.
- Add Music to iPhone Library:
- Once downloaded, you can add the music to your iPhone’s library using the Files app or other supported apps.
Please note that the exact steps may vary depending on the versions of iTunes, Finder, Android, and iOS you are using. Additionally, there are third-party applications available on both the App Store and Google Play Store that claim to facilitate such transfers, but be cautious and ensure their reliability before using them.
Transferring music from an iPad to an iPhone can be done in a few different ways. Here are two common methods:
Method 1: Using iCloud:
- Ensure iCloud Music Library is Enabled:
- On both your iPad and iPhone, make sure iCloud Music Library is enabled. Then select the Settings option followed by Music and toggle on “iCloud Music Library.”
- Upload Music from iPad:
- On your iPad, open the Music app and ensure that your music library is up to date.
- If your music is not in the iCloud Music Library, you may need to manually add it by syncing with your computer or using iTunes.
- Download Music on iPhone:
- On your iPhone, open the Music app.
- Your iPad’s music should now be available in the iCloud Music Library on your iPhone. You can download individual songs or entire playlists by tapping the download icon (cloud icon with an arrow) next to the music.
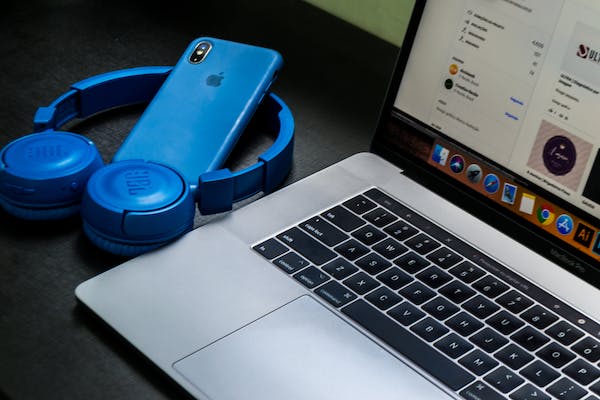
Method 2: Using iTunes (or Finder on macOS Catalina and later):
- Connect iPad to Computer:
- Open iTunes or Finder:
- Open iTunes on your computer (or Finder if you are using macOS Catalina or later).
- Select Your iPad:
- In iTunes or Finder, select your iPad from the device list.
- Transfer Purchased Music:
- Go to the “Music” tab and select the music you want to transfer.
- Click on “File” > “Devices” > “Transfer Purchases from [your iPad’s name].”
- Disconnect iPad and Connect iPhone:
- Safely disconnect your iPad from the computer and connect your iPhone.
- Select Your iPhone:
- In iTunes or Finder, select your iPhone from the device list.
- Sync Music to iPhone:
- In the “Music” tab, choose to sync your entire music library or selected playlists, artists, albums, etc.
- Click “Apply” (iTunes) or “Sync” (Finder) to transfer the selected music to your iPhone.
Conclusion
After following these steps, your music from the iPad should be transferred to the iPhone. Keep in mind that the exact steps may vary depending on the versions of iTunes, Finder, iOS, and iPadOS you are using.


