


 Header Through Cloudflare")


Running Windows 11 on an unsupported CPU sounds like a bootless errand. But don’t give up your hopes yet. In this blog post, you are sure to find a meaningful step-by-step guide to solve your problem.
Laptops with old CPUs, i.e., Intel processor 7th generation and below, cannot run Windows 11. It means that your computer or laptop must be a relatively new system from mid-2017 and onwards. More so because if you want Windows 11 on your computer as soon as possible, here’s a piece of good news for you.
Microsoft said that the manufacturers would ship new Windows laptops with Windows 11 pre-installed. Moreover, those with one or two-year-old laptops will be the first batch to receive the free upgrade. Users with an old computer will receive it somewhere in mid-2022.
However, since your laptop does not fall into any of the newest categories, I presume you are upset to see the message,” This PC can’t run Windows 11″.
Also Read: How To Check If Your PC Can Upgrade To Windows 11?
Is Windows 11 Better Than Windows 10?
Why do you want to upgrade to Windows 11 if you have a fully functioning Windows 10?
Also, let’s remember, we just got more updates for Windows 10, which makes it so much better and more efficient. I, for the record, am very happy with my Windows 10 operating system.
And updating to a beautiful yet fragile and fallacious Windows 11 is surely not on top of my bucket list now. Anyhow, let’s take a look at the new features that make users go crazy to get the latest upgrade.
Read: How to Free Up Disk Space After Upgrading To Windows 11
Windows 11 Features
Mac-like interface: Gotcha! This has to be the first reason for every Windows user. The new glassmorphism design with the apps and start button at the center.
Widgets: Or what I would like to say customized widgets. They will come up rather interestingly only when you want them to. You can rearrange them, decide what you want, how you, and when to get the information you care about.
Availability of android apps: Now, you will be able to access the android applications on your computer whenever you like. All of you have to do is go to the Amazon app store, and there they are. Make use of them and make your system all functional.
Microsoft Teams: iOS users got FaceTime, and you got Teams on your side. Make your business conversations, friendly chats and family discussions juicy and productive with Microsoft Teams.
Xbox Like Features: Level up your gaming experience with Windows 11 as it brings a multitude of Xbox features to the table.
Smooth Multi-screen transition: Make the screen-to-screen transition smooth and effortless. Features like Snap groups and snap layouts assist in unplugging from monitor and task switching.
Windows 11 is the beginning of a new era of Windows, and it will change the way we work completely. In that sense, it is surely a more fruitful and superior operating system than Windows 10.
Must Read: Windows 11 Installation Assistant: How To Upgrade For Free?
Method 1: How To Install Windows 11 In An Unsupported CPU?
Your central processing unit is the root of your computer. Without the right one, it is unlikely that you will run any operating system, let alone Windows 11. As per the PC Health Check App, you need a minimum of 1GHz and above processor to run the upgrade.
But if your system has an older CPU, let’s say an iCore five processor 3rd generation or 4th generation, follow these steps below.
Step 1: Go to the official Microsoft website and look for software download.
Step 2: Download the Create Windows 11 Installation Media. After that, run the program and select the target location for downloading Windows 11.
Step 3: Moreover, you will need another Windows 10 ISO file as well. You will also need a Rufus to create a bootable USB drive.
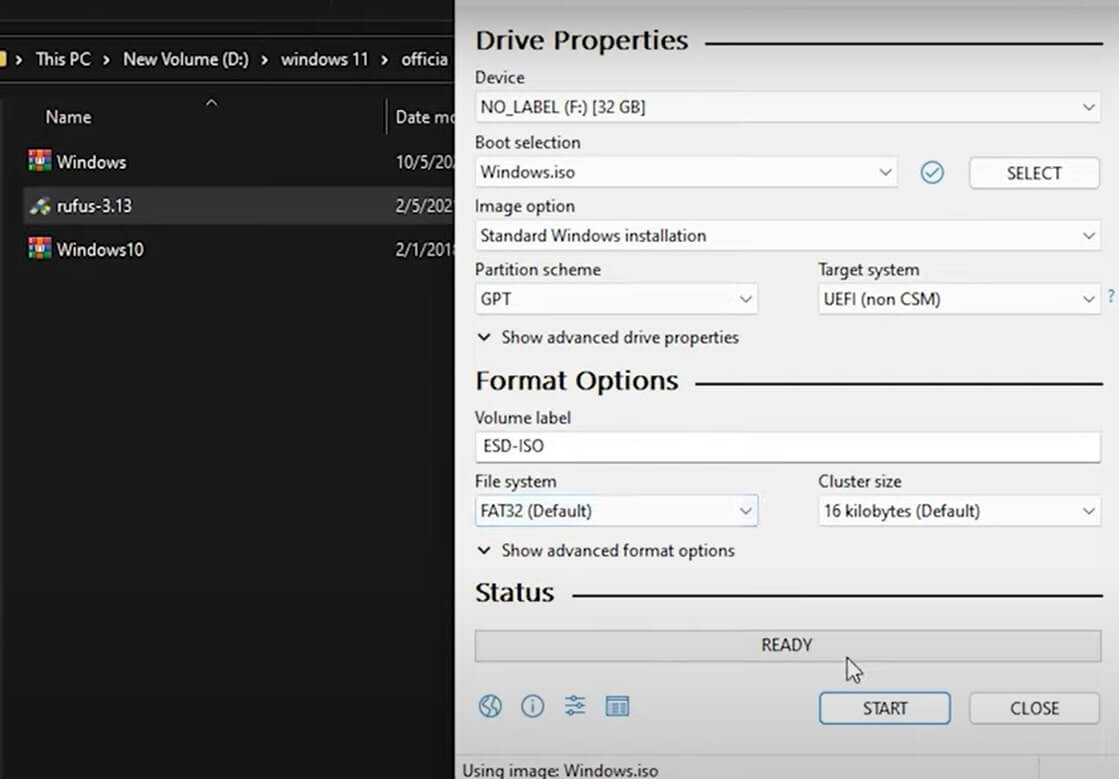
Step 4: First, plug in the USB drive to your device and run Rufus. From Rufus, select the Windows 11 ISO file which you have already downloaded.
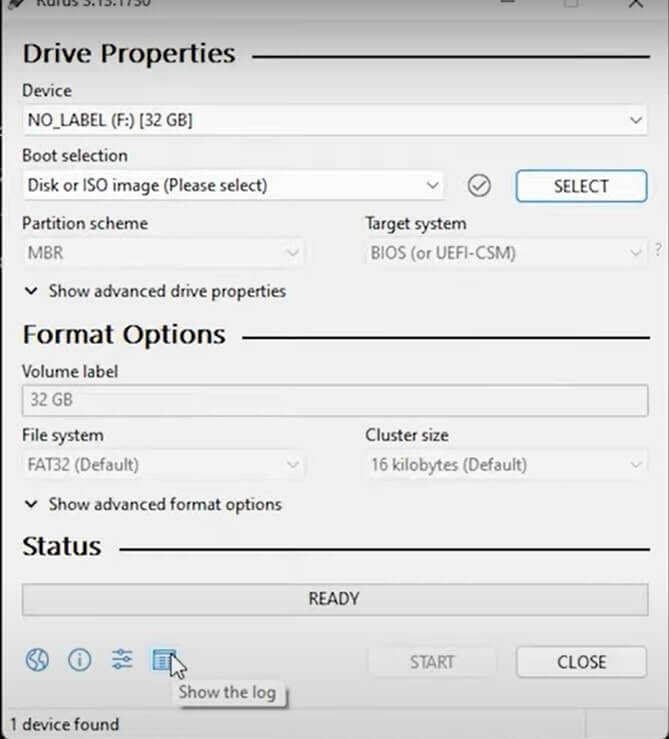
Step 5: Now select GPT or MBR partition type and then click on Start.
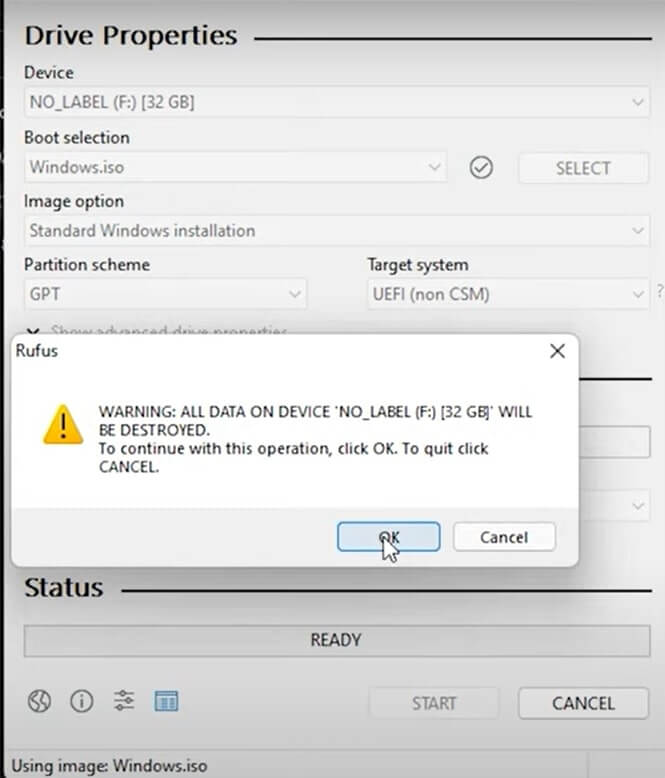
Step 6: This will erase all the data on your pen drive and create a bootable drive.
Step 7: After that, go to your bootable Windows 11 drive and go inside the sources folder.
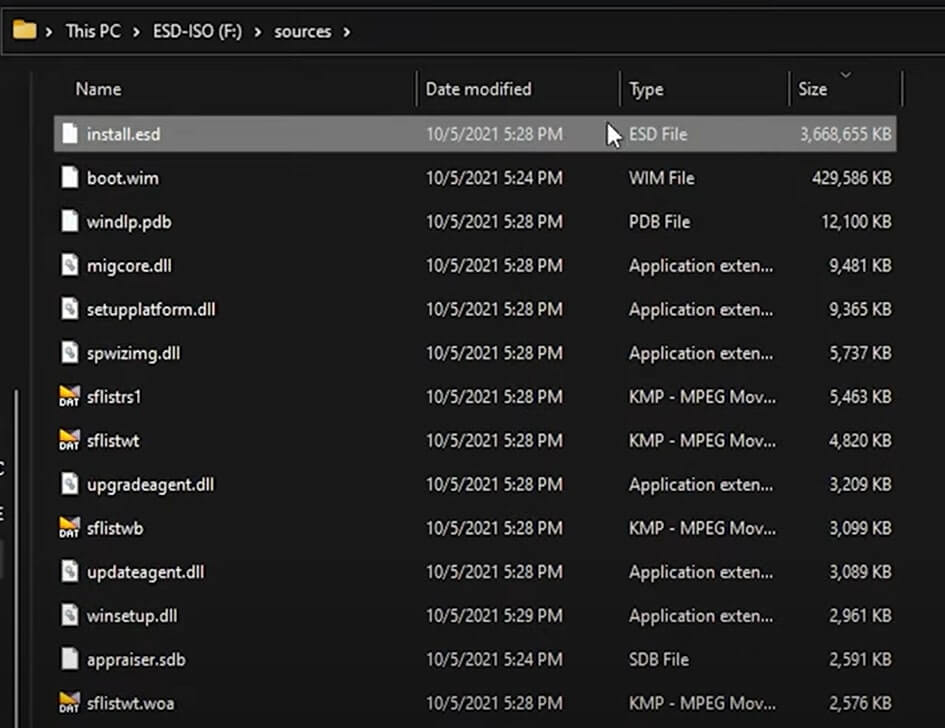
Step 8: Click on the size tab, and this will get you the largest file in the folder which is installed. It will more likely be install.esd.
Swapping Files
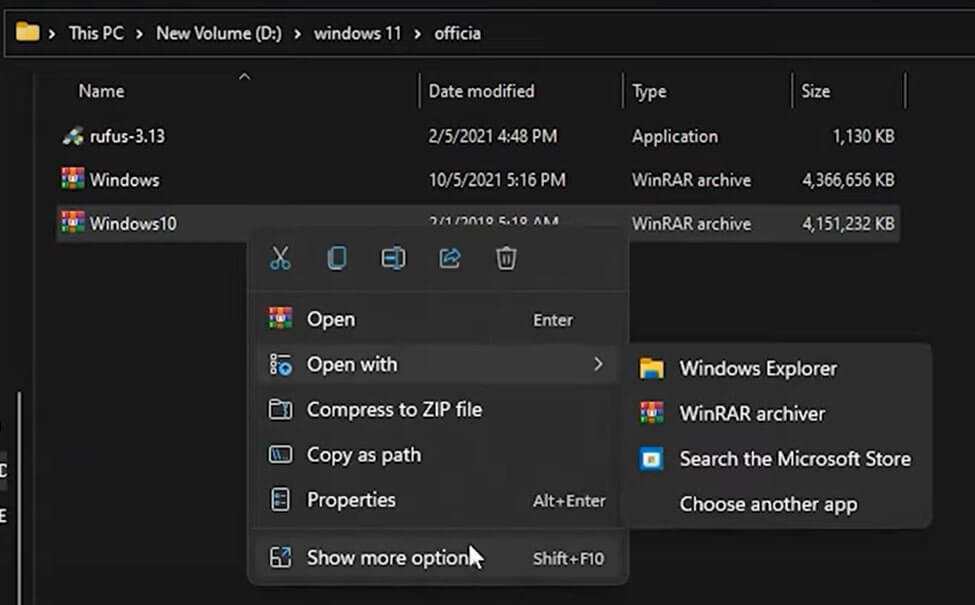
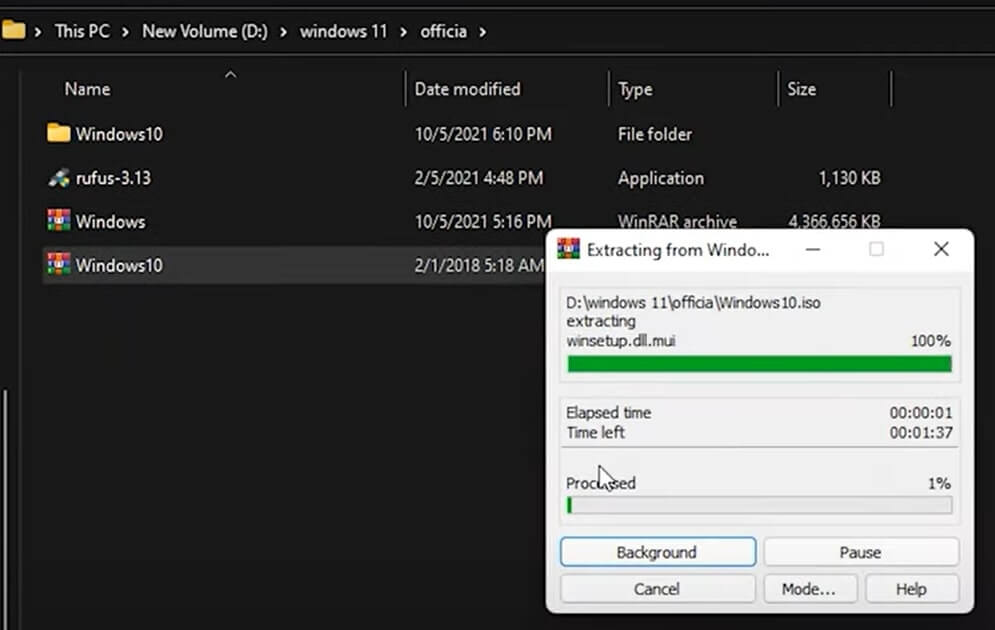
Step 1: Replace all the files except the Windows 10 files. Go to the folder where you have the Windows 10 ISO file and extract it in a folder using WinRAR.
Step 2: Now go to Windows 10 extracted folder, sources folder and select all the files except install.sd file.
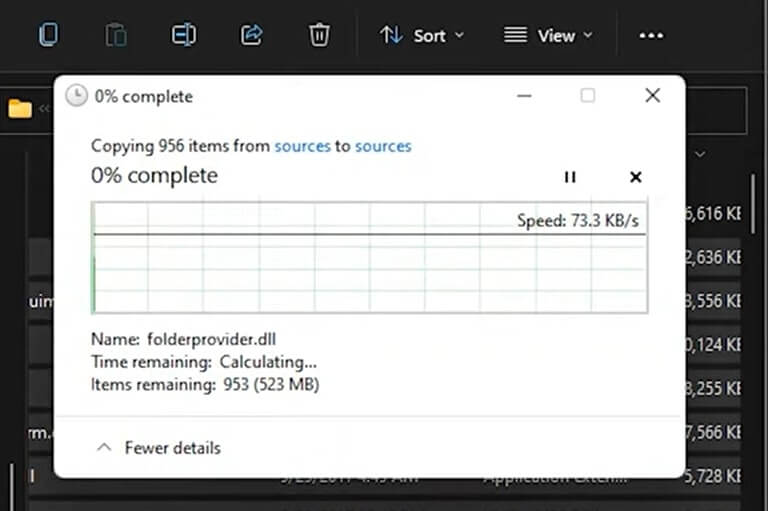
Step 3: Copy and replace all the selected files and folders to Windows 11 bootable drive sources folder. Moreover, you will get an option for those files and folders already there in the destination files.

Don’t be confused when multiple options like Skip these files, Replace existing files etc., come up. Just click on Replace existing files with these files, and you’re good to go.
Booting By Bootable Drive: Installing Windows 11 On Unsupported CPU
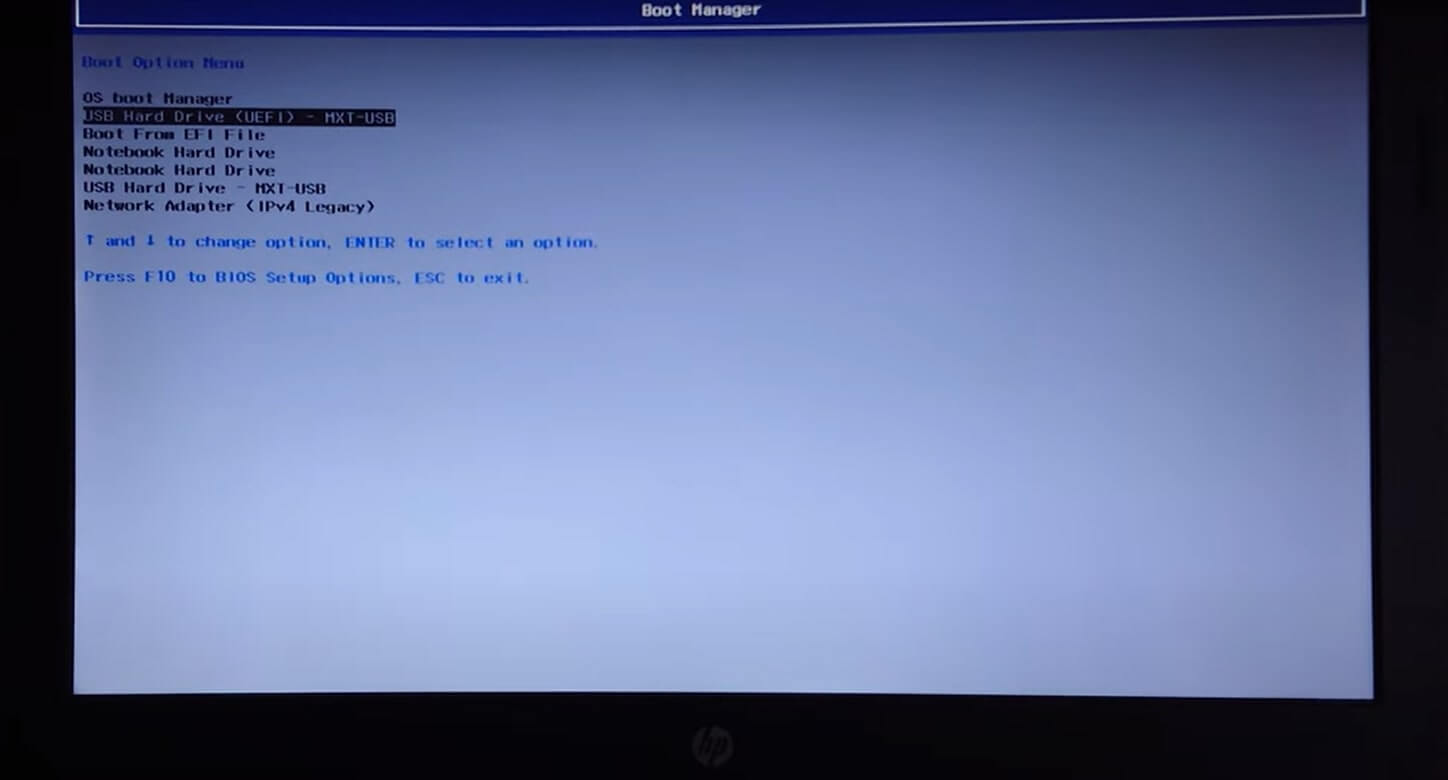
Step 1: Shut down your computer, plug in the bootable drive to your PC, and hit the Power button. Moreover, smash the hotkey for the boot menu, ESC or F11, F12 etc.
Step 2: Select Boot device and choose boot from a USB drive. Enable UEFI or enable it through BIOS.
Step 3: A pop-up window will appear; click on Install Now. Here you can install Windows 11 just like a normal installation.
Step 4: Select Windows 11 Pro and tap on Next. Furthermore, click on the I agree to the Terms and Conditions and select Next.
Step 5: Furthermore, click on Custom: Install Windows Only and choose the Drive Partition.
Step 6: As a personal recommendation, you should select Windows SSD to speed up the process and make your operating system faster. Click on Next.
Step 7: It will take time to install Windows 11. Once it does, select the country or region, your right keyboard layout, and connect with the Wi-fi.
Step 8: Before restarting, it will ask you to enter your name, security question and then click on Next.
Step 9: Choose your Privacy Settings and click on Accept.
Step 10: Once you have done this, your computer will take a while to start.
And here, you have your Windows 11 right on your laptop/desktop with an old CPU. However, if this did not work out for your computer, then don’t lose heart. Let’s go on to the next method, which I am sure will work out in your favor.
Must Read: How To Use Microsoft Teams In Windows 11?
Method 2: Install Windows 11 On Unsupported CPU
Step 1: Once you have the Windows 11 bootable DVD drive, double-click on it.
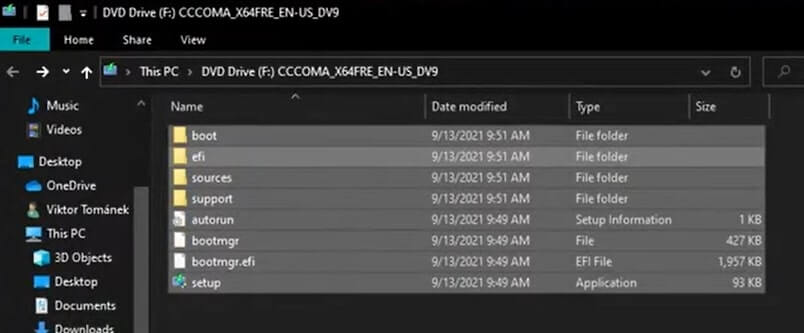
Step 2: Right-click on your desktop screen; from the drop-down menu, go to New and select Folder.
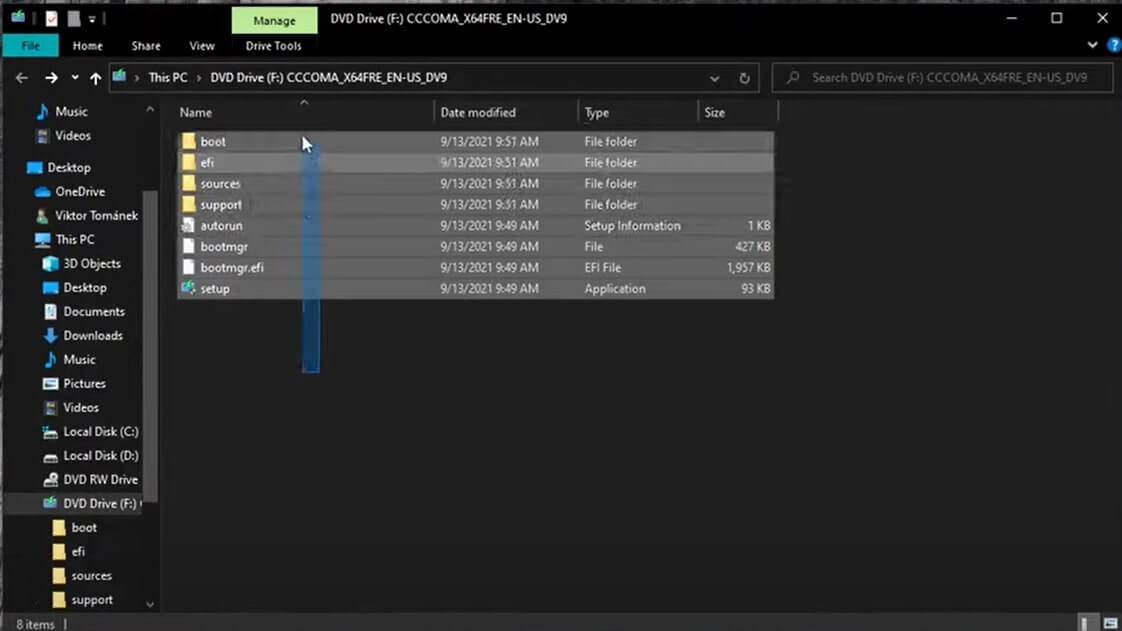
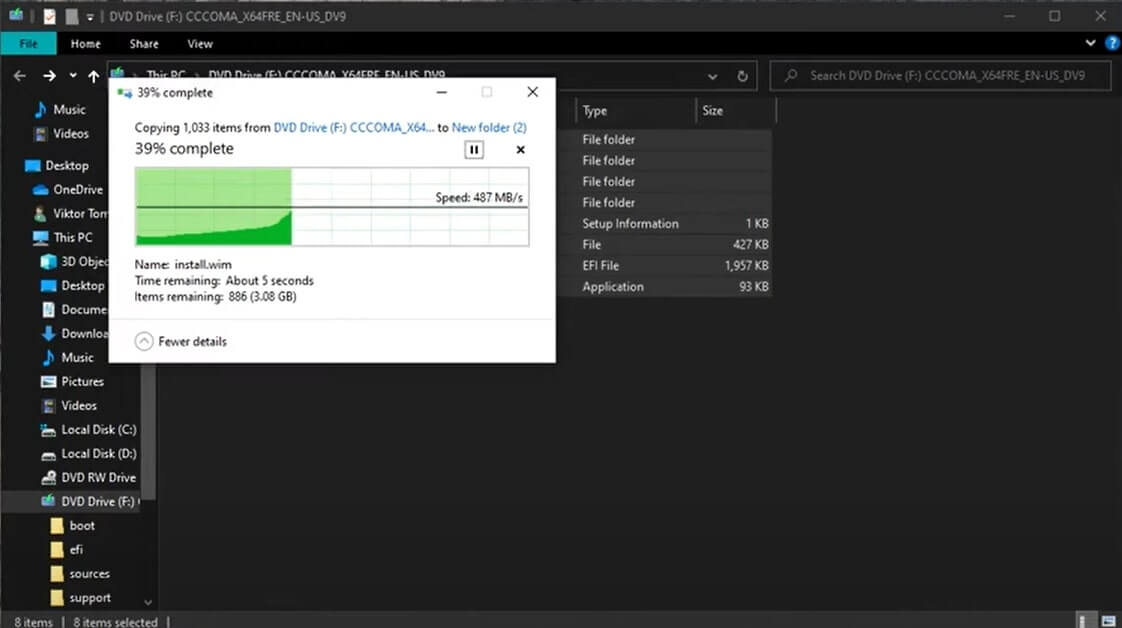
Step 3: Now, copy all the files from the DVD drive and copy them to the new folder. Close the drive after copying all the files and open the new folder.
Step 4: Double-click on sources, and right-click on appraiserdatashares.d11, and click on Open with. Tap on Show apps on the new window pop-up. Choose Notepad and tap on Okay.
Step 5: The code will look as you see in the picture below on Notepad. Click on Edit, select Find, type CPU in the box and click on Find Next.
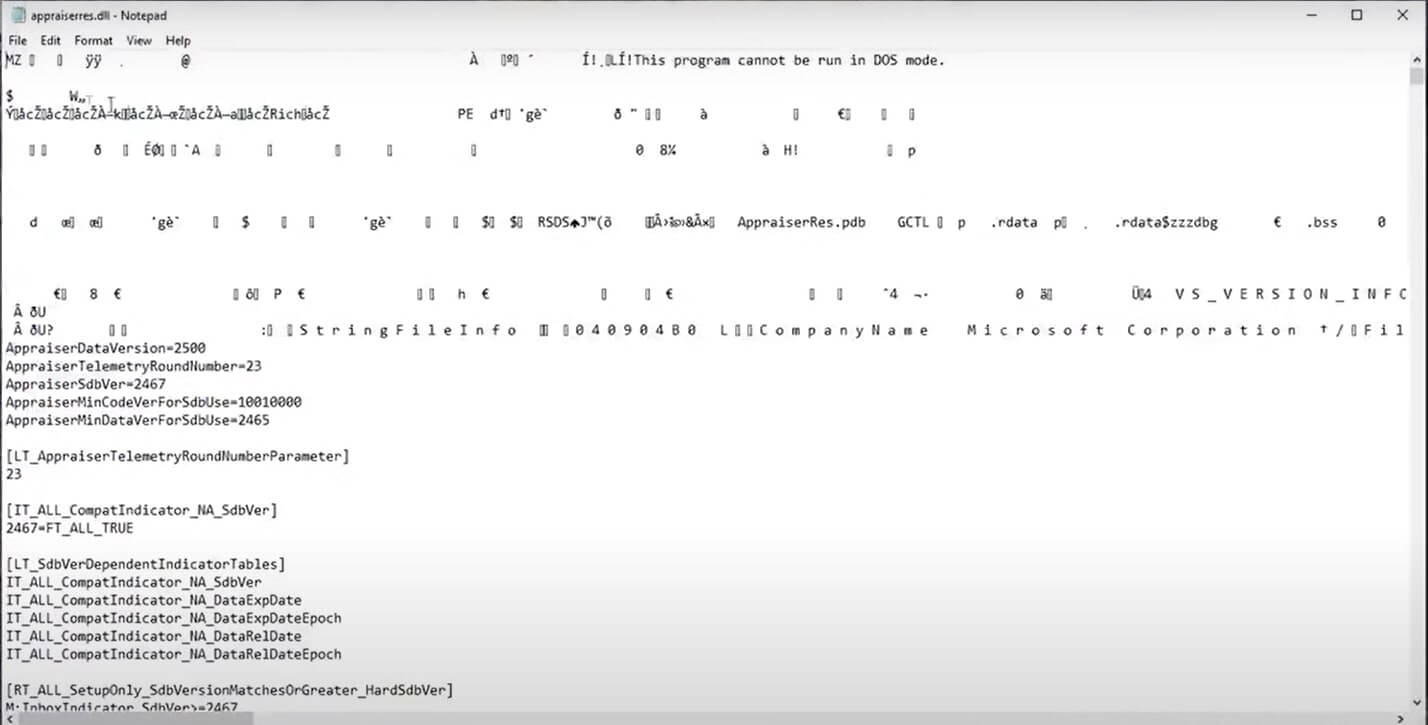
Step 6: Keep clicking on Find Next until you see the sentence T: DT_ALL_REF_CpuFmsBlockingAmdSR=TRUE
Step 7: All you have to do is replace TRUE with FALSE. Now we do the same thing for all the TRUE on its above coding. Do the same for the next set of codes too.
Step 8: Thus, from thereon, you must change TRUE coding to False.
Step 9: Click on File, Save and close the Notepad. Moreover, go to the New Folder you created and click on Setup.
Step 10: Now, the Windows 11 setup will prompt on your screen. Click on Next, and it will take a while to start the process.
Step 11: Last but not the least, click on Accept for the terms and conditions and allow your computer to restart.
When your computer restarts, it will install Windows 11 successfully, and you can go forward with it.
Should Read: How To Organize and Manage Your Digital Photos On Windows 11?
Warning: Installing Windows 11 On Unsupported CPU
By following these steps, you will be able to run Windows 11 with your old processor and hardware. However, I recommend you not to because, in the long run, it will not be worth your excitement. On the contrary, there’s no guarantee that your computer will run smoothly with an operating system its hardware does not support.
Of course, the new design and look will boost your confidence in front of mac users, but what’s the point if it doesn’t work, right? There’s a reason why Microsoft has given its users the list of minimum hardware requirements on its website.
Go ahead if you have a second fully functioning computer right next to you if things go South. And if you enjoy exploring and tweaking around the software. But if you are a newbie or do not know much about software, it’s a big no-no. There are possible crashes that will be irreversible, and you lose the system security that the tech company offers.
Don’t Install Windows 11 On Unsupported Hardware
Moreover, Windows 11 isn’t an urgent need as the promotion events make it to be. There’s no doubt that eventually all Windows users will shift to the latest version, whether they like it or not. Change is uncomfortable yet necessary.
But we all know how easily Windows operating system can go into a default crash. Windows 11 is still in its nascent stages, and Microsoft cannot guarantee that nothing will go wrong with it as more and more people start to install it.
There are many more bugs, errors, and fixes left, and the logical thing that one can do is wait. Wait till Windows 11 is available to users worldwide. Both new and old computer owners (I mean those with processor 8th generation and above) should be able to use it without any possible complication.
The good news is Microsoft has announced that it will support Windows 10 till October 14, 2025. So you have got enough time to replace your old computer with a brand new one.
Conclusion
Try these methods and see what works for you. If you have any other workaround that works well with your CPU, let us know; maybe I will add that to this list too.
Read: How To Zip And Unzip Files On Windows 11?


I cannot find this file appraiserdatashares.dll in the sources folder