


 Header Through Cloudflare")


Several users have reported the Dolby Atmos not working in Windows 11 issue. We’ll help you fix it.
First introduced by Microsoft in Windows 10, Dolby Atmos is one of the most advanced technologies ever introduced in the Windows ecosystem. This surround technology was part of the Windows 10 creator update and it enhances your audio listening experience. Dolby Atmos reinforces height channels which are known to boost the surround sound systems to improve the audio quality. Apart from enhancing the audio quality, it also delivers a cinematic sound experience to the users.
Despite being such advanced technology, Dolby Atmos is facing several issues and is unable to work as intended. Windows 11 users have reported that Dolby Atmos keeps freezing and crashing on their computers. If you are one of those users who are struggling to make Dolby Atmos work properly on Windows 11, you are in the right place.
Calm down and keep reading further to know about some useful methods to fix the Dolby Atmos not working issue on Windows 11. But first, let’s find out what are the possible reasons for the issue in Dolby Atmos on your Windows 11 computer.
Also Read: How To Install Dolby Atmos In Windows 11?

Reasons why Dolby Atmos is not working in Windows 11
Unfortunately, there is no one reason behind the malfunctioning Dolby Atmos in Windows 11 issue. However, one of the most probable reasons for this problem is corrupt hardware drivers or outdated ones. Besides, some specific issues or bugs in the current software update can also create problems in the proper working of the Dolby Atmos technology.
Other reasons can be misconfigured settings or the Dolby Atmos App could be facing issues itself.
Well, whatever be the reason for the error-prone Dolby Atmos on your PC, we will help you fix it. Keep scrolling below to know about the relevant fixes that can fix the Dolby Atmos problem in no time.
Run the audio troubleshooter
Whenever dealing with an error in Windows, it’s recommended that you first run the relevant built-in troubleshooter for it, if one exists. These are known to fix a plethora of problems with minimal effort from your end.
Windows 11 has already included specific troubleshooters to help fix the problem without trying different troubleshooting methods. When you encounter any error in the Windows 11 settings, it is recommended to try running the relevant troubleshooter to fix the problem. Let’s see how to use the audio troubleshooter to fix the problem with Dolby Atmos:
- Launch the Settings app using the Windows+I shortcut key and click on the System tab in the left pane.
- Now click the Troubleshoot option in the left sidebar to open the list of troubleshooters.
- Next, click on the other troubleshooter’s option.
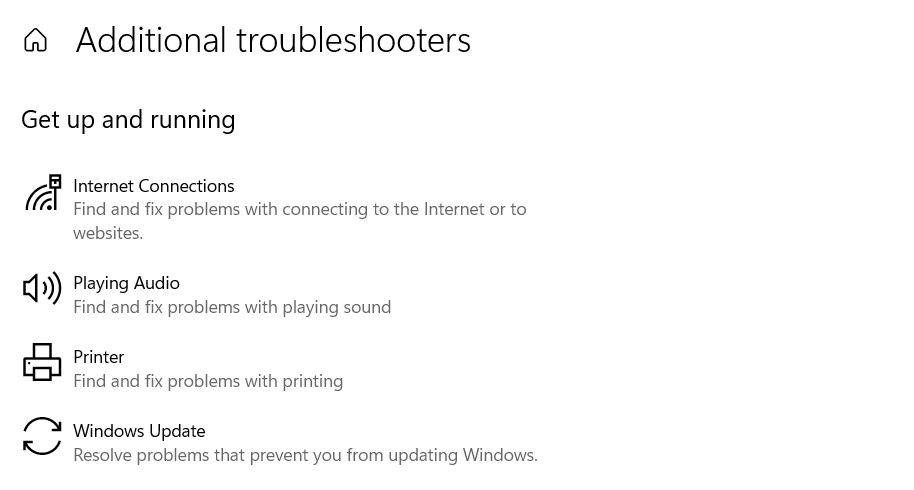
- Now look for the Playing Audio Troubleshooter and press the Run button next to it.
- Now wait for the built-in troubleshooter to find the problem here and then
Install new Windows 11 version
It is wise to update Windows 11 since it will help you wipe off any bugs in the previous version that are cause problems in the OS. Besides, it will also improve performance. Here’s how to update Windows 11:
- Once again launch the Windows 11 settings using the Windows+I shortcut.
- Now click on the Windows Update option in the left navigation pane.
- Next, look for the Check for updates button on the left to look for new versions of Windows 11.
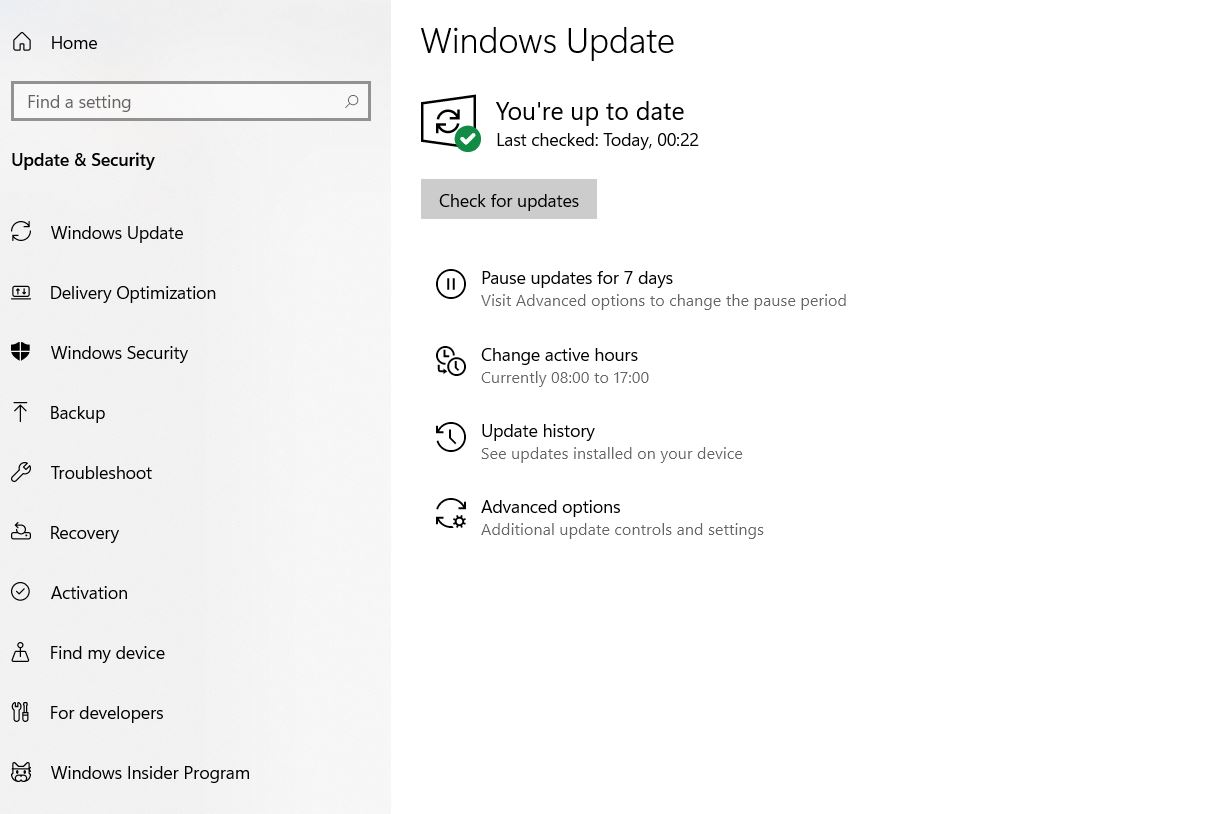
- If you find new versions of Windows 11 software, download them and install them on your Windows 11 PC.
Update sound driver
As mentioned above, outdated drivers also interfere with the proper working of Dolby Atmos technology. Follow the steps below to update sound drivers in Windows 11.
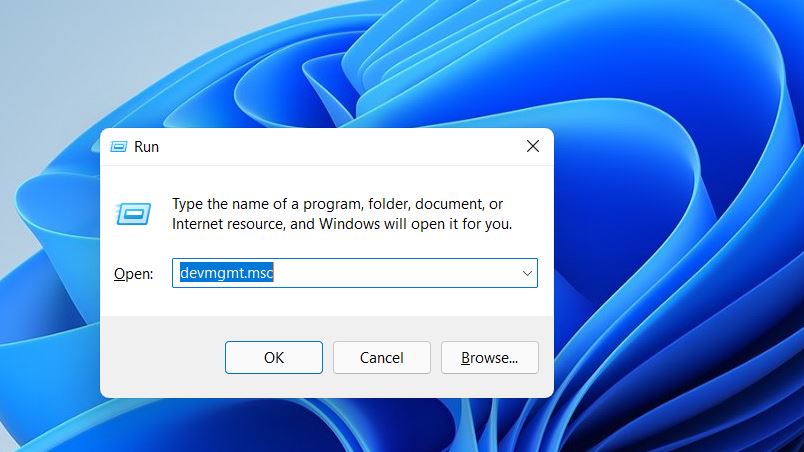
- Launch Dialog box using the Windows+R shortcut key. Now enter ‘devmgmt.msc’ in the command box and press the enter key. This will directly take you to the Device Manager window in Windows 11.
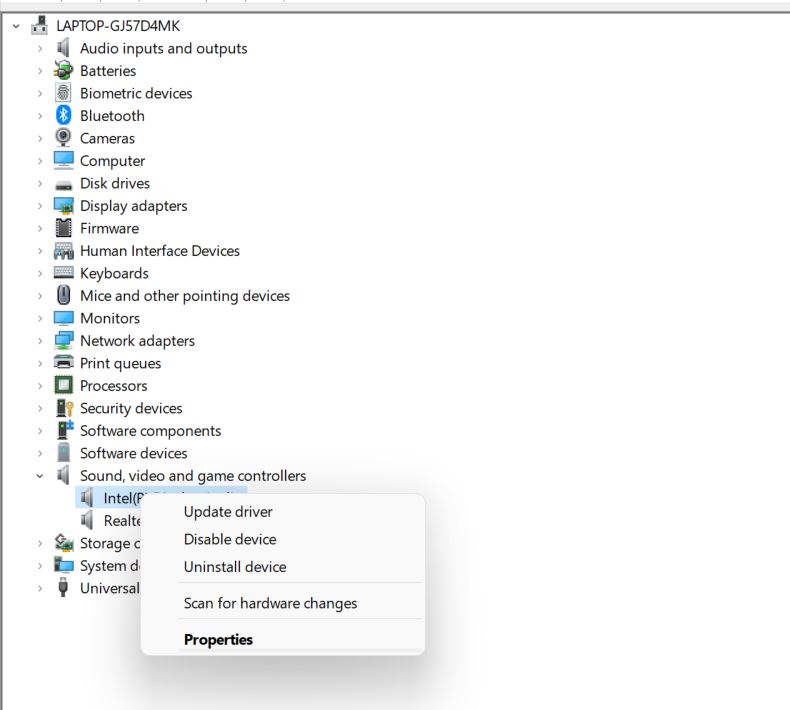
- Now look for the ‘Sound, video, and game controllers’ option and double click to expand the list.
- Next, update each of the drivers listed here by clicking on the Update driver option in the context menu.
- Now choose ‘Select Search automatically for driver option in the new window that pops up. This will allow Windows to look for the driver automatically and install it on your PC.
In case Windows is unable to find new versions of the drivers listed here, you can download and install the updated version of the software manually from the manufacturer’s website.
After updating the driver, go back and see if the issue in Dolby Atmos is resolved or not.
Reinstall the sound drivers
If updating the audio driver did not work, it is best to reinstall them. Besides, doing so will not take much of your precious time as Windows is designed to do have of the task automatically. So, let’s see how can you go about reinstalling the sound drivers in Windows 11.
- Access the Quick Access menu using the Windows+X shortcut and click on the Device Manager option in the list.
- When in the Device Manager window, click on the inverted triangle preceding ‘Sound, video and game controllers option.
- When you will do it, all the devices under this category will be visible in the list.
- Next, you have to see if a yellow triangle icon with an exclamation mark is present in front of any of the devices listed here.
- If you find any, right-click on the device and choose to uninstall the device option from the context menu that appears.
- Check the box preceding the Attempt to remove the driver for this device on the pop-up window and press the uninstall button.
- After the uninstallation is successful, you need to reinstall the driver back again.
- For this, click on the Windows icon in the taskbar and click on the power icon.
- Now choose the Restart option in the flyout menu.
Doing so your Windows 11 PC will restart and it will automatically download the missing driver simultaneously. After the PC restarts, go back and see if the problem with the Dolby Atmos is solved or not.
Rollback the driver update
If you have recently updated the sound driver on your own and started facing the issue with Dolby Atmos then onwards, it’s time to revert the driver update. This is because the corrupt driver update is creating issues with the proper working of the Dolby Atmos technology. When you will reinstall the previous driver, the issue is likely to be fixed.
- Bring up the Run dialog box using the Windows+R shortcut key.
- Now type ‘devmgmt.msc’ in the command line and press the enter key. Doing so will launch the Device Manager on your screen.
- In the device manager screen, double click to expand the ‘Sound, Video and Game Controller’ option.
- Now right-click on all the drivers present in the list and click on the Properties option in the context menu.
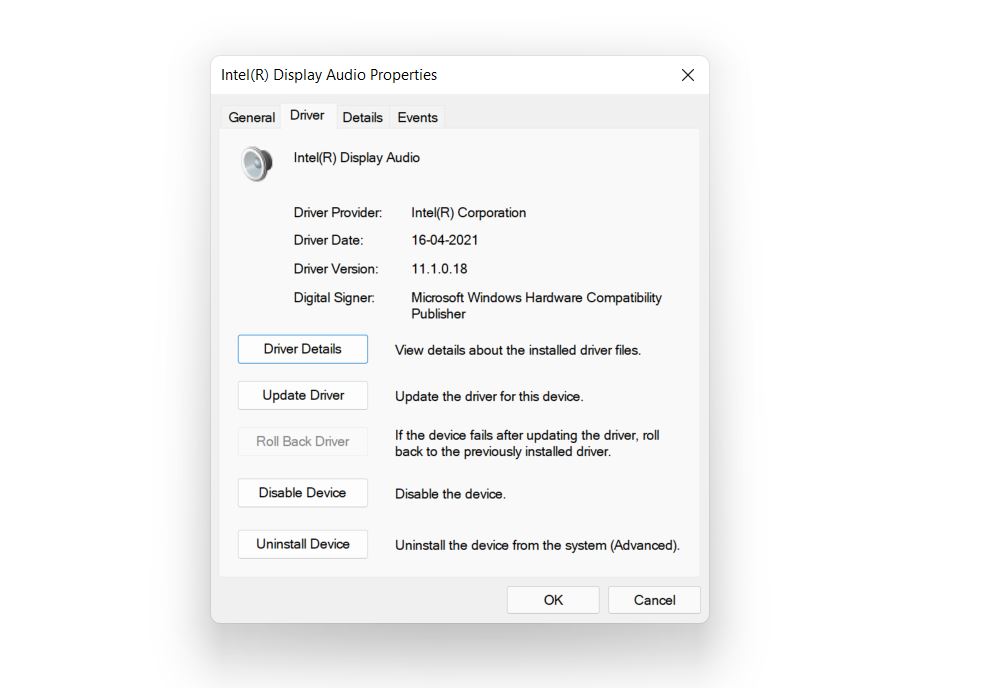
- Switch to the Drivers tab in the Properties menu and press the Rollback driver button.
- In the new window, choose the reason for uninstalling the product and click on the Yes button.
Also Read: How To Split Screen In Windows 11 For Multitasking?
Turn on the Exclusive Mode
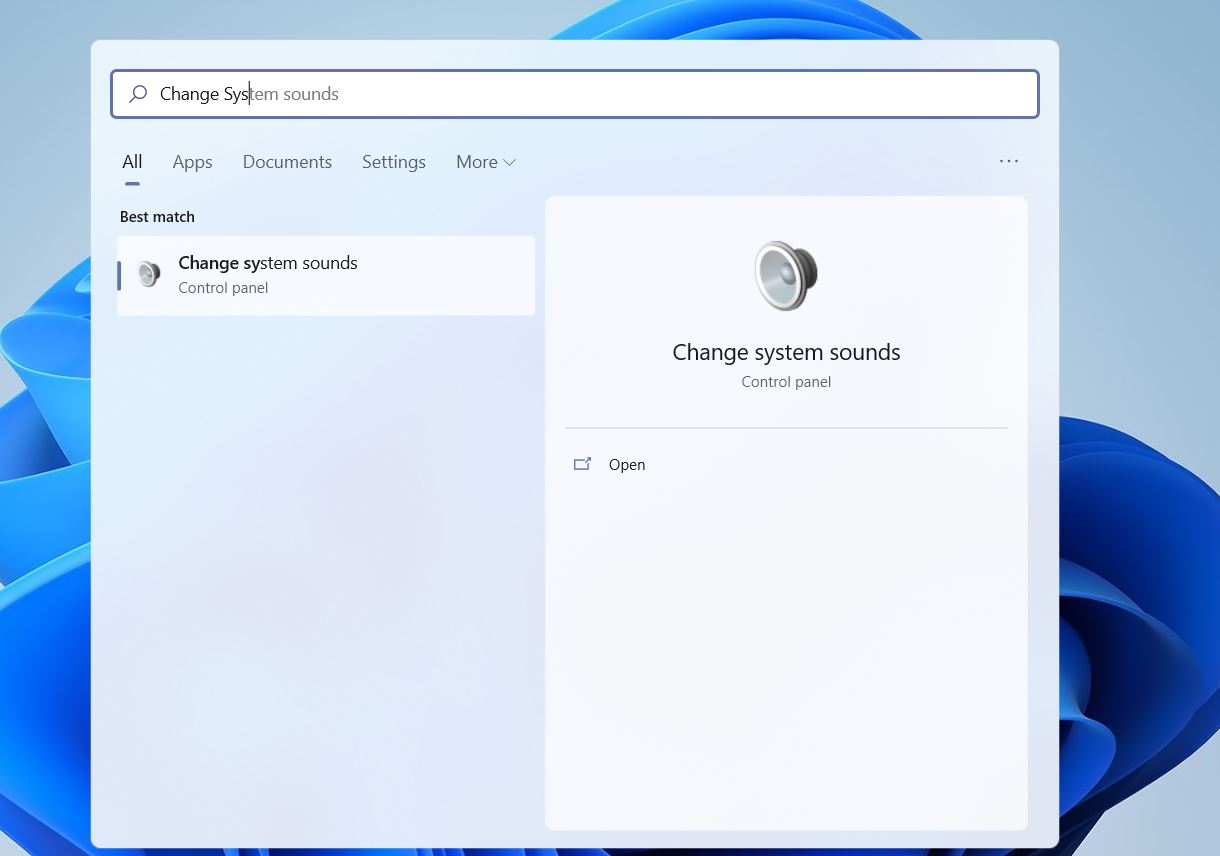
- Launch the search menu on your Windows 11 PC using the Windows+S shortcut. Now type ‘Change System Sounds’ in the text file and click on the first search result you see in the search result window.
- Now go to the playback tab in the new window that appears.
- Look for the default playback device on your PC and choose the Properties option from the context menu.
- Next, go to the Spatial sound tab in the window and expand the drop-down for Spatial sound format.
- Now choose ‘Dolby Atmos for headphones in the dropdown.
- Next, click on the Advanced button and make sure to check both the boxes present under the Exclusive Mode and press the Ok button.
- Close the tab and try using the Dolby Atmos app once again.
Reset the Dolby Access app
If none of the above methods worked till now, this can be your last resort. Here is how you can reset the Dolby Access app:
- Use the Windows+I shortcut key to open the Windows 11 Settings app.
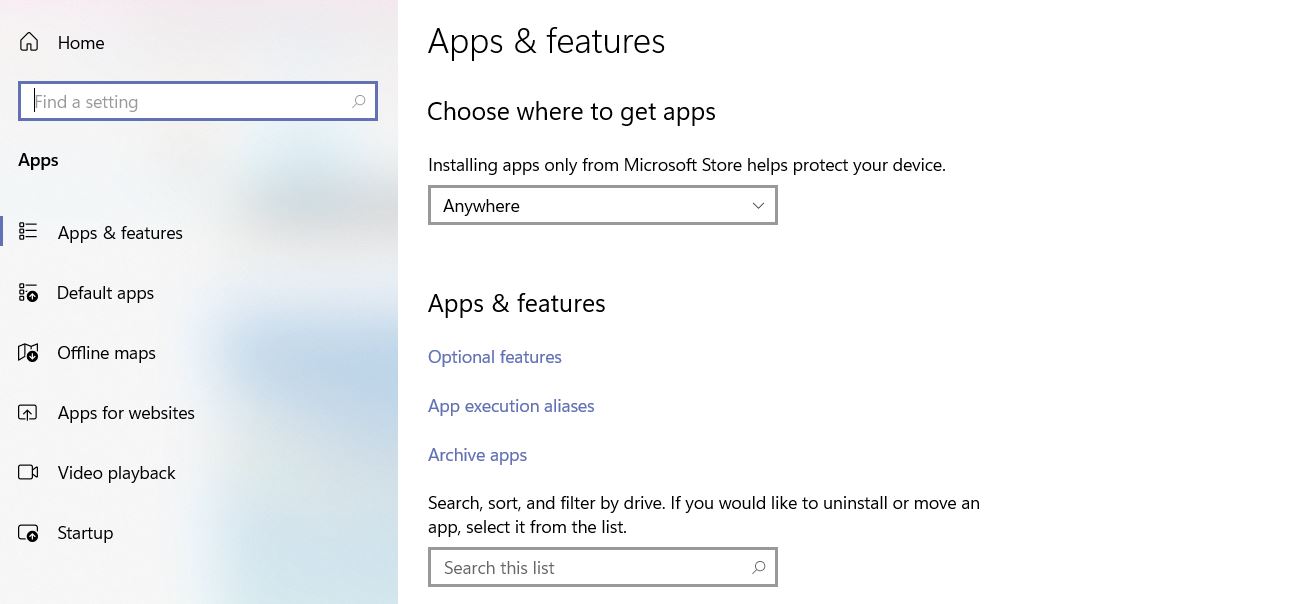
- Next, go to the navigation menu on the left and click on the Apps option.
- Next, click on Apps and Features to see all the apps installed on your PC.
- Now look for the Dolby Access app in the list and press the three-dot icon for the app.
- Now click on the Advanced option you see in the menu.
- In the advanced tab, press the reset button.
- When you will do so, a new pop-up will open up to confirm the action.
- Press the reset button here.
- Now, wait for the Dolby Atoms app to reset. When the process is completed, go back and see if you were successful in resolving the issue or not.
Conclusion
That was our detailed guide on Dolby Atmos not working in Windows 11. Hopefully, all the issues you were facing with this awesome technology will be fixed now. If you have any other questions regarding the problem, feel free to comment in the space below.
Also Read: How To Reinstall Audio Driver On Windows 11 PC


