In this guide, learn how to hide your files and folders from search in Windows 11 to stay safe from prying eyes.
In Windows 11, Microsoft has allowed you to search for your files and folders from anywhere- be it the search bar in the Start menu or search option in the taskbar. While this may be seen as an added functionality, it comes along with its downsides.
For instance, if you have a private folder, you would not want it to show up on the Windows search. Besides, if you use a shared computer, you would not want anyone else to accidentally get their hands on your photos or any other confidential files. In such cases, preventing your files and folders from appearing on the search in Windows 11 becomes essential.

Luckily, there are many ways to hide your files and folders from search in Windows 11. To help you out in this regard, we will explain the detailed steps of hiding your drives, file types, files and folders in Windows 11. So, without much ado, let’s get started.
Also Read: How To Show Hidden Files And Folders In Windows 11
Hide Files and Folders via Windows 11 Settings
When you perform a search for any file or folder, Windows looks for them in your folders like downloads, pictures, music and more. So, you are not impressed by this functionality, you can restrict your important files and folders from appearing in the search results. Here’s how to go about it:
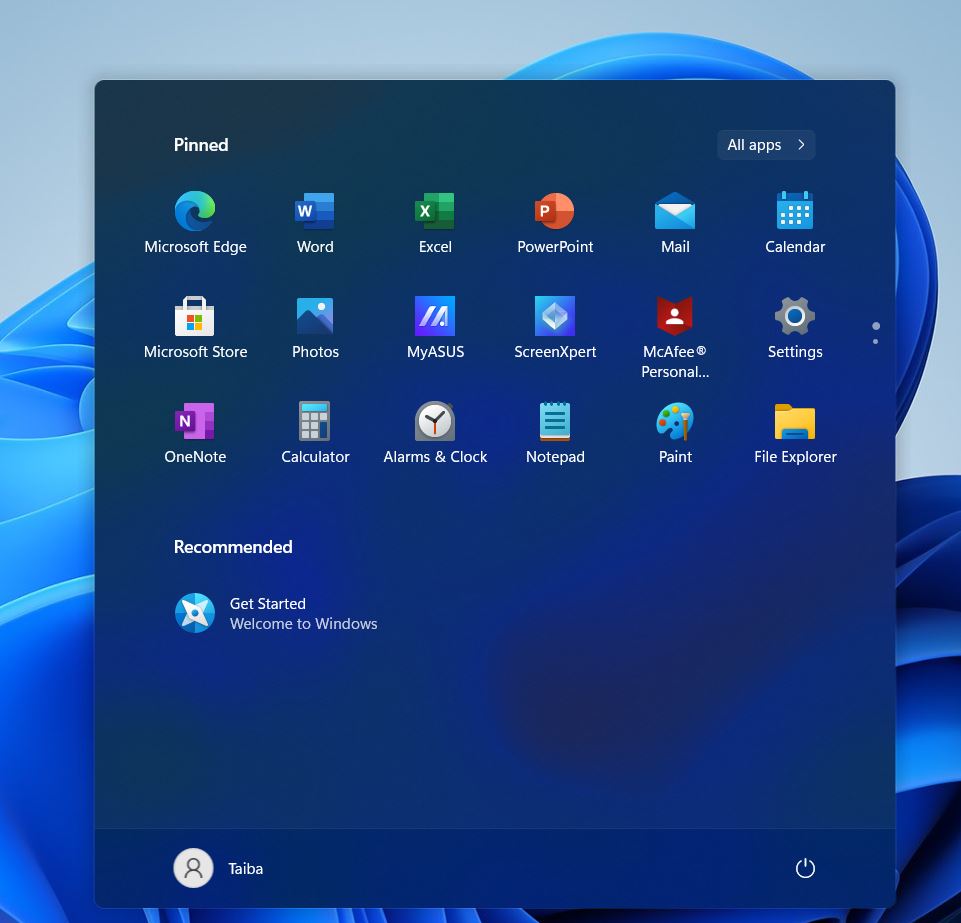
- Click on the Windows icon on the taskbar and click on the Settings icon located under the pinned apps. Alternatively, you can also use the Windows+I shortcut key to access Windows 11 Settings automatically.

- When in Windows settings, click on the Privacy and Security option in the left pane.
- Next, click on the ‘Searching Windows’ section on the right side of the window.
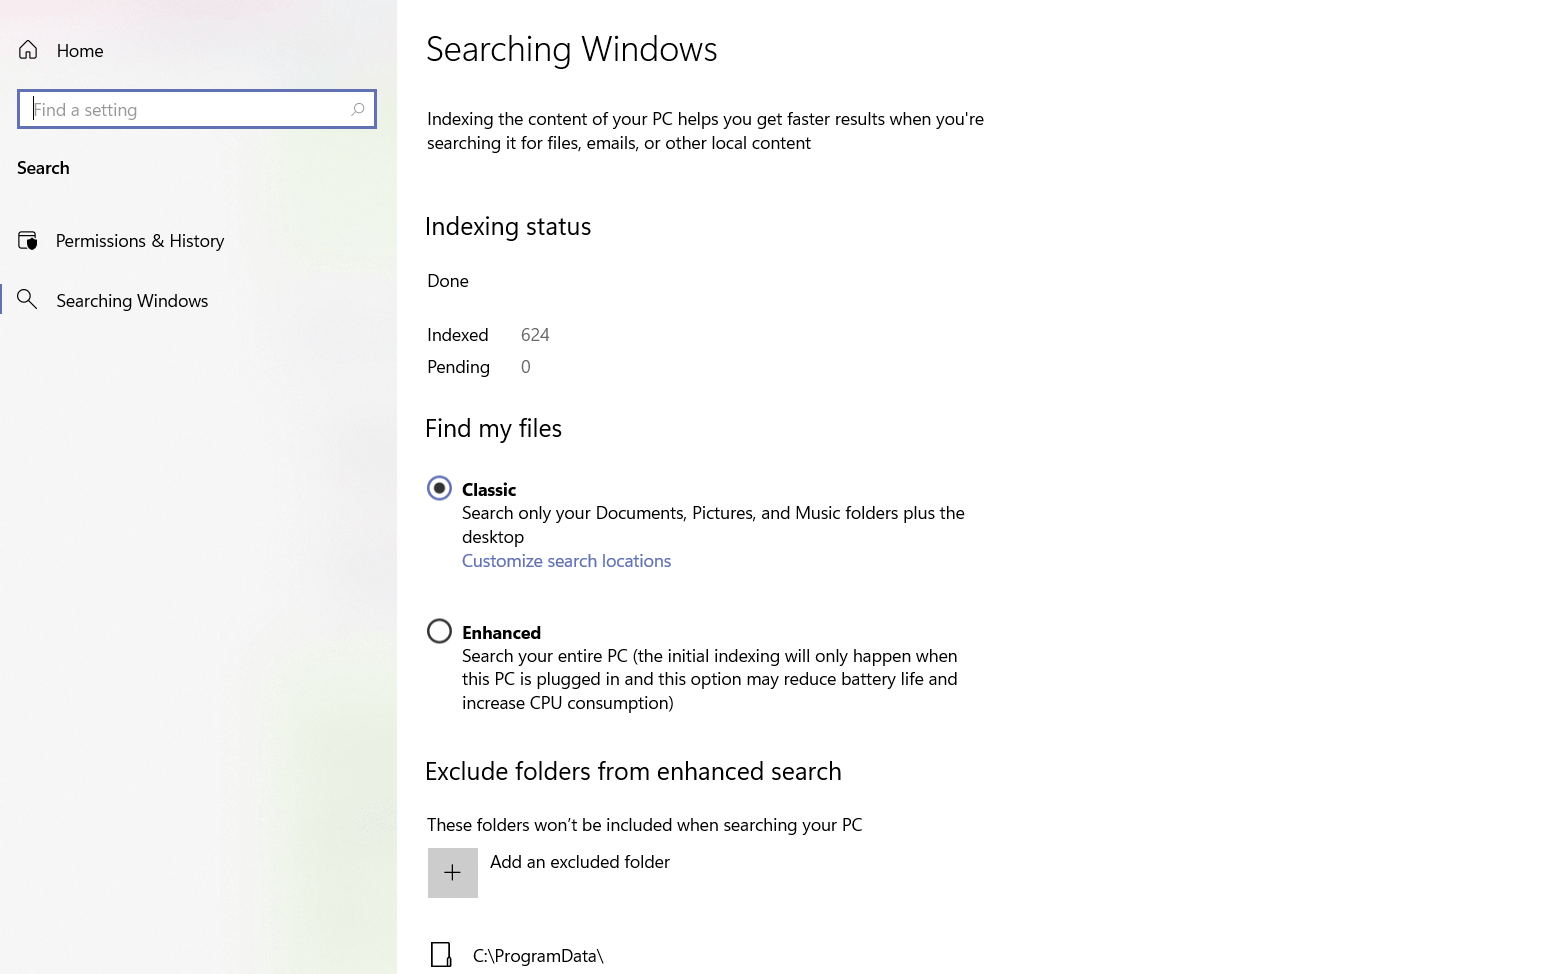
- Next, on the Searching Windows page, you will see two options under the ‘File My Files’ panel. The two options are as follows:
Classic – It is the default method that Windows 11 follows to return you the search results. When you will choose this method to look for files and folders, it will search for the specified files in the folders of the current user profile only. However, it will include all the folders in the search- Documents, Pictures, Music, Downloads, Videos, and Desktop.
Enhanced – When this option is enabled, the search includes encompasses all the folders including all the hard drive, partitions, desktop and more.
However, both of these search options return the app results, settings and other features when you perform the search.

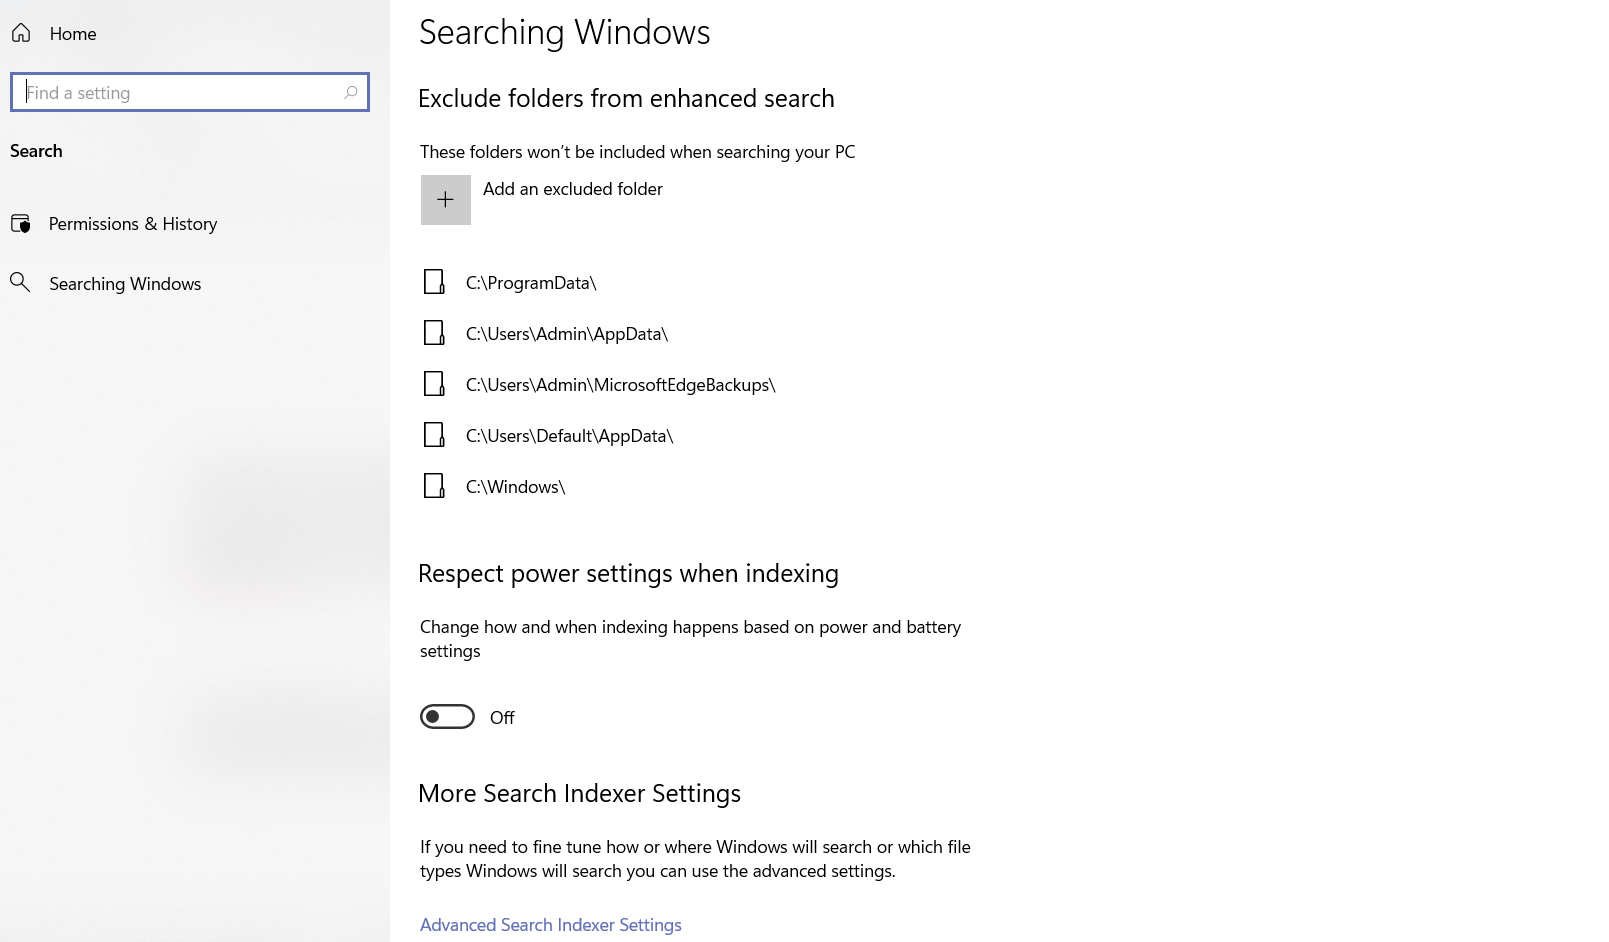
- Under this section, you will see a section ‘Exclude folders from enhanced search’. This includes all the folders list that are not included in the search results.
- If you do not want a folder to appear in the search result, press the ‘Add an excluded folder’ button under this section.

- Next, a window will open up and pick the folder you want to exclude from the search. After this, press the ‘Select Folder’ button.
- When you will do it, this folder will stop appearing in the Windows search results in Windows 11.
When you hide a folder, Windows will stop searching for that folder as well as its content.
Hide Specific File Types from Search in Windows 11
Windows 11 also enables you to prevent specific file types from appearing in the search results. For example, if you don’t want a PDF file appearing in the search results, you can add .PDF file in the file format inclusion list under the Search Index. Here’s how you can go about it:
- Search for the Indexing Options in the Windows search and click on the first search result.
- In the Indexing option dialog window, click on the Advanced button.
- Next, click on the ‘File Types’ tab visible on the top.
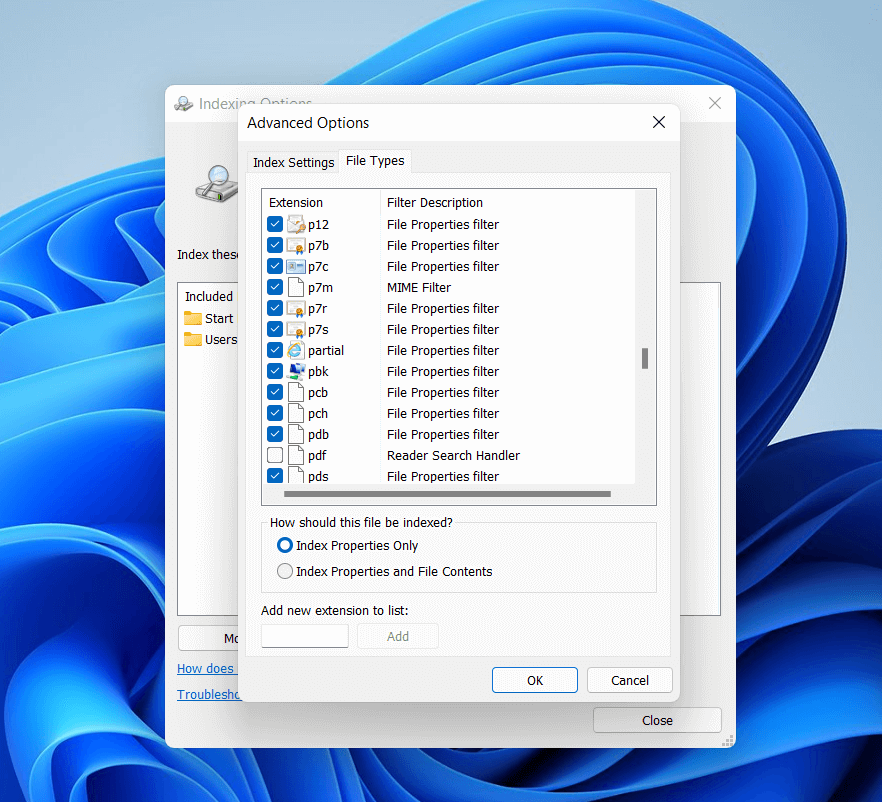
- Here you will see all the file extensions that are visible in the Windows search.
- If you do not want a particular file type to appear in the search index, simply deselect it from the list and press the Ok button.
For instance, we have excluded the PDF files from appearing in the search results.
Moreover, if a file format is not visible included in the list given here, you can enter a new extension in the ‘Add New Extension to List’ and then press the Enter key.

- Next, go back to the Index Settings Now and press the Rebuild option next to the Delete button.
- Now click the OK button to confirm the action to rebuild the index.
- Rebuilding the search index may take some time as depends on the number of files saved on your PC.
- Once the process is finished, press the Close button in the window.
Now no files with PDF file format will appear in the search result. To confirm this action, you can search for the .PDF files in the search bar and you will see only the web results and no file from your computer.
Conclusion
That’s pretty much it! Now that you know how to hide your files from appearing in your search results, go ahead and hide your personal files from appearing in the search results. Hope it helps!
Also Read: 5 Ways To Fix Game Stuttering On Windows 11


![The Apex Legends Digital Issue Is Now Live! Apex Legends - Change Audio Language Without Changing Text [Guide]](https://www.hawkdive.com/media/5-Basic-Tips-To-Get-Better-On-Apex-Legends-1-218x150.jpg)


