


 Header Through Cloudflare")


If you want to install android studio on Ubuntu 20.04 LTS, you’re in the right place. In this article, I discuss the step-by-step process to do the same at length. Most developers want to create and experiment with android apps. On a regular operating system, that’s not possible.
While you can run a separate operating system and install VirtualBox to run android apps, this is a shorter way of doing it. Ubuntu is a great platform that allows users to try out new software and make changes to the existing platform.
Android studio is an open platform that allows users to create applications for android devices. Further on in the article, you will learn how to deconstruct the process and build apps. Moreover, it is necessay to have Java in your computer to begin with.
Read: How to Install Free SSL for Nginx Web Server on Ubuntu 16.04 or Ubuntu 18.04
Check Which Version Of Java On Ubuntu You Have
To check the Java version of your system:
Step 1: Simultaneously press ctrl + alt + t to open the terminal window.
Step 2: Furthermore, type the command java–version and click on enter. This command will present the version of Java running on your PC.
Moreover, if nothing comes up on your screen, then your Ubuntu does not have the Java application in the first place. So, in that case, you need to install Java separately.
Install Android Studio In Ubuntu 20.04 LTS
Step 1: Go to your Google Chrome browser and type ‘Android Studio Download’.
Step 2: Click on the website developer.android.com/studio link. Through this website, you only have to check which version of Android is currently available.
Step 3: The Linux operating system will show Linux in place of Windows. Moreover, close the browser and visit the terminal.
Step 4: Clear the terminal and type snap to find “android-studio” and click enter.
Step 5: Some output will appear on the screen, and the version available will be the same as you saw on the android studio website.
Type Sudo Commands In Terminal Windows
Step 6: Furthermore, type sudo snap install android-studio –classic and type enter. It will start installing the latest version and provide your Ubuntu’s password.
Step 7: After some time, a message will appear that says the android version from soap crafters is installed. It will also mention the version number.
Step 8: Moreover, go to the applications sections in your Ubuntu operating system and search for Android. As you do this, the Android studio app will appear.
Step 9: Click on the Android studio application, and it will launch the same in your operating system.
Step 10: A window will appear first asking if you want to import studio settings if you have these settings already. However, if you are doing this for the first time, you certainly don’t.
Import Android Studio Settings In Ubuntu
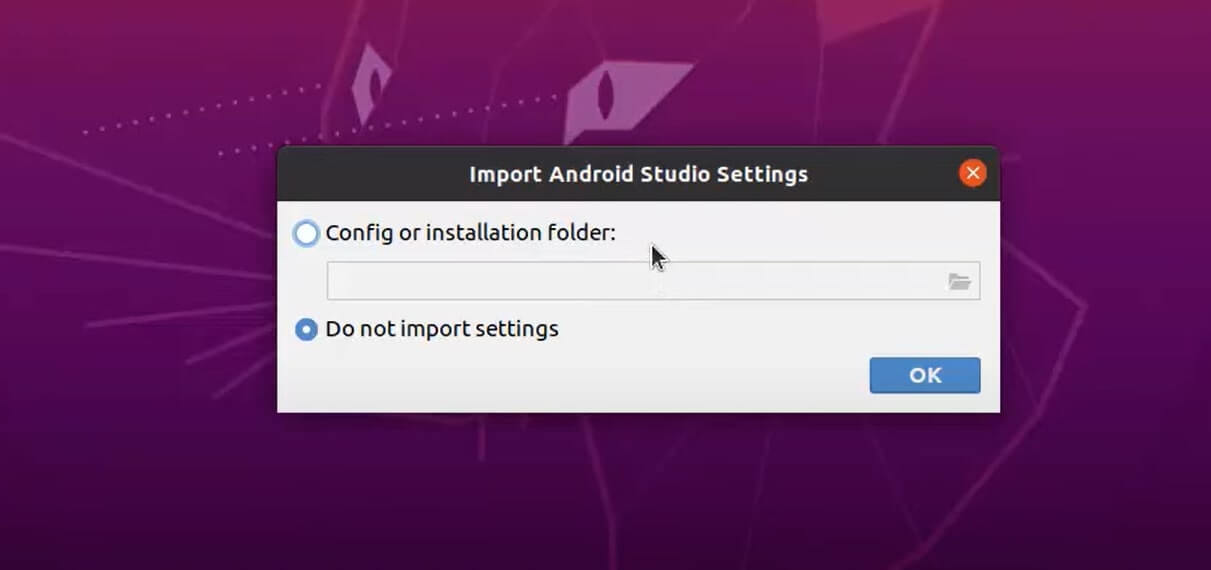
Step 1: Thus, in your case, leave it as it to Do not import settings and tap on Okay.
Step 2: Another window will open with the title Data Sharing. If you want to share your data, you can click send usage statistics to Google.
Step 3: If you don’t want and I recommend not to, click on Don’t Send.
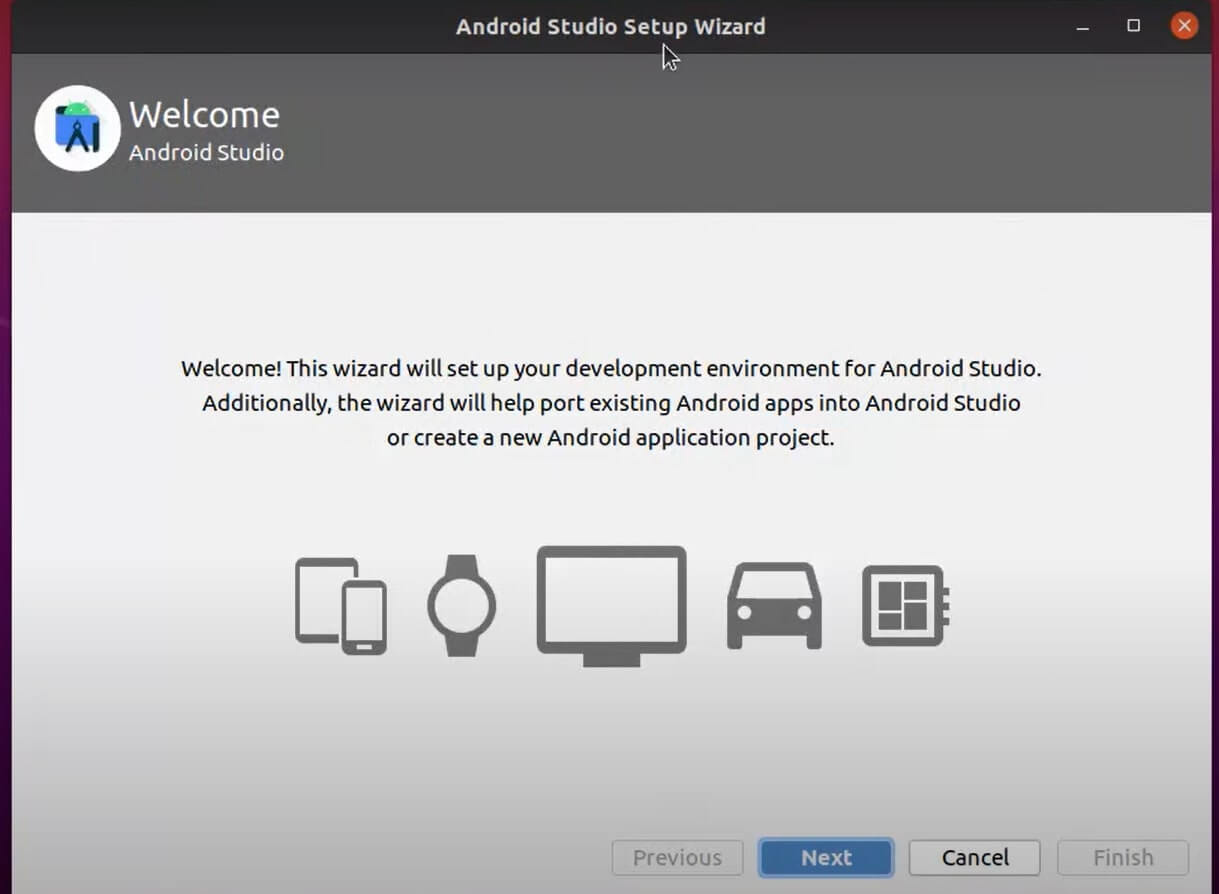
Step 4: The following window will say Android Studio Setup Wizard. Click on Next.
Step 5: Then, in the next window, it asks for Install Type to continue with the standard version. Click on Next.
Choose Theme Darcula
Step 6: Furthermore, in the next window, you can choose the theme for your android studio, which are two: Light and dark. After choosing the theme, click on Next.
Step 7: In the verify settings window, you can double-check all the versions and settings of your android studio. If you don’t want to continue with a particular setting, click on previous and make the changes. Else, tap on Next.
Step 8: Finally, click on Finish and wait for some time for Android studio to download on your system.
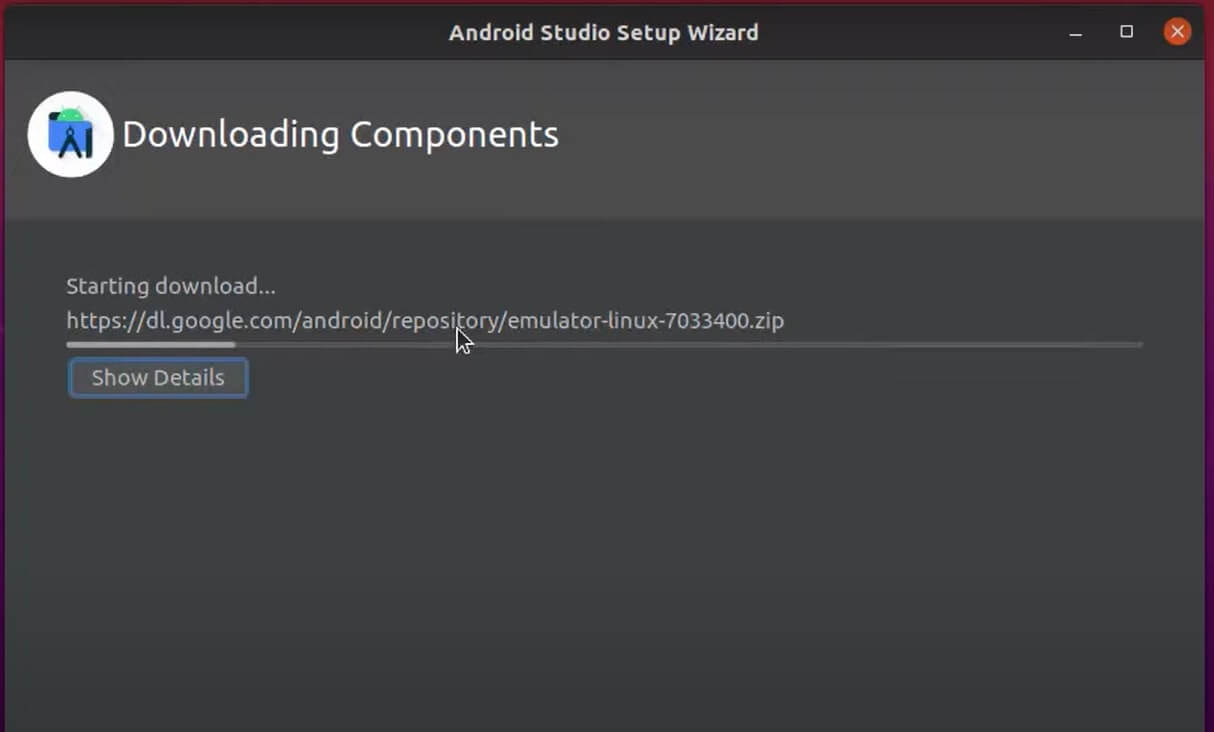
Moreover, if you want to see the download details, click on Show details. It will display all the details of the files that are downloaded.
Read: How To Install Anbox App Manager And Google Play Store On Linux?
Welcome To Android Studio In Ubuntu
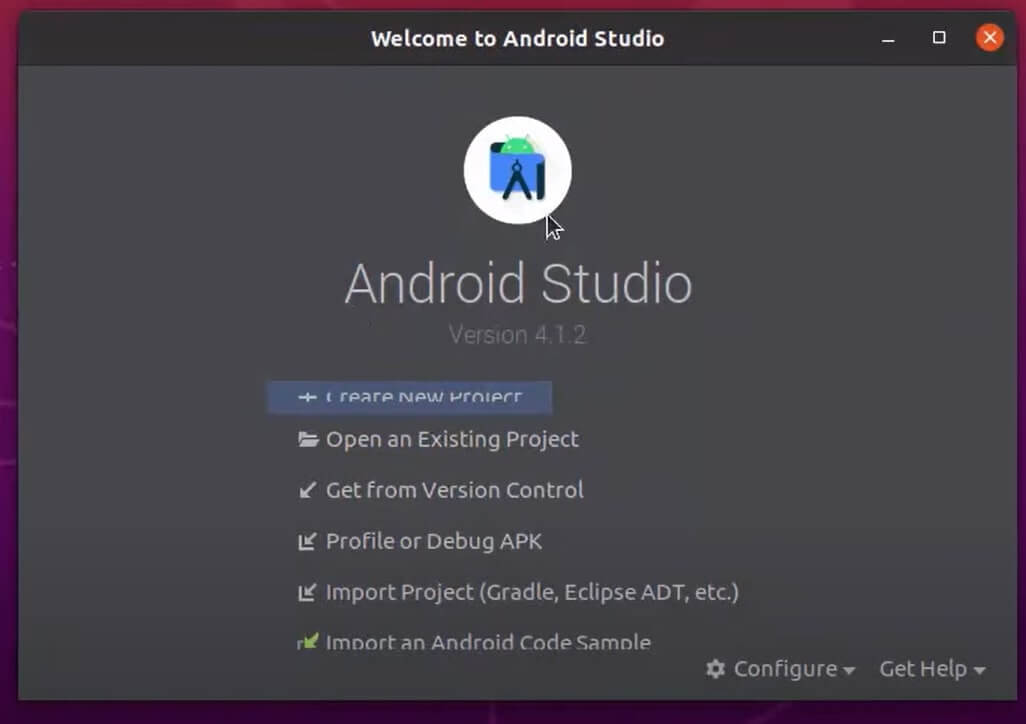
- Finally, after the download is over, click on the Finish button. Furthermore, the Android Studio window will open.
- Click on Create a new project and select the default template, Empty Activity.
- Moreover, click on Next, and give a name for your project. You can also keep the name as the default for now, as you will only be testing if everything is working fine.
- You can also change the package name and location if you want. Further, choose a preferred language between Java and Kotlin for your android studio.
- Click on Finish, and it will create an android project for you.
Set Up Android Project On Ubuntu
- Wait for a while for all the gradle packages to download, and then you will be able to download the project files on the left side.
- Click on the main.xml to for the three modes to appear: code, split and design. In the design mode, you can design your UI. Furthermore, in the coding mode, you can write the UI design in the XML file and the split mode allows you to see the XML file and design side by side.
- At the bottom, you can also see the terminal window of the android studio and the build option, where it will show you the success or failure of your apps.
- At the top, you will be able to see the android devices on which your app will run. Click on Run to see how your app will run on an android. As you do so, an android emulator will appear on your left side and look like this.
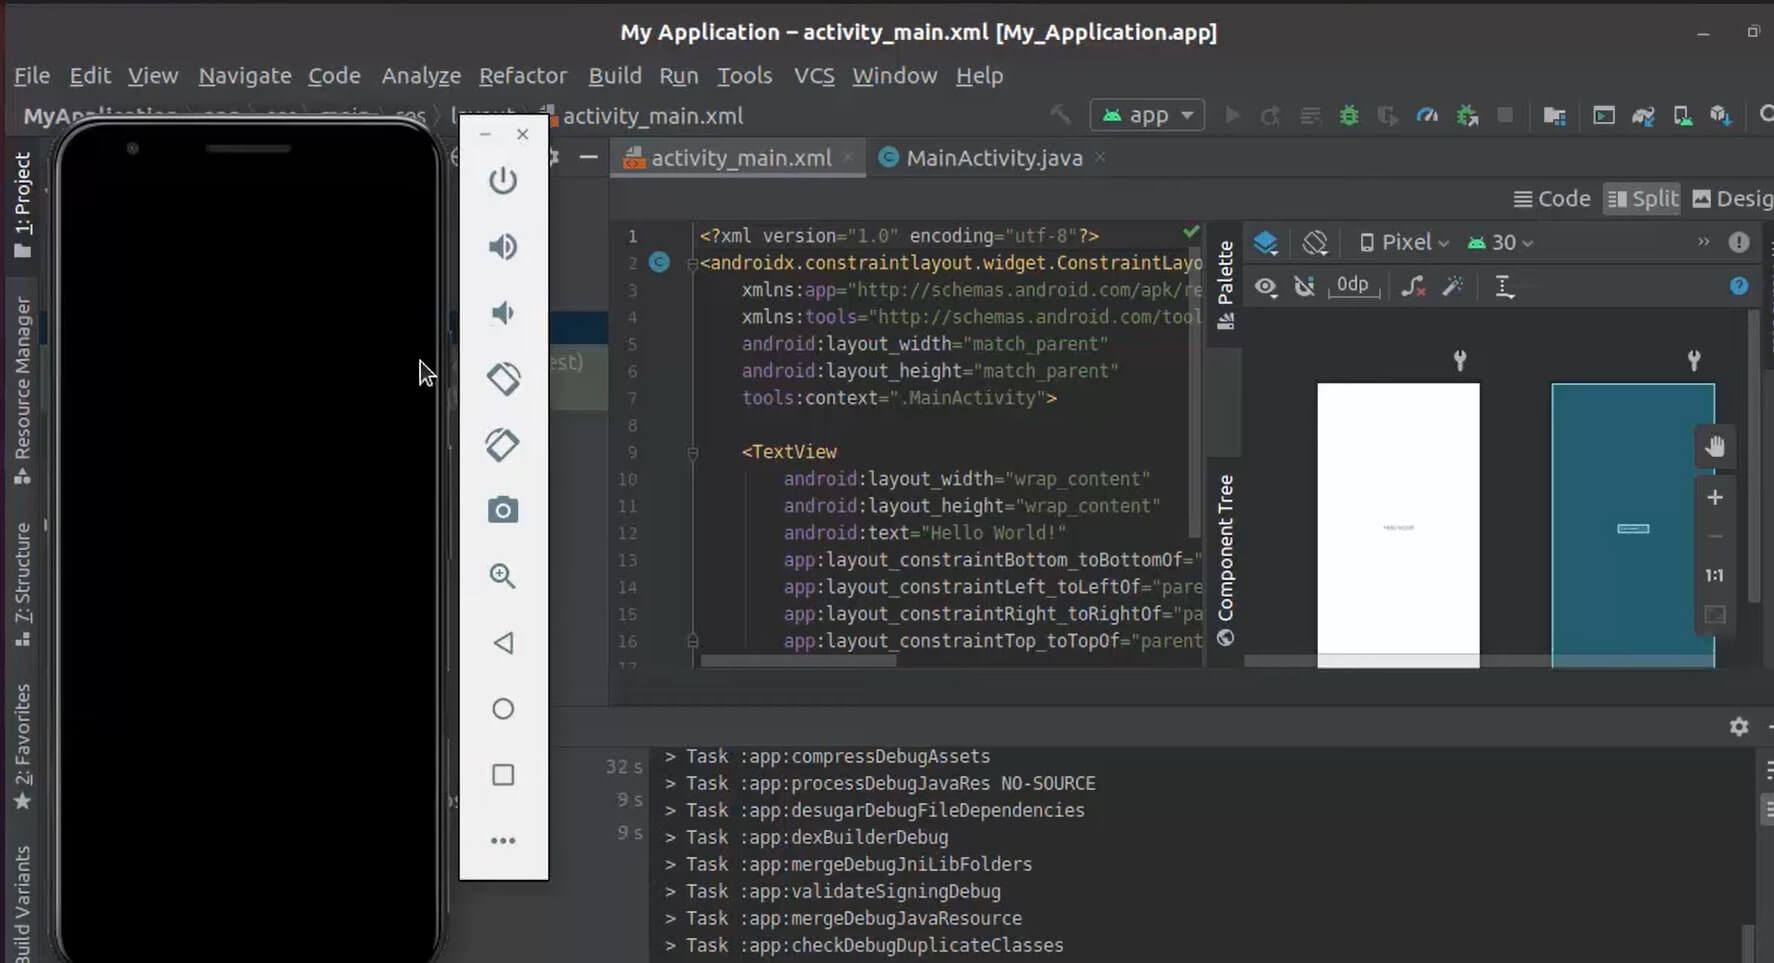
6. You have to wait for a few minutes for the emulator to start. Moreover, if your emulator fails to run, as it may happen from time to time, change your device from the top and rerun the program.
Should Read: How To Install Android Apps In Ubuntu 20.04?
Android Studio In Ubuntu: AVD Manager
Step 1: If the latter happens with you and you want to run your app on a new android device, choose the AVD Manager.
Step 2: From the top, click on Tools and choose AVD Manager, where you will be able to see the device that you tried running your app.
Step 3: Moreover, from the bottom-left, click on Create Virtual Device and choose any android phone.
Step 4: In this list, you will be able to see which smartphones apps Google Play Store will support. Choose a phone you want and click on Next.
Step 5: Select the version you want to target, click on Agree to the terms and conditions and finally tap on Next.
Step 6: Soon, it will start downloading and after it is complete, click on Finish.
Step 7: The device will be added, and click on a system image again. Tap on Next.
Step 8: Android Studio will add the latest device, select it and close the window. You can also choose this device from the top and click on the Run button.
Conclusion
If you follow this article step by step, you will be able to experiment and explore with different apps you want to create on your computer. However, your computer must meet the minimum system requirements like 64-bit operating system, screen resolution of 1280×800, 2GB of disk space, 4GB RAM, and GNU C Library Glitch.
Must Read: How To Install Ubuntu 20.04 LTS On VirtualBox In Windows 11?


