


 Header Through Cloudflare")


![Creating A Linux Virtual Machine [VMware Guide]](https://www.hawkdive.com/media/linux.jpg "Creating A Linux Virtual Machine [VMware Guide]")
Windows 11 users can freely install Ubuntu 20.04 LTS on Oracle VirtualBox on their PC without any hassle. Developers today are hungry to learn, explore and create more. Thanks to the internet, tech geeks and software engineers are burning the midnight oil to come up with exciting and innovative ways to use the available software.
However, most people can only afford one computer or laptop to work, play and browse the internet. But the inherent desire to create new apps and experiment with operating systems remains a distant dream unless they buy different laptops for these purposes.
And this is where the cross-platform application Oracle’s VirtualBox comes as a solution. You can use this and install as many different operating systems as you want on your computer. So check out this blog post till last to see how you can do the same for Ubuntu 20.04 LTS.
Read: How To Install macOS Monterey Using Oracle VirtualBox?
Part 1: How To Install VirtualBox In Windows 11 For Ubuntu 20.04?
VirtualBox is a tool that will enable you to run different operating systems virtually on your host operating system. In this case, the host operating system is Windows 11, and we will first install VirtualBox in Windows 11. To do that, follow these steps:
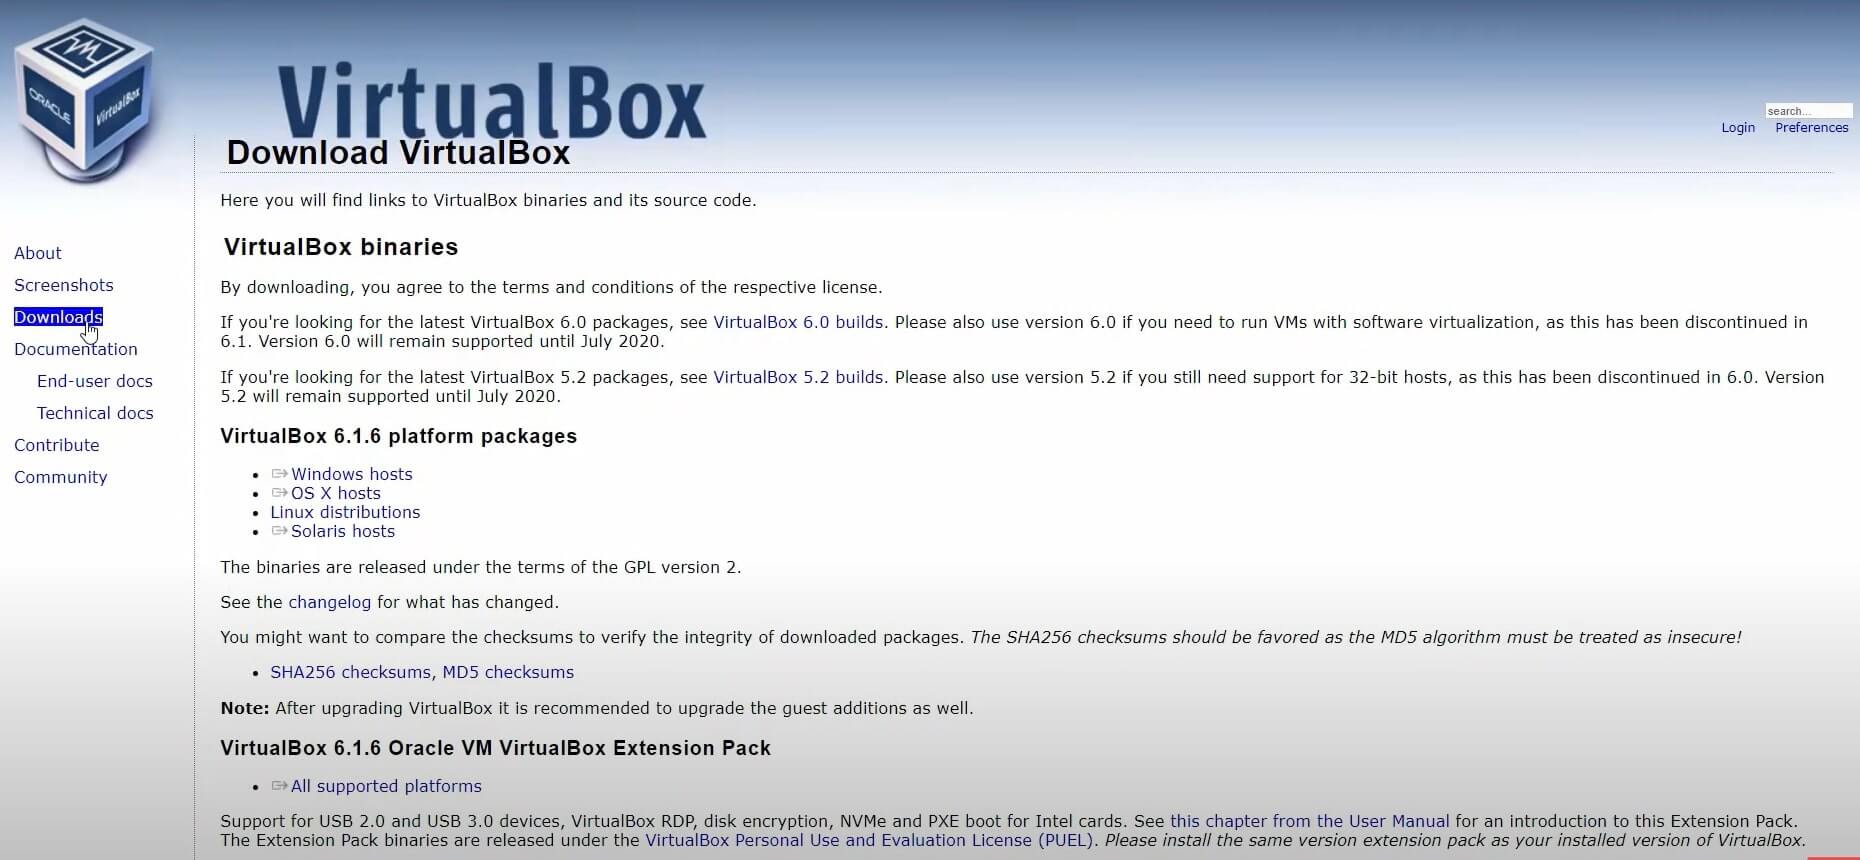
Step 1: Type VirtualBox in Google Chrome, and the first link will appear. It will be virtualbox.org. Click on it.
Step 2: Furthermore, when the VirtualBox window opens, click on Downloads from the side panel.
Step 3: Click on Windows hosts, and VirtualBox.exe will start downloading.
Step 4: After the download is over, launch the file and keep clicking on Next.
Step 5: Moreover, click on Agree to the terms and conditions and tap on Finish.
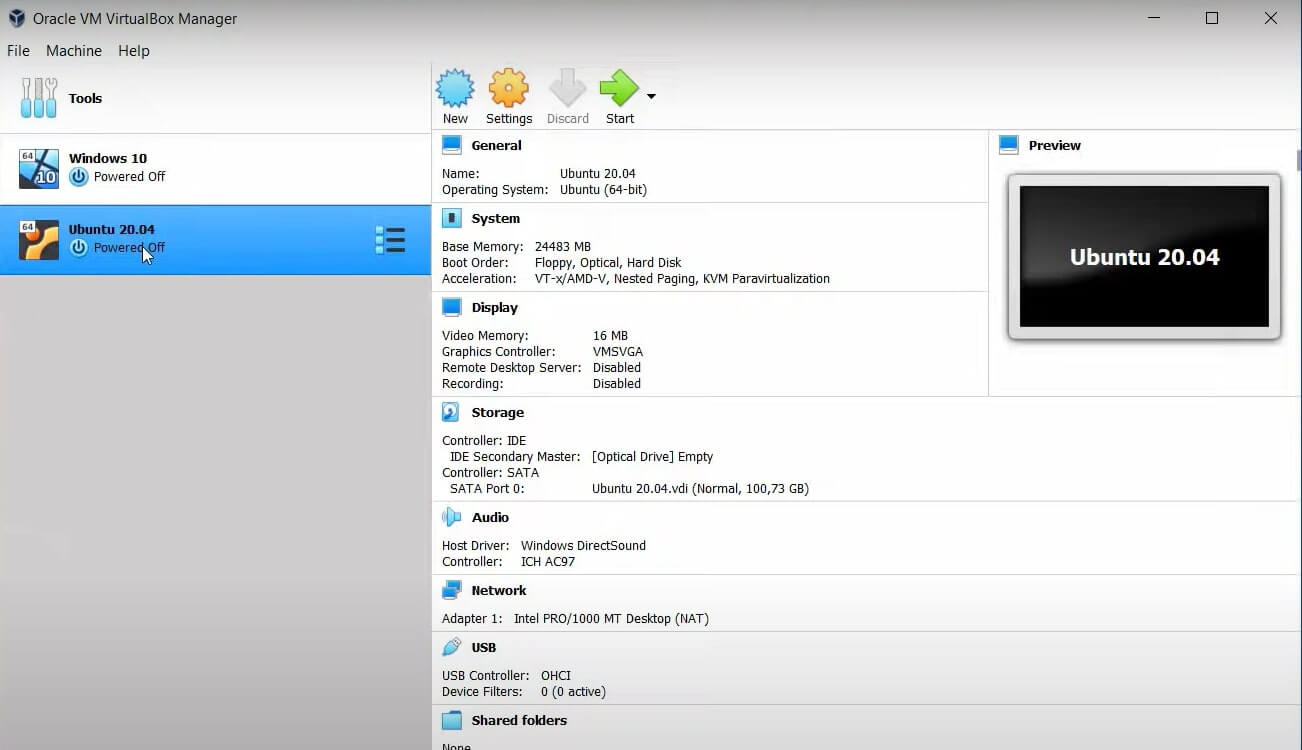
Once the installation process is over, the window of VirtualBox will look something like this in the picture below.
System Requirements Of Installing Ubuntu 20.04 LTS
- 64-bit operating system
- Minimum 4GB RAM
- Minimum 25GB storage
- Stable internet connection
Part 2: Download ISO File For VirtualBox Ubuntu 20.04 LTS In Windows 11
Step 1: On your favorite search engine, type Ubuntu and click on the first link, which will appear: ubuntu.com.
Step 2: Go to the download section, where you will be able to see two different options at the moment. First, Ubuntu 20.04 LTS, and the second is 21.04, the latest version of the operating system.
Step 3: Furthermore, under Ubuntu desktop, click on Ubuntu 20.04 LTS (long-term support). The support will run for a minimum of two years, so always click on LTS.
Step 4: Tap on the Ubuntu desktop and click on the download button. The ISO file is a heavy file of 2.5GB and, thus, will take some time to download.
Step 5: After the download finishes, your Ubuntu ISO file will look like this.
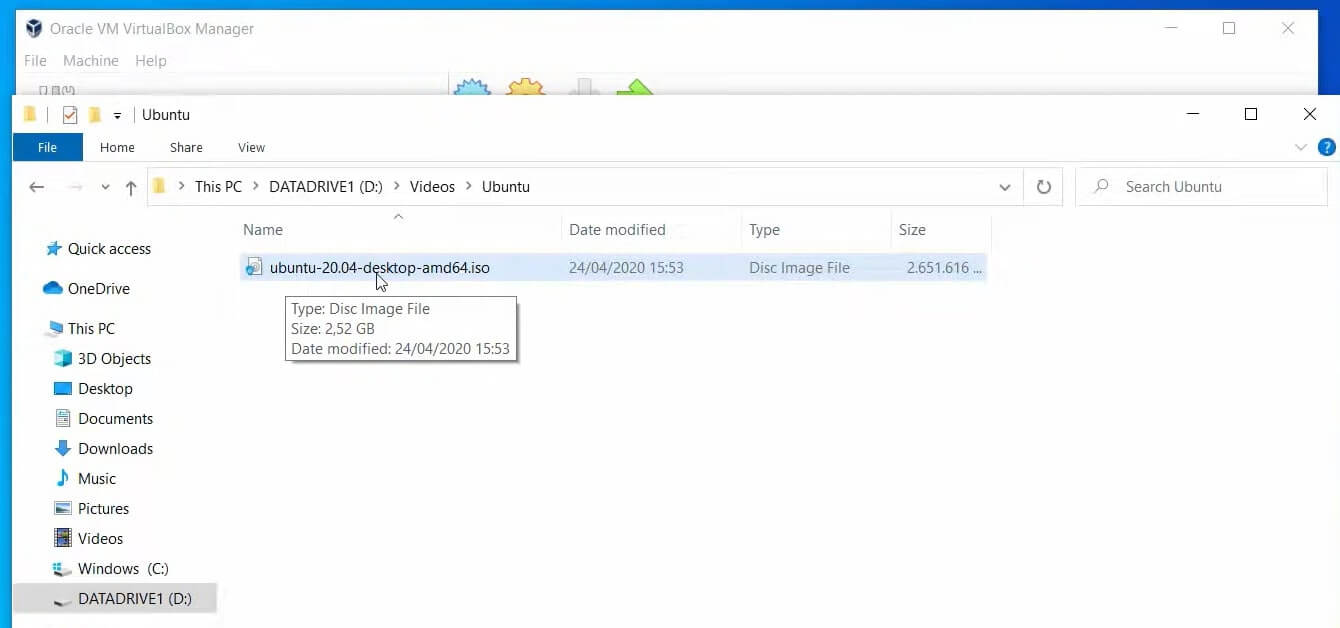
After this, your system is ready to move to the next part.
Part 3: Install Ubuntu 20.04 On VirtualBox In Windows 11
Step 1: Open your VirtualBox and click on New. Furthermore, in the dialog box, provide a name for your new machine.
Step 2: Since you are installing Ubuntu, you can name it the same to avoid confusion later. The machine is smart enough to provide other details like machine folder, type, and folder.
Step 3: Tap on Next. Then for memory size, it is good to take the scale to the Green mark and click on Next.
Step 4: Leave everything as it is under the hard disk section. As a default option, you will see Create a virtual hard disk now. Furthermore, tap on Create.
Step 5: Once again, the following setting will be Hard Disk File Type, and by default, the machine will set it to VDI or VirtualBox Disk Image. Do not make any changes and click on Next.
Ubuntu 20.04 LTS For Windows 11 Users
Step 6: Moreover, the next part is Storage on Physical Hard Disk; the machine will by default choose Dynamically allocated. It means that your device will allow the disk size to expand if Ubuntu needs more space while installing or running.
On the other hand, you will see a second option which is fixed size. Moreover, it is self-explanatory that the machine will not expand the disk size when needed if you select a Fixed size. Therefore, it is better to leave it as it is.
Step 7: On the next window, you can choose the file location where your Ubuntu operating system file will be located. Also, you can choose the virtual hard disk size by moving the slider.
By default, the machine will set it to 10GB and if you want to increase it to 100GB, click on Create.
Step 8: After you create the machine, you will be able to see it on the left-side panel. It will be marked as Ubuntu 20.04.
Part 4: Set Up VirtualBox With Ubuntu 20.04
Step 1: Select Ubuntu and click on Settings. Under the General settings, you will see some options like Name, Type, and Version. They contain the values you have already set before while creating the machine.
Step 2: Furthermore, click on the Advanced option and go to the shared clipboard. From the drop-down menu, choose Bi-directional and the same for Bi-directional.
Choosing Bi-directional will allow you to share files between the host machine, which is Windows 11 in your case, and Ubuntu in a virtual machine. You will be able to copy and paste files and folders from Windows to Ubuntu and vice-versa.
Step 3: Moreover, under the description box, you can give any description you want. And under disk encryption, you just leave it as default.
Step 4: Again, go to the System option, and under the motherboard, you can leave everything as default.
Setting Up VirtualBox For Ubuntu In Windows 11
Step 5: Moreover, go to Processors, and you will see that VirtualBox has set it to 1CPU. That is something you can increase if you have the option to and remain on the safer side; it is better to go only up to the Green mark.
Step 6: Under Display, you can leave everything to default.
Step 7: Furthermore, go to Storage, where you have to give your location for your ISO file. Thus, click on the Empty option, choose the CD icon from the optical drive on the right side, and click on Choose a Disk File.
Step 8: After that, you need to browse the location where you have saved the Ubuntu ISO file. Copy and paste the location there.
Step 10: Furthermore, select the ISO file and tap on Open. After selecting your ISO file using the CD icon, you will be able to see the name of your ISO file under controller IDE. Click on Okay.
After finishing all of these settings, you can now start the Ubuntu Installation.
Also Read: How To Install Anbox App Manager And Google Play Store On Linux?
Part 5: Ubuntu 20.04 VirtualBox Installation In Windows 11
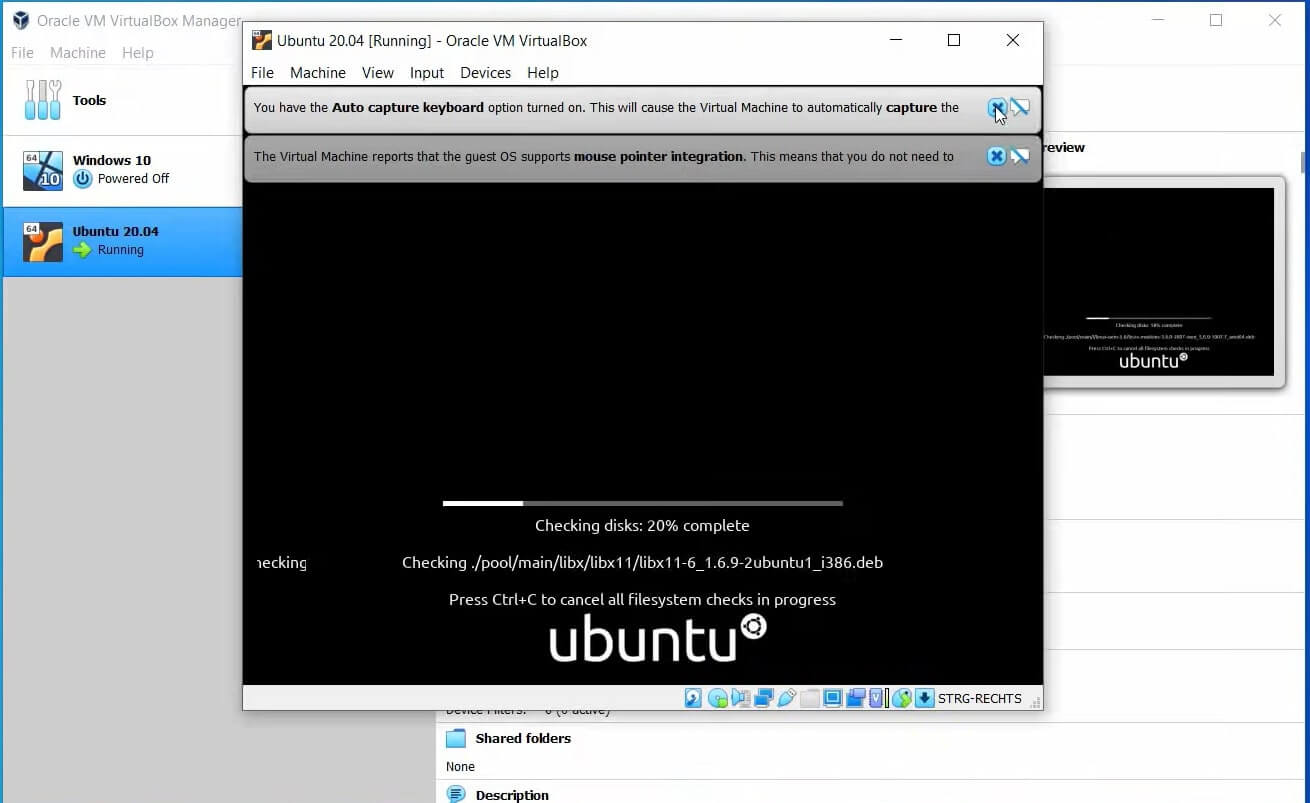
- Select Ubuntu in Oracle VM VirtualBox and click on the Start button.
- In a matter of a few seconds, you will be able to see the installation begin. A few warning signs will also appear, which you can close by clicking on the cross.
- Furthermore, on the left-hand side, you will be able to see a list of languages. So choose your language.
- After selecting your preferred language, click on Install Ubuntu from the right side.
- In the next window, you will see the keyboard layout options. Thus, choose your keyboard layout and test it by typing something in the box. Click on Continue.
- Moreover, you will see the title Updates and other software in the next window. Here, you can also leave all the options checked unless you want something else.
- Just check the option Install third-party software and Wi-Fi hardware and additional media format and click on Continue.
Installing Ubuntu And Setting It Up
8. Furthermore, you will see the installation type in the next window whose option you can leave as default. You can ignore this warning as you install Ubuntu in the VirtualBox and not directly on your host computer. Click on Install Now.
9. Tap on continue for your next window. Moreover, it will ask you to choose a region closer to your physical location and click on Continue.
10. In addition, you can give a name to your Ubuntu operating system, a username (preferably the same as the name), and provide a password.
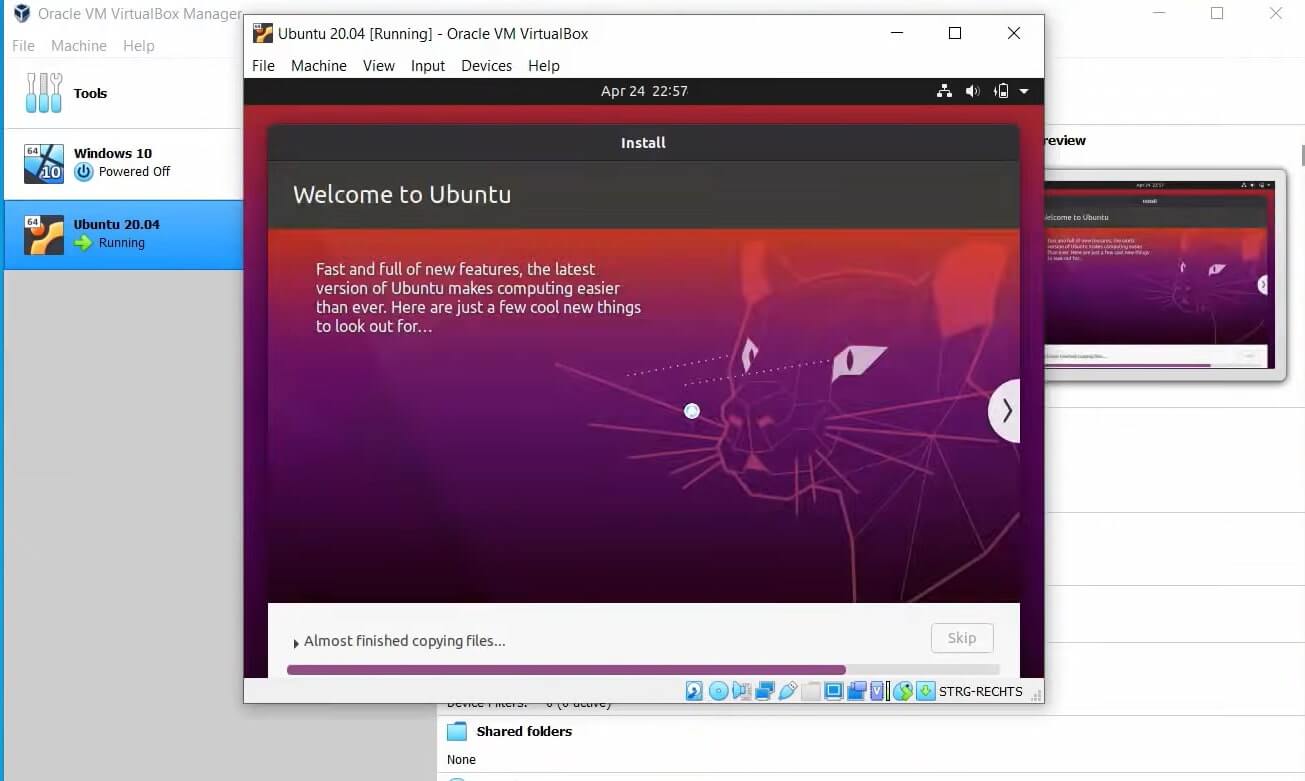
11. After you click on Continue, the installation of Ubuntu will start automatically.
Wait for some time for the installation to complete, after which you will get the message Installation complete. Furthermore, tap on Restart now and press Enter.
Must Read: How To Install VMware Auto-Unlocker?
Starting Ubuntu 20.04 On Windows 11
- After it restarts, you will be able to see the operating system starting. Your username will appear, and you have to enter your password. Furthermore, click on the user and provide the password you set at the installation time. Click on enter.
- After that, you will see the welcome window asking you to connect to various online accounts. Tap on skip if you don’t want to connect any account for now. Keep clicking on Next and finally tap on Done.
- Now you will be able to see your Ubuntu desktop. However, it is a small screen so click on maximize. But the Ubuntu screen will not maximize. For that, you need to get a tool called VirtualBox Guest additions.
How To Get VirtualBox Guest Additions?
Step 1: Open the terminal window in Ubuntu which you can get from clicking on the nine dots at the bottom.
Step 2: Furthermore, type the command sudo apt install build-essential dkms Linux-headers $(uname -r) and tap enter. This command will install some additional packages before installing VirtualBox guest additions.
Step 3: Type your Ubuntu’s password and press Y. Once again, press enters, and you will see the installation steps are complete within some time.
Step 4: Furthermore, close the terminal and click on Devices. Under devices, choose Insert Guest Additions CD image. A window will appear asking for your permission to run the software. Tap on Run.
Step 5: It will ask you to provide your Ubuntu’s password, which you set before. Type your password to authenticate, and it will start running Guest additions.
Running VirtualBox Guest Additions
Step 6: Moreover, after the process is complete, it will display a message saying press Return to close this window. Don’t worry if you cannot see the return button or key on your keyboard. Click on enter, and it will close the terminal window.
Step 7: Now, you need to restart the Ubuntu operating system. Click on the down arrow from top-right and choose Power off.
Step 8: Another window will open with three options: Cancel, Restart, and Power Off. Tap on Power Off. The Ubuntu operating system will shut down immediately.
Step 9: On your VirtualBox Manager, click on Settings, go to Advanced Settings, and under the General tab, check if the shared clipboard and Drag n’ Drop are set to bi-directional. Then close the window.
Step 10: Furthermore, click on start once again, enter your Ubuntu’s password and click on enter.
Should Read: How to Install Free SSL for Nginx Web Server on Ubuntu 16.04 or Ubuntu 18.04
How To Check If Ubuntu Is Working Fine?
Now when you try to increase the size of Ubuntu’s screen, the desktop automatically expands. Moreover, if you click on the maximize button now, you will see Ubuntu’s desktop maximize too. You can do the following to see if you can easily copy-paste files from and to Ubuntu.
Copy a text from Ubuntu’s operating system by opening the browser and copying it to your Windows 11’s browser.
Conclusion
By following the steps in this blog post, even your ten-year-old will be able to install Ubuntu on VirtualBox in Windows 11. Moreover, you can use the same method to download and install Ubuntu 21.04 LTS and on Windows 10, for that matter. In this detailed guide, I have covered all the steps in detail.
Tip: If you cannot add the ISO file and make changes to the virtualization settings, you need to go to the BIOS of your computer. Look for Virtualization or SVM and enable the settings for the same.
The BIOS is switched off by default in many computers to prevent different operating systems from loading simultaneously.
Must Read: How To Install Android Apps In Ubuntu 20.04?


