


 Header Through Cloudflare")


Good news for Windows users as you can now install macOS Monterey using VM VirtualBox on your PC.
Monterey has a lot of interesting features that users want to experience and try out. However, those who do not use a Mac computer will have no other way of getting their hands on it, and their only way is to buy a Mac that not everyone is willing to or wants to.
Therefore, in this case, you can install the VM VirtualBox from Oracle and then install Monterey on your computer. So let’s see how you can go about it.
Read: How To Split Screen In Windows 11 For Multitasking?
Install macOS Monterey Using VirtualBox: Minimum System Requirements
To install the Monterey in VM VirtualBox, you need the following things:
- 8 GB RAM (4 GB works too but not recommended)
- 150 GB Free space In HDD
- 2 Core CPU, preferably a quad-core
- Monterey ISO File
- VirtualBox with the extension pack
Method To Install macOS Monterey Using VirtualBox In Windows PC
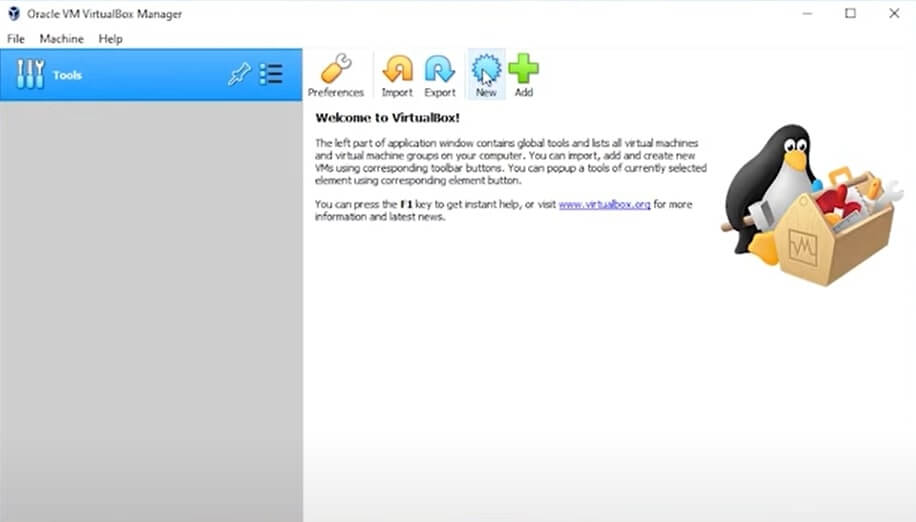
Step 1: Open Oracle VM VirtualBox on your computer.
Step 2: Click on the New button as now you will be creating a new virtual machine.
Step 3: Furthermore, click on Expert Mode and give it a name. I’d recommend you to name it macOS Monterey as you will need to remember it later on.
Step 4: Leave other aspects as it is but try to slide the RAM to the maximum. Since this is an intense operating system, the more the RAM, the better it is.
Step 5: Tap on Create. Change the file size to at least 150 GB and then click on Create.
Install macOS Monterey Using VirtualBox: Modify Settings
Step 1: Go back to the VirtualBox Manager and click on the Settings icon from the top.
Step 2: Furthermore, go to System, uncheck Floppy Disk. Under processor, make sure you have at least two core processors.
Step 3: Under the display, set video memory to the maximum. Then go to Storage, under SATA controller, select the Empty icon.
Step 4: On the optical drive attribute, select Choose a Disk File. Go to your macOS Monterey ISO file, select it and check the Live CD/DVD.
Step 5: Select USB 3.0 under USB and tap on Okay.
Install macOS Monterey Using VirtualBox: Run Command File
Step 1: Open Settings in VirtualBox manager and copy the name of the new VirtualBox. Close the window.
Step 2: Moreover, open the Monterey VirtualBox Command file and go to the Edit menu at the top.
Step 3: Select Replace, paste the name you copied before, highlight VM NAME, and paste it to Find What. Furthermore, tap on Replace All.
Step 4: Open Command Prompt. Now from the Notepad, copy the command “C:\Program Files\Oracle\VirtualBox\” and paste it in the Command Prompt.
Step 5: You have to change the directory, and you are already in the directory for VirtualBox.

Step 6: So, one by one, paste the individual command and hit the Enter key.
Step 7: As you keep hitting enter for each command, they will start running.
Moreover, close the Command window and the other windows once you’re done as you don’t need them anymore.
Read: How To Use Apple’s New Weather Maps In iOS 15 Monterey?
Install macOS Monterey Using VirtualBox: Start Virtual Machine
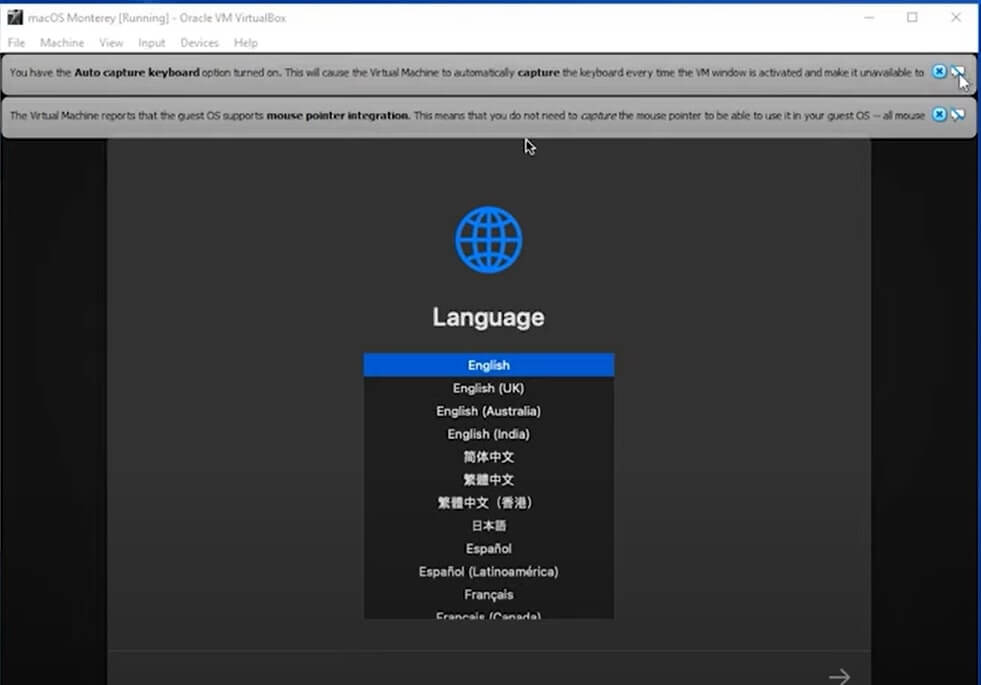
Step 1: Open the Virtual Machine on the left side, click on the Start button. You will see it starting to load.
Step 2: As you do, a Black window with White text will keep running even with some error messages. You can ignore it as it will keep happening as part of the installation phase.
Step 3: Soon enough, the Apple logo will load, and you have to select the language. Tap on your preferred language and keep clicking on the next arrow.
Step 4: Select Disk Utility when the drives option opens, click on Continue and check if you can see all your devices on your VirtualBox in this window.
Step 5: Find the virtual drive box and select it. Next, you will have to format it. So click on Erase.
Step 6: After you do so, another window will pop open. You can rename it if you want, change the format to MacOS Extended, and click on Erase.
Step 7: It will set up the drive for macOS; thus, click on Done.
Step 8: Go back to the disk options, and click on Install macOS Monterey. Furthermore, click on Continue.
Step 9: Again, click on Continue and wait as the disk starts installing macOS.
It will take you an hour or two to finish loading.
Set Personalized Settings
Step 1: Select your region, click on Continue, add your spoken languages. You can even let them remain on default if you want.
Step 2: Furthermore, keep clicking on continue for things like Privacy and Settings and so on. It will also ask you for Apple ID; you can simply skip that. When you are installing macOS like this, there’s no need for an Apple ID.
Step 3: After clicking on Skip, click on Agree for terms and conditions, and then it will ask you to fill in details for your computer account.
Step 4:
- Click on Continue for Make This Your New Mac.
- Select Set Up Later for screen time.
- Uncheck Siri.
The reason for disabling Siri is because you’re installing it in a virtual machine, so I don’t know how well it will work for you.
Step 9: Furthermore, you can check the theme, click on Continue for keyboard setup assistant, and finish up the rest of the settings.
And that’s about it. You have got your macOS Monterey on your computer with the help of VirtualBox. I don’t guarantee that macOS will run as smoothly as it does on a mac computer. After all, it’s just a virtual machine, so that you can expect some friction.
However, if you don’t know how to get the VirtualBox on your PC, continue to read the following steps.
How To Install VirtualBox On Windows PC?
What you need: Windows 64-bit, 8GB RAM, 40 GB hard disk space, installation file with an expansion pack. So let’s get started.
Step 1: Go to Google browser and search for VirtualBox. Click on the top website called Oracle VirtualBox.
Step 2: On this page, go to Windows hosts and click on that. After that, it will start downloading the file.
Step 3: To install the expansion pack, scroll down and click on All supported Platforms. Close your browser.
Step 4: Open them up from your downloads folder, and you should be able to locate them. Furthermore, click on the VirtualBox and start installing.
Step 5: Click on Next, again tap on Next for default components, and then Next one last time.
Step 6: Finally, click on Yes and tap on Install.
Step 7: In a short time, it will install, and you can click on Yes, after which it will start installing to your computer.
Step 8: Tap on Finish.
Must Read: How To Install macOS Monterey On Windows PC?
Install macOS Monterey Using VirtualBox: Install Expansion Pack
Step 1: Click on Preferences from the top and down on the left, tap on Extension and click on the little Green and Blue icon.
Step 2: When the window opens, look for the virtual pack extensions, and tap on Open.
Step 3: Moreover, a dialog box will open, click on Install and read the terms and conditions. Tap on Agree.
Step 4: Click on Yes to the prompt, after which it will install successfully.
Step 5: Select Okay and tap on Okay again on the prompt.
After this, the VirtualBox installation is complete. So now you can go ahead and install whichever operating System you want on it.
Read: How To Use Quick Notes In MacOS Monterey?
Conclusion
Thus, you can easily install macOS Monterey on your PC with this brief and easy-to-follow guide. I’d also recommend installing an SSD in your computer to get more speed as this method requires maximum space and efficiency from your computer. macOS has a lot of features like Focus, SharePlay, and 3D map.
Also Read: How To Install macOS Monterey On Unsupported Mac?


Hi there, after I click start it’s giving me this error:
UEFI Interactive Shell v2.2
EDK II
UEFI v2.70 (EDK II, 0x00010000)
Mapping table
FSO: Alias (s) :F0b65535a::BLK1:
PciRoot (0x0)/Pci (0x1F,0x2)/Sata (0x1,0xFFFF,0x0)
BLKO: Alias (s) :
PciRoot (0x0)/Pci (0x1F,0x2)/Sata (0x0,0xFFFF,0x0)
Press ESC in 1 seconds to skip startup.nsh or any other key to continue.
Shell>
Please help!
Thank you.
Emerson, This may help it helped me. Before installing, switch the boot order in VirtuaBox to hard drive first. Seems to work.
My question back. Everything was installed well, except Guest Additions. First time, it ran into a security error and I had to Allow. Now it fails with an ambigious error. I am not sure how to get past this error and I cannot get full resolution on the screen.
Help?
Don
Don – try coping the file from the iso to the desktop, ejecting the iso, then installing the file directly off the desktop. Worked for me.
I followed all the instructions but during the Monterey installation it just keeps restarting over and over. I don’t even get time to read the error message is such a message exists.