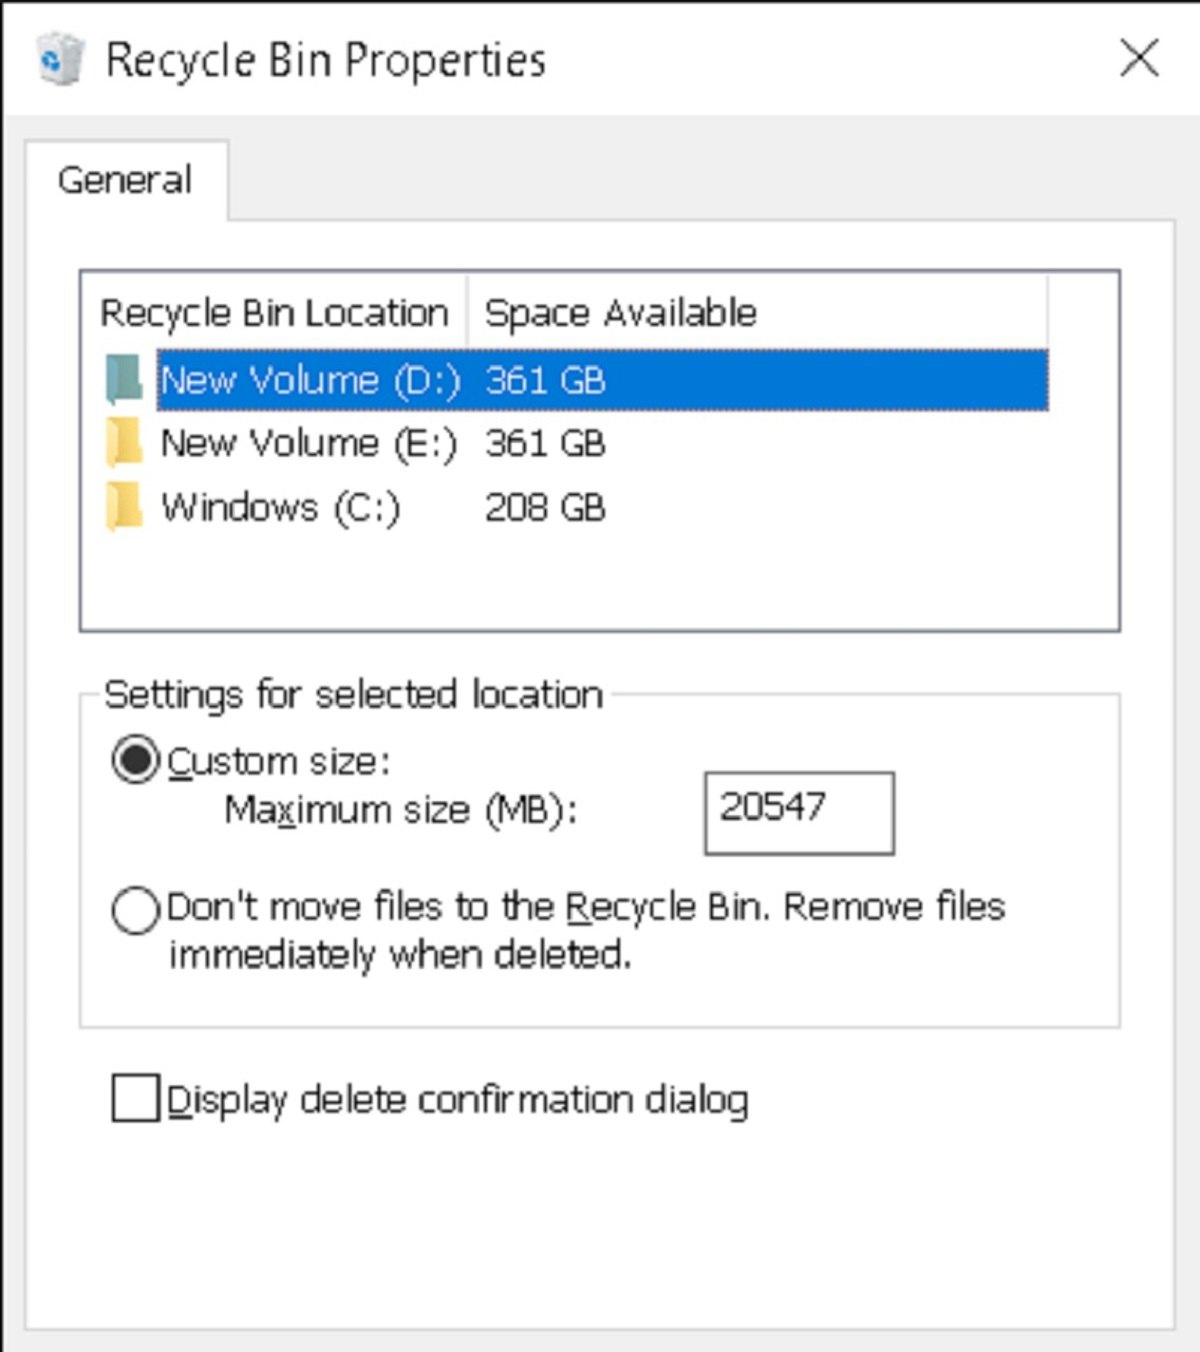
By default, Windows automatically assigns a maximum storage size for the Recycle Bin on each partition. When you delete any item on your PC, they are not removed immediately from the drive. instead, they are marked for deletion and it goes to the Recycle Bin storage. The deleted items sit on the Recycle Bin until you manually delete them or the Recycle Bin storage gets full. When the maximum storage limit of recycle bin reaches, Windows automatically deletes the oldest files to make room for new ones.
On a PC, every partition has its own Recycle Bin settings. The settings are stored in a hidden system folder named “$RECYCLE.BIN” at the root of each volume. Since Recycle Bin automatically handles the deleted files, you usually don’t have to do anything. But if you need, you can customize or change the storage size of Recycle Bin.
In this article, we will guide you through the steps to manage the storage settings on your Windows 11.
Also Read: 8 Ways To Delete Temp Files In Windows 11
How to Change storage space for Recycle Bin on Windows 11
To specify the amount of space Recycle Bin can use before deleting files completely, use the following steps:
- Use the Windows key + D keyboard shortcut to see the desktop icons.
If you don’t see any items, right-click the desktop, select View, and click on Show desktop icons.
2. Right-click the recycle bin icon and select the Properties option.
3. Select the Local Disk (C) location.
4. Choose the Custom size option.
5. Use the Maximum size setting to specify the amount of space the Recycle Bin should use in megabytes.
Note: 1GB is equal to 1024MB, which means if you want to reserve 50GB, you need to specify 51200megabytes.

6. Tap the Apply button.
7. Tap the OK button.
once you complete the steps, the Recycle Bin will store deleted files until it reaches the maximum capacity you specify. Then it will start deleting files permanently from the oldest to the newest. Although you can configure Recycle Bin on the main drives as well as on the secondary drive, removable drives do not support this feature.
Also Read: How To Recover Your Deleted Files In Windows 11?
How to delete files without Recycle Bin on Windows 11
To skip the recycle bin to delete files immediately, use the following steps:
- Use the Windows key + D keyboard shortcut to see the desktop icons.
If you don’t see any items, right-click the desktop, select View, and click on Show desktop icons.
2. Right-click the Recycle Bin icon and select the Properties option.
3. Select the Don’t move files to the Recycle Bin. Remove files immediately when deleted option.
4. Tap the Apply option.
5. Tap the OK option.
After you complete the steps, files that you delete manually will be removed immediately, skipping the Recycle bin on Windows 11. If you don’t want to enable this feature, you can press the Shift key while deleting a file to skip the Recycle bin.
Also Read: 10 Things You Should Do After Installing Windows 11 In 2022
How to display dialog before deleting files on windows 11
Although you can always restore files from the recycle bin, if you usually delete files by accident, you can enable an option to display a confirmation dialog before deletion.
To display confirmation before deleting files to the Recycle Bin, use these steps:
- Use the Windows+D to see the desktop icons.
If you don’t see items, right-click the desktop, select View, and click on Show desktop icons.
2. Right-click the recycle bin icon and select the properties option.
3. Select the display delete confirmation dialog option.
4. Tap on the Apply option.
5. Tap on the OK button.
Once you’ll complete the steps, you’ll see a popup or prompt before sending the file to the recycle bin when deleting a file.
Also Read: How To Factory Reset Windows 11 PC
Conclusion
In this article, we’ve covered the topic of how to change the maximum size of recycle bin. With the steps provided above one can increase or decrease the size of the recycle bin. As we discuss files in Recycle Bin aren’t kept forever. Depending on the drive size, Windows 11 will reserve a small percentage to store deleted files which we can change. And as the Space fills up, the system begins removing the oldest files to free up space for files, limiting the number of files you can restore.
Also Read: How To Add Or Remove Widgets In Windows 11


