


 Header Through Cloudflare")


Want to Delete Temp Files In Windows 11? If you, like us, use your PC on a regular basis to surf the internet, watch YouTube videos, or even work online, your PC is likely to have amassed a large quantity of web cache on your systems drive by now. These files, often known as temp files, can lower the overall amount of free space accessible to the user and, if not cleared periodically, can cause additional wear and tear on the system disc.
Luckily, there are a few options for dealing with this issue. Continue reading to find out more.
Also Read: Unable to open JPG Files on Windows 11- Solved
Temporary files are,
Before we get into the strategies for getting rid of them, let’s define what they are.
When you use the internet, your browser downloads a large amount of data from the internet in order to render web pages and their graphics. Also, when you’re watching YouTube videos, your browser does the same thing: it smartly downloads and plays the full video in chunks. When you close the browser, a portion of the downloaded files is cached on your computer, allowing you to quickly visit your favorite websites and films.
They’re also formed when you try to extract an archive because the archive is first extracted to a safe temporary area before being transferred back to the original location.
Temporary files are what they’re called. You may or may not require them in the future, but they do consume space on your storage device.
Also Read: How To Recover Corrupted Excel File in Windows 11
Technique 1: Deleting the temporary folder
This method dates back to the days of Windows XP when PCs came with those tiny little 80GB or 120GB rotating hard drives, and we’re confident it’s still a popular way to remove transient files for many users today.
Let’s check how you can use this strategy to delete temporary files.
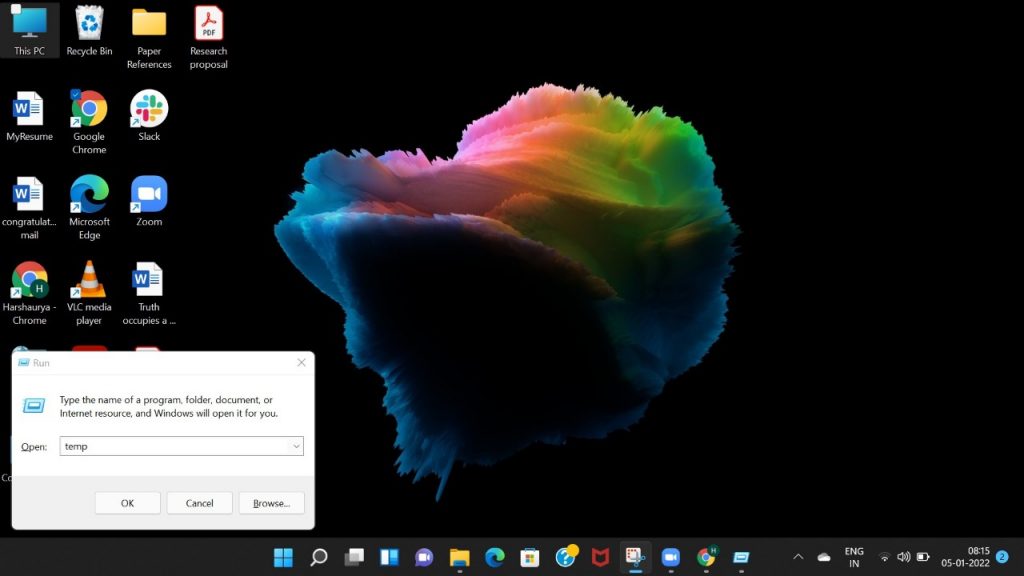
To open the Run dialogue box, press the Win key + r button combination. Then press enter after typing ‘temp’.
If a prompt appears that says, “You don’t have access to the folder,” click “Yes” and accept any subsequent prompts until the contents of the transient folder are accessible.
Simply select and delete all of these files and directories. Oh, and don’t forget to wipe out your recycle bin afterward, and you should be fine.
Tip: You may receive a notice stating that the file is currently in use and cannot be erased. The solution is straightforward. When you’ve finished working on your PC and closed all the files and apps, try eliminating these files.
Technique 2 -To Delete Temp Files In Windows 11- Disk Cleanup utility
For a long time, Disk Cleanup has come preinstalled with Windows with the sole aim of cleaning drives/partitions of all garbage files, deleted files, unneeded Windows updates, and other similar items it can find. The application is small and has a simple user interface, but it accomplishes the job well.
Here’s how you can use it.
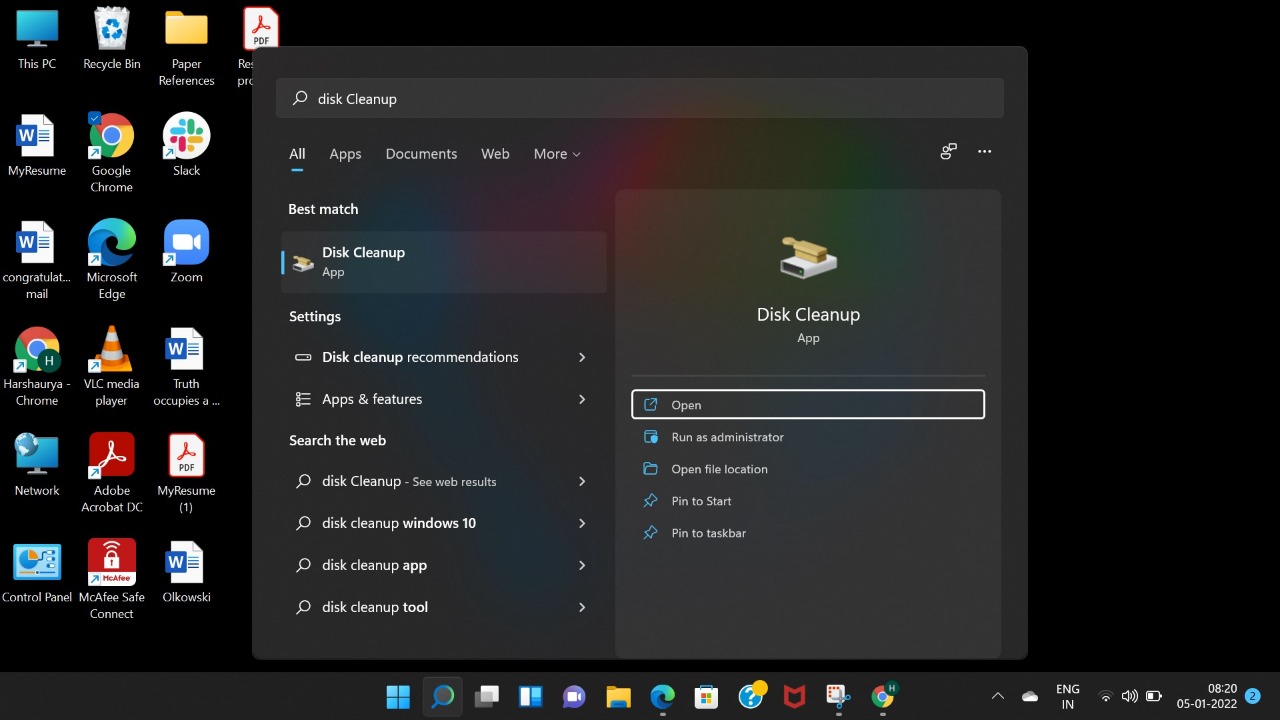
Type ‘Disk Cleanup’ into the Start menu. Any of the choices can be selected by clicking on it.
You should now be able to see the utility. Simply select the disc drive you want to clean from the dropdown menu and click ‘OK.’
The software will do a scan on the selected drive and display a dialogue box like the one below. Scroll down the list and pick everything you want to get rid of before clicking ‘OK.’
Tip: To free up even more space, use the ‘Clean up system files’ button on the screen above to delete obsolete system restore points and other unwanted system files.
The Drive Cleanup software will begin eliminating all of the worthless items from your disc once you click ‘OK.’ Following the cleanup, you should have a few GBs of free space on your hard drive.
Also Read: How To Fix Low Microphone Volume Issues In Windows 11
Technique 3: From the Settings app

Windows has become far more intelligent in recent years, and Windows 11 is no exception. The built-in Settings software has all of the tools you’ll need to manage all of your PC’s hard drives. Let’s look at how to delete temporary files on your PC using the Settings program in Windows 11.
Open the ‘Start’ menu and select the highlighted small gear icon. You may also open Settings by pressing the Win key + i combo.
Click on System>‘Storage’.
You should be able to see a rough estimate of how much space temporary files take up on your system drive now (the one with Windows 11).
To learn more about which portions of Windows have created how many temporary files, select the Temporary Files option.
Technique 4: Using Storage Sense
Windows also has a feature called ‘Storage Sense,’ which intelligently cleans your computer on its own or according to a schedule you choose. You can also run the tool only when you need it.
The goal of such a solution is to keep Windows running properly by managing storage and temporary files generated by apps automatically.
Here’s how to get started with Storage Sense and clearing temporary files.
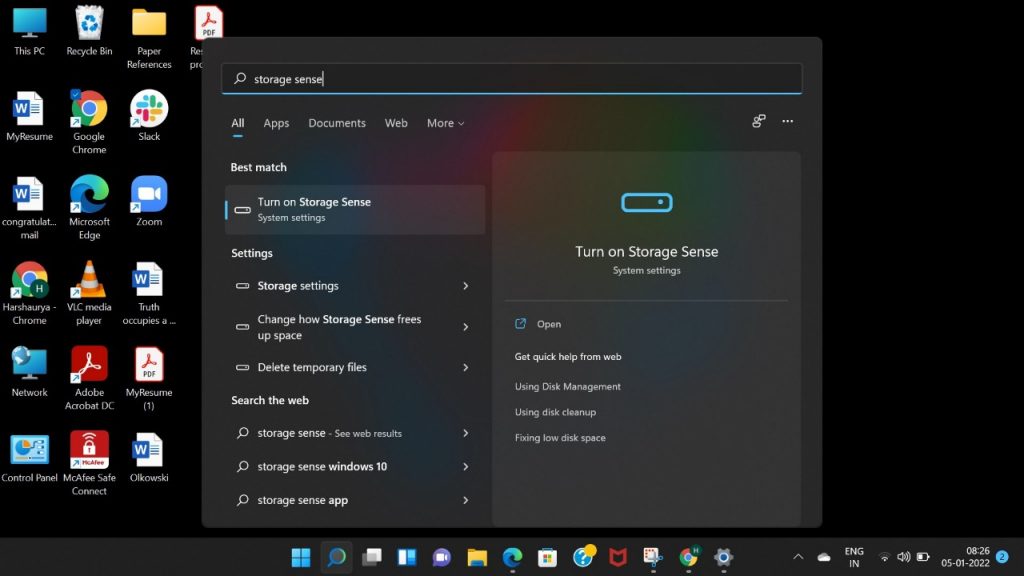
Click on Start and type ‘Storage Sense,’ then select one of the alternatives.
You should now be in the System Settings’ Storage section. Scroll down a little to find the ‘Storage Sense’ option and select it.
You should be able to find a toggle for Storage Sense within. As well as a few other options for defining when Storage Sense should run for folders like Downloads, Recycle Bin, and when Storage Sense should run.
We highly recommend checking over these choices. Select what feels right for you before leaving the programme after enabling ‘Automatic User content removal.’
Storage Sense can erase files from the Downloads folder automatically, as you may have seen. Set the ‘Delete files in Downloads folder’ option to ‘Never’ if you don’t want it to happen.
Technique 5: Command Prompt
This is another of those powerful techniques that just a few people are aware of. The Command Prompt on Windows may be used for a variety of tasks, one of which is removing files and folders.
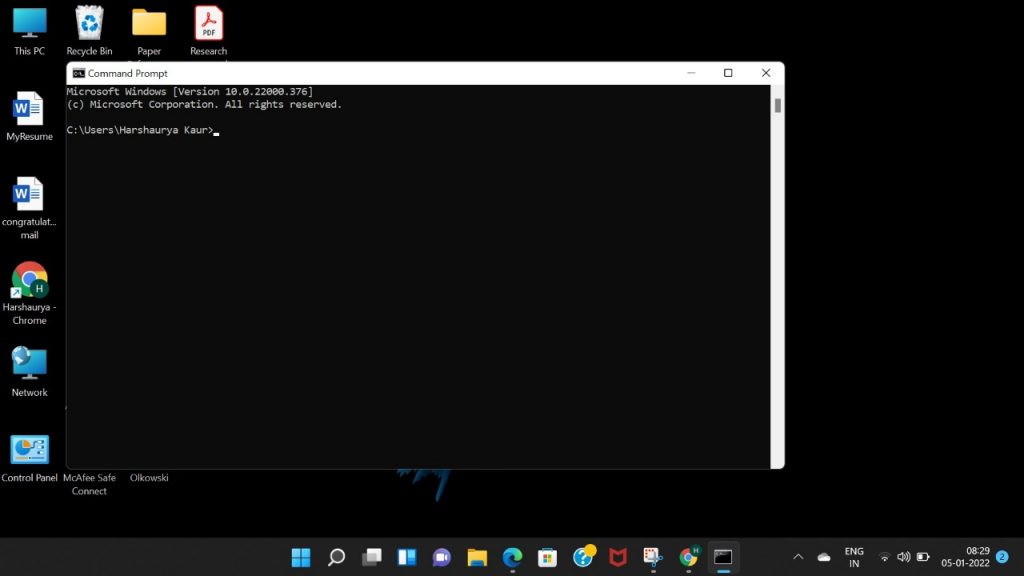
Remember how in Method #1 we showed you how to open the temporary folder in Windows and clean the files? This method achieves the same outcomes while requiring fewer steps. Here’s how to do it.
Type ‘Command Prompt’ into the Start menu. As stated below, make sure to start the software as an administrator.
Once it’s open, type the command below and press enter.
del /q/f/s %TEMP%\*
Technique 6: Use Third-Party Apps
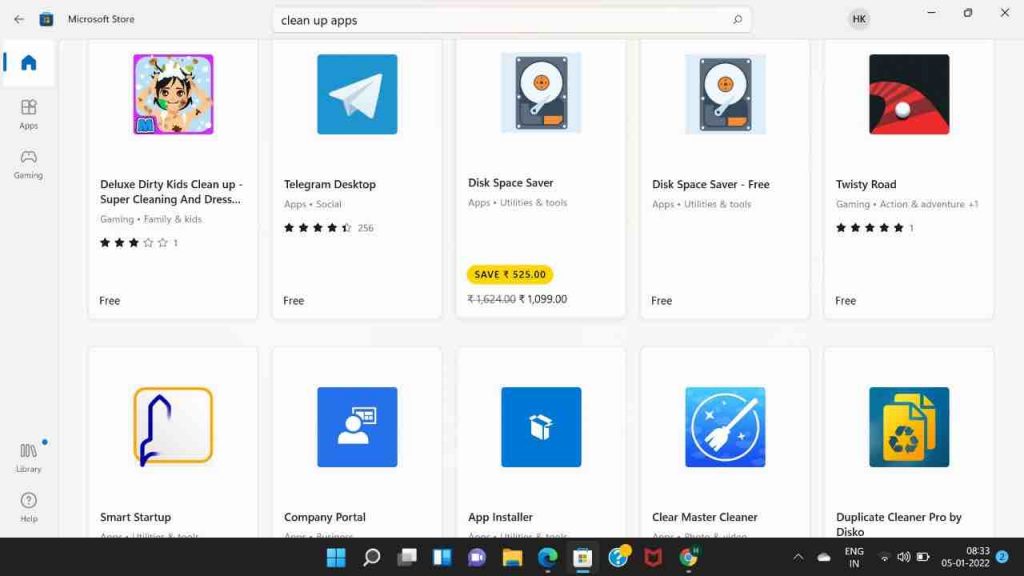
On Windows 11, you may also utilise third-party cleaners to remove temporary files. These cleaners are meant to look for residual and temporary files on your computer and erase them. Furthermore, these cleaners aid in the identification of files associated with removed programmes that are no longer required on your system.
After that, you can delete these files at your leisure. There are many applications such as
- Restoro.
- Outbyte PC Repair.
- Defencebyte.
- Avast Cleanup.
- AVG PC Tuneup.
They are a long-standing Windows program that gets regular updates and has been trusted by customers for many years.
Run the software when it has been installed and follow the onscreen directions to delete all unwanted files from your computer. Please note that until Windows 11 is no longer in the beta channel and a stable version is issued to the public, we do not advocate using the registry cleanup. Furthermore, we recommend waiting for the latest version that is compatible with Windows 11 to avoid removing registry keys that will cause Windows 11 to break crucial background tasks.
Technique 7: Delete any remaining files manually.
It’s now time to eliminate any remaining files from earlier uninstalled programmes from your Windows 11 system manually. Some programs prefer to leave behind user information files, save files, settings, downloadables, and temporary data on your system in order to make future installations and runs of the program easier. These remaining files, on the other hand, can occasionally cause issues with other programmes or simply take up unnecessary space on your computer. To erase leftover files from popular locations in Windows 11, follow the steps outlined below.
To access the File Explorer, press Windows + E button on your keyboard. Now go to the next step, which is outlined below. You can also directly visit the selected directory by copying and pasting the supplied bath into the address bar at the top.
C:\Users\USERNAME\AppData\Local
Technique 8: Delete Windows Store Cache
With the release of Windows 11, the Windows Store has gone a long way. You now have access to a redesigned user interface and additional titles. So the option to install Android apps on your device. Windows Store, on the other hand, tends to download and store certain data on your local storage for optimal performance. This information can build up over time and consume a lot of space on your computer. If Windows Store fails to clear the cache in the background on a regular basis, the size of this cache could grow exponentially. If you notice a lot of unidentifiable temporary data on your local storage and Windows Store is sluggish, it’s most likely the Windows Store cache.
Wrapping Up
These were several quick and simple ways to remove trash files from Windows 11. I hope this information makes it simple to remove undesirable cache and temporary system files. Most users will be satisfied with the built-in Cleanup suggestions and Storage Sense, but those who would like to conserve every last bit of space can use additional techniques. Please do not hesitate to contact us if you have any questions or concerns.


