


 Header Through Cloudflare")


What’s New In Windows 11 Wallpapers
Microsoft’s Windows 11 includes a set of new wallpapers. Windows 11 does not include any wallpapers from previous versions. The majority of users will enjoy the new assortment of desktop wallpapers.
The default wallpapers in Windows 11 are the nicest we’ve seen in a long time. However, one cannot keep and see the same wallpaper indefinitely. So, of course, there are a variety of wallpapers available. If you don’t like the preset settings, you can change the background of your desktop to a smartphone of your choosing.
If you’ve used Windows 10, you’ll recognize that the technique for changing the wallpaper is largely the same in Windows 11.
The methods listed below are simple ways to change and erase the wallpaper history in Windows 11.
Also Read: How To Change Lock Screen Timeout In Windows 11
Change the wallpaper in Windows 11 by using the Settings app.
1: To open the Personalization page of Settings, right-click on an empty area on the desktop and select Personalize.
2: On the right, select Background. By selecting the Background option, you will be taken to the Personalization > Background page of Settings.
3: Select Picture from the drop-down box next to Personalize your backdrop. If you don’t see any more options, click once on the Personalize your backdrop option to expand the menu and see all desktop background settings.
4: The Recent pictures area, as you can see, displays recently used wallpapers. You can change your desktop wallpaper by clicking one of them.
If you’d rather have a different picture as your desktop backdrop, click the Browse photos button, find an image you’d like to use as your desktop wallpaper, and then click the Choose picture button. That’s it! Your new Windows 11 background should be available right now.
In Windows 11, you can change your desktop background to an image, solid color, slideshow, or Spotlight collection. As your desktop background wallpaper history, Windows keeps the last 5 recent images referenced with the complete path in the registry.
Also Read: 4 Best Methods To Get Transparent Taskbar In Windows 11
Remove a Specific Desktop Background Wallpaper History from Registry Editor
1 Open and check Registry Editor.
2 Find the key below in the left pane of Registry Editor.
HKEY_CURRENT_USER\Software\Microsoft\Windows\CurrentVersion\Explorer\Wallpapers
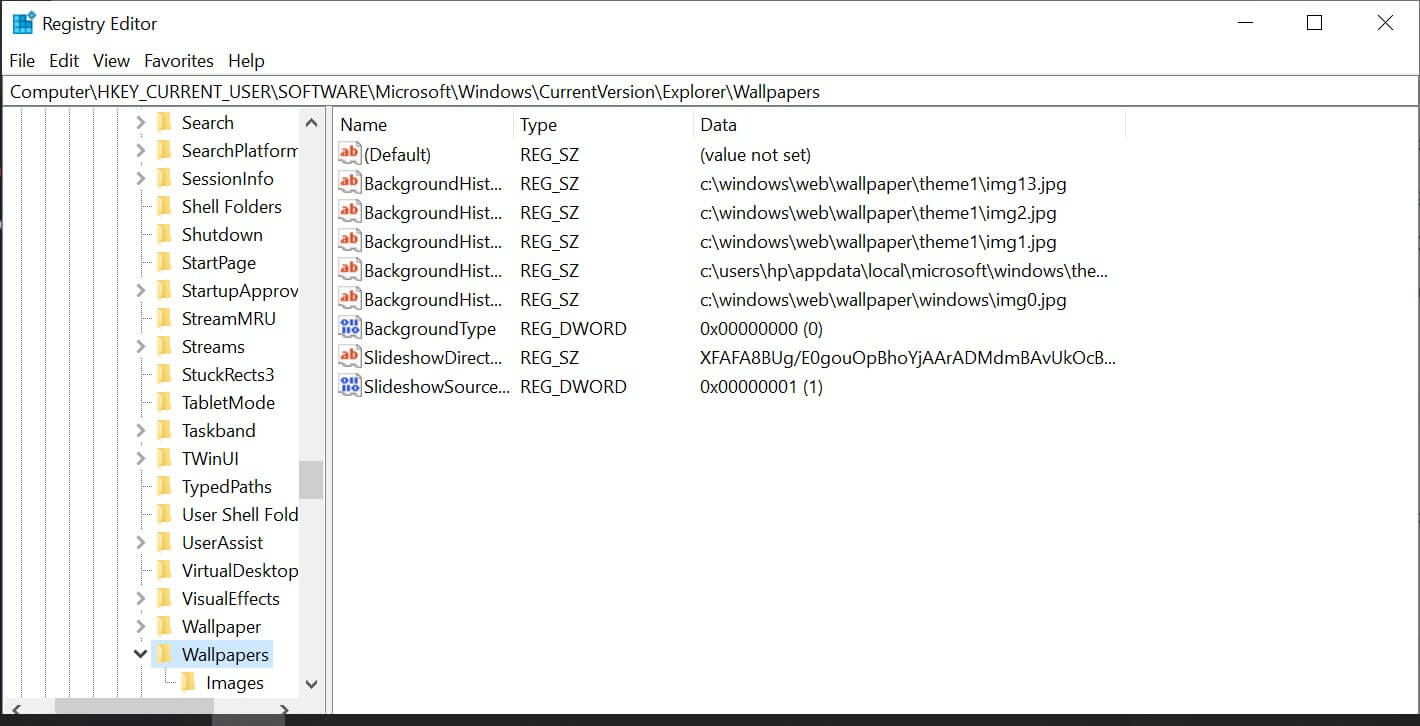
3 Select the following, in the right pane of the Wallpapers key, BackgroundHistoryPath0, BackgroundHistoryPath1, BackgroundHistoryPath2, BackgroundHistoryPath3, and/or BackgroundHistoryPath4 string values (REG_SZ) you want to delete, right-click on the selected item(s), and click/tap on Delete.
4 Click/tap on Yes to confirm.
5 When Complete, you can close Registry Editor if you like.
Windows 10
Windows 10 includes a library of Desktop Background Images and allows users to contribute their own Desktop Background Images.
Many customers have the same question: how to delete background picture history on Windows 10. When you go to the Background area in Personalized Settings and pick ‘Picture’ from the drop-down menu, four thumbnails appear. Wallpaper is another name for these background graphics. Recently, Windows users have complained that they are seeing the same wallpaper after changing it. Experts discover a reason why changing the image does not remove the history from the customizing and reappears. Obviously, in order to resolve the issue, you must remove the Background Pictures’ history.
The Windows 10 system remembers the file name and path of the last four wallpapers. The background photos are kept in a directory that corresponds to the images’ names. When you change your wallpaper, a copy of it is saved here as history. As a result, the system becomes perplexed when you make changes to your personalisation settings. The problem is rectified once you delete the image history.
Also Read: Turn Your Windows 11 Taskbar Into A macOS Like Dock
As a result, we’ve included instructions for deleting System Background Images in Windows 10 below.
1. Delete Desktop Background Images
In Windows 10, system desktop background wallpapers which contain in “Wallpaper” Folder which you can access using the File Explorer on your Ppersonal computer
1. Right-click on the Start button and select File Explorer.
2. Navigate to C:\Windows\Web On File Explorer screen, and double-click on the Wallpaper Folder.
Note: In windows search bar , type “C:\Windows\Web\Wallpaper” to access the wallpaper folder.
3. You will see other Folders containing System Desktop Background images in the ‘Wallpaper’ folder,
4. Right-click on the image and click on the Delete option to delete any System Desktop Background image, so, the Desktop Background image will be deleted from your computer.
How to Delete Windows 10 Background Picture History
There are two methods for removing background picture history. The path file removal, as well as the registry editor, can be used to complete the process. Both strategies are basic and straightforward. You need to be patient and pay attention to the instructions. So, without further ado, let’s get to work.
Method 1: Update the wallpaper image
To eliminate the history of the background picture, simply make a change in the wallpaper image folder five more times. To complete the challenge, choose the wallpaper from the following folder locations:
C:\windows\web\wallpaper\theme1 and
C:\Windows\Web\Wallpaper\Windows
Method 2: Using the Registry Editor, delete the History.
This is the most effective method for erasing Background Picture History in Windows 10. To do so, take these steps:
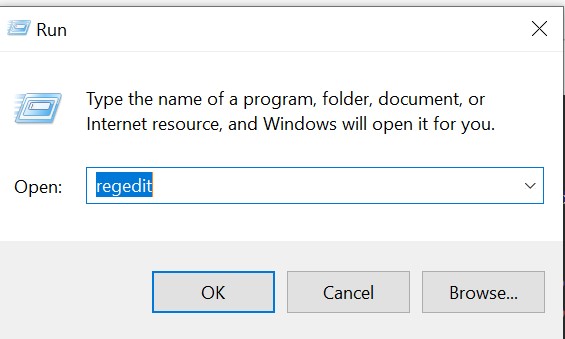
1. Start by going to the Start icon on the taskbar and performing a click. Type regedit and press Enter.
2. It will open the Registry Editor MMC in a separate window. In the address bar, type the following path and press Enter in order to continue:
HKEY_CURRENT_USER\Software\Microsoft\Windows\CurrentVersion\Explorer\Wallpapers
3.You’ll find a list of values, On the right side of the page. To proceed, delete the following values from this point. Remove Background Image History–
BackgroundHistoryPath0
BackgroundHistoryPath1
BackgroundHistoryPath2
BackgroundHistoryPath3
BackgroundHistoryPath4
These five histories are the files that Windows has remembered. You have totally eliminated the wallpaper history by removing the values, and it will never occur again.
4: Exit the Registry Editor once all tasks have been completed successfully.
Ending Remark
Every time we look at the desktop, we face wallpaper. The monotony of the same backgrounds caused boredom. As a result, changing the wallpaper regularly is a must. It’s tedious to have the same wallpaper every time. It’s also aggravating when you try to modify it using the customizing option and it reappears.
This is why we need to understand how to delete background picture history in Windows 10 and Windows 11. So thoroughly read and follow the instructions in order to get the most out of your desktop wallpaper.
Also Read: How To Add An Extra Taskbar To Windows 11


