


 Header Through Cloudflare")


There are several reasons why you need to take screenshots on a PC running on the beta version of Windows 11. Maybe you want to show the interface of Windows 11 with your friends or just capture few points from an article you are reading online and share on your social media account.
Whatever be the reason, you can effortlessly take screenshots on your Windows 11 PC by capturing either the entire screen or just a part of it.
While most of the built-in tools and keyboards shortcuts are the same as previous Windows 10, Microsoft has updated the Snipping tool feature on Windows 11. The new Snipping tool App in Windows 11 will let you take delayed screenshots of the desktop screen.
In this article, we explain how to capture screenshots using native Windows tools and keyboard shortcuts. You can pick any method which works best for you.
Also Read: How To Enable And Use Voice Typing In Windows 11
Capture Screen Regions using Snip & Sketch Tool
Sometimes you need to capture just a small portion of the screen such as a part of an article on a web page or a small part of any app Window. Windows Snip & Sketch tool will be the best for you to perform this task.
No matter which app or browser is open, just press the Windows, Shift, and S key simultaneously to launch the Snip & Sketch tool on Windows 11. You will see a rectangular box on the screen which you can move around and resize according to the portion of the screen you want to capture.
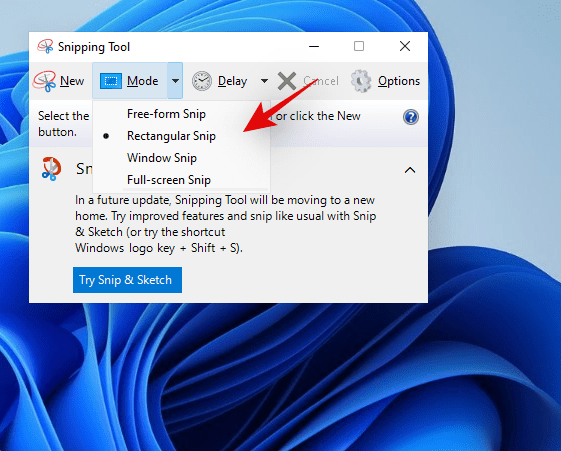
Apart from the default rectangular shape, you also have an option to pick any one of the following ways to capture the screen-freeform shape, capture the active window, or the full screen.
The captured screen will be present in the clipboard and if you click the notification, you will be taken to the Sketch feature of the Snip & Sketch Tool. Here, you are allowed to draw on the screen snap, crop it or highlight a few sections with a highlighter.
Also Read: How to Take a Screenshot ( Print Screen ) on Mac
Take a Delayed Screenshot with Snipping Tool
Sometimes you have to capture the screen after a few moments when you active the Screenshot tool. Let’s explain the situation- you may need the take the screenshot when you hover on an item that reveals a menu or when you activate the pull-down menu. If you use a ‘PrtScr’ key to capture the screenshot, the menu will vanish from the screen before Windows can capture it.
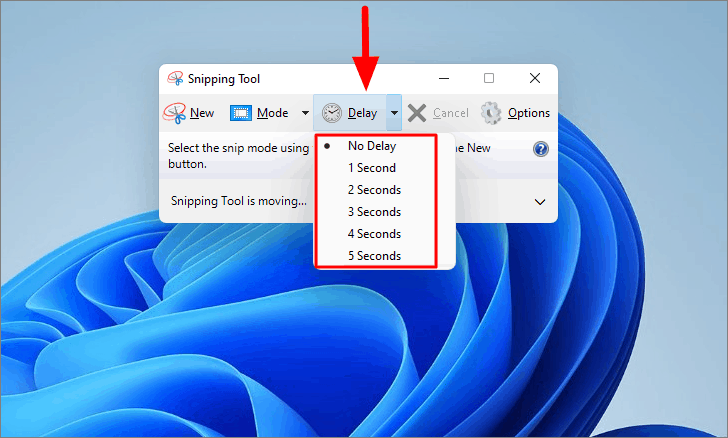
In short, you need a way that can give you a few seconds before capturing the screenshot so that you reveal the menu. To perform this task, Windows 11 has brought the all-new Snipping Tool. You can launch this tool from the Start menu or simply search for it. Here you can choose from the two options- “Snip in 3 seconds” or “Snip in 10 seconds” from the time you hit the capture button.
Now you can reveal whatever you want to capture via screenshot and once the time frame ends, the snipping tool will capture the region within the box.
Also Read: How To Hide The Taskbar Search Icon On Windows 11?
Print Screen
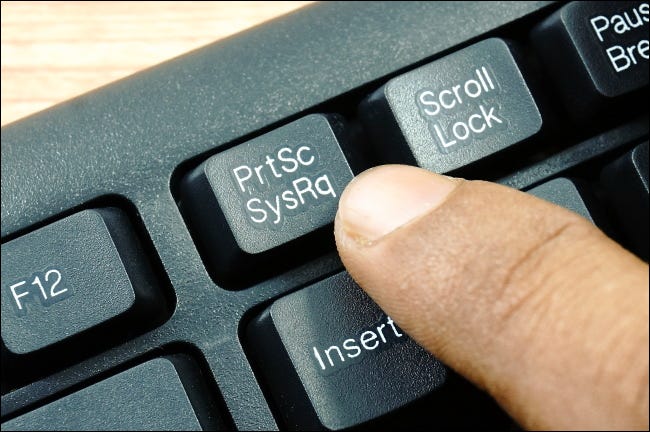
This is a very common way to capture the screen on Windows. You can press the ‘Print Screen’ or ‘PrtScn’ key generally located on the top-right row of the keyboard. The captured screenshot will not be saved on the Hard Disk, instead, it will be present on the clipboard. You can either open it on any image editing software like MS Paint or paste it on any text editor such as MS Word.
Additionally, you can also access the Snip & Sketch tool by pressing the PrtScn button. Head to Settings > Ease of Access > Keyboard and Enable the ‘PrtScn button to open Screen Snipping’ option.
Also Read: How To Fix Windows 10 Stuck In Airplane Mode In 2021?
Automatically save the file with Windows key + Print Screen
Pressing the Windows key along with the Print Screen will not only let you capture the entire screen but also save the screenshot automatically.
When you press the key combination, the screen will darken for a second indicating the screenshot has been captured. You can access the screenshots as the PNG file later in the Pictures > Screenshots folder.
Alt + Print Screen to capture the active window
Quickly capture the screenshot of the active window on the desktop instead of the entire screen by hitting the Alt and PrtScr key.
Windows 11 will snap the active window and copy it on your clipboard. You can open the snap and text editor or image editor.
Windows + G key- Game bar
Whether you are playing a game or not, you can hit the ‘Game Bar’ shortcut to capture the screen. Press the Windows along with the G key to launch the Game bar. Here, you will find a screenshot button to snap the screen. You can also use the default keyboard shortcut Windows key + Alt + PrtScn to snap the full screen.
Conclusion
There are ways to capture the screenshot on the desktop running on Windows 11. Whether you need to take a delayed screenshot, capture the active window or highlight some text on the snap; Windows 11 has got everything covered.


