


 Header Through Cloudflare")


In this article, we will discuss five incredibly important Oculus Quest 2 Settings we bet you were not aware of.
If you own an Oculus Quest 2, you know that it is comparable when it comes to offering an exceptional virtual reality experience. Now that Facebook has renamed itself to Meta, the future of Oculus Quest and virtual reality is very promising.
If you have recently purchased the device or have been using it for a while, there is a chance that you might now be aware of several settings that can help improve the device’s capabilities. The good thing is that these settings can still be configured after you’re already set up your Quest 2 and have been using it to experience virtual reality for quite some time. After configuring these settings, you’re bound to gain a rich virtual reality experience.
If you are interested in learning about these advanced settings, stay with us as we walk you through these preferences that can help you make the most of your VR headset.
Also Read: How To Play Roblox On Oculus Quest 2

Sync Your Phone Notifications
VR is a bewitching world; you cannot help but agree. That’s the reason we get so engrossed that losing the track of the real world is not a big deal. So if you do not want to miss your calls, and important notifications, you should consider syncing your phone’s notifications with your headset.
To make this happen, you should install the Oculus app on your smartphone and login into your VR account. It’s nothing new as you would have already gone through these steps when you set up your Quest 2 from scratch.
- Now open your app and access the Menu.
- Next, go to the ‘Devices’ section and then choose Phone Notifications.
- Finally, press the Continue button.
- Now go through the steps of pairing your smartphone with your VR headsets and access the phone notifications.
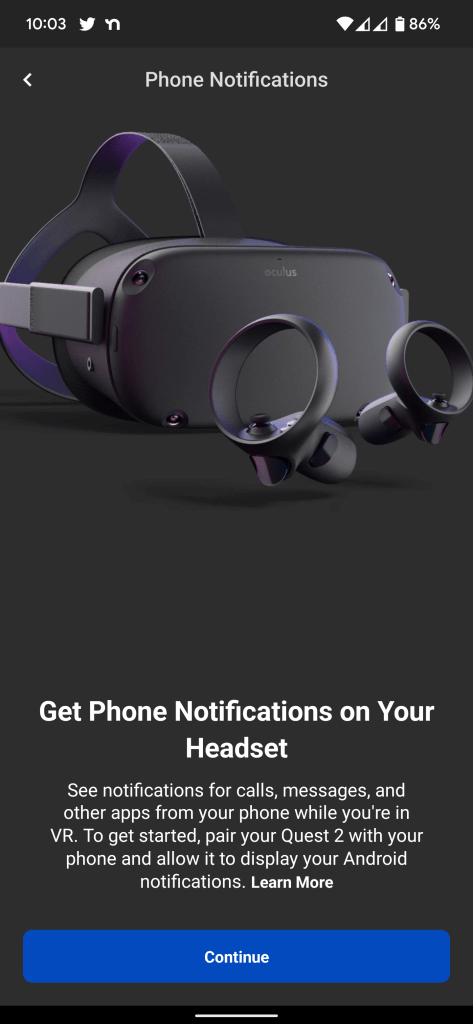
Ensure that the toggle for Phone Notifications in VR is in on position. You can also choose whether you want to get the notifications for Messages and Calls; only when you’re on the home screen, Always or Never.
Also Read: How To Set Up Virtual Desktop On The Oculus Quest 2
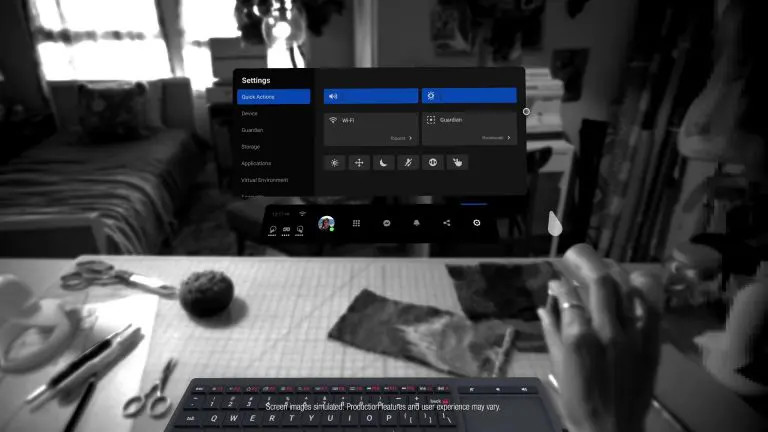
Control Notifications, Including Do Not Disturb
Even though apps for VR headsets don’t bombard you with notifications, however, even a single pop-up can ruin your gameplay. To avoid that from happening, Quest has given you the freedom to disable these notifications for some of the Quest 2 apps. If you want to disable notifications for the apps, you can enable Do Not Disturb mode. Let’s see how:
- Press the Oculus button and then choose the ‘time and other icons’ option from the left panel.
- Now access Settings> Notifications > Apps and then scroll down to choose the app for which you want to manage the notifications.
- Here you can specify the place where you want to see the notifications and even disable notifications for the app.
- To enable Do Not Disturb mode, go to the Do Not Disturb tab and move the slider to the open position.
Also Read: How To Take And Share Screenshots And Video Clips On Oculus Quest
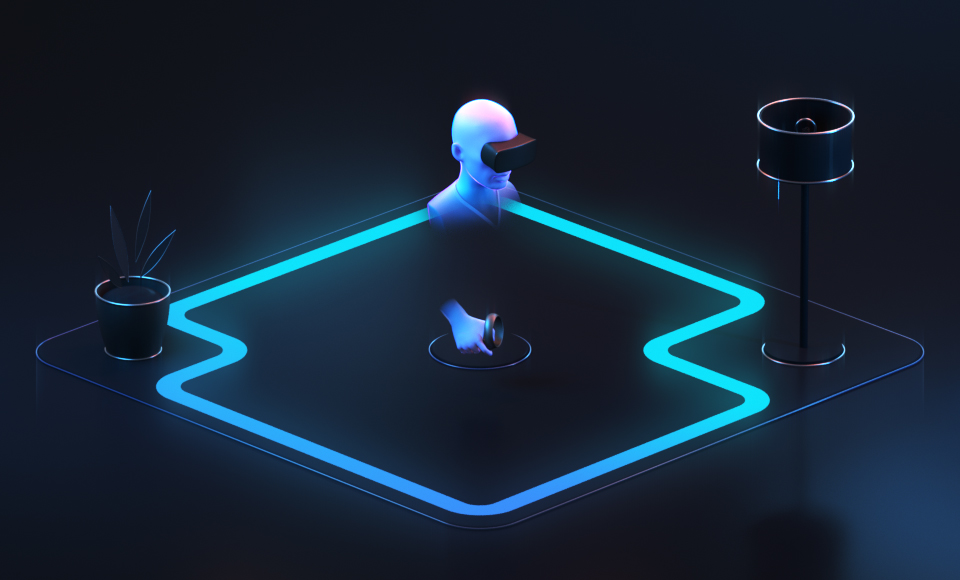
Tweak Your Guardian Setup
The Guardian feature of Quest 2 lets you set the VR play area during the initial setup so that you do not collide with objects in the room.
However, you can tweak these settings later if you are facing issues later on. For this, go to Settings and then choose the Guardian option.
In the General section, you can change the default color of the boundary. The Roomscale tab lets you change the boundary sensitivity and so on.
Also Read: How To Play Steam Games On The Oculus Quest 2
Enable Passthrough to see the surrounding area
We know it is no less than a headache to take off your headset to see your position in the room or look for any object. Thanks to the Passthrough feature, it is not required to take them off. Passthrough enables you to look at the surrounding area while wearing your headset. Here’s how you can enable it:
Go to Oculus Settings and then choose the Guardian option.
Now go to the General section and then turn on the toggle for Double Tap for Passthrough.
After this, you can tap either of the two sides of the headset to look around the room.
To turn off the passthrough feature, tap the sides again.
Also Read: How To Factory Reset Oculus Quest 2
Enable the Voice Assistant
If you are a resident of the United States and you’ve chosen English as your device language, you have an option to turn on the voice assistant that can perform many tasks on your Oculus Quest 2. This is very useful as using your voice to dictate commands is much faster than going through several menus.

- If you want to turn on the Voice Assistant, here is what you need to do:
- Access the Quick Settings using the procedure given above.
- Now click on the Voice Commands option depicted by an upward-facing arrow.
- Go through the series of steps to turn on the shortcut for using the voice assistant.
- When you want to dictate the commands, double-tap the Oculus button on the Controller.
Also Read: How To Enable Cloud Saves On The Oculus Quest 2?
Elevate your VR experience
That’s pretty much it! Try out these advanced Oculus Quest 2 settings and up your virtual reality gaming experience. Do you know more about such advanced settings? Don’t forget to let us in the comments below.


