


 Header Through Cloudflare")


Keep reading below to know how to enable and use Virtual Desktop on Oculus Quest 2.
Oculus Quest 2 is a VR headset that is capable of providing an exceptional experience to its users. Now that Facebook has renamed itself to Meta to represent its Virtual Reality segment, Oculus is surely gonna reach new heights of transformation and success soon. We have been providing comprehensive guides on Oculus Quest 2 to help you make the most of the VR headset. If you have missed them, follow the links to those articles.
Quest 2 lets to play Steam games and if you want to know how to check out the article for it.
Also Read: How To Play Steam Games On The Oculus Quest 2
However, the Air Link for Quest 2 is not reliable and is known to cause problems now and then. Luckily, you can set up the virtual desktop to play steam games.

Virtual Desktop is an app that helps stream your PC’s content to your Quest 2. This means you can play steam games and control your PC simultaneously through your Quest 2 headset. Sounds interesting, right?
To know how to set up and use Virtual Desktop on Oculus Quest 2, keep reading our article.
Also Read: How To Sideload On Oculus Quest 2?
Pre-requisites of Using Virtual Desktop on the Oculus Quest 2
Before beginning to set up Virtual Desktop, you need to meet the requirements for doing so. Let’s see what these requirements are:
- VR Ready PC
Virtual Desktop lets you play the VR games on your Quest 2 by casting your entire screen. For this, it is essential to make sure your PC meets the hardware requirements required for streaming games. After you are sure about it, keep scrolling.
- Oculus Software Already Set Up
You should download and set up the Oculus Link by Facebook to set up a wired and wireless connection between the Quest 2 headset and your VR PC.
- 5GHz Router Connected to PC
You should know that the Virtual Desktop app requires a super-fast and stable internet connection. Officially, you should arrange a Wi-Fi offering 5GHz speed. Besides, ensure you are using an ethernet cable to connect your PC to the router.
- Fully Charged Quest 2
Since we are going wireless with Quest 2 instead of the wired connection, you need to ensure that the Quest 2 is fully charged before you begin setting up the Virtual Desktop app.
After the above requirements are met, let’s begin to set up the Virtual Desktop for the Oculus Quest.
Also Read: How To Factory Reset Oculus Quest 2
Download Virtual Desktop for Oculus Quest 2
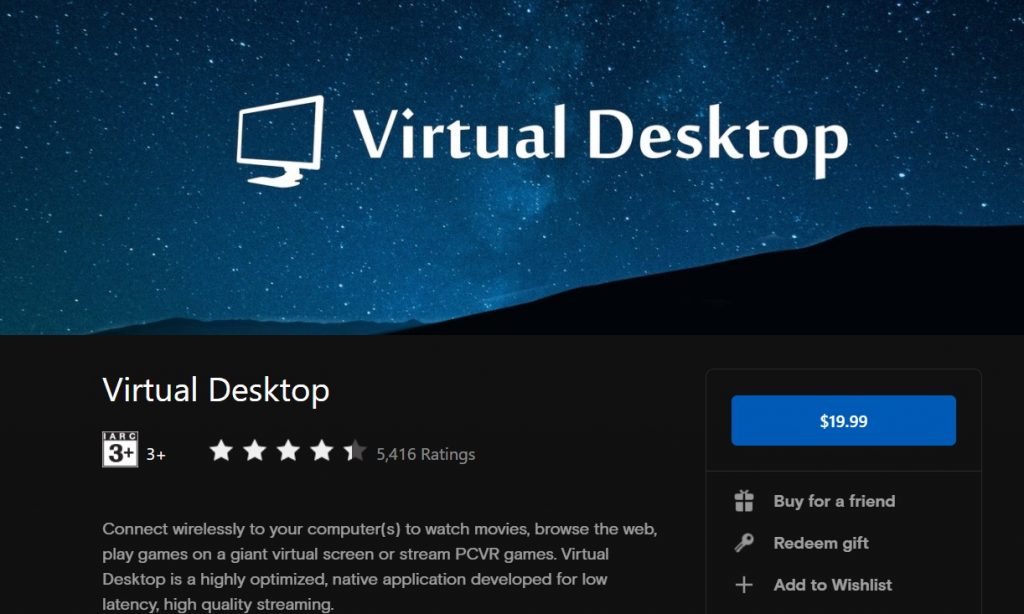
You need to install Virtual Desktop on your PC and your VR headset. Do keep in mind that you need to purchase Virtual Desktop for VR headset as it is a paid app.
Avoid purchasing the app from the Steam Store. Instead, go to the Oculus Store and purchase Virtual Desktop from there. Visit the link here and purchase the app costing $19.99. Now install the app on Quest 2 and then keep reading below.
Note: Your PC and Oculus Quest 2 must be using the same Wi-Fi network for the successful set up of Virtual Desktop.
Set Up Virtual Desktop for PC
Now you have to download and install Virtual Desktop Streamer App for your PC. Don’t worry it is free of cost unlike the one for Quest 2. Follow the link to visit the official website and download the Desktop app that is compatible with your PC.
- After the installation is successful, follow the steps given here:
- After the Virtual Desktop app will launch on your PC, you will be taken to the Accounts settings and you will have to create a username.
Note: You don’t have to enter the email address in the text box but your name in the VR headset.
- If you are still clueless about it, wear your headset and access the Quick Settings tab. Your Quest 2 name will appear on your headset copy this name and enter it in the Virtual Desktop.
- Press the save button and username will appear on the screen.

Now you’re done setting up Virtual Desktop for your PC. Now go ahead and set up the app for Quest 2.
Set up Virtual Desktop for Oculus Quest 2
Now power on the Quest 2 headset and go through each step to set up a virtual desktop for Quest 2:
- Open the Virtual Desktop app and you will be greeted by a tutorial briefing you about the user interface.
- Now you will see your PC listed on the Computer tab in the Virtual Desktop app.
- If not, try connecting it manually. If you are unable to do so, it means your internet connection is not reliable.
Make sure your network connection should meet the following criteria:
5Ghz Band
866 Mbps
Video Bitrate – 8.0 Mbps and above
When your connection is stable enough, you will be able to play games and stream content on your Oculus Quest 2 using Virtual Desktop.
Also Read: How To Play Minecraft On Oculus Quest 2
Conclusion
That’s pretty much it! If you have successfully configured the Virtual Desktop app on your Quest 2, you can begin playing games on it. Go to the Games tab and tap the launch of your favorite games and play it via Virtual Desktop. With this, signing off.
Also Read: How To Enable Cloud Saves On The Oculus Quest 2?


Great tutorial! I’ve been eager to set up a virtual desktop on my Oculus Quest 2, and this post made it incredibly straightforward. Can’t wait to try it out and see how it enhances my VR experience. Thanks for sharing! 😊
Great tutorial! I just set up my virtual desktop on my Oculus Quest 2 using your steps, and it’s working great. The desktop is so much bigger and more immersive than the default Quest interface. Thanks for sharing this helpful guide!
Wow, I had no idea it was so easy to set up a virtual desktop on the Oculus Quest 2! Thank you for the clear instructions. My gaming experience has already improved significantly with this setup. One question though, what are some recommended apps for managing virtual desktops?