


 Header Through Cloudflare")


Today we will be diving into the world of Open Broadcaster Software or OBS. If you have ever dreamt of sharing your creative ideas, gameplay, or simply connecting with others in the digital realm like on streams, then you’re in for a treat in this blog, we’ll be exploring not only the basics of OBS but also learning about it and some of its hidden usage and techniques, empowering you to transform your vision of recording or broadcast into a reality. So generally, just grab a comfy seat and join us as we venture into the fascinating world of live streaming and recording with OBS.
This powerful, free, and open-source tool is beloved by content creators, gamers, and live streamers for creating quality content. It is so easy to set up and use once you get the gist of it.
At the start, one thing is for sure, starting with OBS Studio can seem a bit daunting for beginners. But no worries- We definitely got your back. In this easy-to-follow guide, we’ll walk you through setting up OBS Studio from scratch, so you can kick off your very first recording or live stream without even sweating.
DOWNLOAD
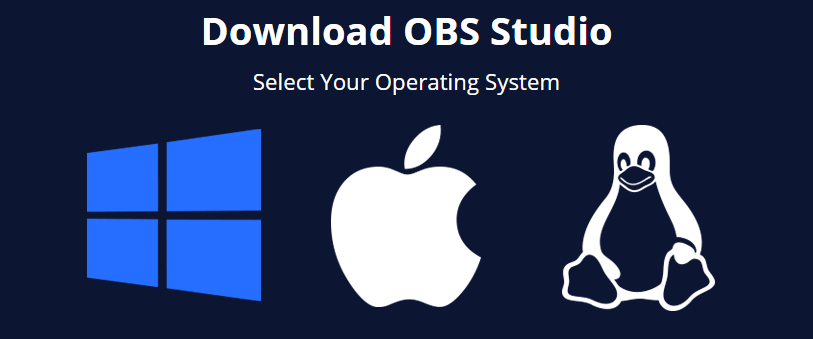
Before everything else let’s talk about where to download it and to what platforms it is available at
It is available to be downloaded on their website https://obsproject.com/download & also on Steam available platforms.
Compatible with Windows, MacOS & Linux.
Windows versions specifically: Windows 8, Windows 8.1, Windows 10 & Windows 11. Though many of the said reports stated that it can be installed on Windows XP and Windows 7, it was also stated that that would not be a reliable experience since the said operating systems are no longer supported by unmodded or official current versions of OBS.
While it is also available on macOS 10.15 and newer with both Intel systems and apple silicon systems.
For Linux-based systems, OBS is distributed as flatpaks on flathub. (We would not be tackling the installation through Linux for this article, for it is too in-depth.
Also Read- OBS Studio Not Recording On Windows 11? Try These Fixes
Installation
- 1. Download your installer for the selected platform.
- 2. Click on the “Download Installer” button to now start the download.
- 3. Double-click the installer and proceed with the setting up.
Let’s get familiarized with OBS.
There are multiple parts to OBS, let us get you familiarized with the *parts* of it in a way.
SCENE TAB – A scene in OBS is simply a mix of your video and audio layers (sources). Think of it as putting together pieces of a puzzle – each layer has its own specific input. Let’s say you’re creating a live stream and want to include video from your webcam, audio from your microphone, and a video from your device’s screen. Just add these three layers to your scene’s sources, and OBS will blend and stream them all at once.

WHAT ARE SOURCES:
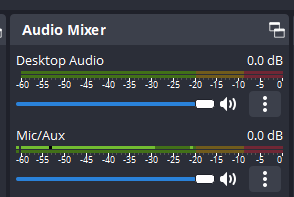
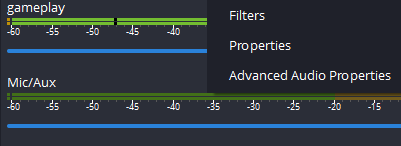
AUDIO SOURCE – Usually, OBS Studio automatically picks up your computer’s default audio inputs and outputs. Just take a look at the Audio Mixer next to the Sources box to see if the levels change when you’re talking or playing sounds. If you want, you can click on Settings and visit the Audio tab to pick your audio sources by hand.
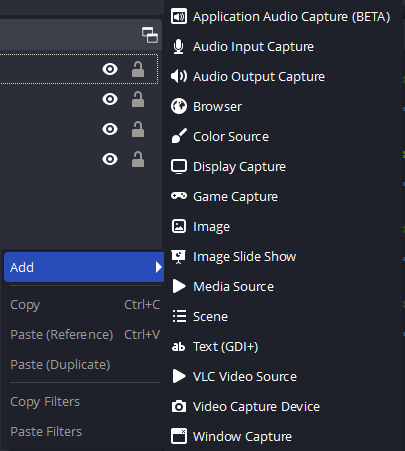
VIDEO SOURCE – With video sources, it’s a whole different game. You’ll notice the video preview is black, which means OBS doesn’t have any added video source yet. To fix this, simply add a video source in the Sources box next to the Scenes box. Just right-click inside the box and add a new video source.
MOST USED TYPES OF SOURCES.
- 1. Game Capture – lets you grab the window of the specific game you’re playing.
- 2. Window Capture – useful for capturing most non-game windows.
- 3. Video Capture Device – adds your webcam or capture card as a video source.
- 4. Browser source – adds a browser link as a source, allowing you to put the browser content directly on your recording or stream.
- 5. Display Capture – capturing your entire screen/display.
- 6. Image Source – adds various image types to your scene, supporting almost any image format.
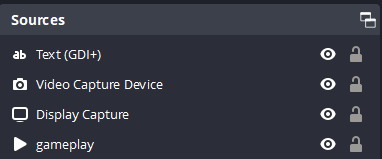
HOW DOES LAYERING WORK ON OBS?
Layering in OBS works by stacking multiple video sources on individual layers, allowing you to customize and manage the appearance of your stream. To effectively use layering, add each video source to a separate layer. The top layer in the Sources list will appear in front of the others.
For instance, when streaming a game with a webcam overlay, place the Video Capture Device layer first, followed by the Game Capture layer. Check the preview window to ensure proper layering. If adjustments are needed, simply drag and drop layers within the Sources box for the desired arrangement.
HOW CAN I ADD FILTERS AND EFFECTS?
To add filters and effects in OBS, follow these steps:
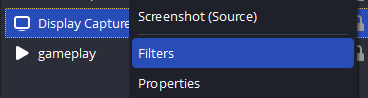
- 1. For audio filters, right-click on the audio source, and select ‘Filters’. Here, you can apply compression, adjust gain, add noise gate, suppression, VST plugins, and more.
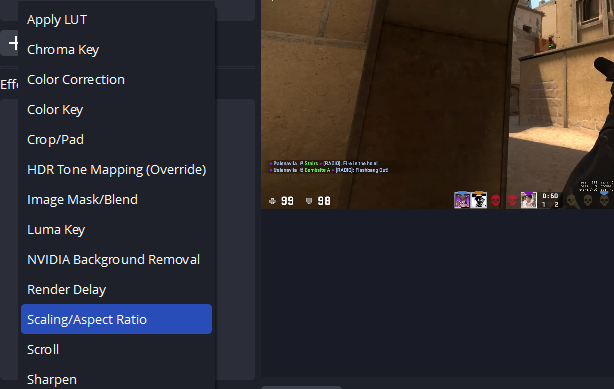
- 2. For video filters, right-click the video source, and choose ‘Filters.’ You can apply Chroma Key, modify the scaling/aspect ratio, crop the picture, and explore additional custom plugins for more filter options.
HOW TO FINALLY START A STREAM OR RECORDING?
To stream, head to Settings. Once there, select the Stream tab, and you’ll see a Service drop-down list. Pick the platform you want to stream on, like Twitch, and then paste your Stream Key. Make sure to apply the changes and hit OK. Finally, just click the Start Streaming button at the bottom right, and you’re good to go!

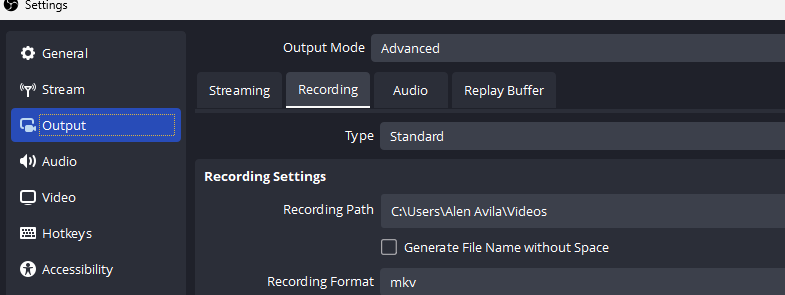
To record, it is almost the same as streaming but instead of setting up everything on the stream tab, all you have to do is go to the main window and hit the start recording button. You can also check your recordings base on the set path on your settings.
Now what a fantastic tool OBS is for all users from experienced to total new users seeking to customize their recording and live streaming experience and create high-quality content for platforms like YouTube and Twitch. With its minimal impact on frame rates, it’s ideally suited for budget systems too. While beginners may find the initial setup a bit challenging, investing time to learn the ropes is well worth the effort, as OBS Studio opens up a world of possibilities for content creators.
Also Read- 20 Best Steam Deck Games


