


 Header Through Cloudflare")


If your network is running a domain or, you are running a Windows server, you are likely configured as a domain. I will show you how to configure your Windows server and workstations to log in with a Yubikey securely. So, get your propeller hats ready as this is going to get a wee bit technical.
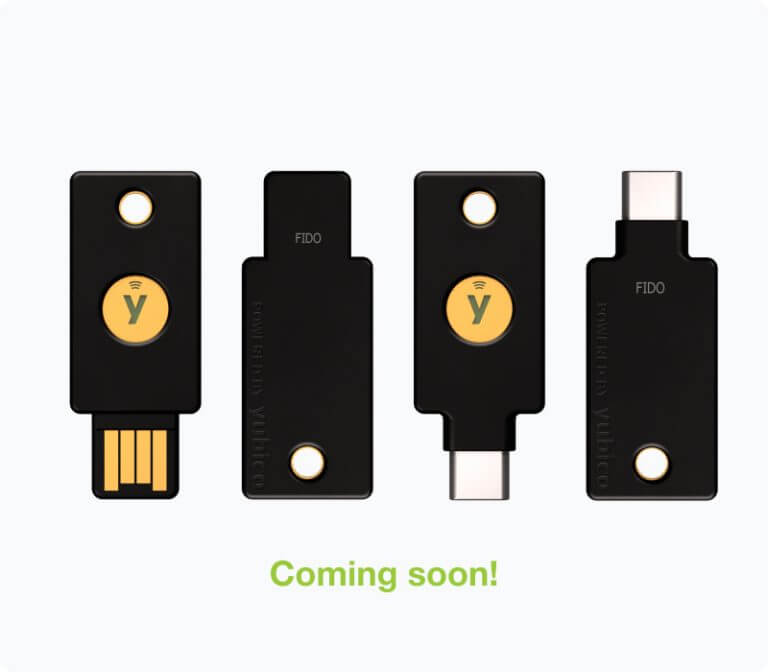
What is Yubikey?
If you don’t know what a Yubikey is, it is a piece of small hardware that you can plug into the lightning adapter in your phone. Or into the USB-C port on your computer, or a plain old USB port on another type of computer. You use it for second-factor authentication. So when you go to log in to a site, you type your username, and the password you plug your Yubikey in, and then you typically tap a connecter on there. It’s a little piece of copper that’s on the side of the Yubikey. It prompts Yubikey to generate a one-time password and input it into that two-factor field on that system.
Personal Identity Verification aka PIV card
Windows and mac use a personal identity verification or PIV card standard for smart card verification to log into the Windows operating systems. PIV uses security certificates to prove your identity. It is mathematically secure and computationally infeasible to try and guess keys. Therefore, they are the preferred method of identification verification. Moreover, the US federal government uses PIV for accessing federally controlled facilities and information systems.
As we will be logging into a windows domain, we will see how certificates are configured on the server and workstation. The Yubikey PIV is secure storage for the user certificate.
Warning: This is not for the faint-hearted. It requires the configuration of servers and workstations. Furthermore, it requires renewal of certificates after the expiration time which if not planned for could cause downtime for the entire organization.
What do you need?
This configuration requires a specific set of Yubikeys like a Yubikey 5 FIPS series. You need to make sure that both your servers and workstations support Yubikeys. The rule of thumb is you must be running Windows Server 2012 R2 or above as your server and Windows 8 or above on your workstation. Installation of the Yubikey mini driver is required on all computers the key will be used on. If used in a remote desktop environment, the mini driver must be installed on both the source or the client and the destination or the server.
There are plenty of gotchas in this configuration. As mentioned in the warning part, certificates expire. By default, the root certificate expires at five years. Again by default, the user certificates expire in one year. By default, user certificates auto-renew six weeks prior to expiration. Computers that Yubikey is using must be on the network to renew the certificate.
In other words if you have a laptop that is used in the office and taken home, the renewal prompt appears at home. The certificate can’t be updated on Yubikey unless it is connected to a VPN or on the network at the office. Non-renewal of certificates will mean that the user will be locked out. And probably the biggest gotcha is a non-renewal of the root certificate which will mean the entire organization will be locked out once it expires.
Also Read: How To Install Windows Server 2016 ?
Renew Certificates for Yubikey
It’s very important to diarise these expiration dates to make sure reminders are set to ensure a smooth transition at the time of expiry. Most people won’t remember the keys for five years which are about to expire. Thus, it is important to manage these. Furthermore, a remote desktop requires a special configuration of the mini driver on the server. Remote desktop connections must not be enabled for network-level authentication or the connection will fail.
There is a technical reason behind this involving Kerberos tickets but this is way out of scope to discuss here. Just know that the option in the dialog box configures network-level authentication needs to be unticked if you want to use the remote desktop connection to that workstation or server. Using Yubikey to administer hyper-v servers can only be done with generation 2 servers enhanced session mode must be enabled on the guest server to pass through USB.
When connecting to a server set local resources to pass through smart cards. We are going to configure a server and workstation from scratch to support Yubikey’s login. It is hard. While this blog tells you how to easily configure servers, support of such a system may go above the heads of some IT professionals who are not experienced with digital certificates.
Also Read: [Fixed] WindowServer Crashing After Upgrading To macOS Ventura
How to set up Yubikey on a domain network?

In other words, on a network with a server. First things first, you need to install the certificate service role on either your domain controller or a member server. You can do it through the server manager dashboard, and add the active directory certificate services role. And then hit next a few times and make sure the certification authority is ticked and click next. Further, click install. Wait for it to install as sometimes you need to restart the server and sometimes you don’t.
So be prepared as you may have to restart. It can take a few minutes to install. Once it’s done, hit configure active directory certificate services on the destination server. Enter the login credentials which are usually just the administrator account where you have to tap on next. Make sure you tick the box certification authority and click next. Make sure it’s an enterprise CA and click on next. Further, select Root CA and click on next. In the next dialog box, new private key is fine so you will click on next.
You can accept the defaults in the next slide, click on next, keep the default name, and tap on next again. Keep the validity period of five years which is fine, and click on next. The default location for logs is fine as well and click on next. Finally, click on configure. By default, Windows does not recognize the security key format that you have just created. For that, you need to update the group policy to allow you to use elliptic curve cryptography certificates.
Also Read: 9 Fixes For Outlook Not Connecting To Server Windows 11
To do this:
- Step 1: Open up the group policy editor.
- Step 2: You have to create a new GPO just for Yubikey. Right-click on the domain and select “Create a GPO in this domain, and link it here…”.
- Step 3: You can give it any name like Yubikey and click on Okay.
- Step 4: Edit the new group policy object. Right-click on it and select edit. Now you need to update the group policy to allow for an elliptic curve certificate under computer configuration.
- Step 5: Go to policies, administrative templates, windows components, and smart card, and enable the group policy by clicking on allow ecc certificates to be used for log-on and authentication.
- Step 6: Click on okay. You could either wait for group policy to update or you could force a group policy update. After clicking on force group policy update, tap on yes to allow the app to make changes.
- Step 7: Go into the power shell and use the command gpupdate/force and you’re good to go on the server.
- Step 8: You can check to make sure that this group policy has been updated by using the rsop.msc command. This gives you the resultant set of policies screen. You can now confirm from this screen that the policy is enabled. It will show all of the policies that are enabled for this user or computer.
- Step 9: All you have to do is find the policy that you’re interested in and this one going to be under computer configuration administrative templates, windows components, and smart card.
- Step 10: Next you will be able to see that the settings are enabled and it’s under the GPO named under Yubikey which is exactly where you have to put it.
Close the screens
Go back to the group policy now where there is one more section under Windows settings, security settings, local policies, and security options. You can set a group policy to determine how your computer responds to the Yubikey being unplugged. Scroll down and find the group policy interactive logon smart card removal behavior. Double-click on it and you can then define this policy. By default, there is no action but if you remove the key, you can set it to either lock the workstation, force a log-off or disconnect if it’s a remote desktop session.
It is up to the business management to determine which one they would prefer. Apple no action and then click on okay if you don’t have anything as such.
How to create a certificate template?
This certificate template will be used by each user to populate your Yubikey with an authentication certificate. For that, follow these steps:
- Go to the run command and type in certtmpl.msc and hit okay.
- This brings up the certificate template’s console. Scroll down and right-click on smart card logon.
- Select duplicate template. There are quite a number of changes that we need to make to this template to make it work.
- First things first, you need to look at the compatibility, certification authority, and certificate recipient. You need to make sure they are at the same levels as what your server and your workstations so if you have a 2016 or 2019 server you choose, server 2016 in the certification authority section.
Next, you need to know the minimum operating system that you have on your network. If you have a Windows 7 machine but everything else is Windows 10, you still need to select Windows 7. Moreover, if everything is Windows 10, you have to select Windows 10 which is what you have to do next.
Also Read: How To Install Microsoft SQL Server In Windows 11?
Follow these steps
- Step 1: Click okay on the screen that pops up.
- Step 2: Click on the general tab.
- Step 3: There you will have to type in the name of the template. For example, in this case, you are going to call it Yubikey. You will be able to see the validity period of one year and the renewal period of six weeks. They are both okay to stay as they are.
- Step 4: Next you need to tick the box next to publish the certificate in the active directory. Also, do not automatically re-enroll if a duplicate certificate exists in the active directory.
- Step 5: Tap on the apply button.
- Step 6: Click on the request handling tab and keep the purpose and signature as well as encryption. Tick the box includes symmetric algorithms allowed by the subject.
- Step 7: Tick the box for automatic renewal of smart card certificates.
- Step 8: Further, use the existing key if a new key cannot be created. Change the radio button to prompt the user during enrolment and tap on apply.
- Step 9: Go to the cryptography tab and update the provider category to the key storage provider. Change the algorithm name to ecdhp384 and hit the radio button requests.
- Step 10: Enable Microsoft smart card key storage provider with a request hash of sha256 and click on the apply button.
Now in the security tab, you have to add the user or group that this certificate is going to apply. In this case, it’s going to be all users in the network or domain users. You can add in domain users, click on check names to make sure it is spelled correctly, and then tap on okay.
Furthermore, click on domain users, and now you need to set the permissions for these users. You also need to make sure you have read the tick marked in the allow column and so for enroll and auto re-enroll.
Follow these steps
- Once this is done, you can click on Apply and then okay. Now you have successfully set up the template you will use with Yubikey. Moreover, there are a couple of additional settings that you need to change.
- Right-click on the start button and go to the run command.
- Type certsrv.msc and press enter. You need to add the certificate template to the certification authority.
- To do that, go to the certificate template under the server name.
- Right-click on the White space and select the new certificate template to issue.
- Scroll down to Yubikey, select it, and click on okay.
You should be able to see it added to the top of the certificate template section. And it can take up to eight hours to populate throughout your network depending on how complex your network is. However, most networks update instantly. After this, you need to update four more group policies.
Go to the command prompt
Once again go to the run command and type in gpmmc.msc to open up group policy management. Under the domain, you should see your Yubikey group policy. Right-click on this and select edit. In computer configuration, go to Policies, Windows settings, security settings, and public key policies, and click on that. In addition, right-click on certificate services client auto-enrolment and click on properties. Change the configuration model to enabled. Tick the boxes next to renew expired certificates and update certificates that use certificate templates.
Tap on okay and right-click on certificate services client, certificate enrolment policy and click on properties. Once again change the configuration model to enabled and then click on okay. Now you must update the same policies under user configuration. Go to policies, windows settings, and security settings, and click on public key policies. Furthermore, right-click on certificate services client, certificate enrollment policy, and click on properties. Change configuration model to enabled and click okay.
Right-click on certificate services client auto-enrolment and then click on properties. Change the configuration model to enabled and put ticks in the boxes as you did the last time. Next, renew expired certificates and update certificates that use certificate templates. And click on okay to save it. Finally, the group policies have been updated.
How to do a group policy update?
- To do this, right-click on the start button.
- Go to PowerShell admin and type in the command gpupdate/force and press enter.
- Once group policy is updated, you can go to the workstation to update the Yubikey. On the Windows 11 workstation, you may get an icon down by the time that looks like a certificate. If you click on that, it should launch the enrollment wizard. However, if the certificate is not there you need to run the command manually.
- Open up the Windows terminal or command prompt and type in the command certreq -enroll Yubikey. This will now launch a wizard that will allow you to put a certificate on your Yubikey using the Yubikey template that you created earlier. Furthermore, on the wizard screen click on next and then click on enroll. You now have the Yubikey plugged in and it will ask you to enter the pin of the Yubikey. Type in the pin and it will enroll your certificate on the Yubikey.
- Click on finish. The current user can now log into the Windows domain using that Yubikey. Sign out and then on the login screen click on the sign-in option and select a smart card. You will see that it has read your login details from the smart card. Type your pin and click on log in. No need to enter a password or the need for Yubikeys to log in for all users except for those enrolled.
- If you go back to log in with another user like the admin of the network, you can enter the password and it will allow you to log in.
How to enforce the login of Yubikey for that user?
- Go back to the server.
- In server manager, you go to active directory users and computers.
- You have to select the user by double-clicking on it.
- Go to the account tab.
- And in the account options section, putting a tick next to the smart card is required for interactive logon.
- Click on okay.
- Back on the workstation if you try entering the cyber informer’s password, it will get denied. It will display a message that tells you that you must use Windows hello or a smart card to sign in. Plug in the smart card and then click on the smart card button. Now you can enter the pin and it will log you in.
Yubikey manager
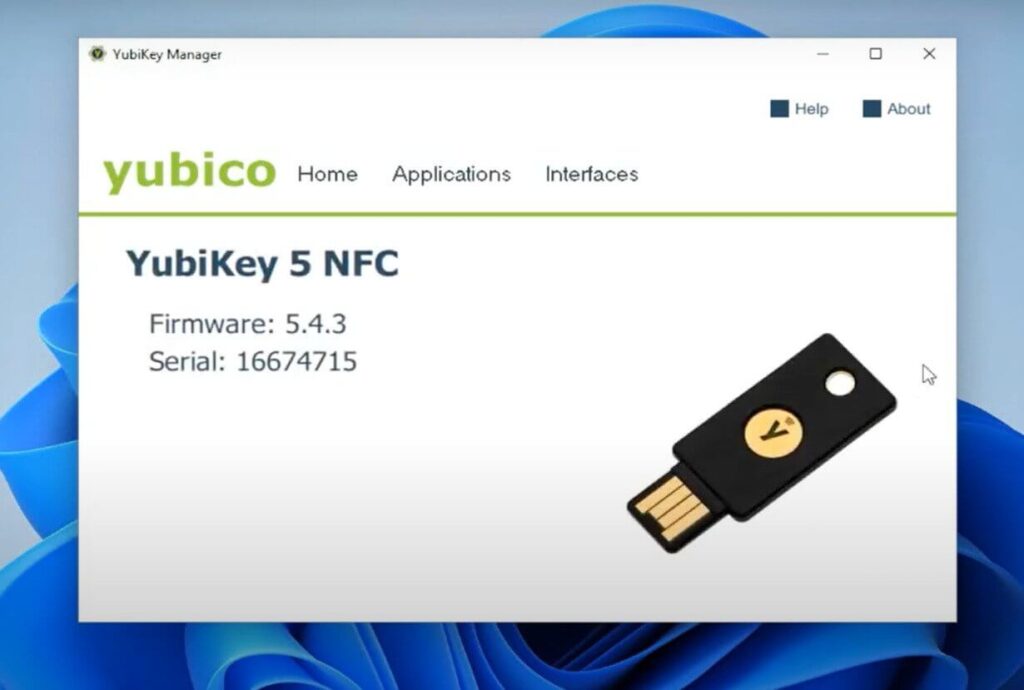
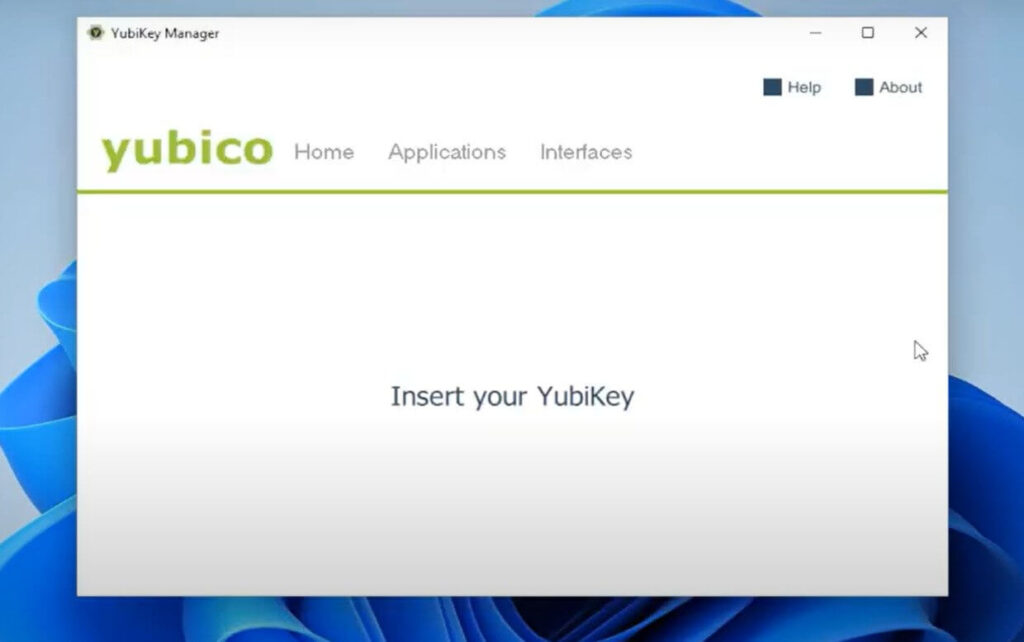
That is everything to do with the setup of Yubikey, but let’s look at what’s actually on the Yubikey. Go to the start button and type in Yubikey manager. Click on Yubikey manager and it will open the Yubikey manager screen. When you insert the key, you will be able to see the Yubikey that you have inserted. Go to applications and select PIV.
The screen allows you to configure pins under pin management. You can change the pin, change the management key, and you can see the certificates loaded when you go in there. Further, you can see the security server CA Cyber informer. That’s the certificate on the key and that’s what allows you into the login window. In addition, you can see other slots for different types of certificates.
You can also reset the PIV. Reset everything back to factory default if you want and finally, under interfaces, you can see it has USB and NFC. You can turn on and off the different types of authentication based on the type of connection USB or NFC. In your case, you can leave them all on without denying anything. And this concludes a walkthrough of Yubikey on domain networks.
Conclusion
In summation, there are some key points, you can take into account. Firstly, this can be hard. However, if you are able to configure it once, it offers bulletproof security to domain networks. Yubikey brings enterprise-grade security to your small or medium business. Certificate management needs to be considered and planned for during implementation. For admins, it is complex but for the end users secure login couldn’t be easier. Multi-factor authentication on domain networks can be complex and expensive. In comparison to these expensive systems, Yubiey makes the infrastructure cheap and simple by using certificate services already available in Windows.


