


 Header Through Cloudflare")


Below, we have discussed various ways to migrate from Intel Mac to M1 Mac.
Purchasing a new Mac is indeed a fantastic feeling, but realizing that all your data is still on the old one is less than ideal. Some may consider it an additional headache to move the data from the old Intel Mac to the M1 mac, however, it is incredibly easy than it seems. There are various ways to migrate from Intel Mac to M1 Mac. More than that, files may need to be transferred from your old computer to your new one. There are various ways to move files locally from an outdated computer to a new Mac, most of which are compatible with swapping from a Windows PC to a Mac.
So in this article, we have covered every procedure possible to migrate from Intel Mac to M1 Mac.
Also Read: How To Boot Intel Mac Into DFU Mode?
Ways to Migrate from Intel Mac to M1 Mac
Use Migration Assistant
Now that you are prepared use Migration Assistant to move your files from the old Mac to the new Mac.
On the New Mac perform the following steps:
- You can access Migration Assistant by opening the utility folder in your Applications folder. Click Continue at the end.
- Give Migration Assistant your administrator password when it requests authorization to make changes, then click OK.
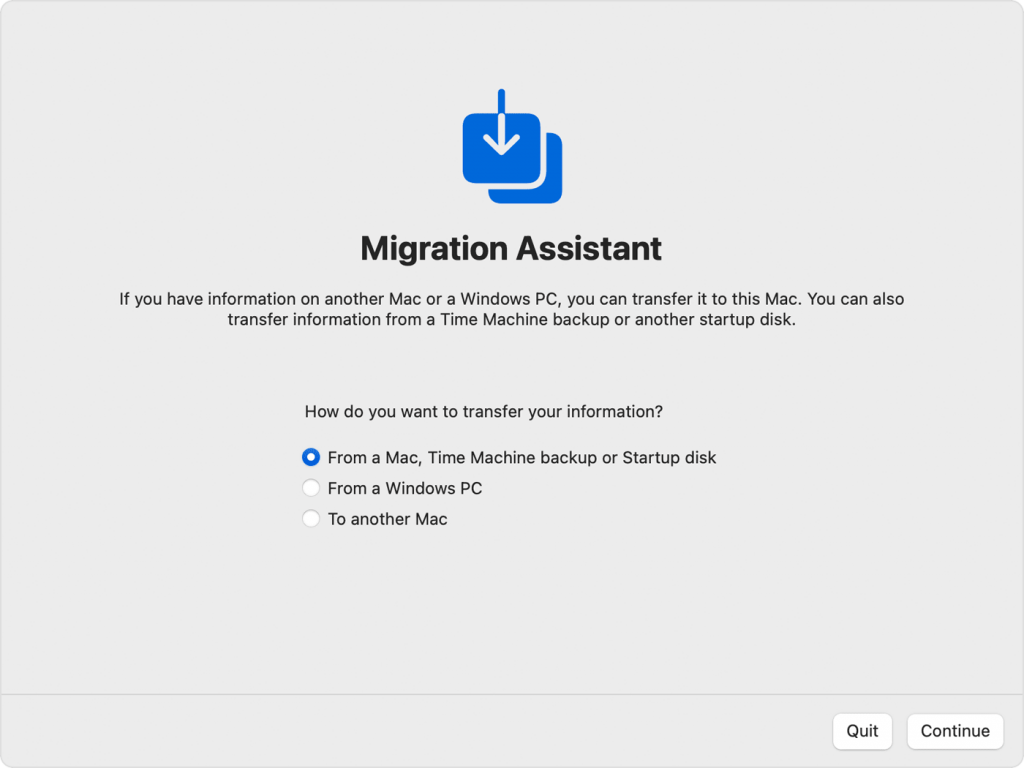
- When asked how you wish to transfer your data, a startup disk, a Time Machine backup, or a Mac should be your first choices. Click Continue at the end.
Now go back to the old Mac and do the following:
- Select Migration Assistant from the Utility section of the Applications folder. Finally, click Continue.
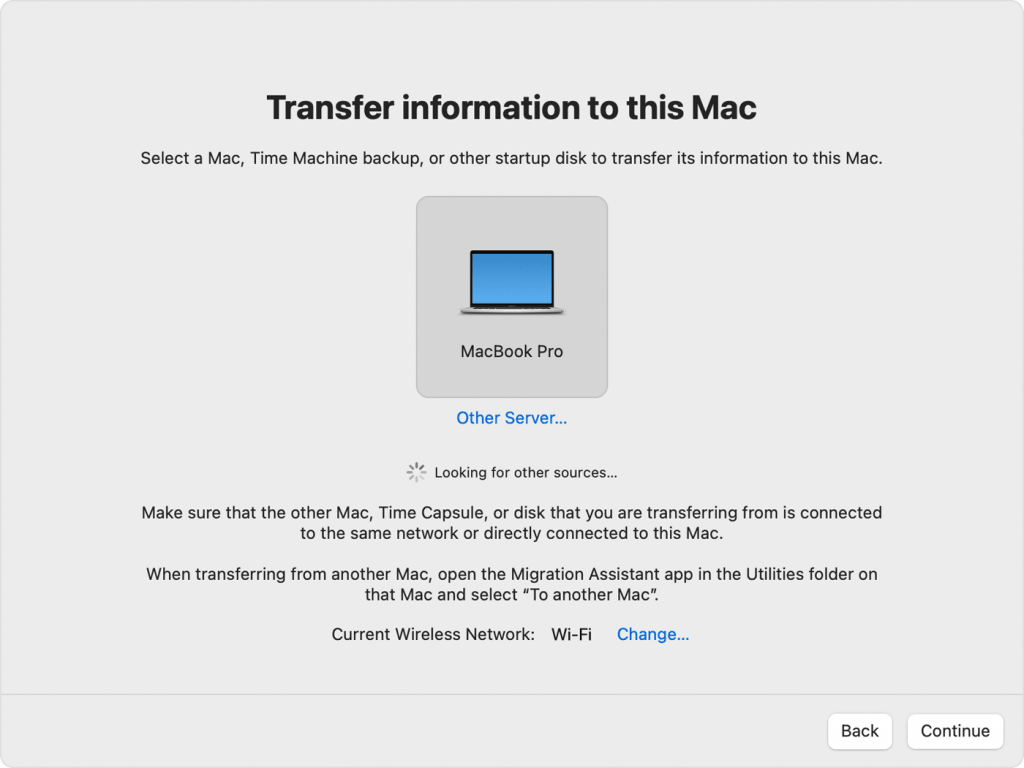
- Please select the option to transfer your data to another Mac when asked how you want to do it. After that, click Continue.
Use Target Disk Mode
If you have two Mac computers, you can connect them via FireWire or Thunderbolt so that one of them shows up on the other as an external hard drive. Target disc mode is the name given to this.
- Use a FireWire or Thunderbolt cable to link the two computers together.
- One of the following should be done on the Mac you want to use in target disc mode:
- Hold down the T key and turn on the computer if it is not already running.
- When the computer is on, select Apple > System Preferences, then click Startup Disk, Target Disk Mode, and so on.
- A disc icon can be seen on the other computer’s desktop once the other computer has booted up.
- Drag files to and from the disc to move them around.
- Drag the disk’s icon to the Trash to remove it.
- The trash icon becomes an eject icon as you drag.
- Press the power button to turn off the Mac you utilized as a disc. Next, detach the cord.
Also Read: 5 Steps To Fix Crackling Sound From Apple TV App In M1 MacBook Pro 2021
Direct File Transfer via external hard drive or file sharing
By connecting them to your outdated computer, you can copy your files to an external hard drive, SD card, or thumb drive.
Then you can repeat the process by plugging the device into the new Mac after removing it from the previous one. You must have your files and folders appropriately sorted to find them all.
If you’re exceptionally tech-savvy, you may use file sharing instead of an external drive to transfer files from one Mac to another on the same network.
- On the source Mac, first enable file sharing by clicking the Apple menu at the top left of the screen, selecting System Preferences > Sharing, and then checking the File Sharing box.
- Next, establish a network connection between the new Mac and the source Mac. To do this, open a Finder window on the latest Mac, select Go > Network from the Finder menu at the top of the screen, then select the source Mac to mount it as a network drive.
- If a username and password are required to access the shared Mac drives, you can open that network drive in Finder and copy folders and files from any other drive.
Since macOS supports the Windows SMB file-sharing protocol, you can even transfer from Windows PCs using this method, but the Windows setup can be a little challenging. Apple has provided basic instructions for networked file sharing from Windows to Mac.
We advise using the same folder structure on your new Mac as on your old one, initially, whether you’re moving files via a network or an external disc.
As explained in the article “The easiest approach to move files to a new Windows PC or Mac,” once your migration is finished, you should consider putting your files on the cloud for quicker access.
Important Tips
Also Read: Why Buying macBook Air M1 Is Better Choice Than New macBook Air M2
Your email files that are locally stored won’t be transferred to the new Mac via direct file transfer. Because they are linked to the OS settings for the email application, MacOS stores these files in obscure locations, and copying them to a new Mac frequently doesn’t work.
It is advised that you store all of your emails on your email server so that they can easily sync to the email client on your new Mac.
In addition to Microsoft’s Exchange and Microsoft 365/Office 365 servers, the Apple Mail and Microsoft Outlook clients also support other servers.
Use Time Machine Backup
It has long been possible to restore your entire computer, including all its elements—applications, data, settings, etc.—using Time Machine, a built-in backup utility in macOS. You can restore the Mac to another Mac by using Time Machine, which essentially clones the Mac.
Because it is the most thorough method for cloning an existing Mac into another, it is advised to use this method to migrate a personal Mac to a new personal Mac or an IT-managed Mac.
Moving a personal Mac to an IT-managed Mac, or vice versa, breaking security laws, software licenses, and IT management requirements is possible.
A personal-to-work Mac clone implies that IT controls your personal Mac in ways you might not be aware of or like, while a work-to-personal Mac clone means that IT’s management and other settings are absent from the Mac.
You can also restore specific data from a Time Machine backup drive onto a brand-new Mac. To do this, use the Migration Assistant tool covered in the section before this one.
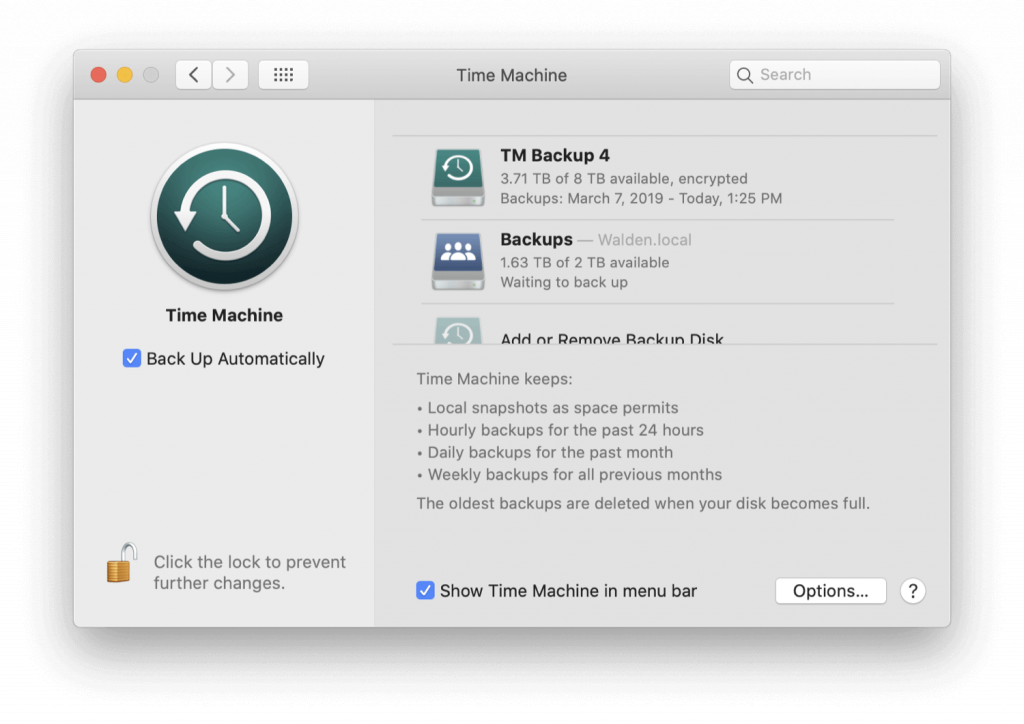
Time Machine is the best backup software for computers. Set up a backup on your old Mac by connecting an external drive.
A wired interface, such as a USB connection, is the easiest way to attach a backup device. You can use a wired or wireless network, but if your backup drive is connected to a Time-Machine compatible router, which is typical of current routers.
Then go to System Preferences > Time Machine, select the backup drive by clicking the Select Backup Disk button, and optionally enable disc encryption for your backup drive.
Also Read: 17 Best Ways To Enhance Battery In MacBook M1
Set Up Apps on M1 Mac
When transferring any software that uses digital licensing, it is recommended to deactivate it first. Once it has been moved or reinstalled on the new machine, you should activate it.
Redownload the necessary software onto your new Mac, then login in as required. Some applications are available through the Apple Mac App Store, while others must be downloaded directly from the supplier’s website.
Many frequently used Windows business apps are accessible on both platforms, and most software vendors allow you to use the same license on either platform. However, some apps won’t be compatible with macOS if you’re switching from Windows to macOS.
Set aside the time necessary to configure the preferences of your applications on the new computer, which is typically what you’ll need to accomplish.
Also Read: How To Install windows 11 On Mac M1 For Free
Transfer browser bookmarks to M1 Mac
You should move your bookmarks from your old computer’s browser to the ones on your new computer. Three options exist: direct syncing across the same browser, synchronizing between Safari on macOS and specific Windows browsers, and exporting bookmark files from one browser to import them into another.
The most popular browsers all feature the ability to export and import bookmarks via files for cases where your browser is not signed into the same account as your old computer:
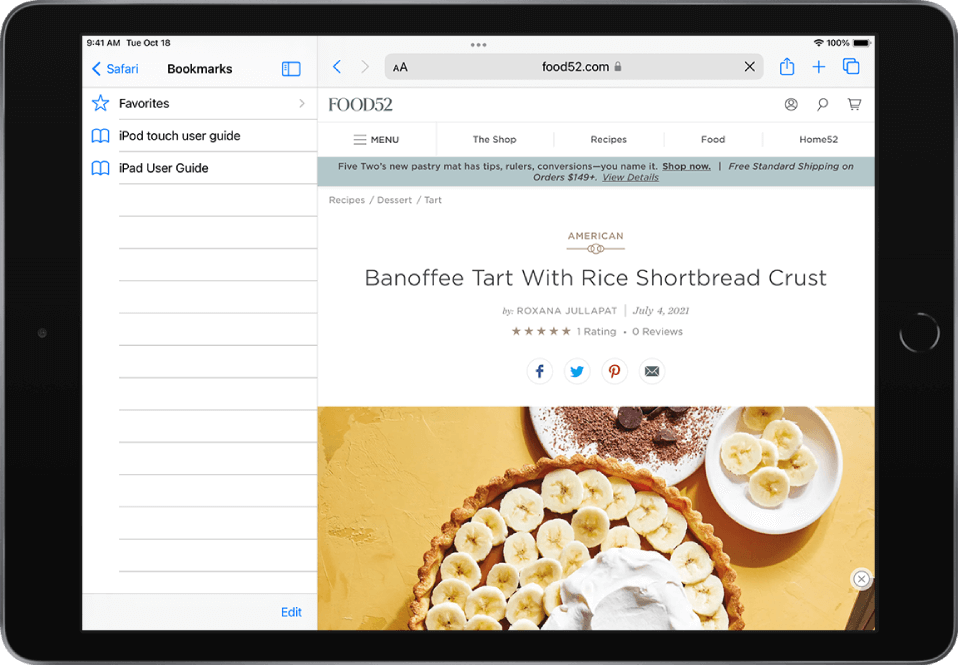
Apple Safari
- Select file> Export Bookmarks in this macOS browser to export your bookmarks.
- Select file> Import From > Bookmarks HTML File to import your bookmarks.
Make sure to sign out of all your accounts on the old computer after everything has been transferred, including those for Microsoft, Google, iCloud, iTunes, browser sync, shopping, and cloud storage.
Google Chrome
- Select Bookmarks > Bookmark Manager from the menu that displays by clicking the vertical three-dot icon in the top right corner of your browser window.
- Select Export bookmarks by clicking the three dots next to the search bar.
- Use the same steps above, but select Import Bookmarks rather than Export Bookmarks.
Mozilla Firefox
- To export bookmarks, launch the Library window, which displays all of your bookmarks, using the keyboard shortcut -Shift-B in macOS or Ctrl-Shift-B in Windows.
- Select the relevant bookmark folder, then select Export Bookmarks to HTML from the Import and Backup menu.
- Use the same steps above, but select Import Bookmarks from HTML instead of Export Bookmarks to HTML to import bookmarks.
Also Read: Up And Down Arrow Keys Not Working On MacBook Pro M1 Max
Conclusion
The steps outlined above will help migrate the data easily from Intel Mac to M1 Mac. If you need further assistance, feel free to reach out to us.


