


 Header Through Cloudflare")


Have you ever used a really good filter on Instagram but it didn’t match the subject? Or you had an imaginary idea that you wanted to give life to. Well, we all had certain fantasies that can’t really become reality but with the power of editing and a little device, It’s Possible!
Removing the background from an image on Android is like giving your pictures a makeover! It opens up a whole new world of possibilities, whether you’re a budding photographer, a social media enthusiast, or just someone who loves to have fun with their photos. One practical use is in product photography for online sellers. By removing the background, you can make your products stand out and grab customers’ attention with a clean and professional look. You can say goodbye to distracting clutter and hello to sleek product listings!
Removing or Separating the Background from the main subject can be such a hassle. It can be frustrating and annoying because you just can’t get the right results. We are here to solve that very problem of yours, Here are four methods you can use to Change or Remove an Image Background Right on your Android device.
Methods of Image Background Removal
Here, we will talk about three methods to Remove or change your image background. Two of these are through Downloading an Application called ‘Photo Background Change Editor’ or Background Eraser App from the Google Play Store and the other two are through websites called ‘remove.bg‘ or pixelied.com. You can remove the background from any images very professionally, and quickly within seconds.
#1. Using Photo Background Change Editor
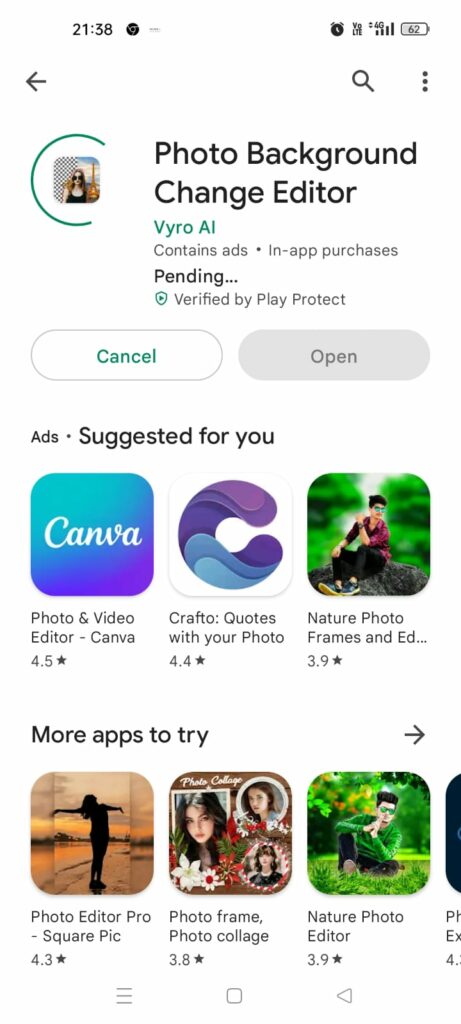
Step 1: Downloading the Photo Background Change Editor From Google Play Store
Step 2: Opening the App and choosing the photo to remove the background from it.
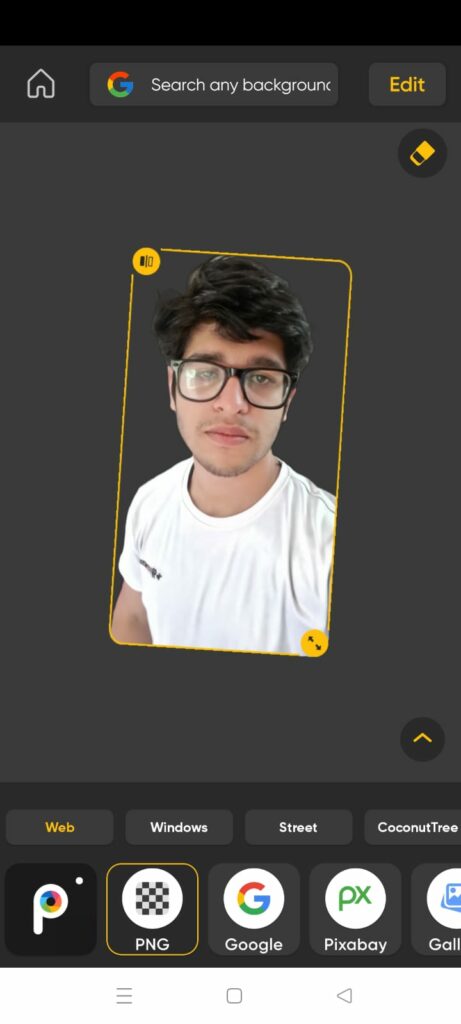
Step 3: Choosing the Background of your choice.
Step 4: Save the Image from the button on the top right corner
Congratulations, you have successfully removed and changed the background of your desired image!
Now, Moving on to the other option we will do it online.
Also Read- What Is Windows Copilot For Windows 11?
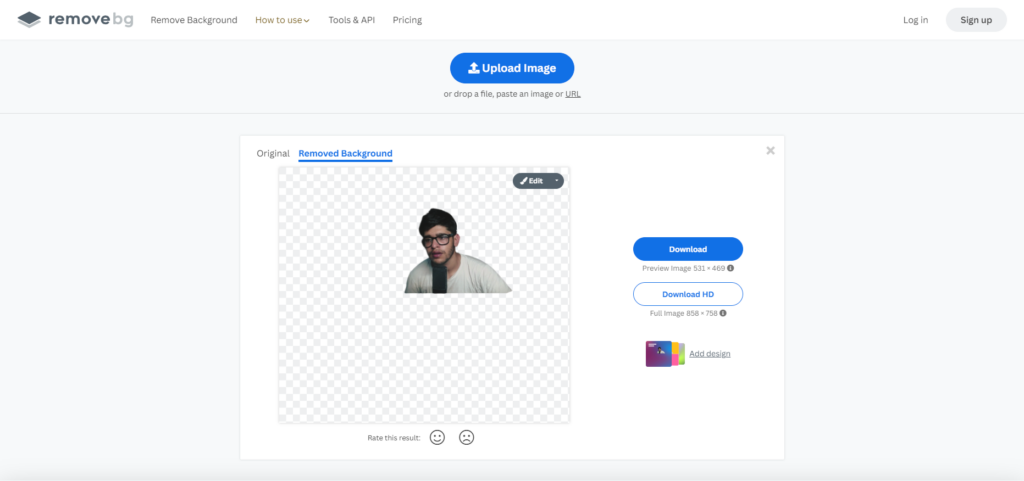
#2. Using Remove.bg
Remove.bg is an amazing website that can remove the background of your image with just a single click!
Step 1: Visit https://www.remove.bg/upload on your Android Device.
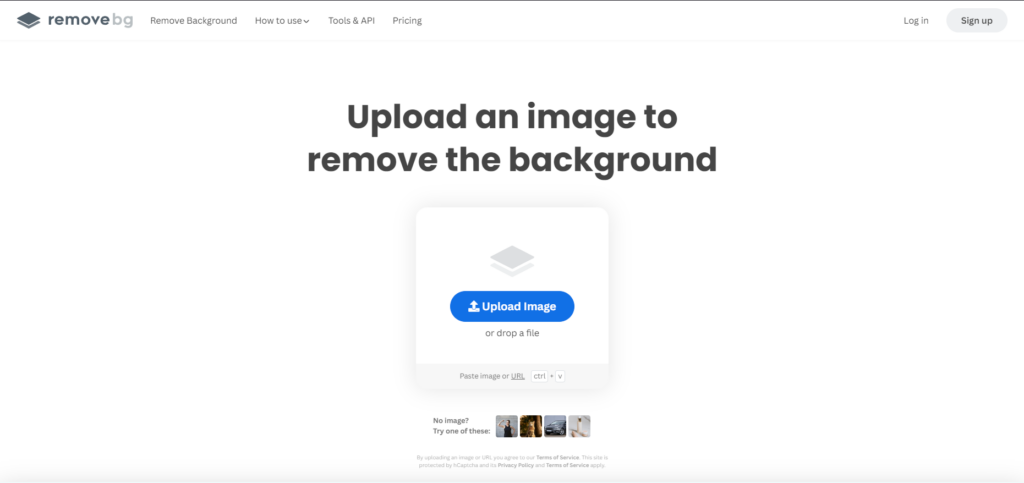
Step 2: Upload your image on the website.
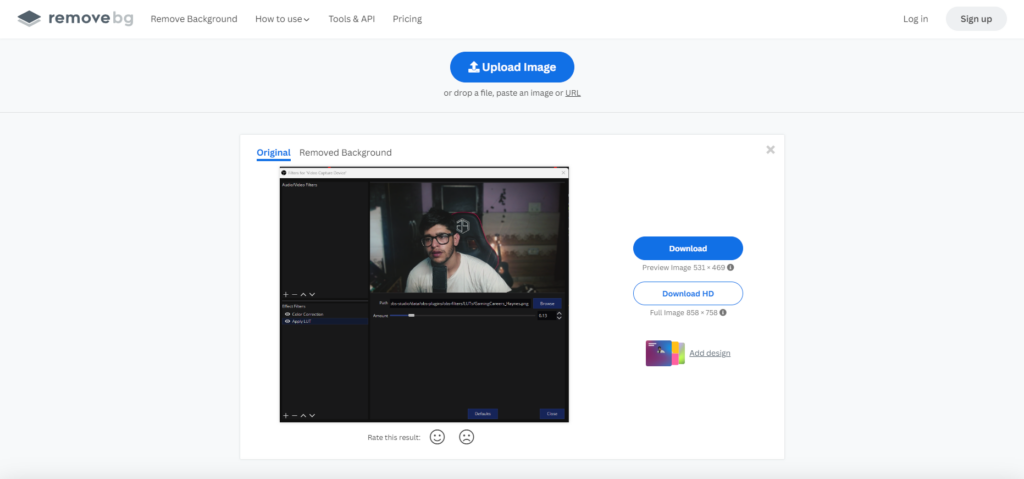
Step 3: Remove the background from the image with a single click! Once the background is removed, you can download it and apply any background using the first app or adobe photoshop.
#3. Using Background Eraser App on Android
Another super handy app for Android users is the Background Eraser. It’s like having a magic wand that zaps away the background in a jiffy. Simply open the app, choose the image you want to work with and let the app work its magic. With just a few taps, you’ll have a clean, background-free image ready to be shared and admired.
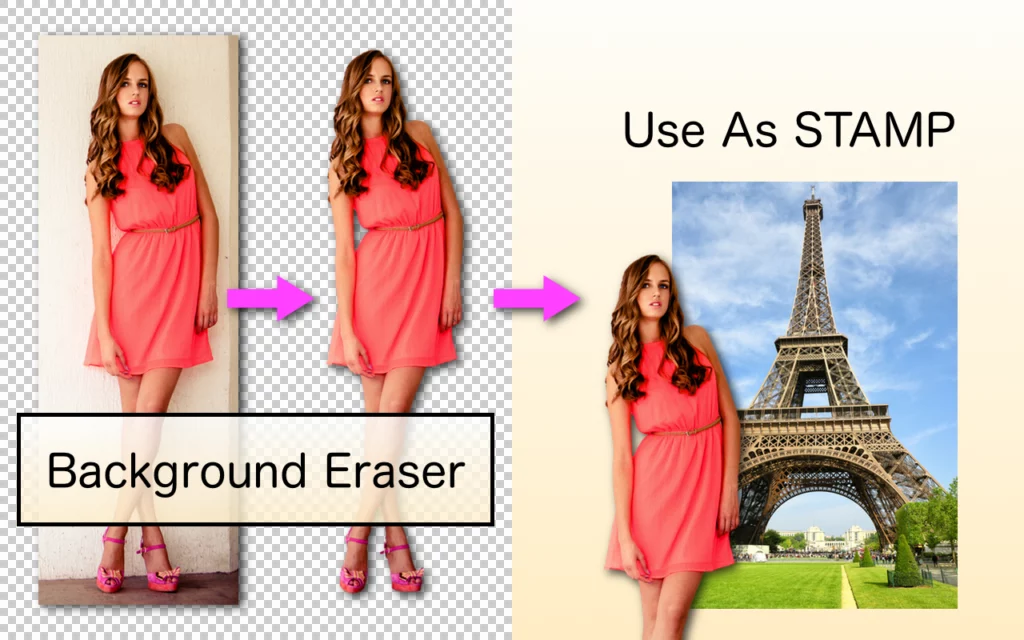
It’s so easy, even your pet parrot could do it (well, maybe not, but you get the idea!). So go ahead, unleash your creativity, and let your pictures shine with the simplest background removal tool in town!
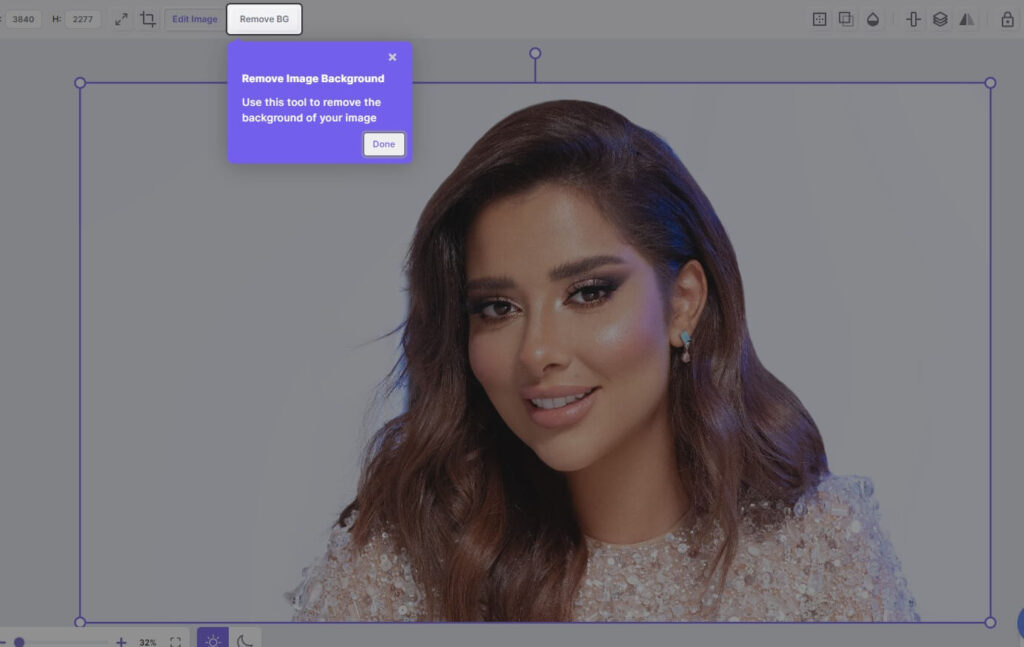
#4 . Using Pixelied.com
Pixelied is an Amazing online web tool, that offers tons of features related to Image editing, Photo effects, Photo filters, and other related tools like blur, rotate, resize, crop, SVG editor.
To remove the background from an image, simply go to pixelied.com and select the option background remover.
On the next page simply upload the image you want to remove the background from and click the Remove BG button. That is it and the background will be removed immediately with professional quality.
Conclusion
Overall, while it is possible to remove or change image backgrounds on Android, the process can be more challenging compared to desktop platforms, primarily due to hardware limitations, complex scene detection, limited editing tools, and smaller screen sizes. But, If you want to perform editing on your Android Device, This is the Way!


