


 Header Through Cloudflare")


In this article, we have explained how to repair install Windows 11 with an in-place upgrade.
If you are facing typical issues in your PC regarding the Windows 11 operating system, normal troubleshooting solutions will not be able to resolve the issue. In such a scenario, you have to go for the repair install of the Windows 11 operating system using the in-place upgrade process. The best thing about this process is that you do not have to fear losing any of your Microsoft or local accounts, installed apps or any personal data or settings.
Let’s get to know more about the repair install using the in-place upgrade process.
What is a Repair Install or In-Place Upgrade?
The Repair Install or In-Place Upgrade is the process that lets you successfully install Windows without the risk of deleting files, folders apps and other personal data. The repair install process comes in handy when you are struggling with issues and errors as follows:
- The system fails to upgrade your device
- You are unable to download new apps and updates from Microsoft Store
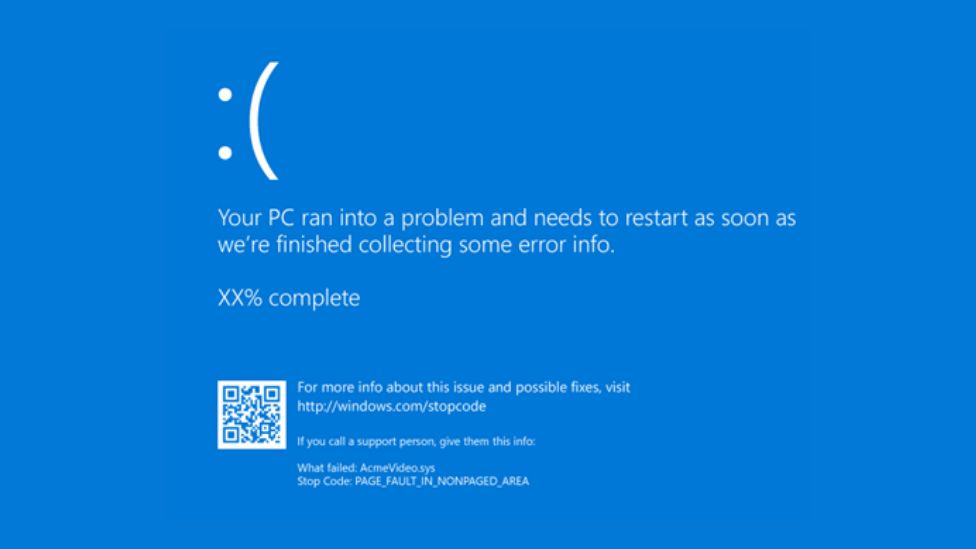
- Windows keeps crashing and you keep seeing the BSOD or Blue Screen of Death.
In-place upgrade or repair installation process is usually successful in fixing several issues in Windows 11 without the risk of losing data.
However, there are a few limitations. You can only repair install Windows 11 with an in-place upgrade from inside the operating system. This means you need a running Windows 11 instance to repair install the new Windows iteration. Thus, you cannot use the in-place upgrade to repair install Windows 11 when you are in Safe mode or in Unified Extensible Firmware Interface (UEFI).
Before you begin repairing Windows 11 with an in-place upgrade to repair install, you need to make sure you meet the following requirements:
- You have access to bootable media or an ISO file. The edition, version and build number of the OS should be higher than the currently installed OS.
- The language of the installation media should be the same as the operating system you intend to repair.
With that being said, let’s see the complete process of performing the repair install of your Windows 11 using the in-place upgrade.
Also Read: How To Change Country Or Region In Windows 11
Repair Install Windows 11 with In-place Upgrade
- First of all, you need to disable the third-party antivirus or any other security program. This is so because it may interfere with the repair install process of the operating system. You can enable it after the installation is successful.
- If you’ve encrypted the Windows drive with BitLocker, you need to suspend BitLocker for time being before initiating the repair install. You can enable or resume the BitLocker after the installation is successful.
If you want to repair install Windows 11 with an ISO file, you need to download the Windows 11 ISO file. After you have the ISO file, you need to mount it on your PC.
On the other hand, if you want to proceed with the USB installation media, you need to insert and open the USB drive with the Windows 11 operating system.
After you are done with any of the steps above, follow the steps given here:
- Look for the setup.exe file and double click to run it.
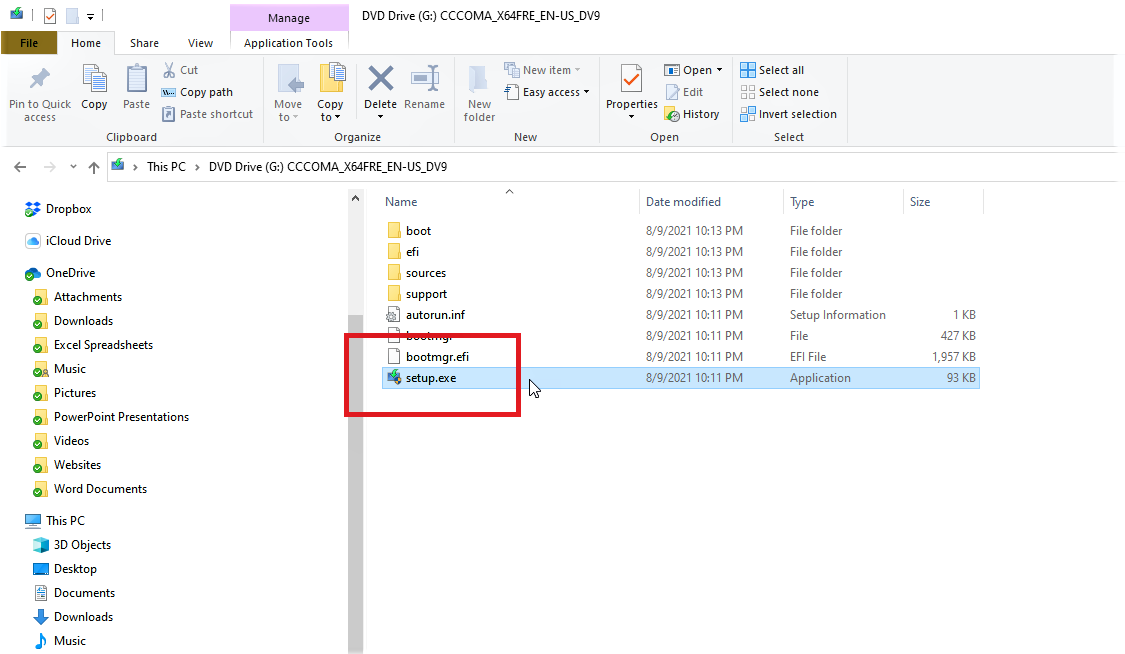
- If the UAC appears on the screen, click yes to confirm the action.
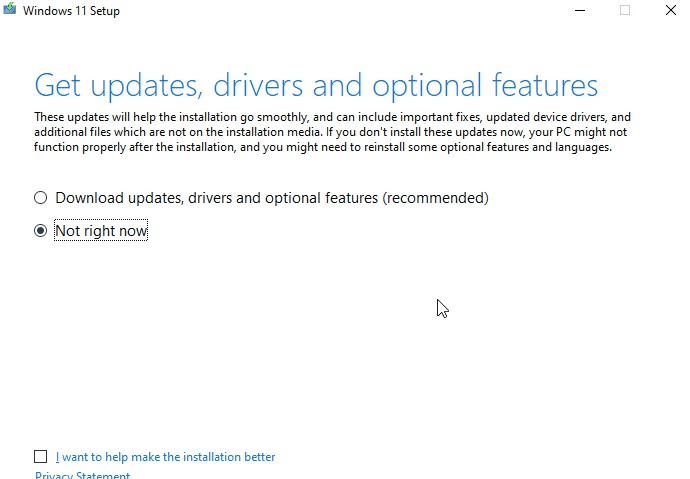
Windows 11 setup will start preparing now. - Click on the link saying Change how Setup downloads update link.
- Now choose the ‘Not Right Option’ on the Get Updates, Drivers and optional features page.
- Click the Accept button present below on the Applicable Notices and Licence Terms Window.
- Now Windows 11 setup will determine whether your PC has enough space to download the upgrade.
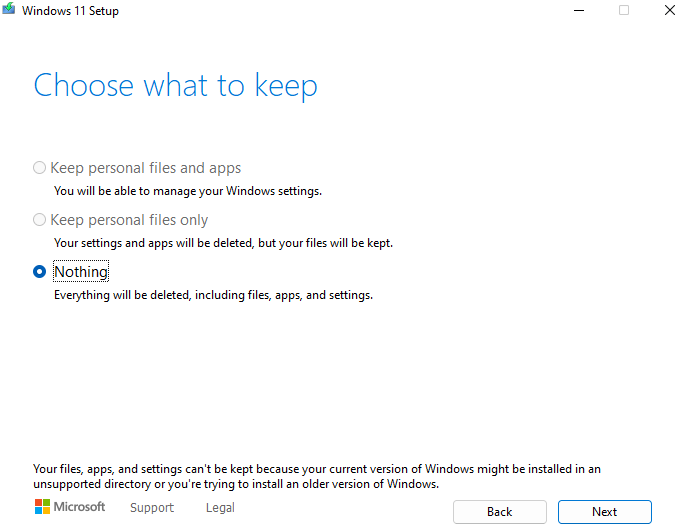
- Click on the ‘Change what to keep’ link on the Ready to Install page.
- Next, turn on the radio button for Keep personal files and apps in the Choose what to keep window and press the Next button.
- Finally, press the Install button below the installation window.
- Now you will have to wait patiently until the repair install of Windows 11 is completed on your PC. During this time, your Windows 11 PC will have to restart many times.
- After the repair install will finish, you will see the lock screen on your PC. You can enter the password and begin using your PC normally.
Conclusion
That’s pretty much it. That was how you can easily repair install Windows 11 with an in-place upgrade. This will come in handy when Windows 11 keep running into issues frequently. With this, signing off.
Also Read: How To Create Windows 11 Bootable USB Installation Media


