


 Header Through Cloudflare")


Over the past few days, an exciting shift has taken place in the realm of online videos. Content creators have embraced a new approach, especially in short videos, that captivates viewers and keeps them engaged. The secret weapon? Captions. Captions have evolved from being mere aids for identifying speakers or translating foreign languages. Nowadays, captions have become a powerful visual element that grabs attention and enhances the overall impact of content. In this article, we will show how to do Auto Captioning through Adobe Premiere Pro.
What program to use?
In this article, we will explore how to use Adobe Premiere Pro, a powerful video editing software. Don’t worry about the cost as there are affordable options available, such as a free trial of the Adobe Suite or a free month/year for students. Read through this article to learn the necessary steps to access these options. Once you have installed the program, it’s important to stay connected to the internet while using the software because it allows the software to access necessary resources, updates, and online features.
How to do Auto Captioning through Adobe Premiere Pro?
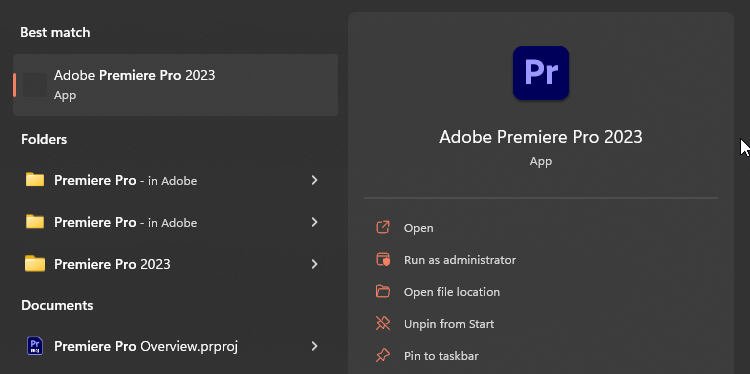
1. Open Adobe Premiere Pro.
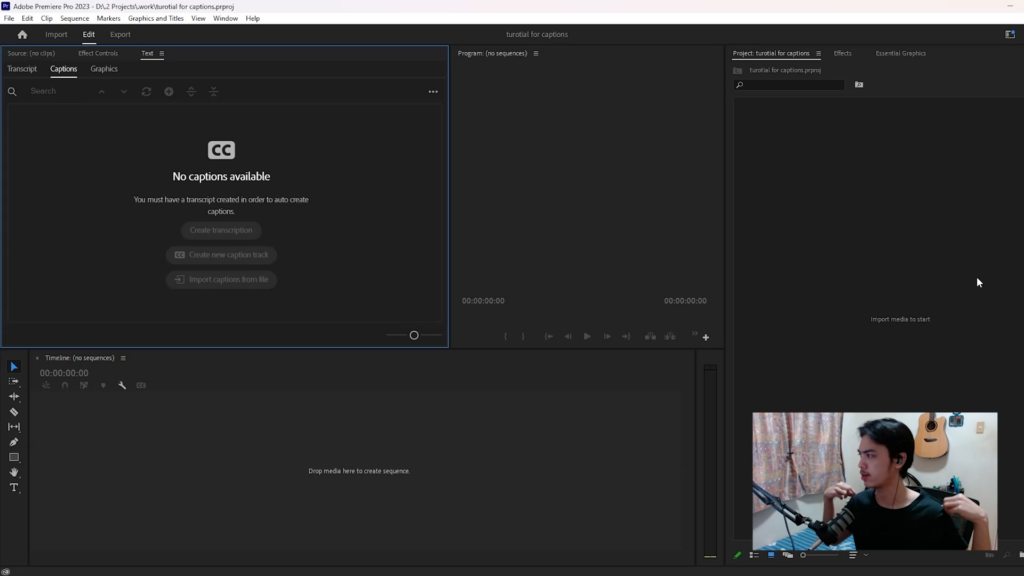
2. Import the video file you want to add captions to. Create a new sequence or open an existing one.
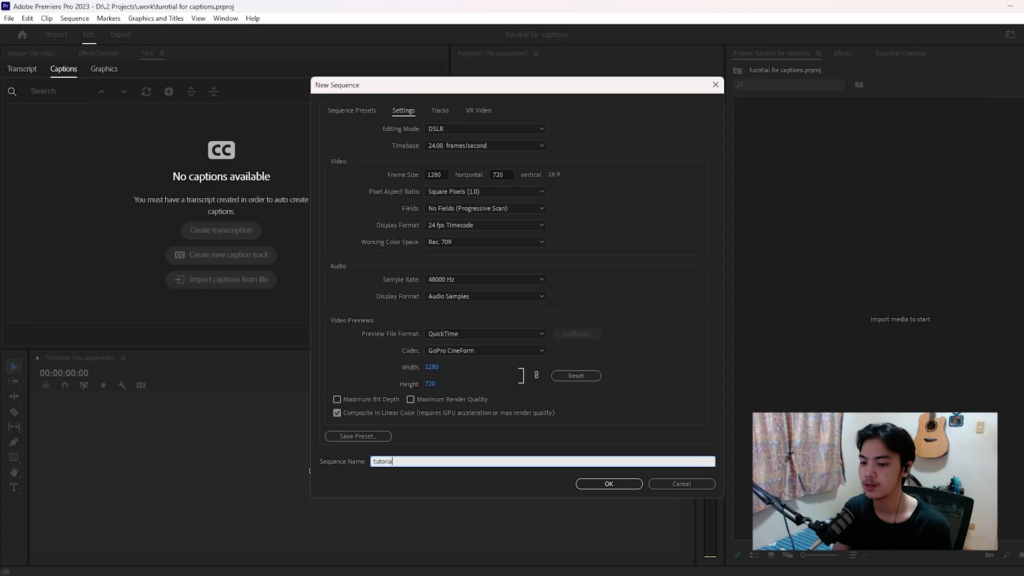
Here I created a new sequence with basic settings 720p on 24fps (since this is only for the tutorial use case).
Then, I dragged my media or clip on the timeline.
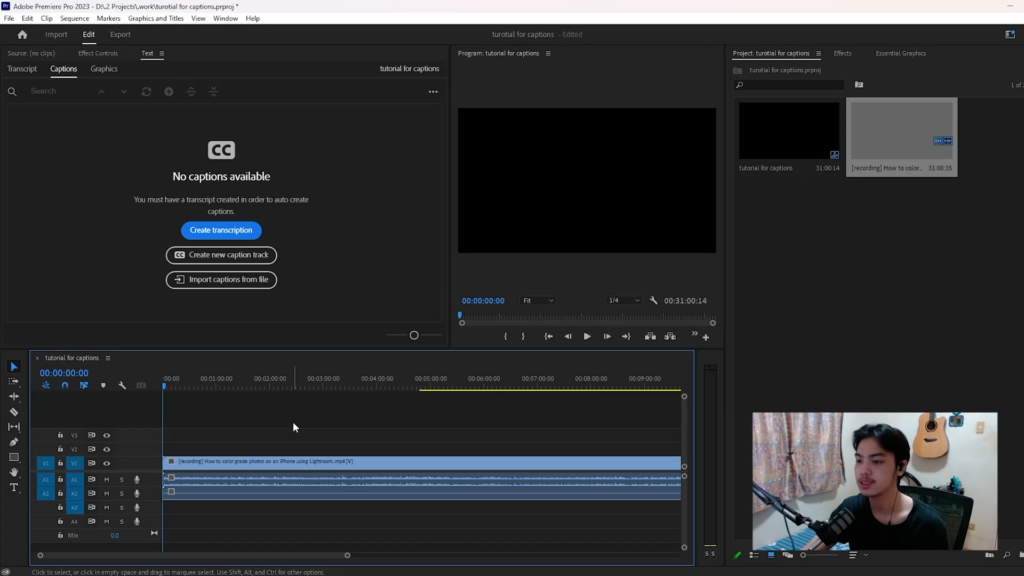
I quickly did a composition to where I wanted my things to be (in short, I centered my face on the screen)
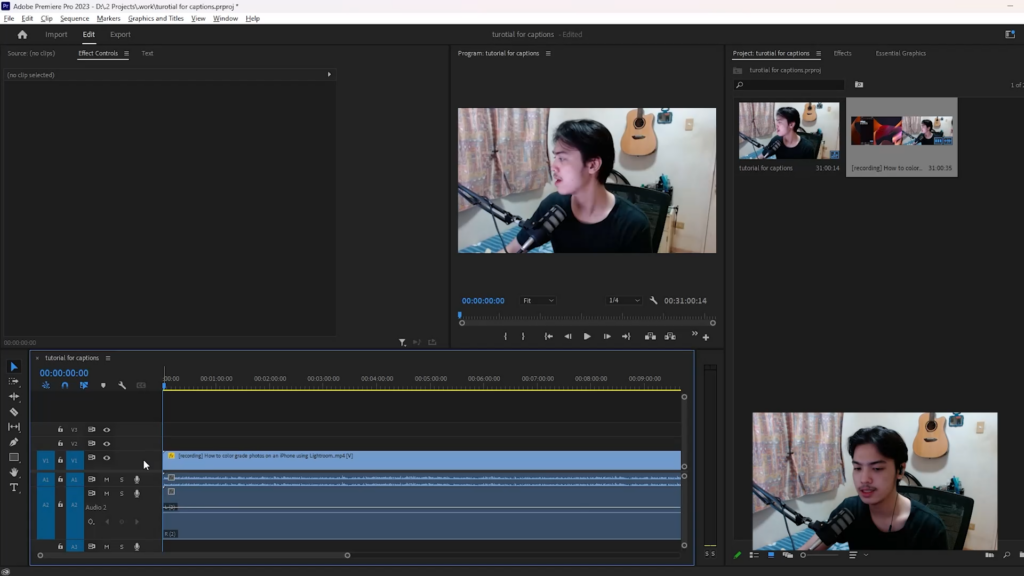
Also removed the extra audio that we no longer need since it is just dumped audio if there’s a case of clipping on my main one (this is just the way I record). Once I had it deleted, I nested my main video clip since I do not want Adobe Premiere Pro to lag further due to the sheer processing power of the editing program. I was also recording this tutorial with 2 Canvas (This whole part was just for me, really, and did not have to do much for the actual captioning. But a useful technique to have on your arsenal nonetheless.)
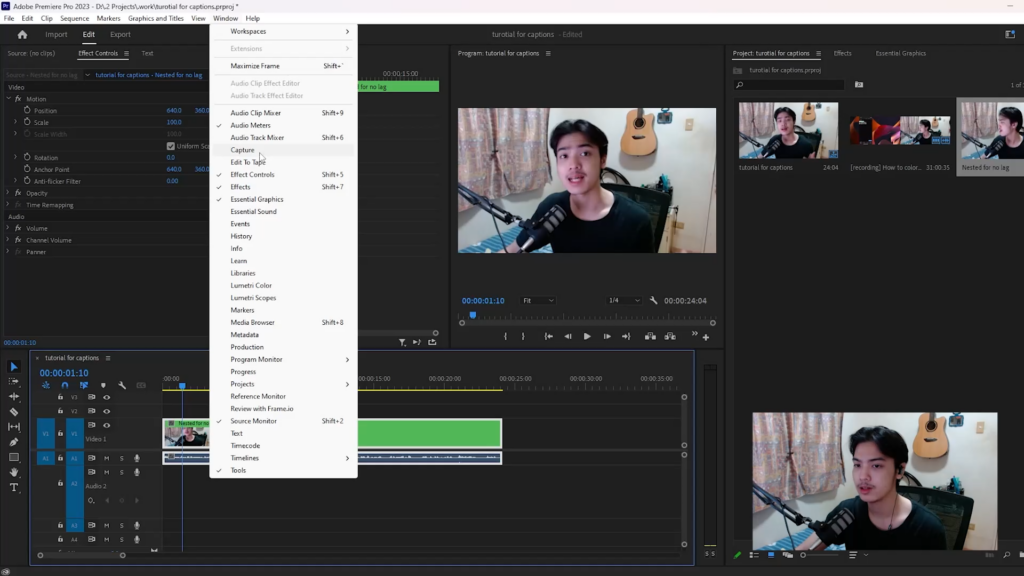
At this part of the video, I would ask you to specifically enable certain tabs for you to be able to follow up much quicker through this guide without you trying to find tabs that do not pre-exist on the default windows of the default install of Premiere Pro.
The tabs or windows that I want you up/enabled while following this guide would be the following:
- Effects and Effects Controls
- Essential Graphics
- Text
That is about it since those are the most used tabs for the things that we would have to do.
To properly start the task of auto-captioning
#1. You must press on the main clip that you want to have captions on
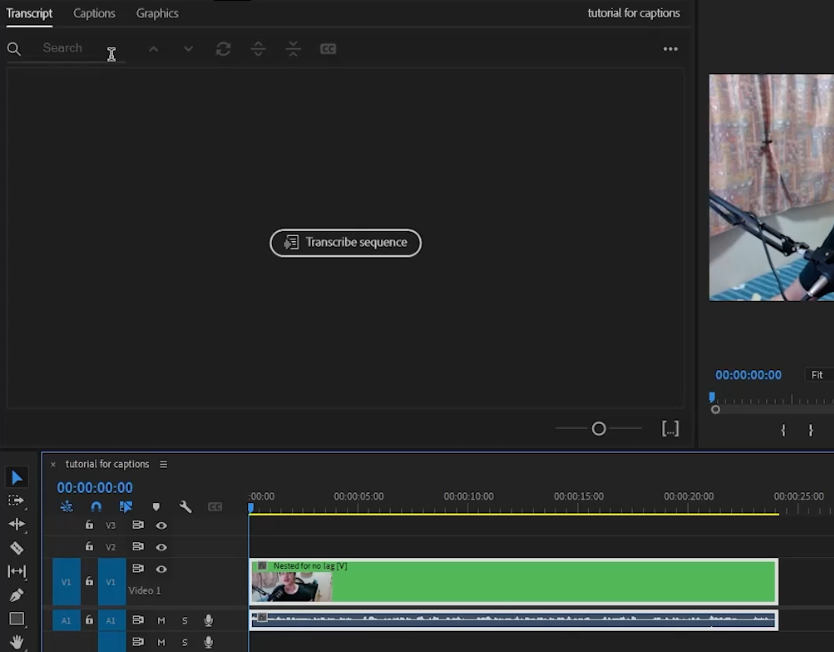
#2. From there, press on the text window that I did ask you to open before and click the transcript on the top tab and hit “Transcribe Sequence“
Upon pressing that, some settings would be available to be changed
Such as the following:
- Language
- Speaker Labeling
- Audio Analysis
For this specific use case, of course, the language would be English, and no speaker labeling would be enabled due to only having as the sole speaker and will be using Audio Track 1 (A1) since I only have one Audio Track.
After that, I can start transcribing by pressing the “Transcribe” button

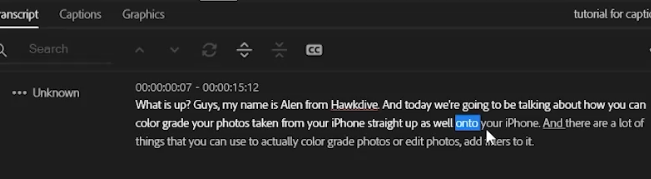
Once that is done, it will show up like a text on the transcript tab.
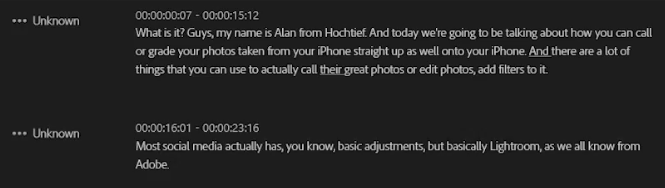
From there, you can edit parts such as misspelled words or errored-out pronunciation.
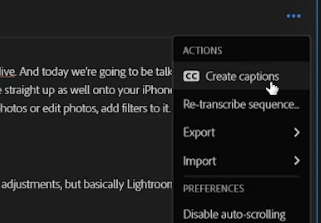
#3. Once you are done with that tab, you can now press the triple dot on the top right of the transcript window and press on create captions.
From there, more settings would appear and show you things such as Format, Stream, and Style but none of those matters. All you have to do is keep it to subtitle default and also change the maximum length, duration, and gaps as follows on the image below.
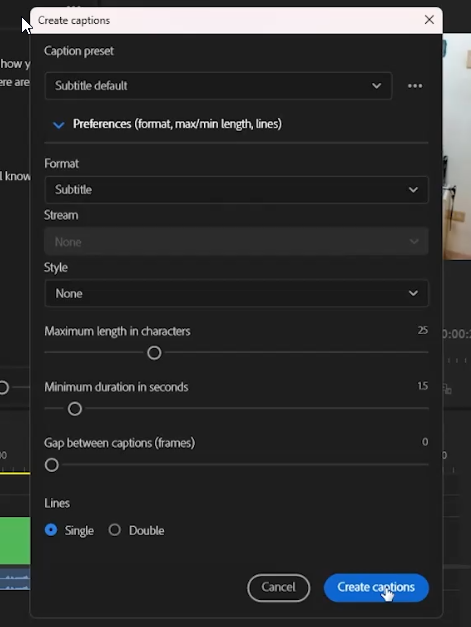
Keep the Lines “Single”
Once you tap the create captions, you’re done with this.
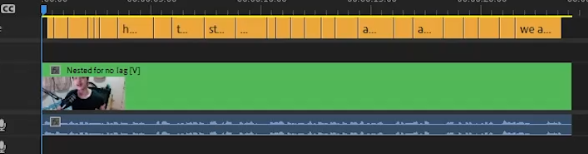
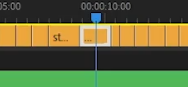
All of them would be automated on the timeline.
Extra steps to further make the Caption look better.
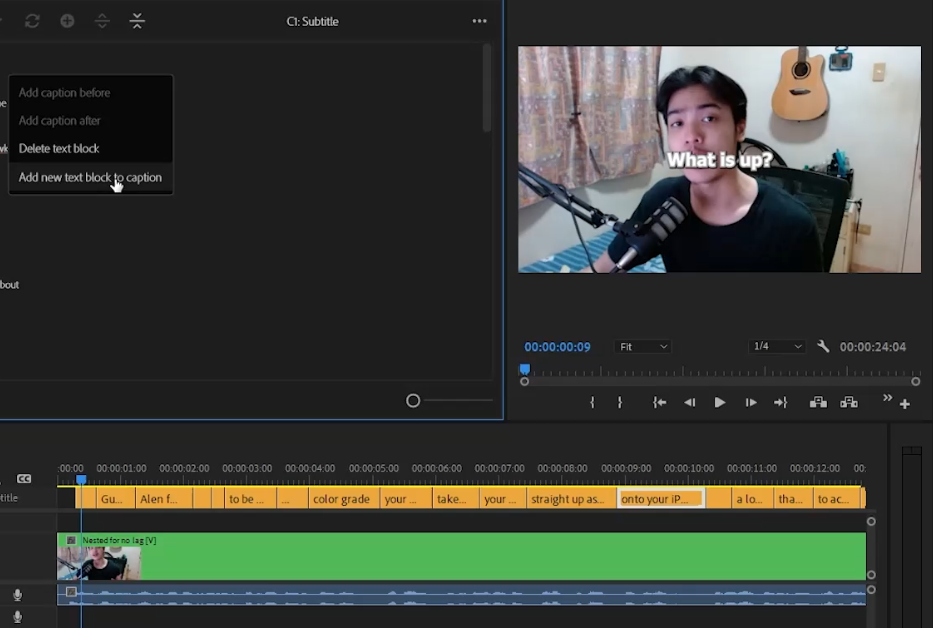
Well, you are done by doing the auto-generated captions; but currently, they just look like this as shown in the image below.
Which does not really suit the taste of being visible and eye-catching, so to fix that, press on one of the captions on the timeline
Go to the Essential Graphics tab and change settings that you must or as you like. For me, I went for the bolder look with it being centered on my screen.
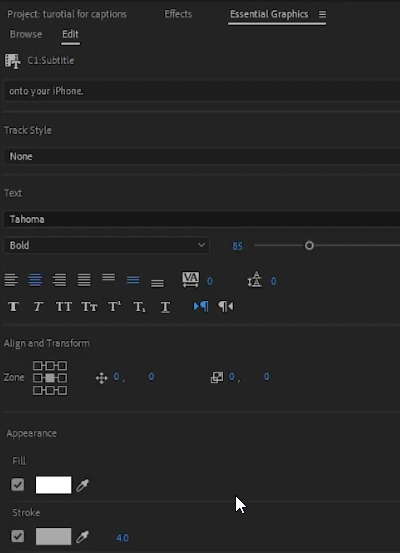
With that said, it now looks like this:
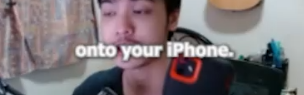
Now to make it apply to all captions, all you have to do is click on track style and create a new one; name it whatever you like.
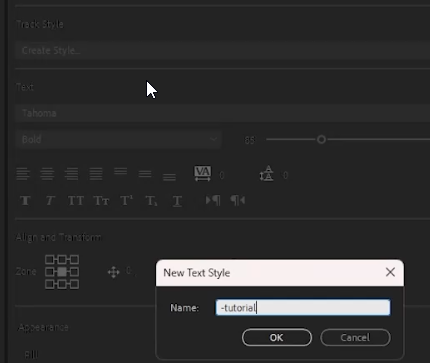
It will auto-apply from there.
You have now completed the captioning. Congratulations!
You now have a full auto graphic caption on your video! Though, to learn more or have more in-depth knowledge about this article and topic alone, with extra methods and steps to make the captioning even better-watch the video embedded at the top of this article. Thank you!
Conclusion:
Auto captioning through Adobe Premiere Pro empowers content creators to make their videos more accessible and inclusive. By providing captions, you open doors to a broader audience and enhance the user experience for viewers with hearing impairments or other language-related challenges. Leveraging Adobe Premiere Pro’s auto-captioning feature simplifies the process, allowing you to save time and effort while ensuring accurate and customizable captions.
Remember, while auto-captioning technology has advanced significantly, it’s essential to review and refine captions for accuracy. This ensures that your content retain the quality and delivers the intended message effectively. I hope this article and our video helped you. Keep reading and Subscribe to our YouTube channel to help us help you!


