


 Header Through Cloudflare")


There are plenty of benefits of owning a developer account in Oculus. You can create new games, change settings, and make changes as you want. The reason for the developer account to come into existence is that android devices cannot create three-dimensional games.
And if you are keen on developing new games for virtual reality, you should check out the developer mode. It offers new features like system performance and cockpit to make things easier for you.
In this blog post, I will walk you through the steps to get you started with a developer account in Oculus.
Also Read: How To Create An Oculus Account Without Facebook?
Create Oculus Developer Account
Step 1: Go to the browser https://developer.oculus.com.

Step 2: Click on sign up, and it will take you to a new page where you will get two options. First, sign up with a Facebook account. The second option is to create an unmerged Oculus Developer account.
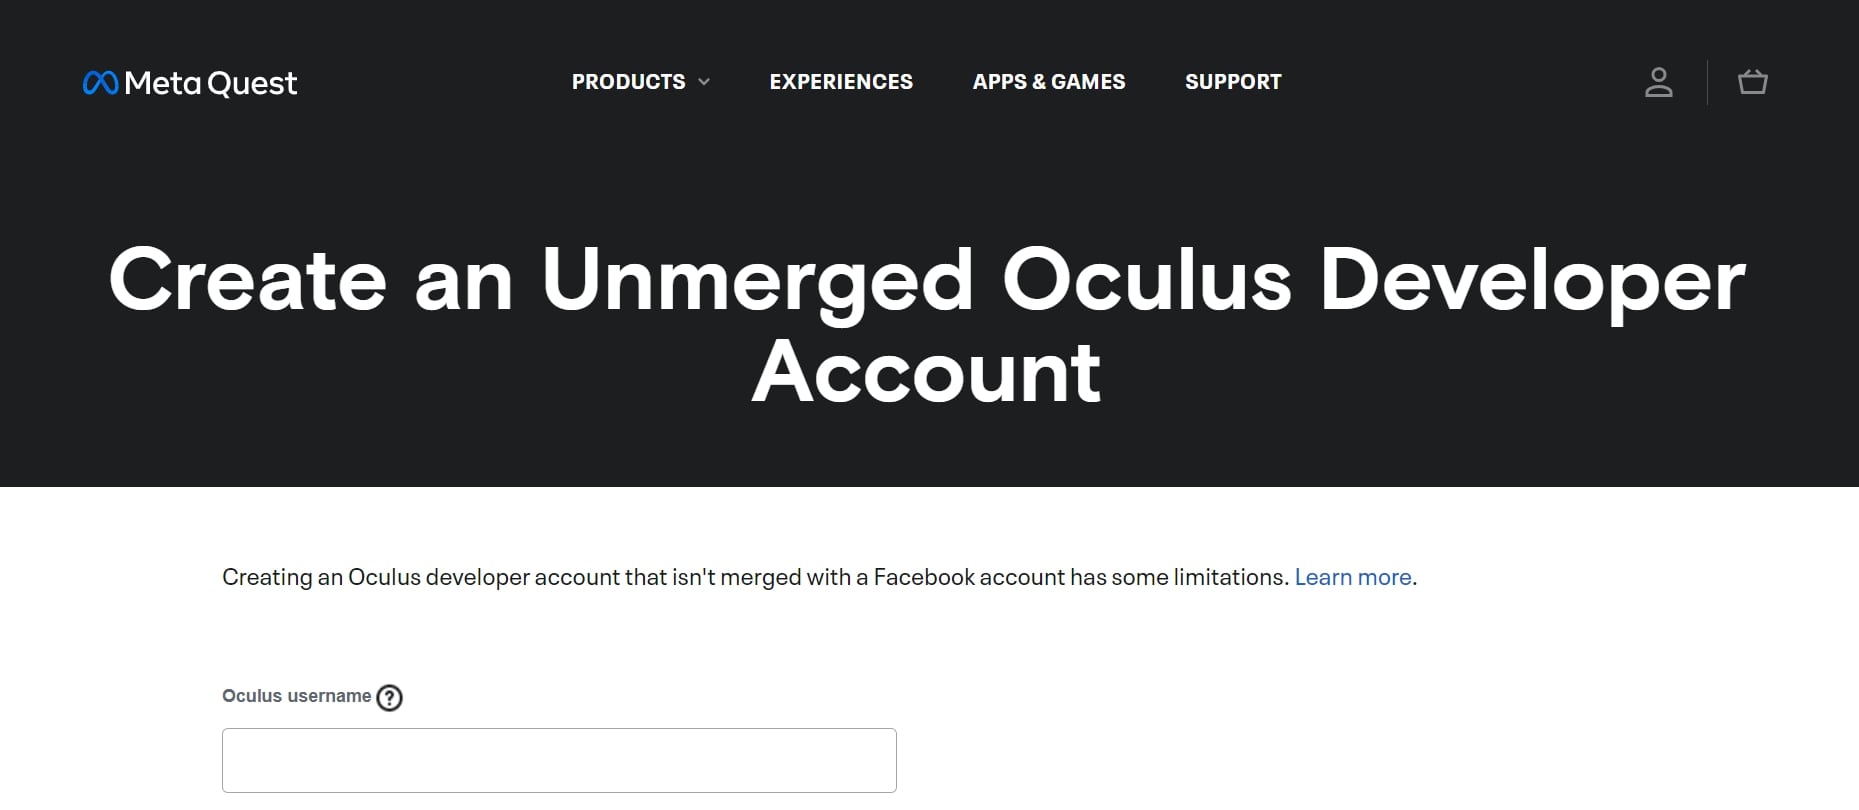
Step 3: If you do not have a Facebook account or are keen on creating one, tap on Create an unmerged Oculus Developer account. It will allow you to create for the Quest 2 without sharing your skills online.
Step 4: Fill in the details like your name, email address, Oculus username, surname and password etc.
Step 5: Furthermore, click on Create Account and verify your email address.
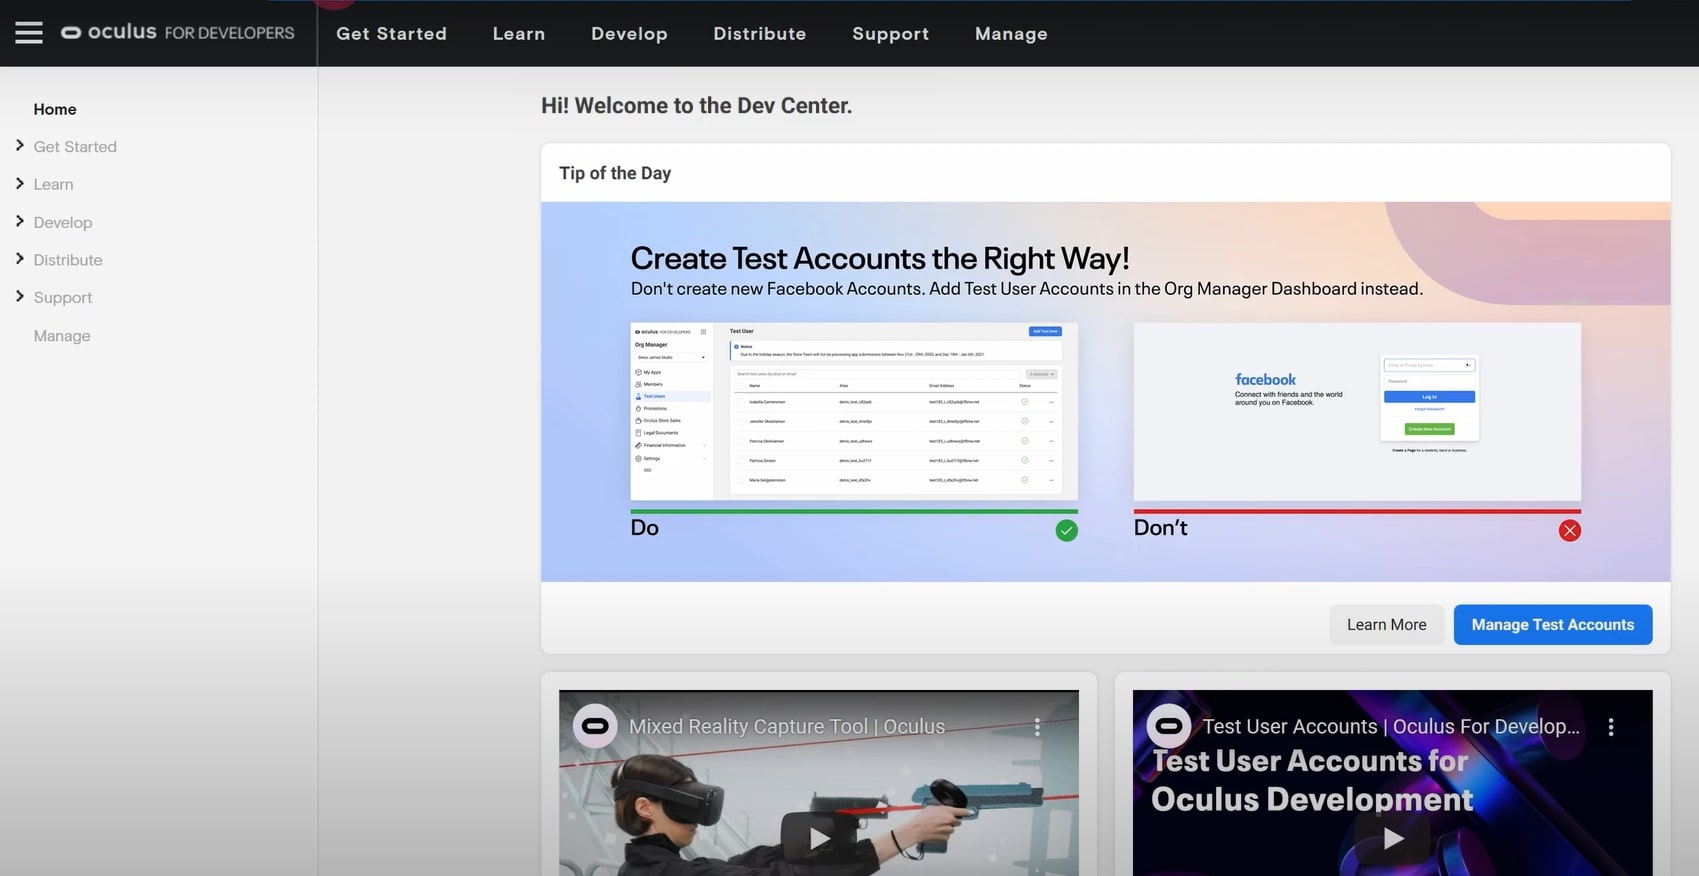
Step 6: Click on the go to log in, and it will take you to the Oculus developer home page.
Step 7: To fully unlock all the available features on the developer account, click on the gear icon from the top-right corner.
Step 8: It will direct you to the Account Manager section, where it will ask you to verify your Oculus developer account.
Step 9: Furthermore, add a credit card by setting up two-factor authentication. You have to provide your phone number to verify fully.
Step 10: Go back to the Oculus developer landing page.
Important Part: Create An Organization On Your Oculus Account
Step 1: Stay logged in to your Oculus developer account and click on Manage from the left pane.
Step 2: You can also go to https://developer.oculus.com/manage/organizations/create/ and enter your organization’s name.
Step 3: Check on the terms of service and tap on Submit.
Step 4: Moreover, a NDA form will appear; check it and click on Agree.
And that’s it. You’re now set up as an Oculus developer.
Installing Oculus Phone App
Step 1: You can use an Android or iPhone for this purpose and connect it to Wi-Fi. Moreover, enable its Bluetooth.
Step 2: Go to the corresponding app store and search for the Oculus app. Furthermore, install the app.
Step 3: Launch the Oculus app, and you will be prompted to sign in with a Facebook account. Moreover, if you already have an Oculus developer account, use that as I mentioned in the previous part.
P.S.: Your Oculus developer account comes with a feature to allow users to generate test accounts. So you can use fake Facebook credentials to log in.
Step 4: Anyhow, click on the Oculus Phone app and enter your original Facebook credentials.
Step 5: Furthermore, tap on save and click on Continue with whatever your username is.
Remember: The username you use on your mobile device will remain unchanged in your headset. Thus, you have to do a factory reset in your headset to make any changes.
Step 6: Furthermore, click on Continue and add a profile picture. Keep clicking continue and wait before selecting your headset.
Step 7: Grab your headset and switch it on as the next part of the setup process takes place in the headset.
Create Oculus Developer Account: Use Quest 1/2 Headset
Step 1: Once you have completed the setup process, the headset will update the software.
Step 2: Even after wearing your headset, it will prompt you to remove it. Furthermore, it will give you an audible que after the update is complete.
Step 3: Now go back to the Oculus account on your phone and choose your headset under the Select Headset screen.
Step 4: Tap on Quest 2, press Continue, and it will start to pair with your headset.
Step 5: Moreover, if the pairing fails for some reason, it will prompt you to connect by manually entering some five-digit code.
Step 6: This code will also appear in your headset, and after you enter it, it will successfully pair your headset.
Step 7: Click on Okay and tap on Close.
After this, you will see the home screen and enable developer mode in your headset. In your mobile app itself, select devices from the bottom menu bar, where you should have your Quest 2 selected.
Under headset settings, select Developer Mode, which will take you to a toggle button that says Developer mode. Moreover, switch it on, and now your Quest 2 is in developer mode.
Conclusion
Furthermore, after you have successfully finished all these steps, you will run your developer account and create games for the same. Run your creations and show off your skills to friends and family.
Read: How To Expand PS5 Storage With Solid State Drive?


