


 Header Through Cloudflare")


iCloud’s Shared Albums is a very handy feature to share photos and videos with your loved ones. You can easily bond over the photos by commenting on them and do not have to worry about uninvited attention.
In this guide, we’ll learn more about iCloud’s Shared Albums and how to use and manage the albums, their contents, and subscribers in iOS 15. So without wasting any time, let’s dive into it quickly.
Also Read: iCloud Storage: How To Delete Files, Photos, And Backup?
What are iCloud Shared Albums?
iCloud’s shared albums is a pretty secure feature that lets you share images and mp4 files with other people. The media files in these albums are private and only the people with the file link can access the content.
What’s interesting is that these albums can also be accessed by Android and Windows users. iCloud’s shared albums have a limit on photo and video files. You can only have 5000 files on it after which you have to delete previous content to add new stuff.
iCloud’s photo storage acts in a mutual sense and all the members can access the content, comment on it and even add new files to these albums.
Also Read: 5 Best iCloud Photos Alternatives For iPhone And iPad
Files supported by iCloud’s Shared Albums
In iOS 15, the following Image formats are supported by iCloud’s Shared Albums:
- HEIF
- JPEG
- RAW
- PNG
- GIF
- TIFF
Video file formats supported in Shared Albums:
- HEVC
- MP4
- QuickTime
- H.264
- MPEG-4
Apart from these it also supports live photos, slow-motion, time-lapse, and even memory videos. Now, let’s see how to use iCloud’s Shared Albums.
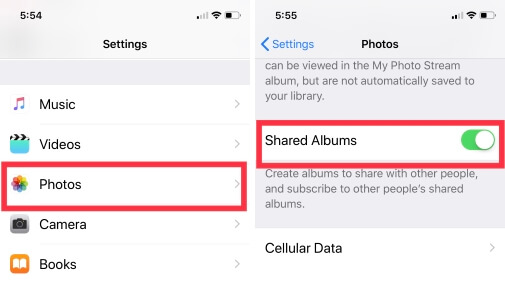
How to enable or disable iCloud’s Shared Albums?
- Head to Settings on your iOS device and tap [your name] and access iCloud settings.Access ‘Photos’.
- Turn on the toggle next to Shared Albums.
- Alternatively, you can also go to the Settings → Photos → toggle on Shared Albums.
Also Read: 3 Ways To Combine PDF Files On Mac
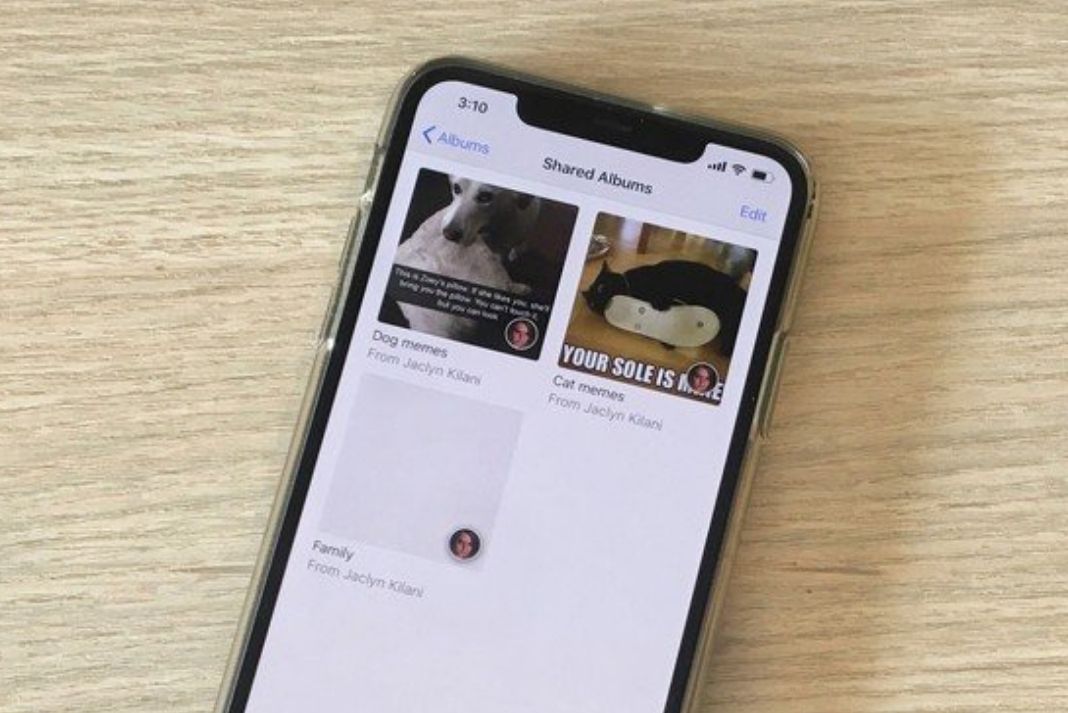
How to access Shared Albums in iCloud?
Pre-requisites:
- Make sure you’re Apple devices are using the latest operating system.
- Set up iCloud on your iOS device.
- If you have multiple devices, all must have the same Apple ID.
- Your iPhone should have an active internet connection.
With that said, let’s see how to view Shared Albums:
- Open Photos App on your iPhone and head to ‘Albums’
- Navigate to ‘Shared Albums’ in the categories.
- Access all the Shared Albums by tapping ‘View All’.
How to Create Shared Albums on iOS devices?
Let’s see how to create shared Albums:
- Go to Photos App > Albums.
- Tap the + button.
- Tap ‘New Shared Album’.
- Give a name to the album and tap the next button.
- Finally, enter the names of shared contacts and tap create button.
The contacts will be sent an invitation that you’ve invited them for shared albums. They can either accept the request or reject it.
How to add new subscribers or invite new people to the Shared Albums?
- First of all, select the album in the Photos app to which you want to add more people.
- Tap the ‘People’ option
- Tap the ‘plus’ icon to add people.
- Now add the names of subscribers to the shared album.
Here too, the invite will be sent to the subscribers and they can accept or reject the invitation.
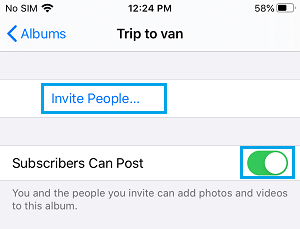
Note: If you want to share the album with the people who can’t use iCloud, enable the ‘Public Viewing’ option.
How to add photos and videos to the shared album on iPhone and iPad
There are two ways by which you can add photos and videos to the Shared Album:
First Method:
- Open the shared album in the Photos App.
- Tap the + button on the top left.
- Select the photos or videos to add.
- Tap the ‘Done option.
- You can also add a comment and tap the Post button.
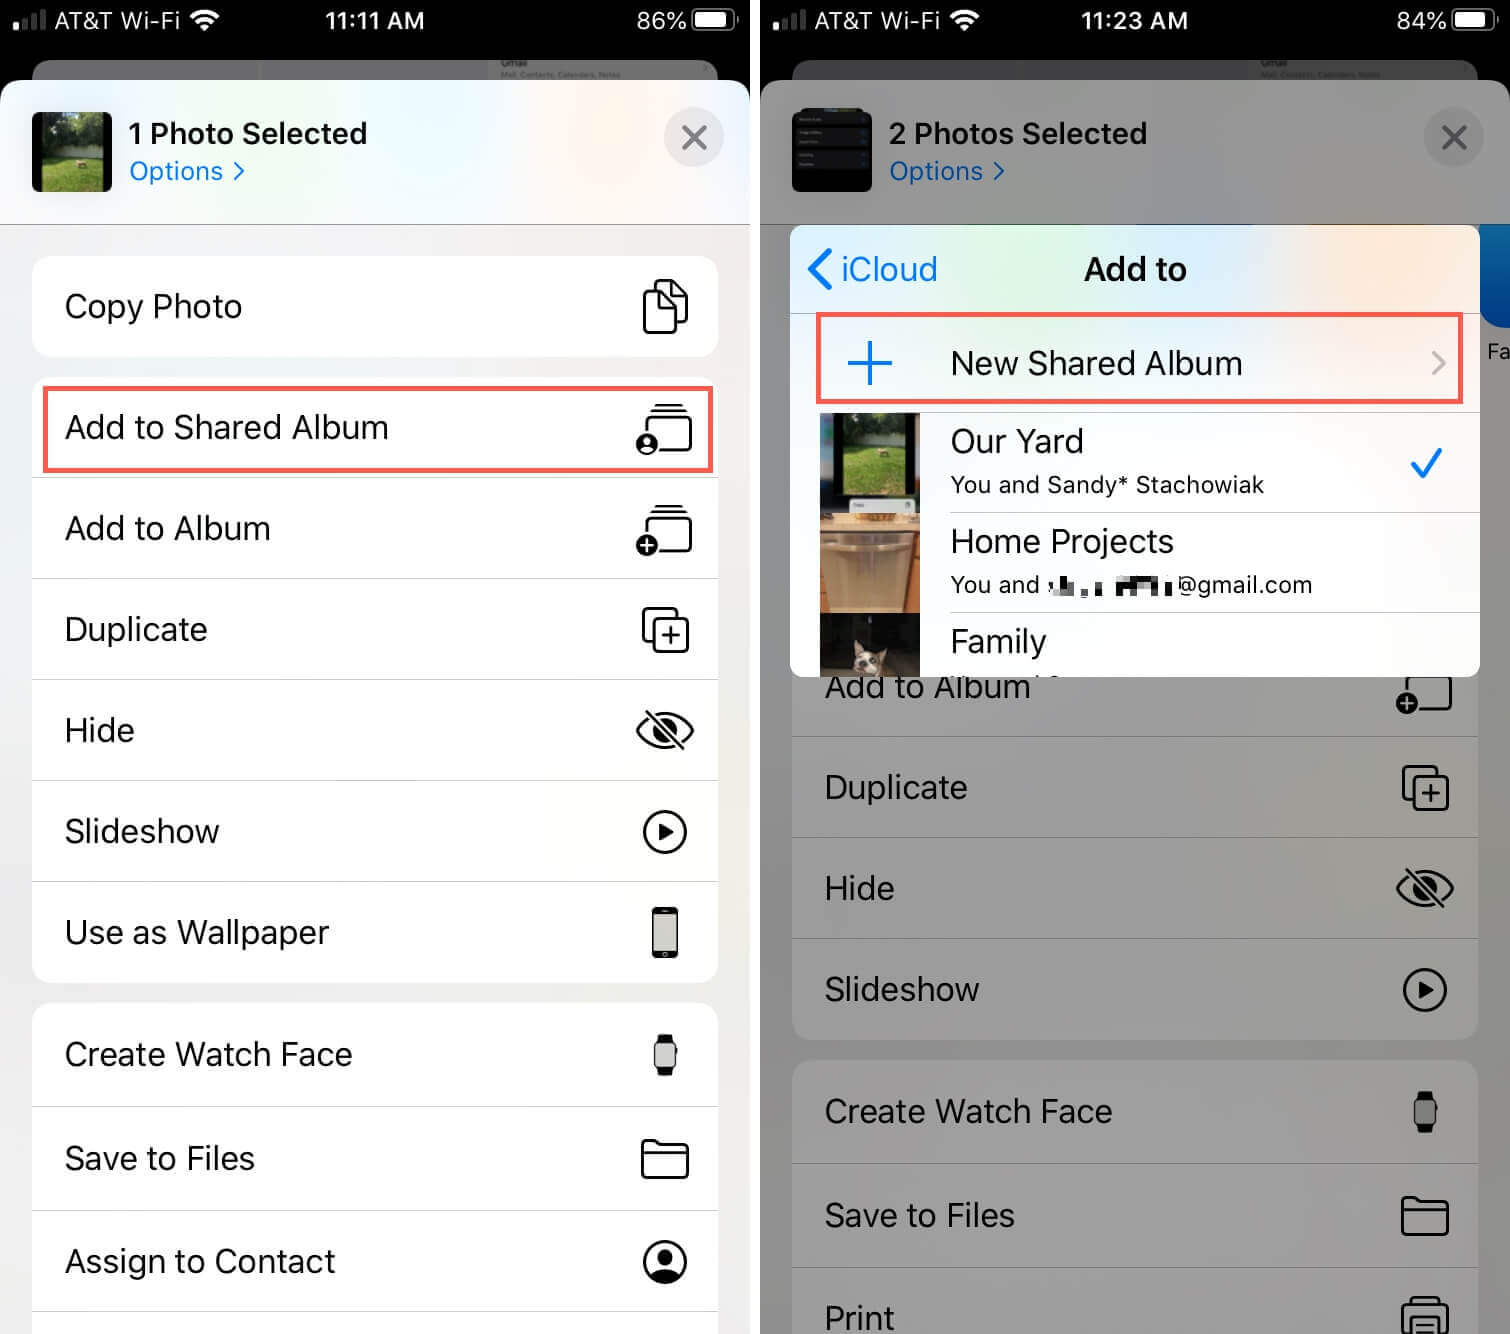
Method Two:
- Select all the photos or videos in the Photos app that you want to add to the shared album.
- Tap the Shared button.
- Scroll and select the ‘Add to Shared Album’ option.
- Finally, choose the Shared Album in which you want to add the files and tap the Post button.
How to remove a shared contact from the album on iPhone and iPad?
Only the owner of the Shared Album can add or remove someone from the subscribers of the shared albums. Let’s see how to do it if you are one:
- Open the shared album in the Photos App and tap the People icon.
- The list of all the subscribers will appear on the screen.
- Tap the name of the contact you wish to remove.
- Finally, hit the ‘Remove Subscriber’ to confirm the action.
How to delete photos and videos from a shared album on iPhone and iPad
You are entitled to delete all the content of the shared albums (files shared by other users) only if you are the owner of the album. All the other subscribers can only delete the content uploaded by them.
- Open the shared album in the Photos App.
- Select all the files to delete and press the Delete button.
- Tap the ‘Delete Photo’ option to confirm the action.
Conclusion
Here we come to the end of the comprehensive guide on iCloud’s Shared Albums. This is an excellent tool to securely share photos and video files with others and without any hassle. There is no dependency on Operating System. Hence, it can prove to be a secure alternative for photo sharing with your friends and family. What’s your take on this, let us know in the comments.


