


 Header Through Cloudflare")


Discord Channel Read Only
When you use Discord, you can use a lot of unique and powerful tools. It’s one of the most popular chat services in the world for this reason. There are a lot of great things about Discord, but it can take a while for new users to learn how to use them all.
People sometimes wonder how Discord channels work, but they don’t know why.
These are read-only channels that are great for putting together information about the server, groups, and raids when it comes to gaming, future events, and a lot of other things. It’s usually used for channels that new users can join to get a sense of what the Discord server is all about before they join a group that is only for a small group of people.
As far as Discord features go, this is one of the easier ones to use. It’s more about what you don’t have to do, rather than what you actually have to do. Though, to be fair, it’s not as simple as you might think. There are a lot more steps than you think.
Afterward, I’ll give you all the steps you need to set up a “Announcements” style channel in your Discord server.
Also Read:10 Fixes For Discord Notifications Not Working On iPhone
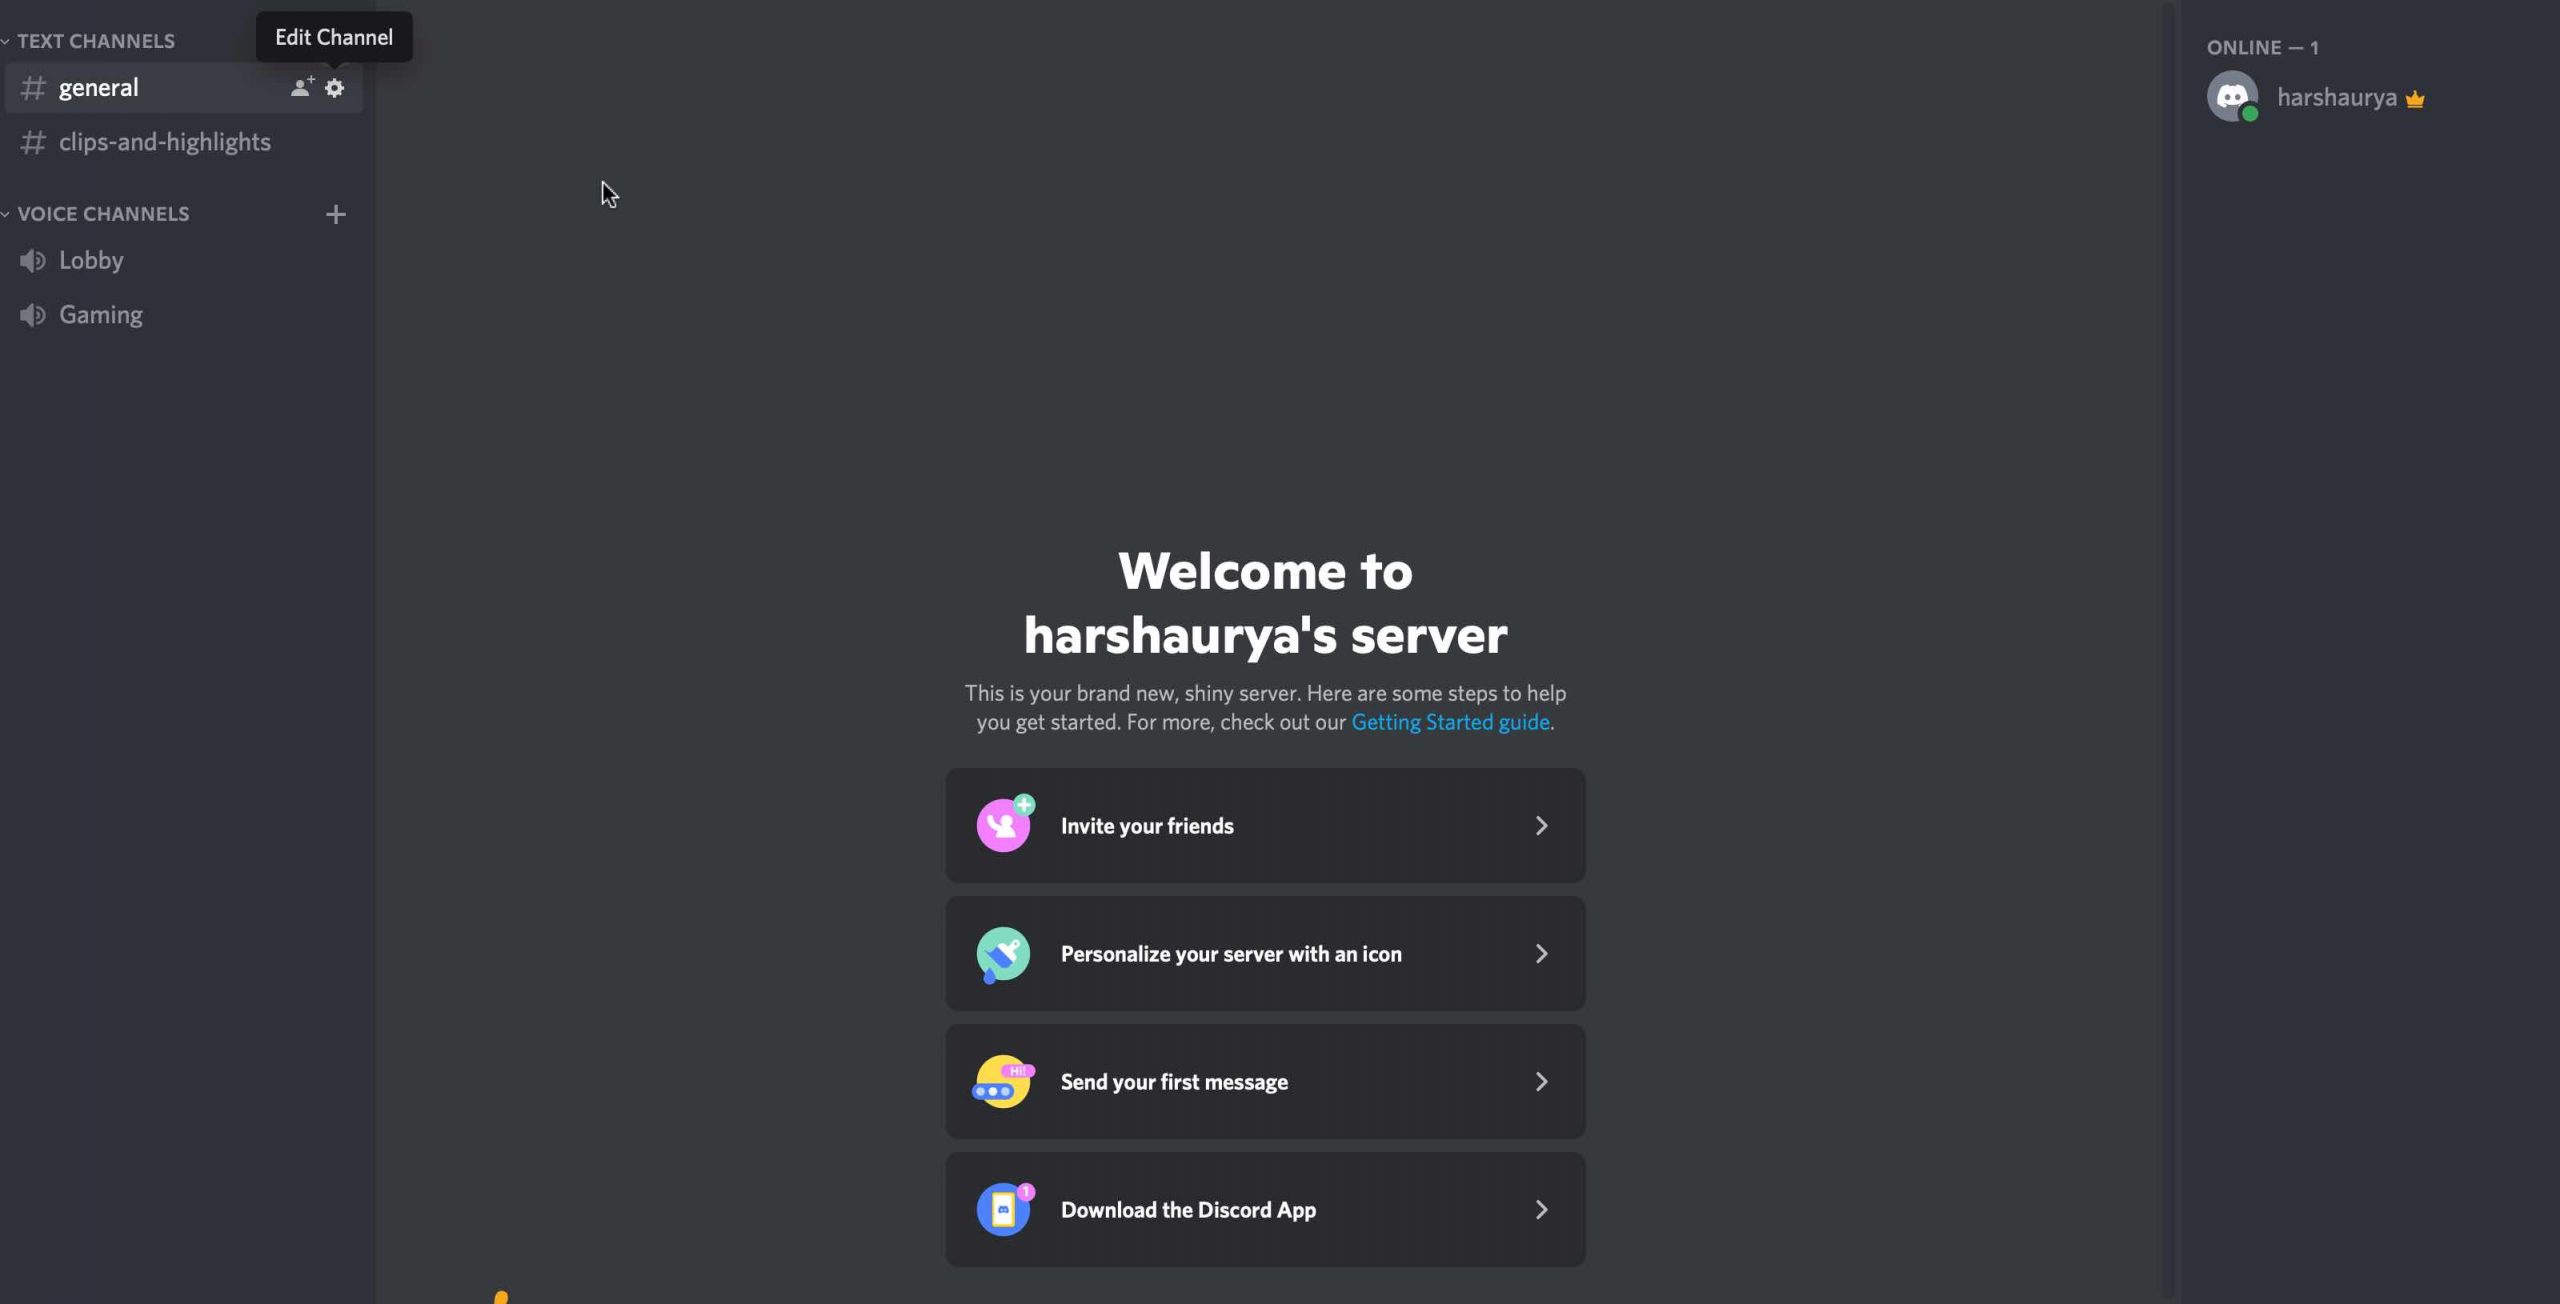
Making A Discord Channel That You Can Only Read In
Before we start, you’ll need to be inside your own Discord server or have permission to make new roles and channels on another Discord server. If that is agreed upon, we can start by making a new job.
Then, follow these steps:
- Right-click on the name of the server to open a drop-down menu. Then choose Server Settings and Roles from the drop-down menu that opens.When the window opens, click the “+” on the right side of the Roles window.

- Here, you can write the name of the role in a box. You can call it anything you want, but for this tutorial, I’m going to call it “Announce Admin.” Select the role’s colour (pink is the winner), then click the Save Changes button.

- Now, you’ll need to give the new “Announce Admin” role to the people you want to. To do this, click on the “Members” tab in the right sidebar, which is where you found the “Roles” tab.
- Right next to the people you want to add, click the “+” button. Then choose the new role from the options that appear.
- Once you’ve chosen all the people you want to be “Announce Admins,” you’ll have to make a new channel. To make a new channel, right-click an empty space and choose Create Channel from the options in the dialogue box.
- To name your read-only channel, come up with a name. Announcements will be the name of this channel, because that’s what we’re talking about right now. Once you’ve chosen a name and filled out the form, click the Create Channel button to start a new channel. #text channel must be checked.
- Setting permissions for the channel is what you need to do to make it a read-only channel and only allow people who have the new “Announce Admin” role to see and use it. You can get to this by clicking on the Cog icon to the right of the channel you’re looking at and then clicking on the channel you want to get to.
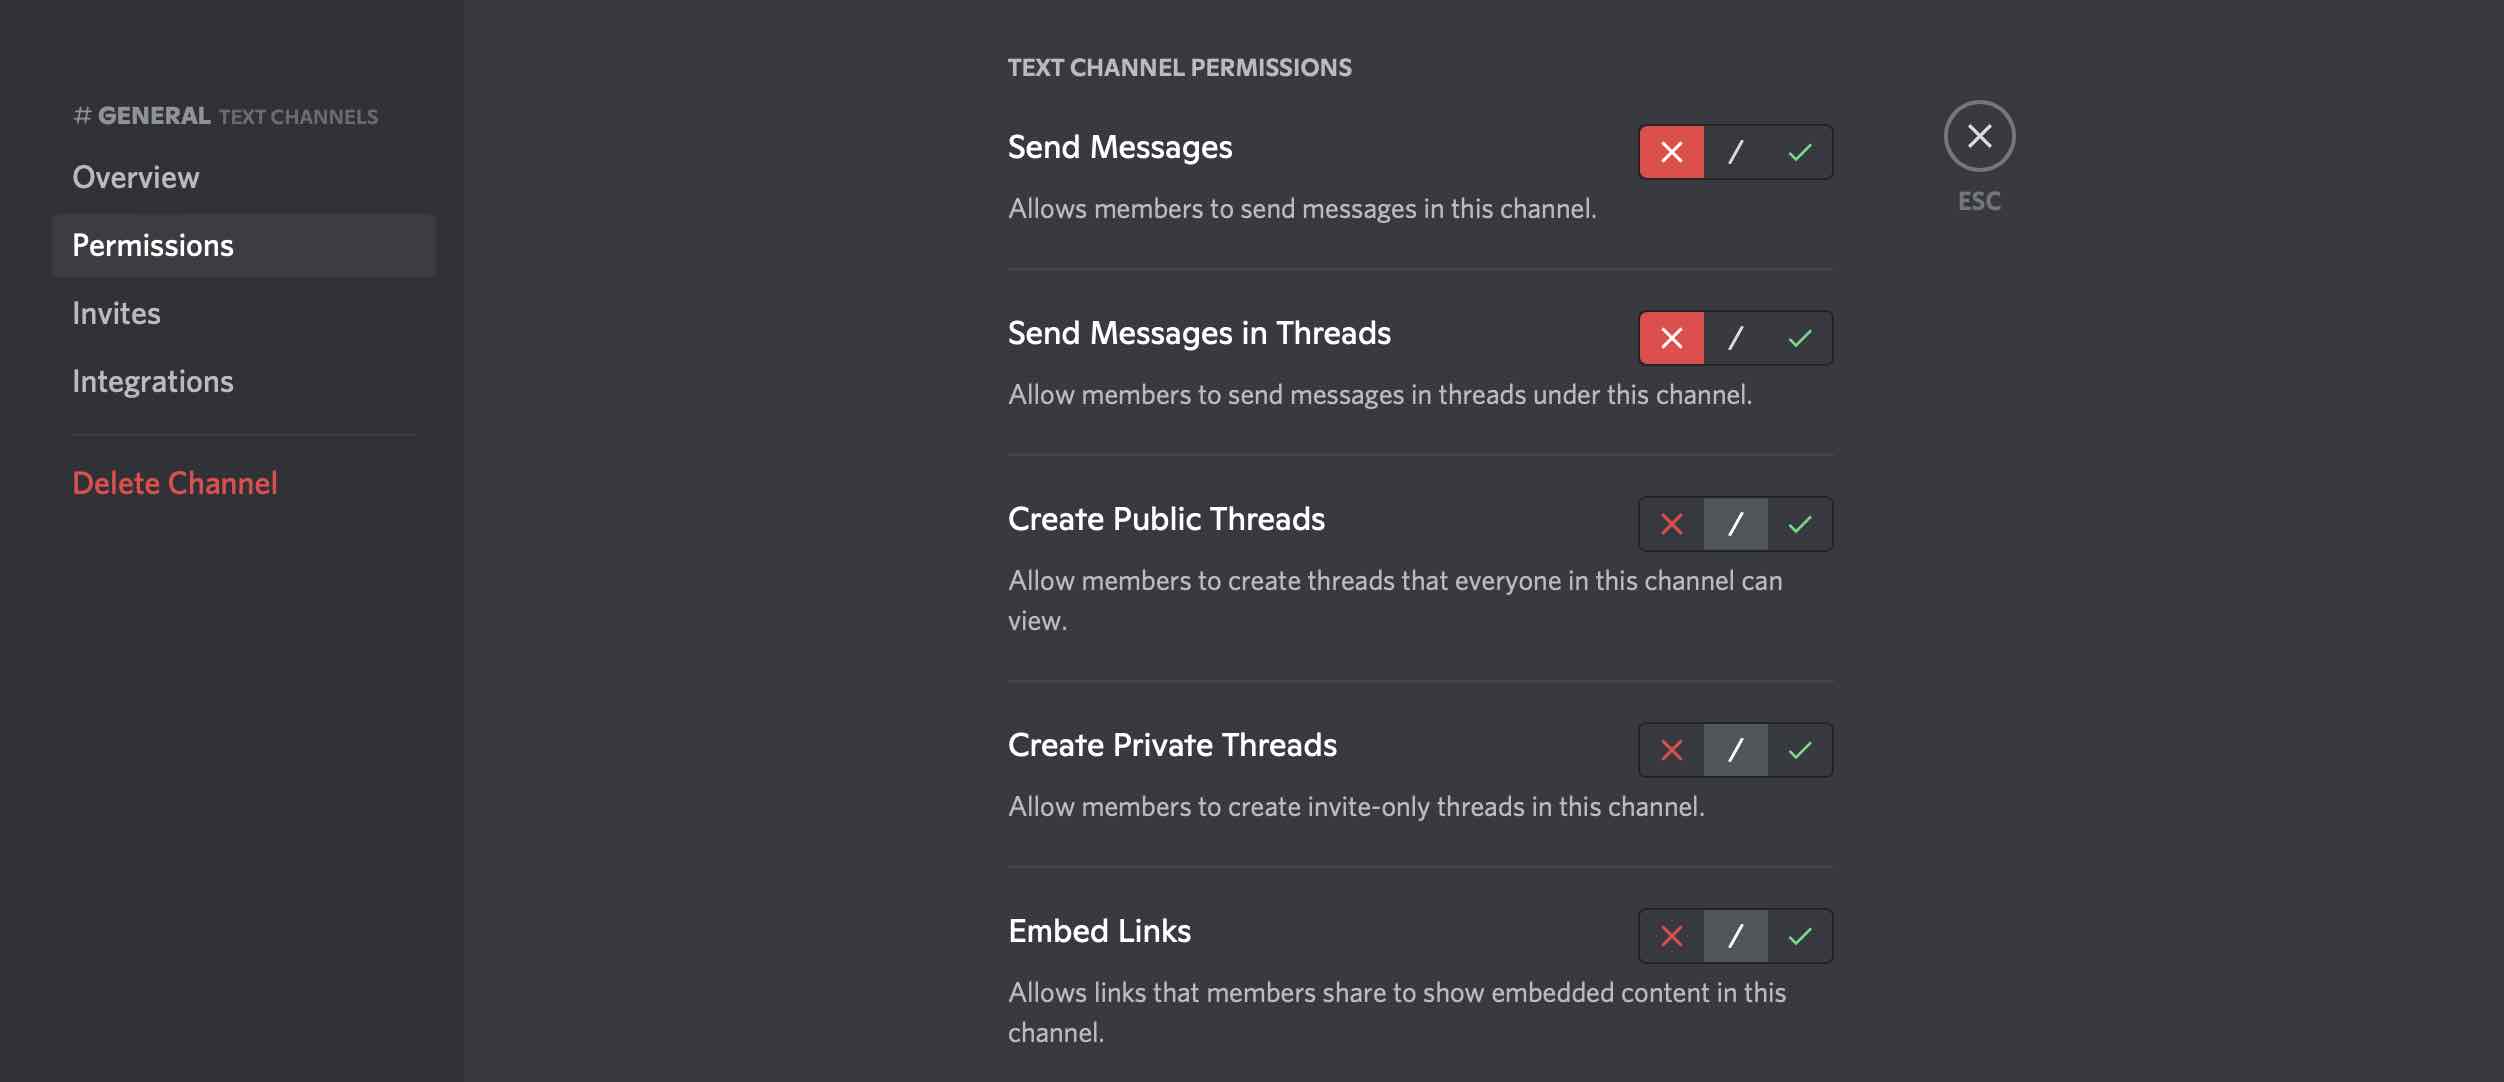
8. Once you’re in the Edit Channel menu, click the “Permissions” tab. You can change who can see your channel. This will open up the General Permissions window, where you can set permissions for different roles.
9. Go ahead and click on the ‘+’ icon that we’ve come to love. There are two groups of people who are in charge of things: roles and members. Find the new role you want to change. Click on it.
10. A red X next to the “Send Messages” permission means that you don’t want to be able to send messages. Save Changes then.
11. When you’re done, choose and highlight the new role you made. Then, scroll down and choose “Send Messages” from the list. There’s a button that says “Save Changes.” Then click it.
12. This now only lets people who have the role “Announce Admin” (or whatever you named yours) send messages in the channel.
Useful for other admins you think are good enough to organise and keep track of future announcements when you can’t or don’t want to do it yourself. Everyone in the channel has been given the ability to read-only.
Also Read: Discord Stream Stuck On Loading? Try These Fixes
Conclusion
It’s easy to make a Discord channel read-only. Even though you just change roles, there’s more to it than that! Knowing what to say and how to say it is a big part of how well your channel works. Keep your messages short, concise, and to the point and you should be fine.
Also Read: All About The Discord Streamer Mode


