


 Header Through Cloudflare")


Every year, if you’re anything like us, you snap thousands of images. Many of us wait until our photo library has grown to the point where it consumes the majority of our cloud storage. We receive warnings all the time informing us that we need to acquire additional storage. But who wants to pay money on screenshots and crappy images from a year ago? Curating your photo library on a regular basis is a better approach to managing it. Most of the time, you know you won’t keep a snapshot or save a screenshot right after you take it. Let’s read how to organize photos on Mac.
Why wait for your cloud storage locker to get overflowing with trash?
What we really need is a way to search through our massive photo libraries and find the photos we want to look at – and even share with our friends and family. Macs, iPhones, and iPads all have photo storage. It includes tools for organizing your photo library, editing, and making slideshows, and other methods to enjoy your photos.
If you don’t use cloud storage, it takes up space on your phone or Mac. We’ll teach you how to arrange images on your Mac, as well as the best ways to do so automatically.
This article will walk you through the basics of using Photos on your Mac. Take a look at the different tools for organizing your photos on the Mac.
Also Read: How to Convert Live Photos into GIFs on iPhone
Delete the duplicates
The first and foremost task before you start organizing your photos is to delete duplicate and unwanted photos. Many of us take a lot of images before deciding which ones to publish. What about the rest? They’re no longer useful. This is why photo library curating is so important — and the first step should be to clear out the clutter. It’s also possible that you saved images to an external drive and are now trying to import them into your main Photos collection. And we’re willing to wager that a large number of the imported photographs are duplicates – you just forgot they were on the external disc.
How To Pick Your Favourite Photos
There is a simple technique to organize your photos so that you aren’t always presented with thousands of images when you access your library. You can choose a view that only shows your favorite photographs if you routinely Favourite the photos you enjoy.
It’s simple to favorite images on your Mac, and we recommend doing so on a frequent basis to help you keep track of your collection.
Select the image you want to save and click the heart icon in the window’s top bar.
Alternatively, drag your mouse over the image thumbnail and a heart will appear in the bottom left corner; click it to Favorite that image.
If you consistently like your best images (you can do this on your iPhone as well), you’ll have fewer photos to look through when creating albums or deciding what to share on Facebook or Instagram.
Click on your Favorite album in the left sidebar to see only your favorite photos.
Organize Photos On Mac According To The People In The Photos
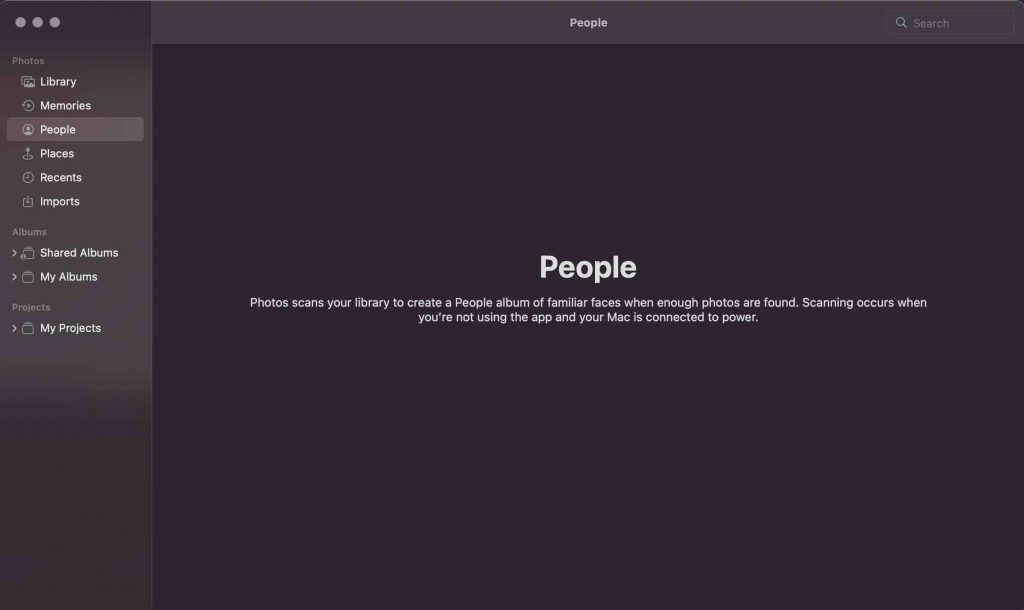
To see a grid of the faces Photos has detected, go to the People album, which is displayed in the left sidebar under albums. To see the images connected with a face, double-click on it. Hover over a face and click ‘Add Name’ to give it a name.
People are good at recognizing faces, but it’s far from perfect, and there will be many faces in your photos that aren’t displayed here. To add someone, go to ‘Add People‘ and select someone from the grid that appears. (Tip: Command-clicking numerous persons selects them all.) They’ll all be included in the People album after that.
Also Read: How To Recover Deleted Photos On iPhone
Another Tip
If you have several variations of the same person in the People album, Cmd-click them all, then Ctrl- or right-click on one image and choose Merge ‘x’ People, where x is the number of faces you’ve clicked. After that, all of the images detected in the various variants of the face will be put together and identified as the same individual.
To make someone your favorites, Cmd-click them and drag them to the favorites section at the top of the album.
Right-click on someone in the People album and select Hide this Person.
How To Create An Album
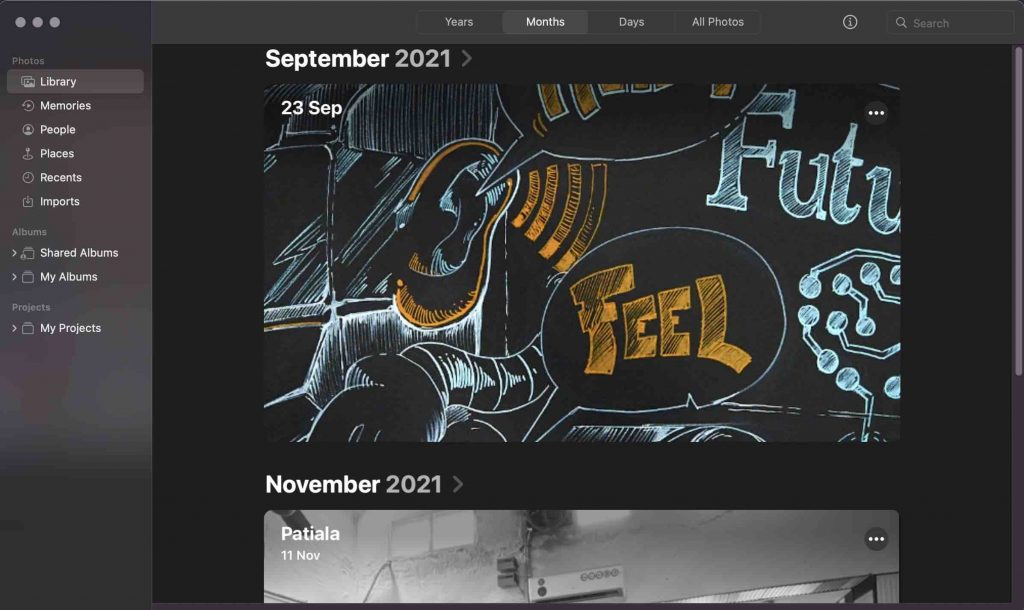
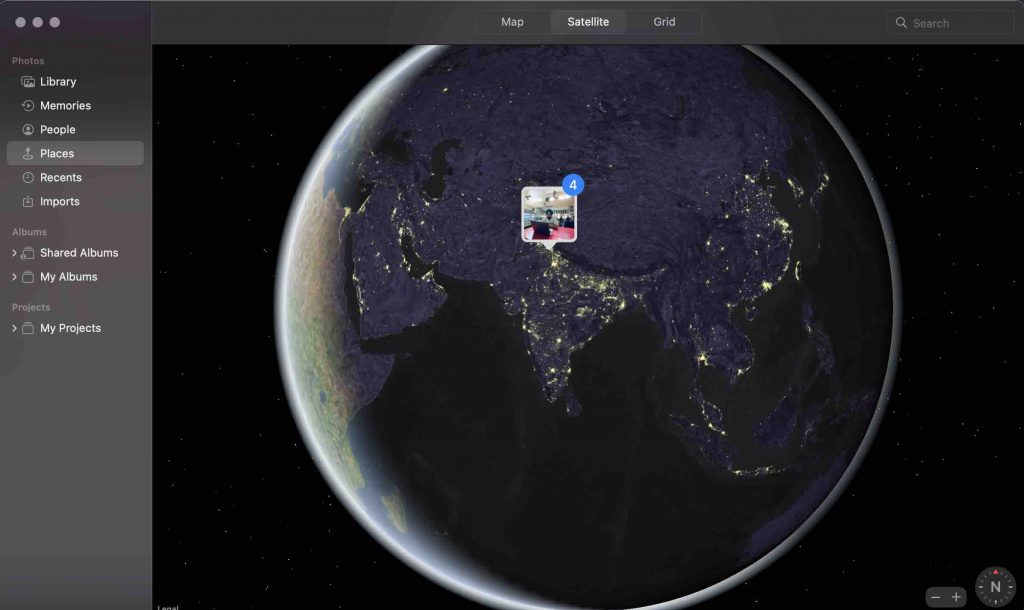
Photos do a wonderful job of grouping our photos for you based on locations and dates. When viewing your images in the Months view, for example, you’ll notice that they’re organized by days and regions. However, when it comes to picking through the images you took on your vacation to Disneyland or during your daughter’s birthday party, Photos aren’t as brilliant as you are.
Here’s How To Do It
Follow these steps to collect a group of images to publish on Facebook or create a slideshow from (as per the instructions above):
- Either choose Albums from the left-hand column and then click the + that appears when Albums is selected. Select an album. Alternatively, select File > New Album from the File menu.
- There will be an Untitled Album. You have the option of naming the album.
- The album will be empty if you haven’t already picked any photographs; however, you can select the images first and then create the album, in which case the images will be immediately added to the album. You can add photographs to your album by clicking on Photos in the left-hand column, or by going to Favourites, Face, Places, or another album. Basically, this is the view that will help you find the photographs you want to add to the album the quickest.
- After you’ve chosen your perspective, drag the photographs and videos you want to include in your album into the newly formed album in the sidebar (or any album you have created).
How To Add Photos Into An Existing Album
Drag a marquee over a set of photos to add to an album with the mouse or trackpad, or press the Command key while selecting different images. Alternatively, you may just pick one image to upload.
Drag the new photographs from the photo view onto the name of the album in the left-hand column to add them to the album.
Alternatively, you can select a group of photos, right-click, and select Add To, where you’ll find the name of your Album.
How To Create SMART Albums
One of the advantages of utilising Photos on a Mac is the ability to build Smart Albums. These albums are automatically updated based on the parameters you choose.
If you wanted to create an automatically updated album with your son’s most recent photos, you could do the following:
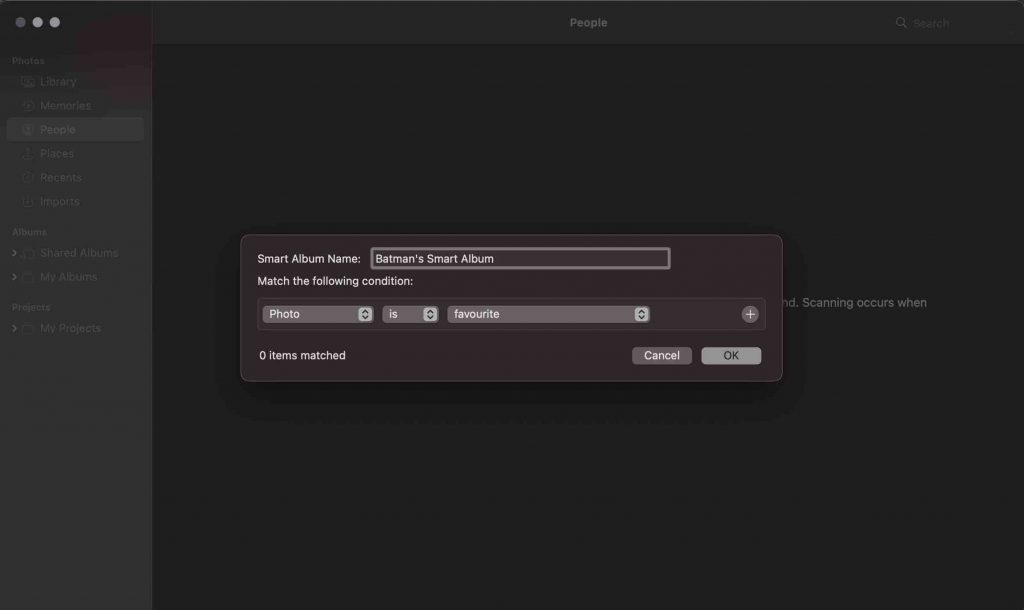
- Select File > New Smart Album from the File menu.
- Select the following condition under Match the following condition: [Name of person] is included in this category.
- To add more criteria, click +. For example, you may add a criterion for Data Added.
- Alternatively, you might limit the photographs that are pulled into the Smart Album to a certain album, such as Favourites (so that it only pulls in your preferred photos).
- When your Smart Album is open, select Showing from the drop-down menu. You can choose from All Items, Favourites, Photos, Videos, or even a keyword search.
Conclusion
That’s it – a simple method for organizing your photos that requires no effort, and it works for everyone, whether you edit 100 or 10,000 images every week. Naturally, everyone will customize the process to their specific needs, but this is a great place to start.
Also Read: How To Recover Deleted Photos On Mac


