


 Header Through Cloudflare")


Nowadays, there are many reasons to remove unwanted objects from your photos. Maybe there is a photo bomber, or someone accidentally ruined your photo composition. Content creators and influencers permanently remove people and things from their images to make their pictures clearer, cleaner, and more pleasing to the eye.
People like you might wonder how you remove things from your photos. Which programs should I use for the edit? Are all editing software to do this job too advanced? Well, you came to the right article. In this article, I will show you how easy it is to eliminate things in your photos.
This is a personal experience; the website and tools I will show you are my usual go-to for my friends.
Honestly, when I was just a beginner editor, there were no tools such as the tools I will be showing you in a bit. These tools are not even applications (at least some of my samples) and can be accessed through your web browser.
Also Read- Tips To Use Adobe Photoshop To Export GIF Files With Transparency
The Tools to be Used To Remove Objects From Photos
I have chosen three specific website tools and an application for this article. I have chosen the three easiest but good ones for removing unwanted objects from your photos. These unwanted* objects may be people, things, or just a spec of dust.
The three that I have chosen are:
- CleanUp Pictures. – A website that lets you clean some things on your picture. As stated, by removing objects or unwanted things.
- SnapEdit App – Another website tool that pretty much allows you to do something as cleanup. Pictures but better. a little slower but does retain more of your photo quality
- Adobe Photoshop – Sadly, this one is not free. It is part of the Adobe CC Suite and is paid monthly. Though Photoshop can be used for a lot of things, it also does have one of the best object-removing related tools that you can dive in with.
With that being said, let us hop into the tools one by one.
Also Read- How To Use Adobe Firefly In Photoshop For Free
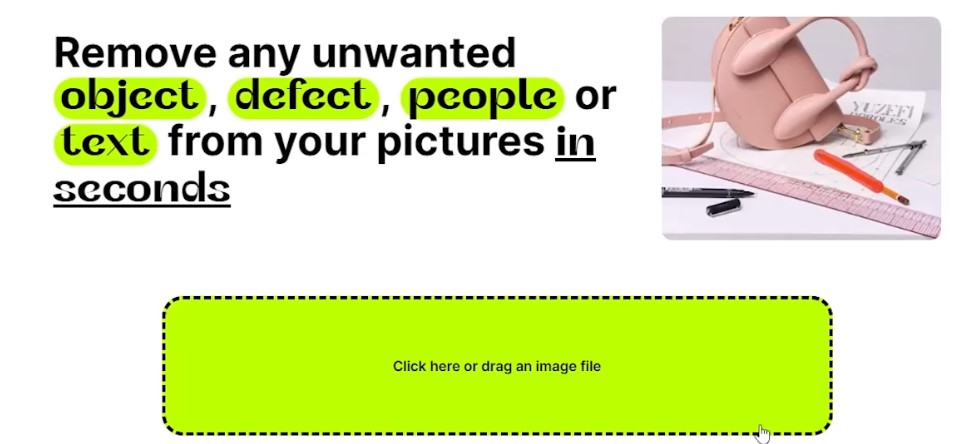
#1. CleanUp Pictures.
This website literally tells you what it does; it cleans your pictures. It can be easily accessed through the website cleanup.pictures once you go to their website. They provide sample images you can experiment with. To use it, it’s pretty simple. Once the website is accessed there, you can drag a photo to upload, hit the massive click here, or drag an image file button.
Once you drag the photo, you will be prompted with this
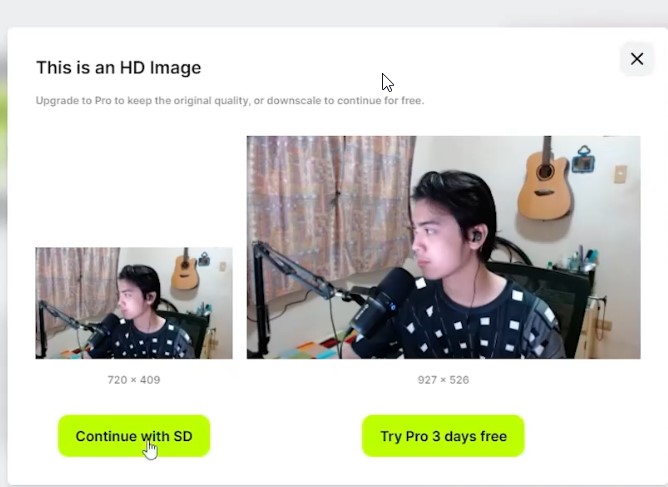
Since I have an HD image, I am forced to press the Continue with SD or standard definition for this photo. I would have to go Pro mode and pay for it or try for 3 days if I want to do HIgheer quality.
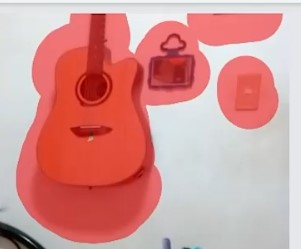
Once I pressed continue. I now have the photo in the canvas and am able to use the brush tool that practically allows you just to highlight parts of the images that you want to remove.

As you can see in the image above, I am highlighting the guitar and other unwanted stuff in my background. What I do not like about this website is that once you let go of your mouse left, click hold. It starts removing what you have highlighted, though it is efficient for small things. Very bad for really intricate tracking of objects.
You also have access to things such as the Brush size, and you are able to zoom in and out using the Zoom toggle button.
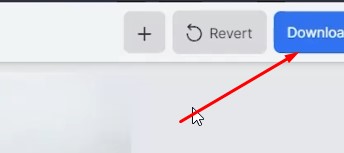
Once you are satisfied with your edit, you can now simply head over to the top right of the screen and press download.

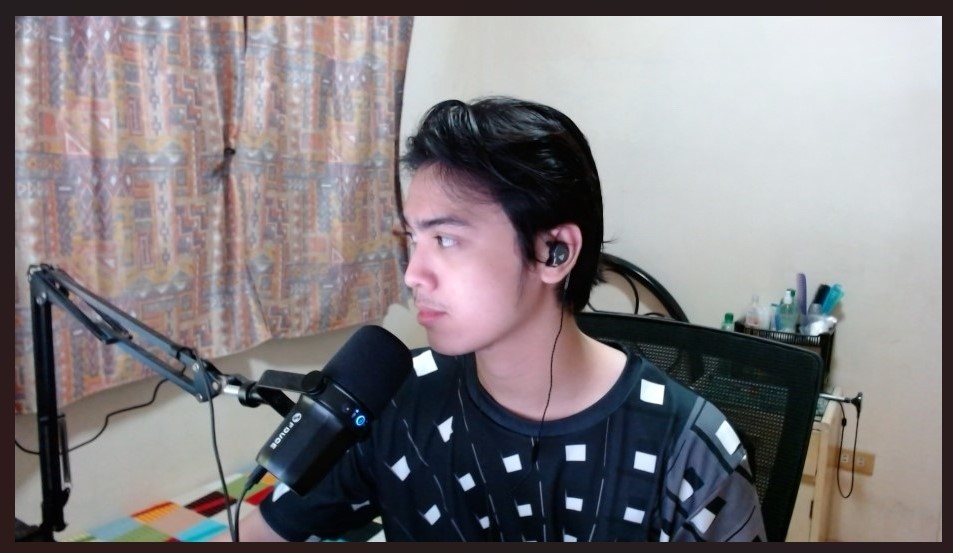
The result of our quick edit through cleanup.pictures:

#2. SnapEdit App.
Another website tool that is very similar to clean up but a tad bit better and more efficient. You can easily visit the website by heading over to snapedit.app. This website is 100% free and allows you to do everything while keeping the photos almost the same quality. There are no resolution limits, as far as I know.
The main tab of the website looks like this:
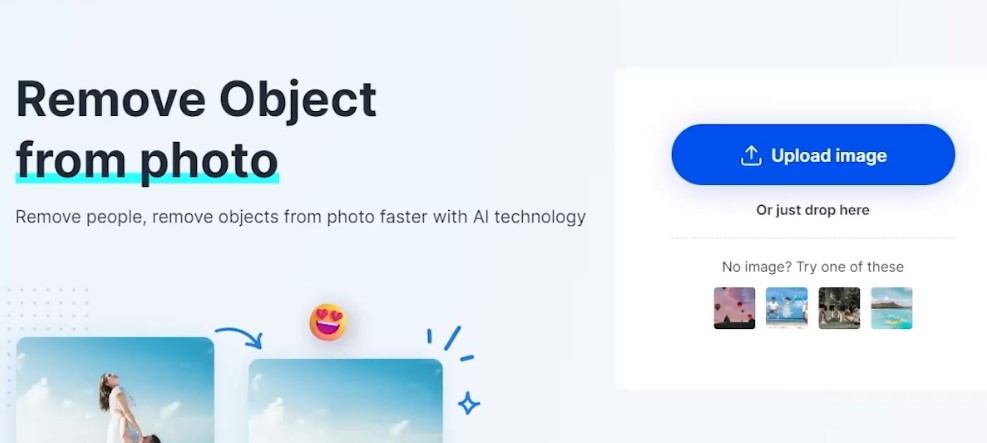
To add a photo, you can simply just press the large Upload Image button or drag your picture file to any part of the website.
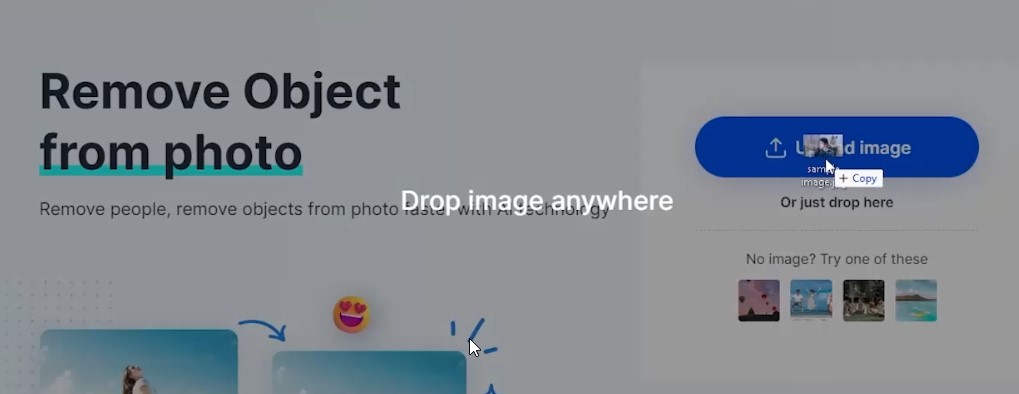
From there, you will be placed on a different tab and have the remove object tool already in hand. There are other tools, such as Remove Background and Photo Enhancer (upscale). Still, we will not be going through them for this specific article. On the left part, you can see the brush tool pre-highlighted. From there, you can change the size, and you can now start brushing.
One thing that I like about SnapEdit over CleanUp is that you can space out your highlights without it starting to process as soon as you let go of your left mouse hold.
As you can see, I was able to do a spaced-out highlighting. So from there, I can simply just press Remove once, and all of those parts would be gone.

Once you are satisfied, feel free to press the download button.
Result of our quick SnapEdit edit:
As of writing, the website does have an FAQ question if SnapEdit is free. They phrased their answers like they might get paid in the future. So, for now, let us enjoy SnapEdit and use it for efficient, quick editing.
#3. Adobe Photoshop
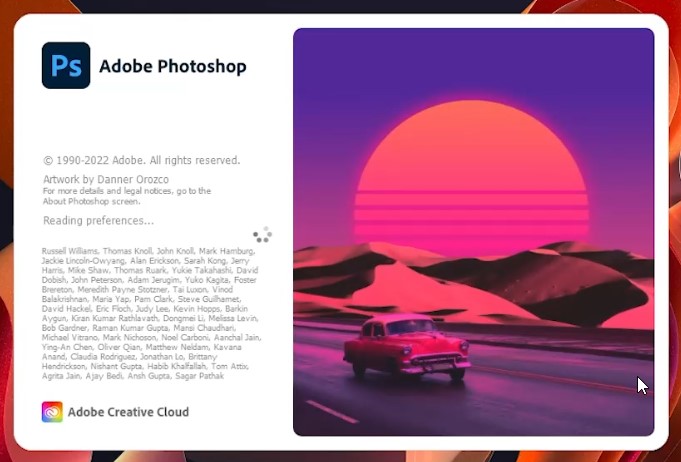
Lastly, we got this big boy. The infamous Adobe Photoshop from the Creative Cloud Suite. This is a heavy program that requires a much more powerful computer than just editing using websites. This program is around 2 GB in file size and will require caching drives for optimal performance. Would it be worth it if you wanted to remove objects from photos? Well, it may be. Not all things are simple, especially the thing-to-photo complexity ratio.
Again, photoshop has a lot more use than simple object removal. However, it has a lot more advanced tools that can help you remove harder or more complex items in your photos.
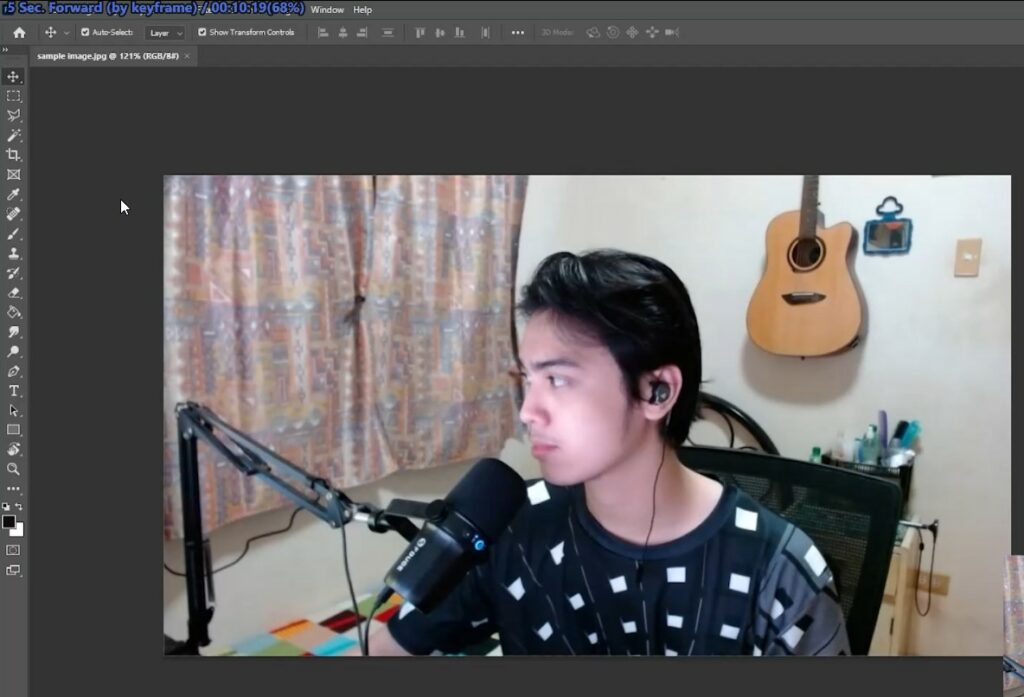
The above image is the main UI of Photoshop, with one file opened (Our sample image).
From there, there are a lot of things we can use to remove objects.
The Spot Healing Brush Tool.
Which practically acts like the magic brushes from the 2 websites that we have used.
The Content-Aware Fill
This one is the best way to remove objects from your photo while retaining the image’s nature. It is an AI that is aware of the content of your photo. So when you remove an object, it can simply replace it with the surrounding content. Let me show you instead.
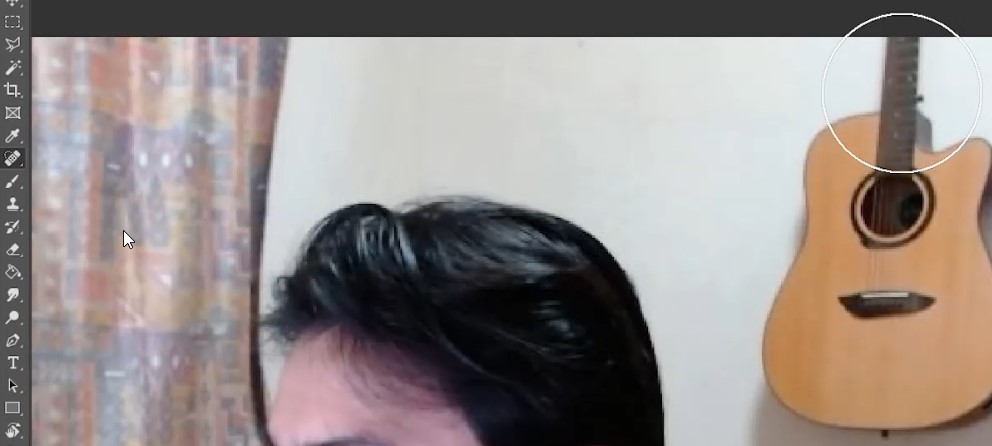
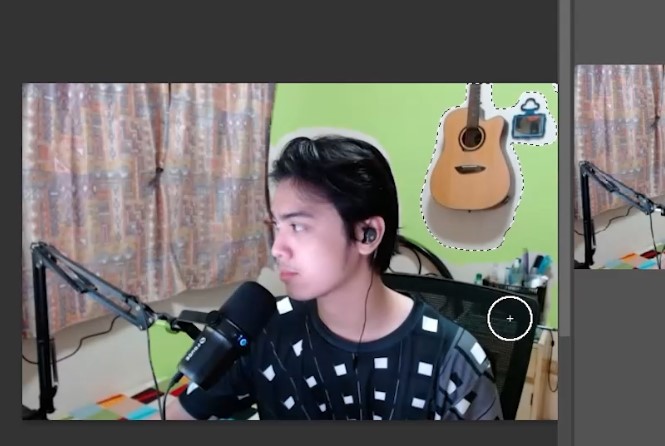
Here in this photo, I am currently using one of the highlights tools [Lasso, Polygonal, and Pen] that I can mention.
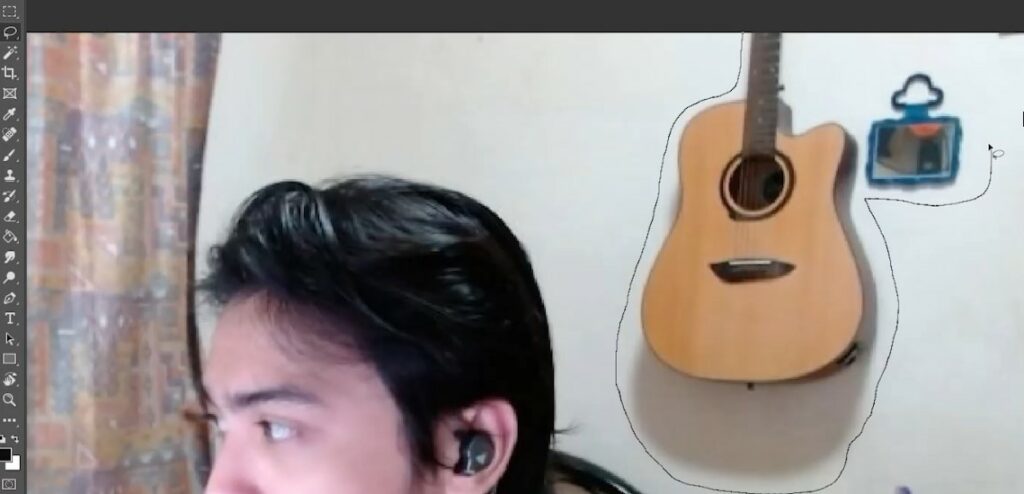
Using the Lasso Tool, I created a rough cut (highlight) of what I wanted to remove from my photo.
From there, I would right-click anywhere on the canvas.
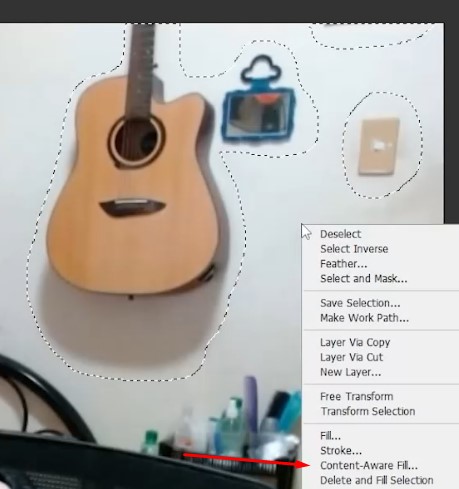
Then press Content-Aware Fill.
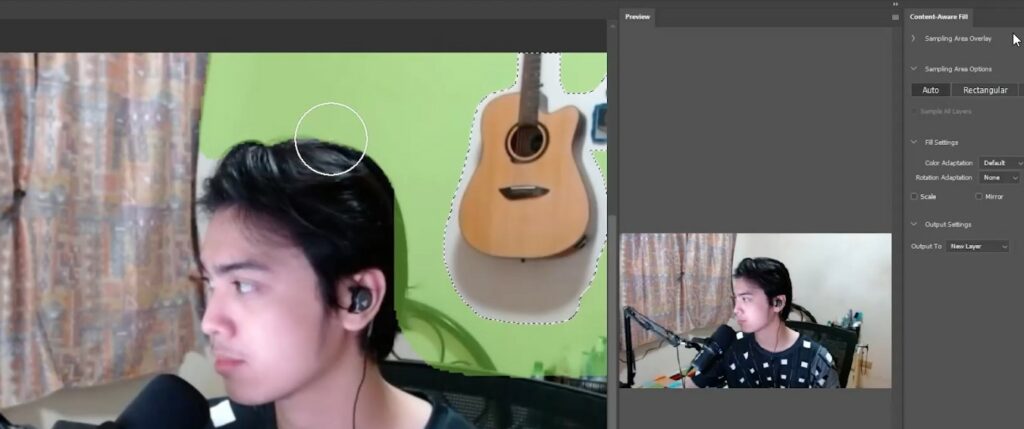
From there, you could select contents on your image that you want Photoshop to use for generating an image part to overlap the objects you wish to be removed. As you can see, I did select only the wall parts.
It is also showing me a preview of what the generated content fill would be. Once I was satisfied, I just pressed apply.
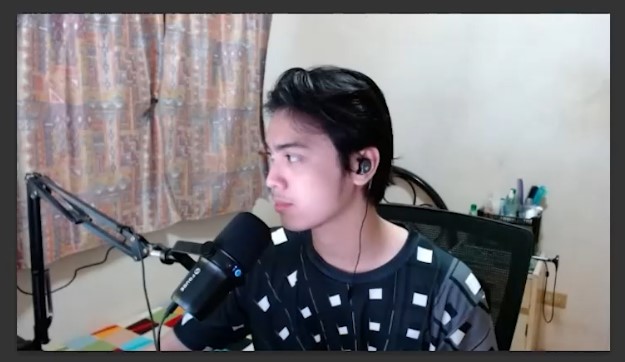
Boom, removal of objects from a photo through adobe photoshop.
Though, as I stated, photoshop has much more to offer, one thing is sure. The websites mentioned in this article and the accompanying video are helpful and should be addressed. If you want to learn more about Photoshop for removing background, check out the video created with this article.
No more being scared of trying to edit out things on your photos now that you have seen how easy it really is!
Also Read- How To Add Pics From Photos Album To Reply On ASC?


