


 Header Through Cloudflare")


In the world of digital content, GIFs have become a popular and fun way to express emotions, create engaging visual content, and add some flair to online communication. Adobe Photoshop, a powerhouse image editing software, allows users to enhance and modify images and provides the functionality to export GIF files with transparency. This unique feature makes it possible to retain the alpha channel of animated content, enabling users to remove backgrounds and create seamless, eye-catching GIFs.
The Popularity of GIFs in Digital Communication
GIFs have revolutionized how people express themselves online. Whether it’s sharing a funny reaction, expressing excitement, or simply adding some humour to a conversation, GIFs have become a universal language in the digital realm. Social media platforms and messaging apps have integrated GIF support, further fueling their popularity and making them an integral part of modern communication.
Also Read- How To Use Adobe Firefly In Photoshop For Free
Procedures for how you can Export GIFs with Transparency on Photoshop
Of course, with anything else, there would be steps or procedures for enabling a setting or doing something. Same with using Photoshop to export animations as a GIF file with transparency. The steps are listed below.
Step 1: Preparing the Project
To begin creating a GIF with transparency, you must first have a project ready for export in Adobe Photoshop, whether you’ve crafted an animation in Adobe After Effects or edited a video in Adobe Premiere.
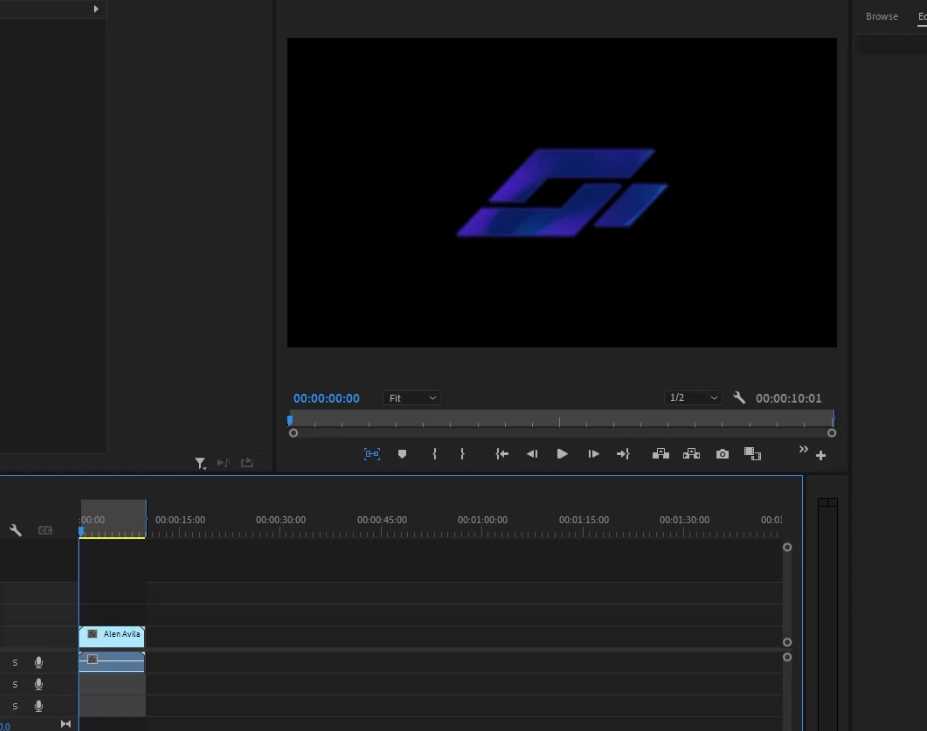
Step 2: Saving as PNG
One of the critical aspects of achieving transparency in a GIF is to save your project as a PNG sequence. PNG (Portable Network Graphics) is a file format that supports alpha channels, making it ideal for preserving transparency in images and animations. By choosing PNG as the export format, you lay the groundwork for a GIF with a clean and seamless background. To do this, head to your editing software and press CTRL + M.
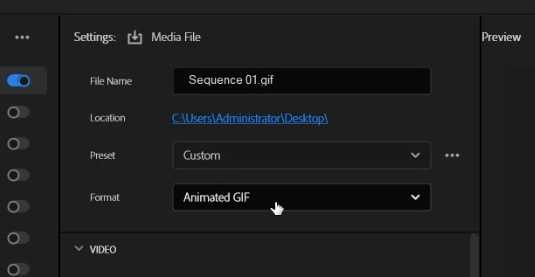
This would show you the render menu. Make sure that you select PNG.

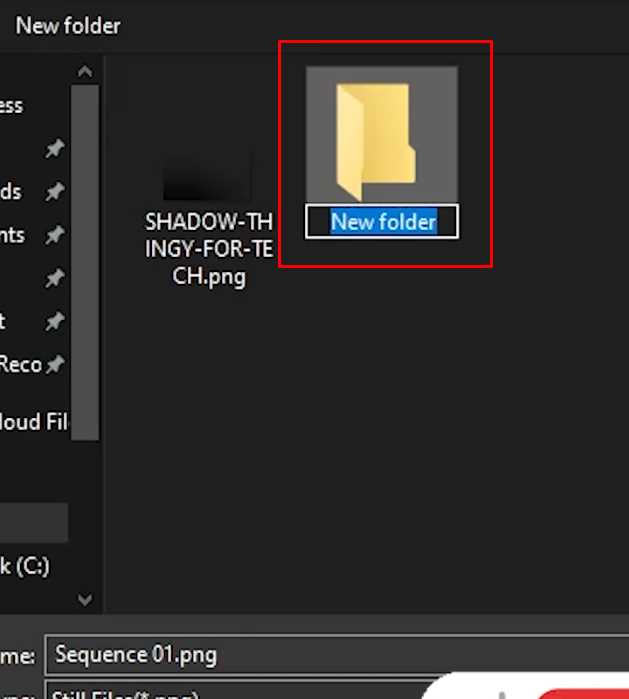
Note: save it in a folder.
Step 3: Importing PNG Sequence to Photoshop
With the PNG sequence exported and ready to go, it’s time to import it into Adobe Photoshop:

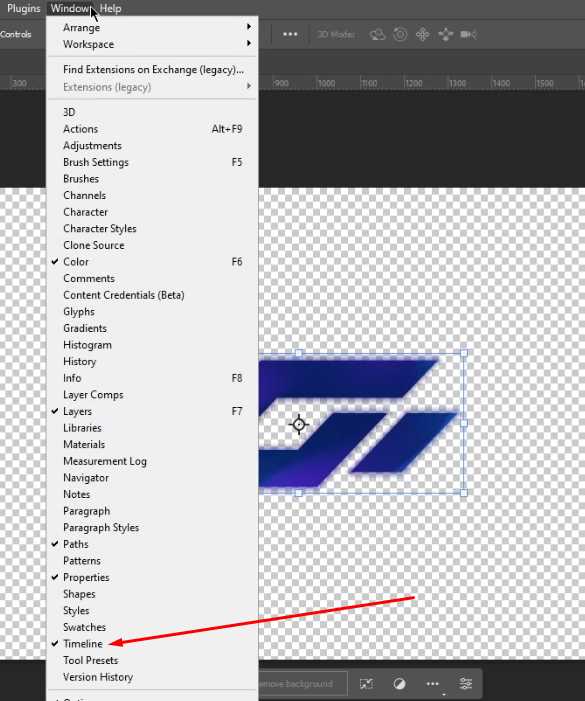
1. Open Adobe Photoshop on your computer, and if the timeline is not visible, go to “Window” and select “Timeline” to enable it.
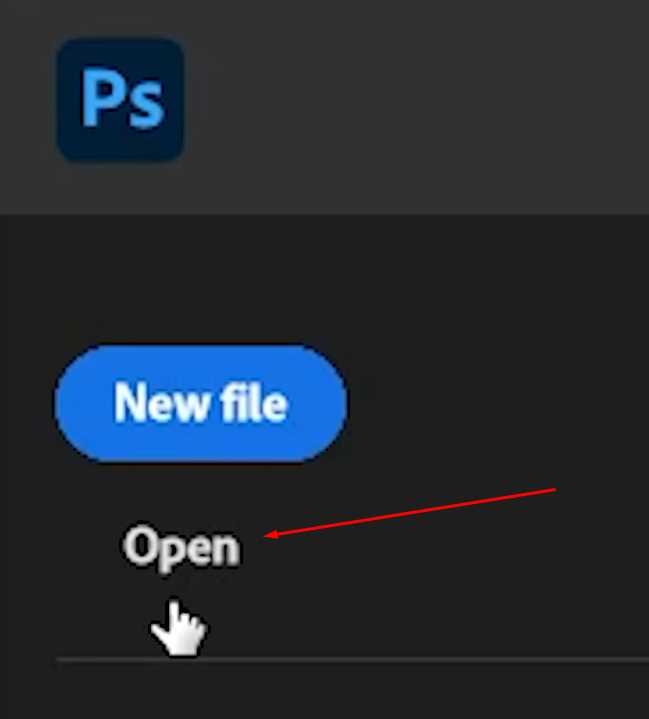
2. Click on “File” and then “Open” to navigate to the location where you saved the PNG sequence.
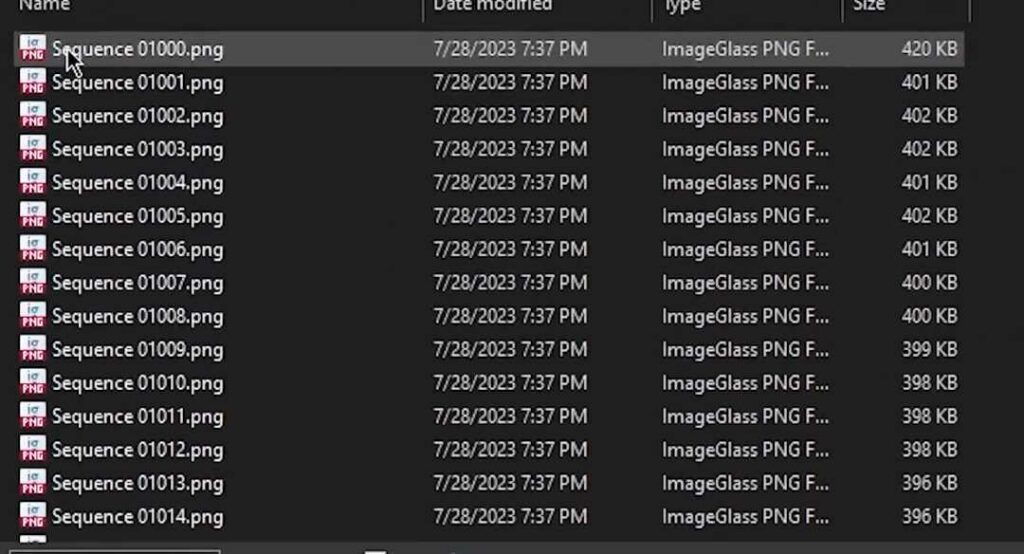
3. Select the first file in the sequence, and before clicking “Open,” ensure you check the option “Image Sequence” to inform Photoshop that you’re importing a sequence of images.
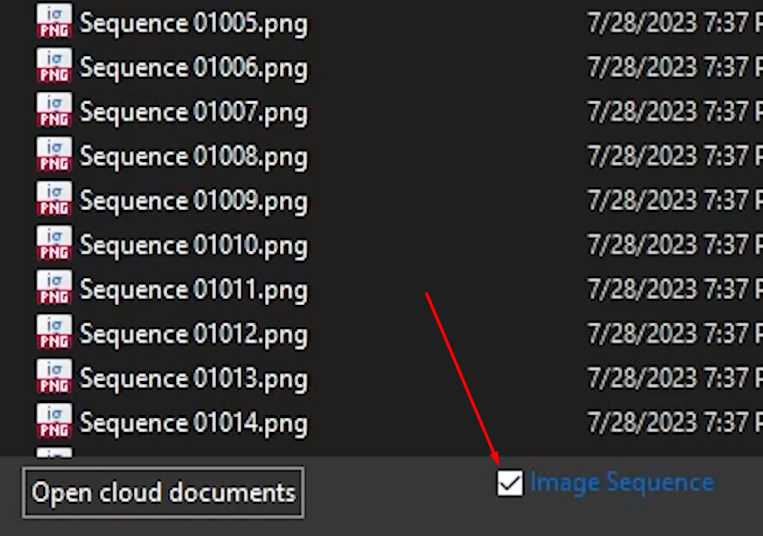
4. Click “Open,” Photoshop will create a timeline featuring your imported PNG sequence.
Note: you can leave this be.
Step 4: Verifying the Transparency
Once the PNG sequence is imported, verifying that the alpha channel and transparency are preserved in your animated content is essential. To do this:
1. Play the animation using the timeline controls at the bottom of the Photoshop window.
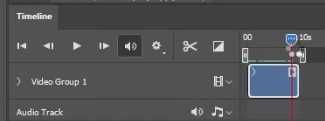
2. Carefully observe the playback to ensure the animation has a clean, transparent background, allowing for smooth integration into various backgrounds and contexts.
Also Read- 8 Best Alternatives To Photoshop
Step 5: Exporting as GIF
With the PNG sequence successfully imported and the transparency verified, the final step is to export your GIF with transparency:
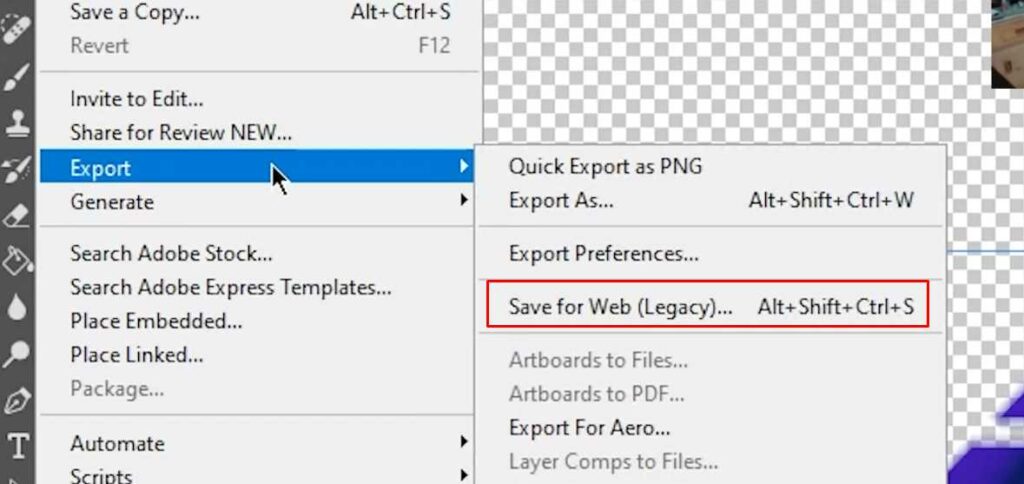
1. Click “File” and then “Export” in Adobe Photoshop.
2. Choose “Save for Web (Legacy)” from the options to open the “Save for Web” window.
3. In the “Save for Web” window, select “GIF” from the format options, and a preview of the GIF will be displayed.
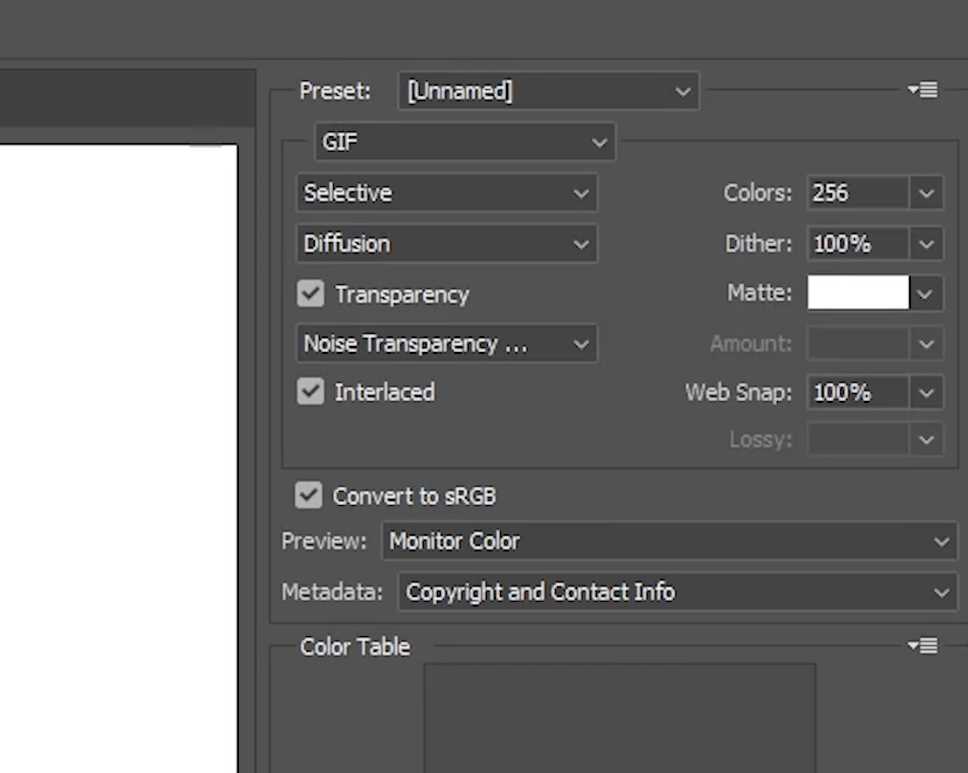
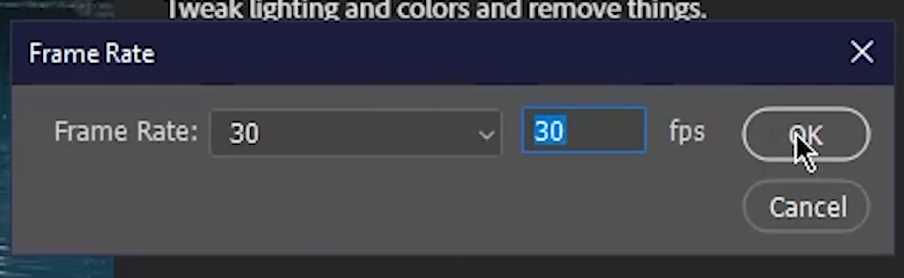
4. Take a moment to adjust settings such as frame delay, dithering, and color reduction to optimize the GIF output to your liking.
5. Once you’re satisfied with the settings, click “Save” to choose the destination for your GIF and give it an appropriate title.

Leveraging Photoshop for Creative GIFs
Adobe Photoshop’s GIF exporting capability empowers creatives to explore new avenues of visual storytelling. By leveraging its robust features, users can craft captivating and innovative GIFs that resonate with audiences across different platforms. From animating illustrations to showcasing product features, the possibilities are endless.
Enhancing GIFs with Text and Overlays
Text and overlays can add context and emphasize the message conveyed by GIFs. Adobe Photoshop offers various tools to add text, stickers, or other elements to your GIFs, allowing for creative experimentation and customization. Whether it’s adding a witty caption or a brand logo, these enhancements can significantly enhance the impact of the GIF.
Also Read- 15 Paid Softwares In 2023 That Are Really Worthy
Optimizing GIF File Size and Quality
GIFs are often shared across social media and messaging platforms, where file size matters. Photoshop’s export settings allow users to optimize the GIF’s file size without compromising quality. By selecting appropriate color palettes, reducing the number of frames, and applying suitable compression, you can strike the perfect balance between visual appeal and file size.
The Impact of GIFs on Social Media
Social media platforms thrive on engaging and shareable content, and GIFs have emerged as a potent tool for capturing attention and driving interactions. Brands and influencers strategically use GIFs to entertain, inform, and connect with their audiences, creating memorable and viral content that spreads like wildfire.
How GIFs Convey Emotions and Reactions
Traditional text-based communication often struggles to convey emotions effectively. On the other hand, GIFs enable users to express a wide range of emotions, from laughter and excitement to frustration and empathy, all through short and visually impactful animations. The universality of GIFs transcends language barriers, making them universally relatable and expressive.
Integrating GIFs into Website Design
Incorporating GIFs into website design has become a popular trend in modern web developmentUsingng GIFs strategically, web designers can breathe life into static pages, engage users with subtle animations, and create memorable interactions that leave a lasting impression. From loading animations to interactive elements, GIFs add a lot.
Conclusion
Does Adobe Photoshop support all types of GIF animations?
Adobe Photoshop supports various types of GIF animations, including looped animations, stop-motion animations, and frame-by-frame animations.
How can I optimize the GIF file size without losing quality?
To reduce the GIF file size without compromising quality, consider limiting the color palette, reducing the number of frames, and applying appropriate compression settings.
Congratulations! You’ve mastered the art of using Adobe Photoshop as a GIF exporter, enabling you to create GIF files. By transpareFollowingowing these steps, you can remove black backgrounds from your GIFs and retain the alpha channel, opening up endless creative possibilities for your animations. Unleash your creativity, enhance your edits, and share your unique GIFs with friends and followers to impress them with your newfound skill.


