


 Header Through Cloudflare")


Have you ever had a good photo of an object or a person that you want to cut out and use for an edit or a different picture, but you keep thinking that you do not have enough knowledge to remove the background on your specific object? Well, here is the thing. Multiple applications were created for this task. There are no problems in removing backgrounds on your objects or subjects.
You have probably heard of Adobe Photoshop, which is from the Adobe Creative Cloud Suite. Though it is not free, it is a program capable of different advanced things. This includes removing the backgrounds of your subject. Even if it is detailed and intricate. You probably think, but Alen, “That is not free.” Sure thing, it is not free. So in this Background Removal, I will also include free one-click AI tools on websites.
Since AI or Artificial Intelligence is a big thing nowadays, multiple websites are created for other functions. One function is removing the background from your subjects on your selected photos. However, this is not as advanced as Adobe Photoshop. Though, a lot more accessible than Adobe Photoshop. All those are free.
Now it does not matter if you are a primary social media manager, graphic designer, or e-commerce entrepreneur. The skills you will be learning here must help you a lot. You will be able to create better images that can pop up on social media and catch your eyes. So what are we waiting for? Let us dive in.
Also Read- Take Better Photos With Your iPhone | 6 Quick Easy Tips & Best Camera…
What are the platforms that we will be using?
I have chosen three leading platforms that we will be using to improve your background-removing techniques and or make your workload faster. The first one would be Zyro, a website background removal tool. Followed by Removal.ai, another website. Lastly, we have Adobe Photoshop—the most jam-packed application with multiple ways to remove your background.
How to use the two website tools to remove the background?
#1. Zyro.
This site is highly easily accessible to everyone through their browsers. This site allows users to upload their images and in a matter of seconds it will provide you with the removal of the background on your image. Here let me show you.
Head over here on their official website https://zyro.com/tools/image-background-remover. From here, you only have to drag the image you want to be removed from the background.
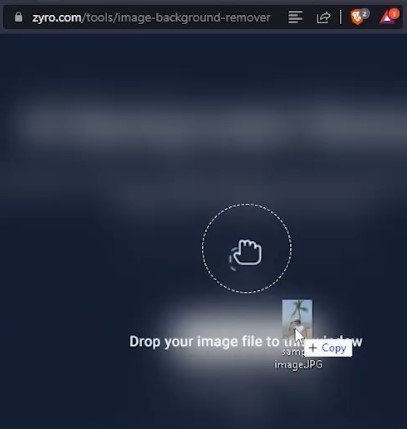
Without pressing or tinkering about anything. You can wait, and it will remove the background on your photo.
Boom, there you have it. You can press on Download Image, and you will have your background removed.
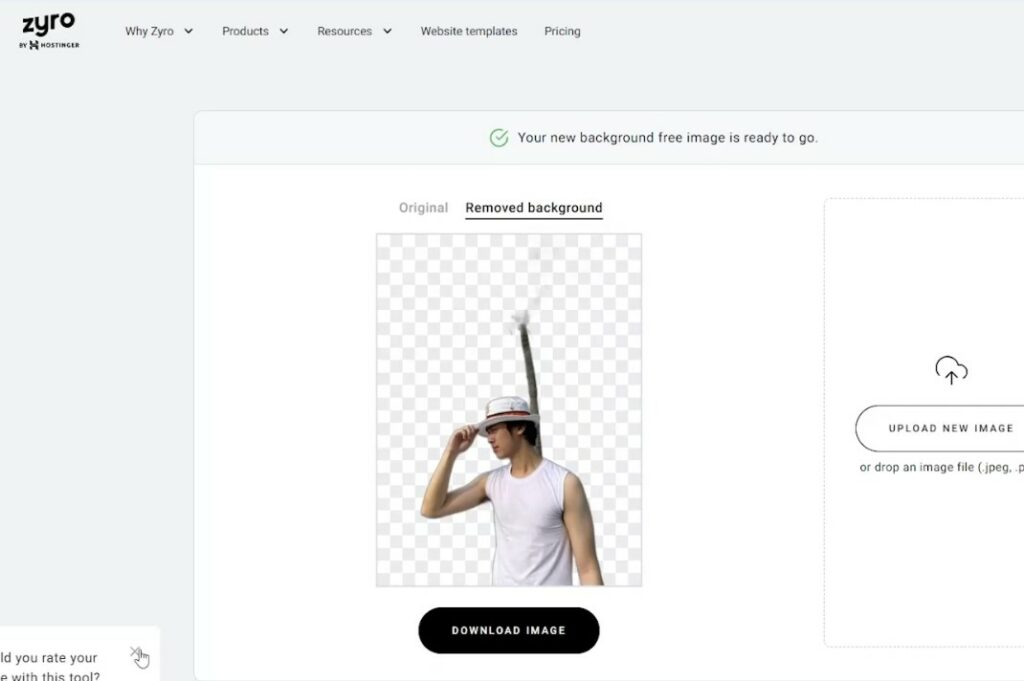
There are no other things that you can do. No adjustments. It is as simple as dragging the photo and getting a result.
Also Read- How to Color Grade Photos on an iPhone using Lightroom?
#2. Removal.ai
This is another website that is plug-and-go. However, there are more adjustments available for this website.
To access the website, you can go over to https://removal.ai/upload/

Drag your image anywhere on the webpage. It will take it, and it will automatically remove the background too.
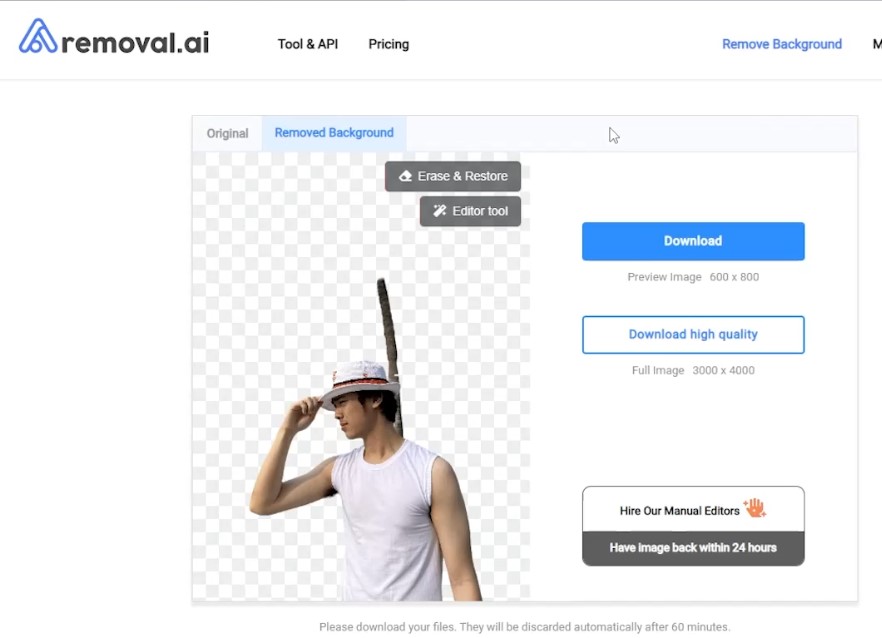
As you can see in the image above. The site also does an excellent job of removing our subject’s background. Though it still took the tree part as a part of our subject (which we know should not be there). The good thing about this website compared to Zyro is that. There is an Erase or Restore option if you press the Erase & Restore on the top right of our image.

You will be taken to this window.
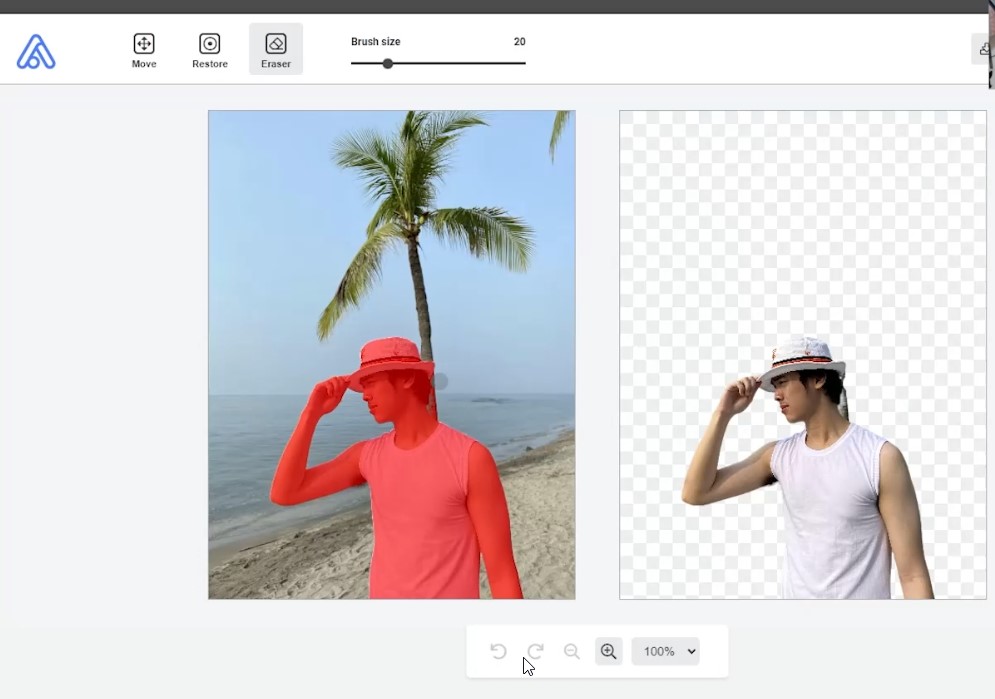
From there, you can create modifications to your photo. You manually restore what should be in the subject and erase what should not be in the image.
As you can see in the above image. I removed the tree part on my subject. However, this site is excellent for eliminating backgrounds and having manual operations. You are unable to save the total quality of your photo, unlike Zyro. You would have to pay for their subscription-based tool to download your edited image in full quality.
Also Read- 5 Tips For Picture Perfect Photos With Pixel
How to use Adobe Photoshop to remove the background?
You have heard of Adobe Photoshop before, for sure. This is from the Adobe Creative Cloud Suite, which allows you to edit images in many different ways and for other purposes. For this case, we will be using it to remove the background of our subject in the photo. Of course, photoshop will beat the two websites, but more steps would be included to yield a better result.
Let us dive in.
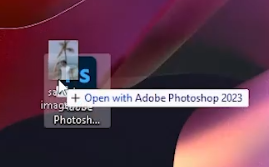
I started by dragging this photo that we are editing to the shortcut of adobe photoshop on my desktop so we can skip the opening file part of the image in Photoshop.
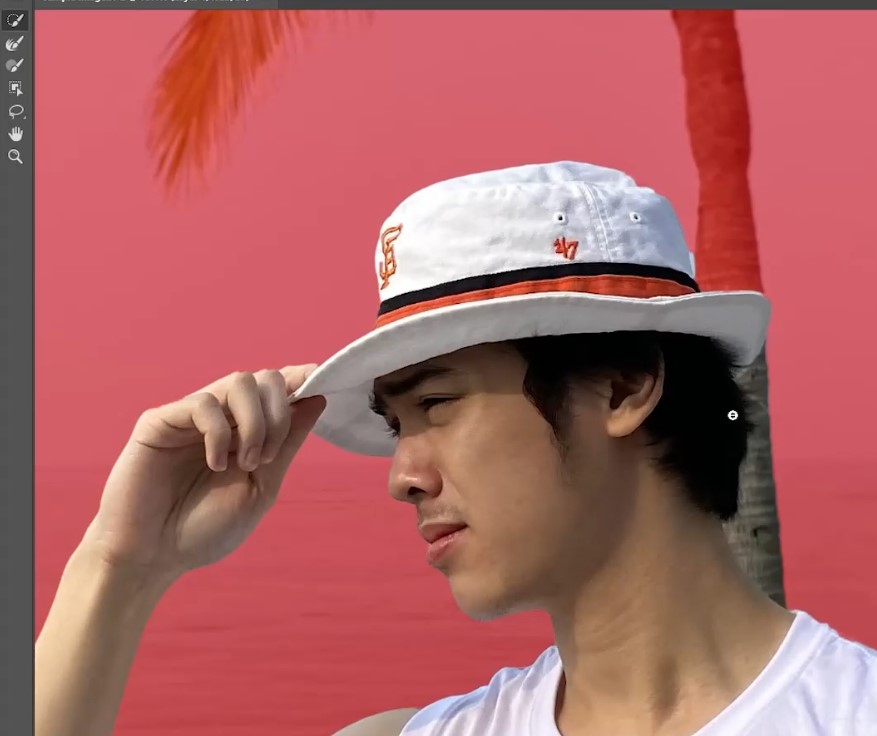
Once our photo is open, there are many ways to remove the background. The first one we will try here is the Object Selection Tool heading over to the 4th icon on the toolbar.
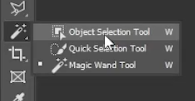
With that selected. When you hover over your image, it will suggest which part you want to highlight.
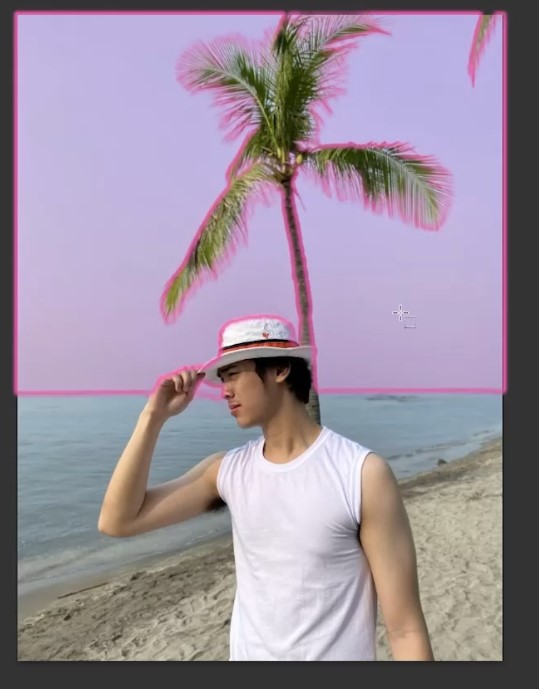

Ultimately we want me—the whole subject to be selected.

Of course, that is not perfect. What we can do is press. Select and Mask over on the top toolbar on your main Photoshop window.
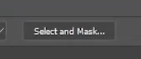
From there, you can use the tools presented in the new window. To better highlight and refine your cutout of the subject.
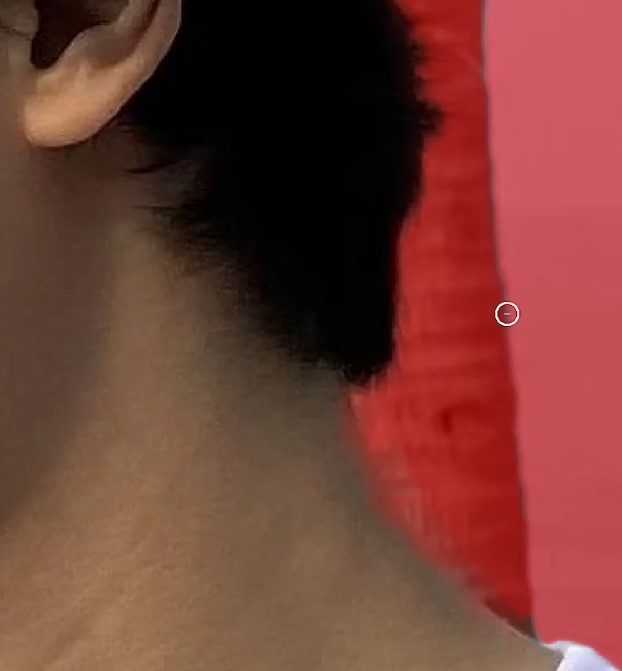
Once you are satisfied with your selection of the subject/background, feel free to hit apply.
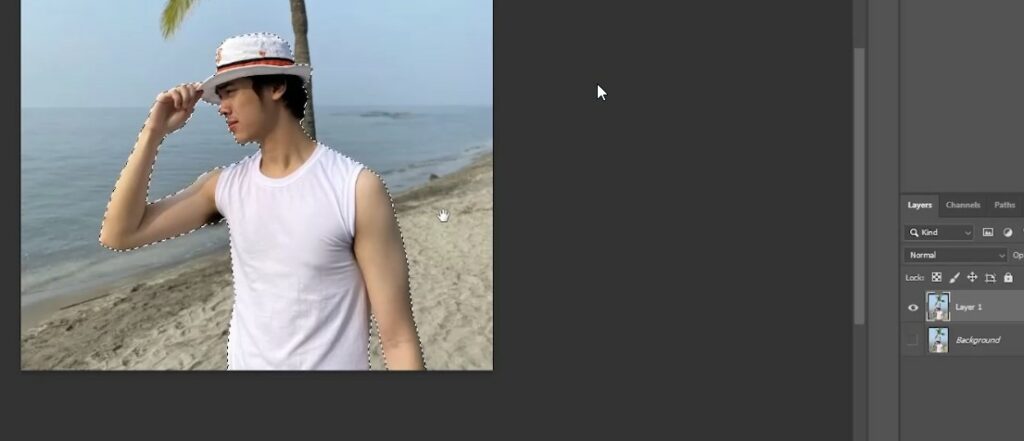
Now I can press ctrl + x, then control + B on my keyboard to cut and paste the subject to a new layer.
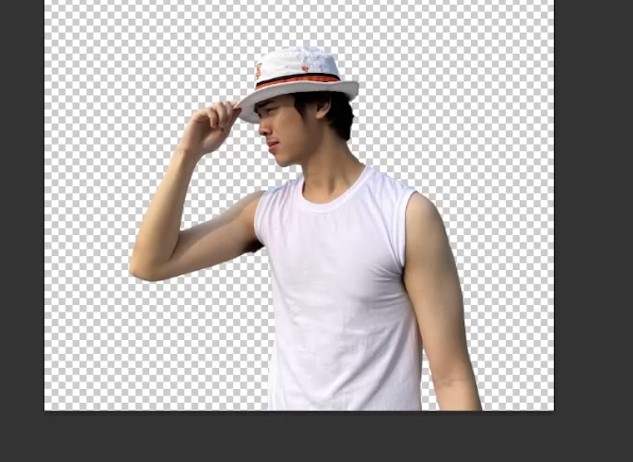
Of course, that is how you easily remove the background of your subject from your photo using adobe photoshop. But there are a lot more things that you can do with this than just typically saving it.
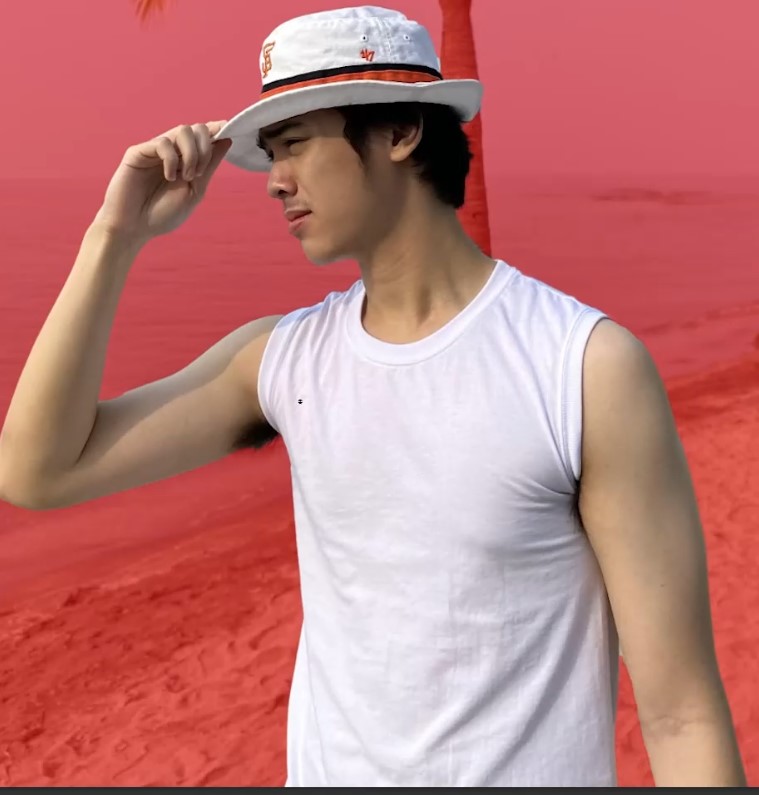
You can add effects. You can color-correct the subject separated from the background.

As you can see from the photo above. I added more depth to the image and highlighted more of the subject over the background.
There are more things, again, that you can do with the cutout of your subject. But this is where I will end this article since our goal is to remove the background. Thank you for reading if you want to learn more about this specific article. Watch the embedded youtube video or head over to Hawkdive’s youtube channel.


