


 Header Through Cloudflare")


With Gmail, you need to use every advantage you can get.
Google agrees with this. This is how it works: The company has added a lot of advanced features to Gmail, which can save you time and give you new ways to look at your emails. Because there are so many of them, it’s easy to forget to look for something that could help you.
Not to worry, though: I looked in every corner of Gmail to find the most important settings that aren’t easy to find. These next-level options go above and beyond the basics that most people know about. They could change how you handle your email. Some of them are only for the new Gmail design, but others work on both the new and old versions of the site. There are a few exceptions, but most of them are only relevant to the desktop Gmail site, not the mobile apps, with a few exceptions.
Gmail is one of the most popular email apps in the world, and it has a lot of options for how it looks and how close email conversations are shown together.
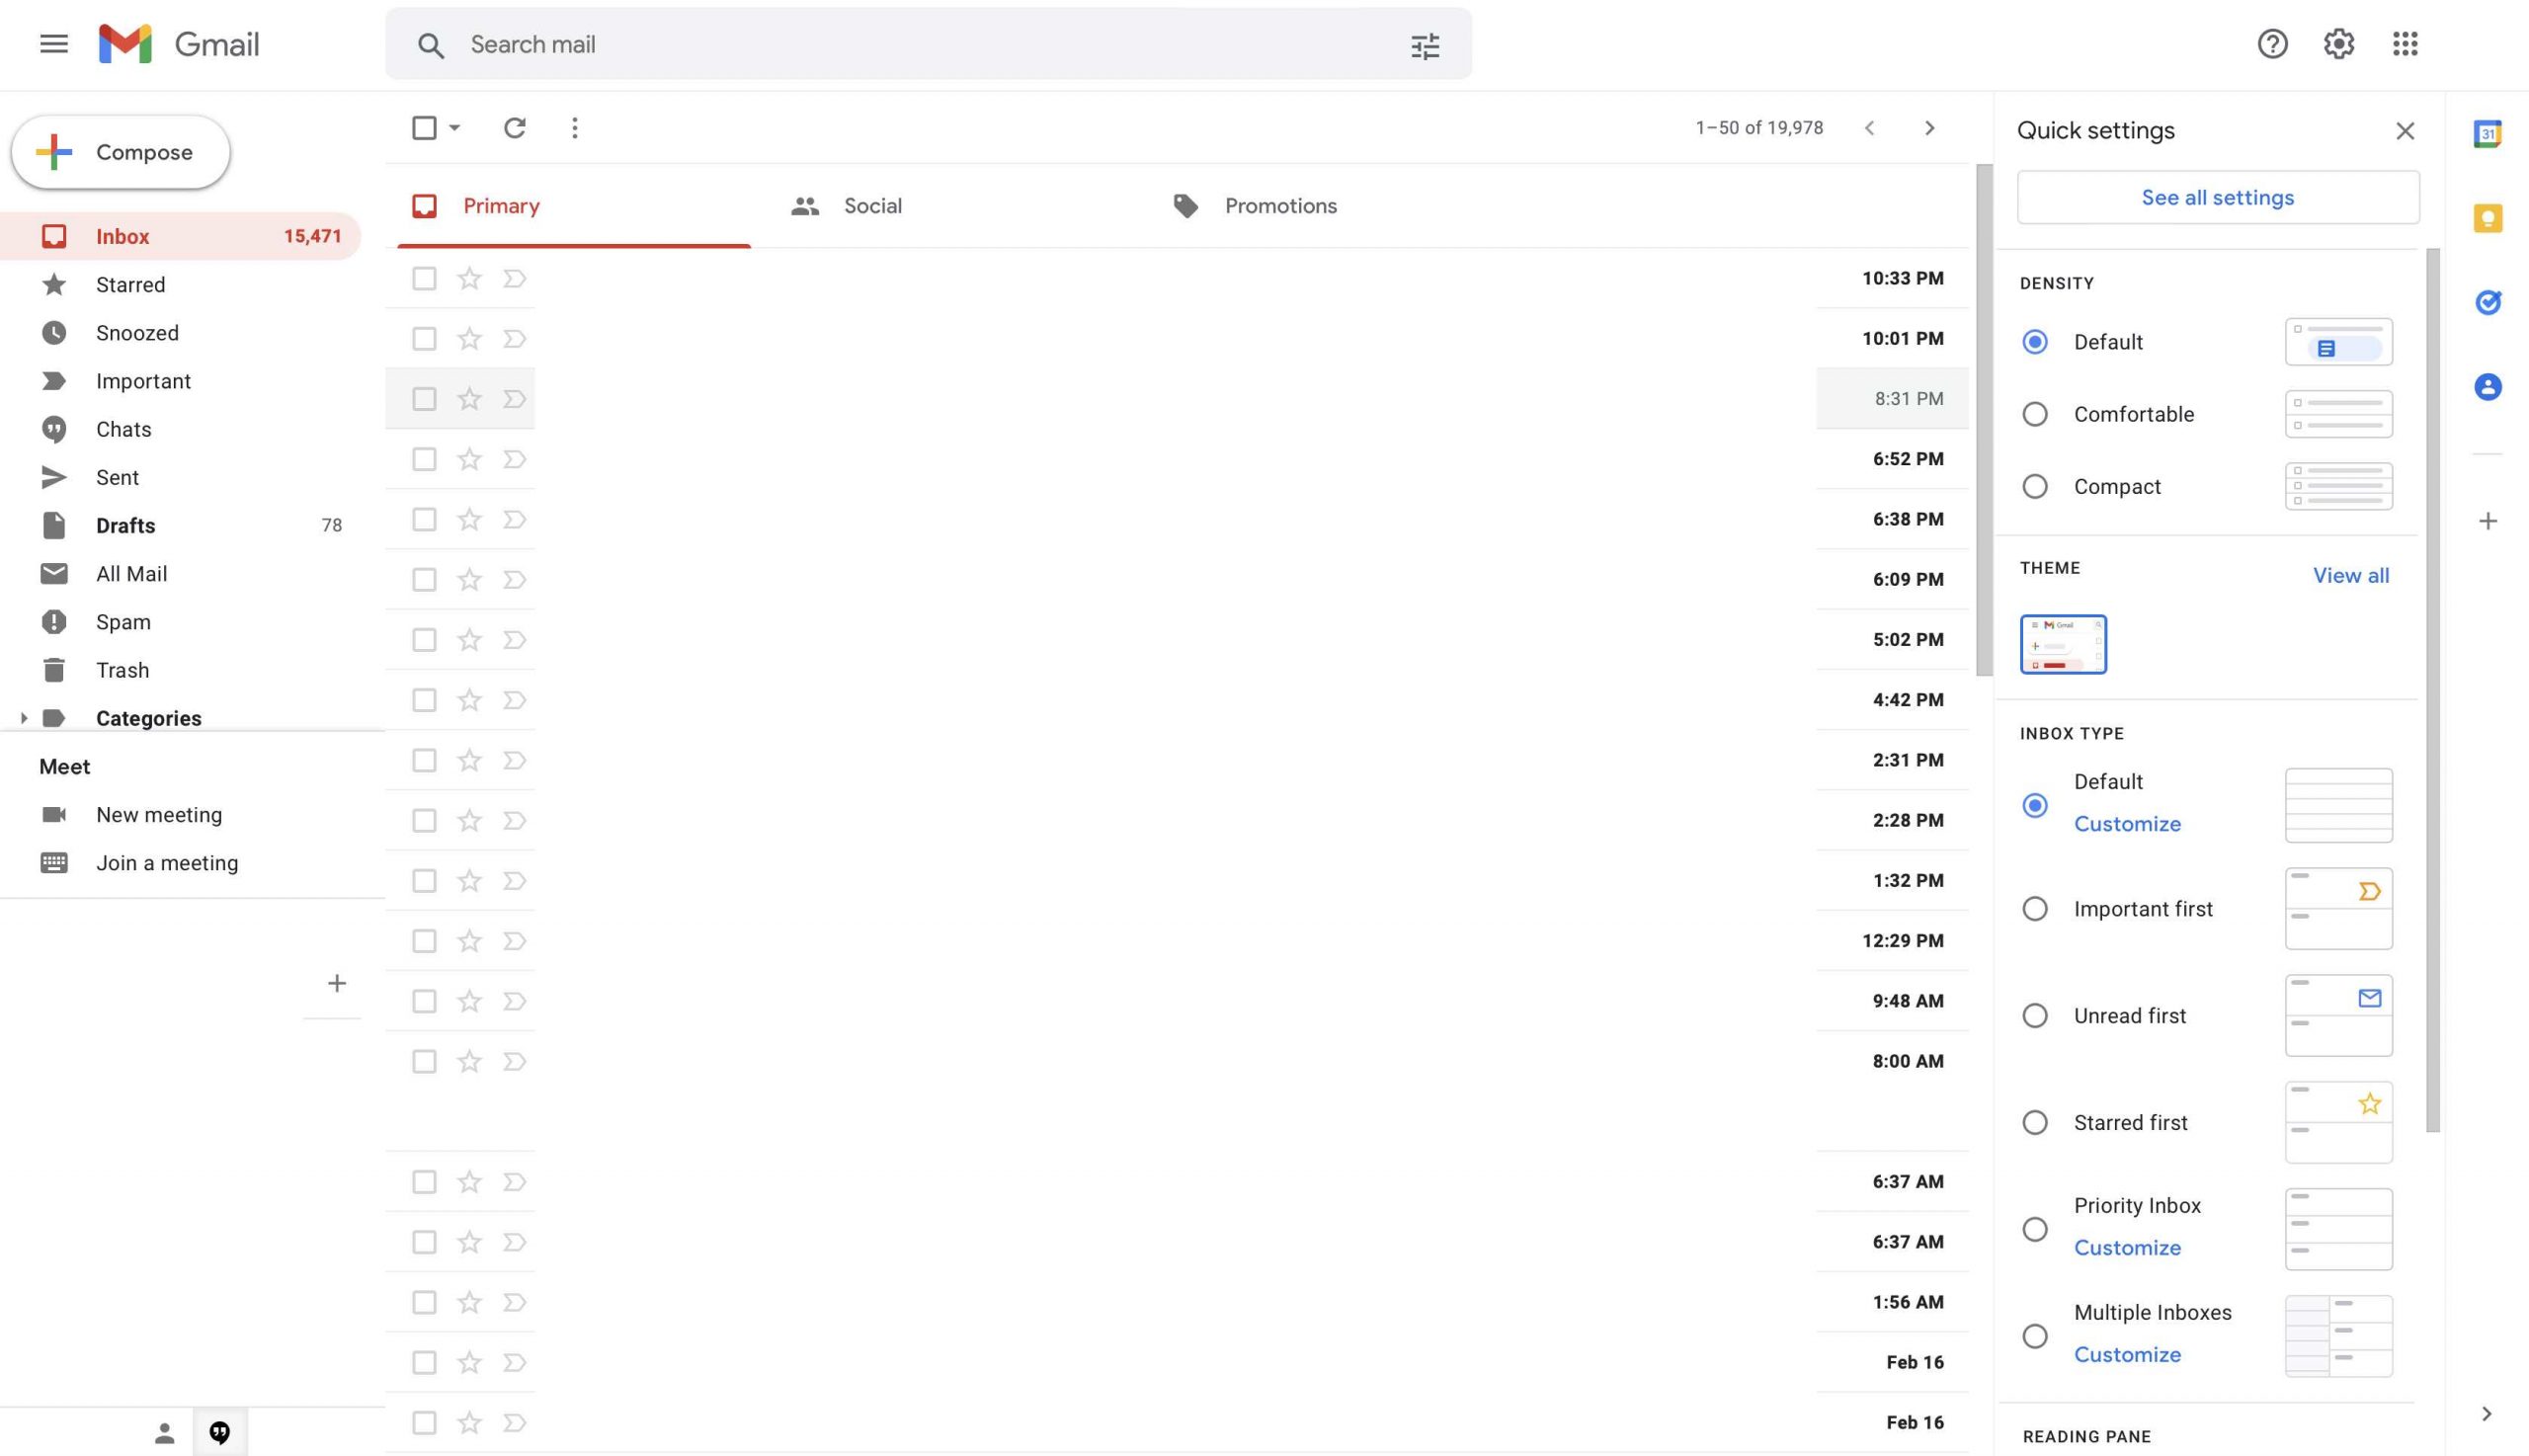
In a recent update, Gmail added a quick settings tab that shows a shortlist of display settings. When you click on the Settings button in the top left corner of the screen, a new tab opens up.
Also Read: How To Delete Gmail Account
There is an option to go to the full settings menu, which lets you make more detailed changes to the way the screen looks, as well as other things. If you don’t want your inbox to look the way you want it to, you can use the quick settings menu to make quick changes to the way it looks without having to restart the page.
As a side note, keep in mind that these quick settings only work on the desktop version of Gmail. Only one setting from the quick settings list applies to the mobile app, and it’s the conversation density setting.
All of the things you can do with Gmail’s new quick settings menu are here.
HOW TO CHANGE YOUR GMAIL INBOX:
- In the top-right corner of the screen, click on the cog icon. This will open the menu.
- When you open your inbox, a “Quick settings” bar will appear on the right-hand side. This bar will let you change some settings. For example, you can change the density of your messages, which affects how small they are. You can also choose where your reading pane is and what kind of inbox you have, too.
- This sidebar has more settings. To see more, click “See all settings” at the top.
- Make sure the Inbox tab is on the top of the screen.
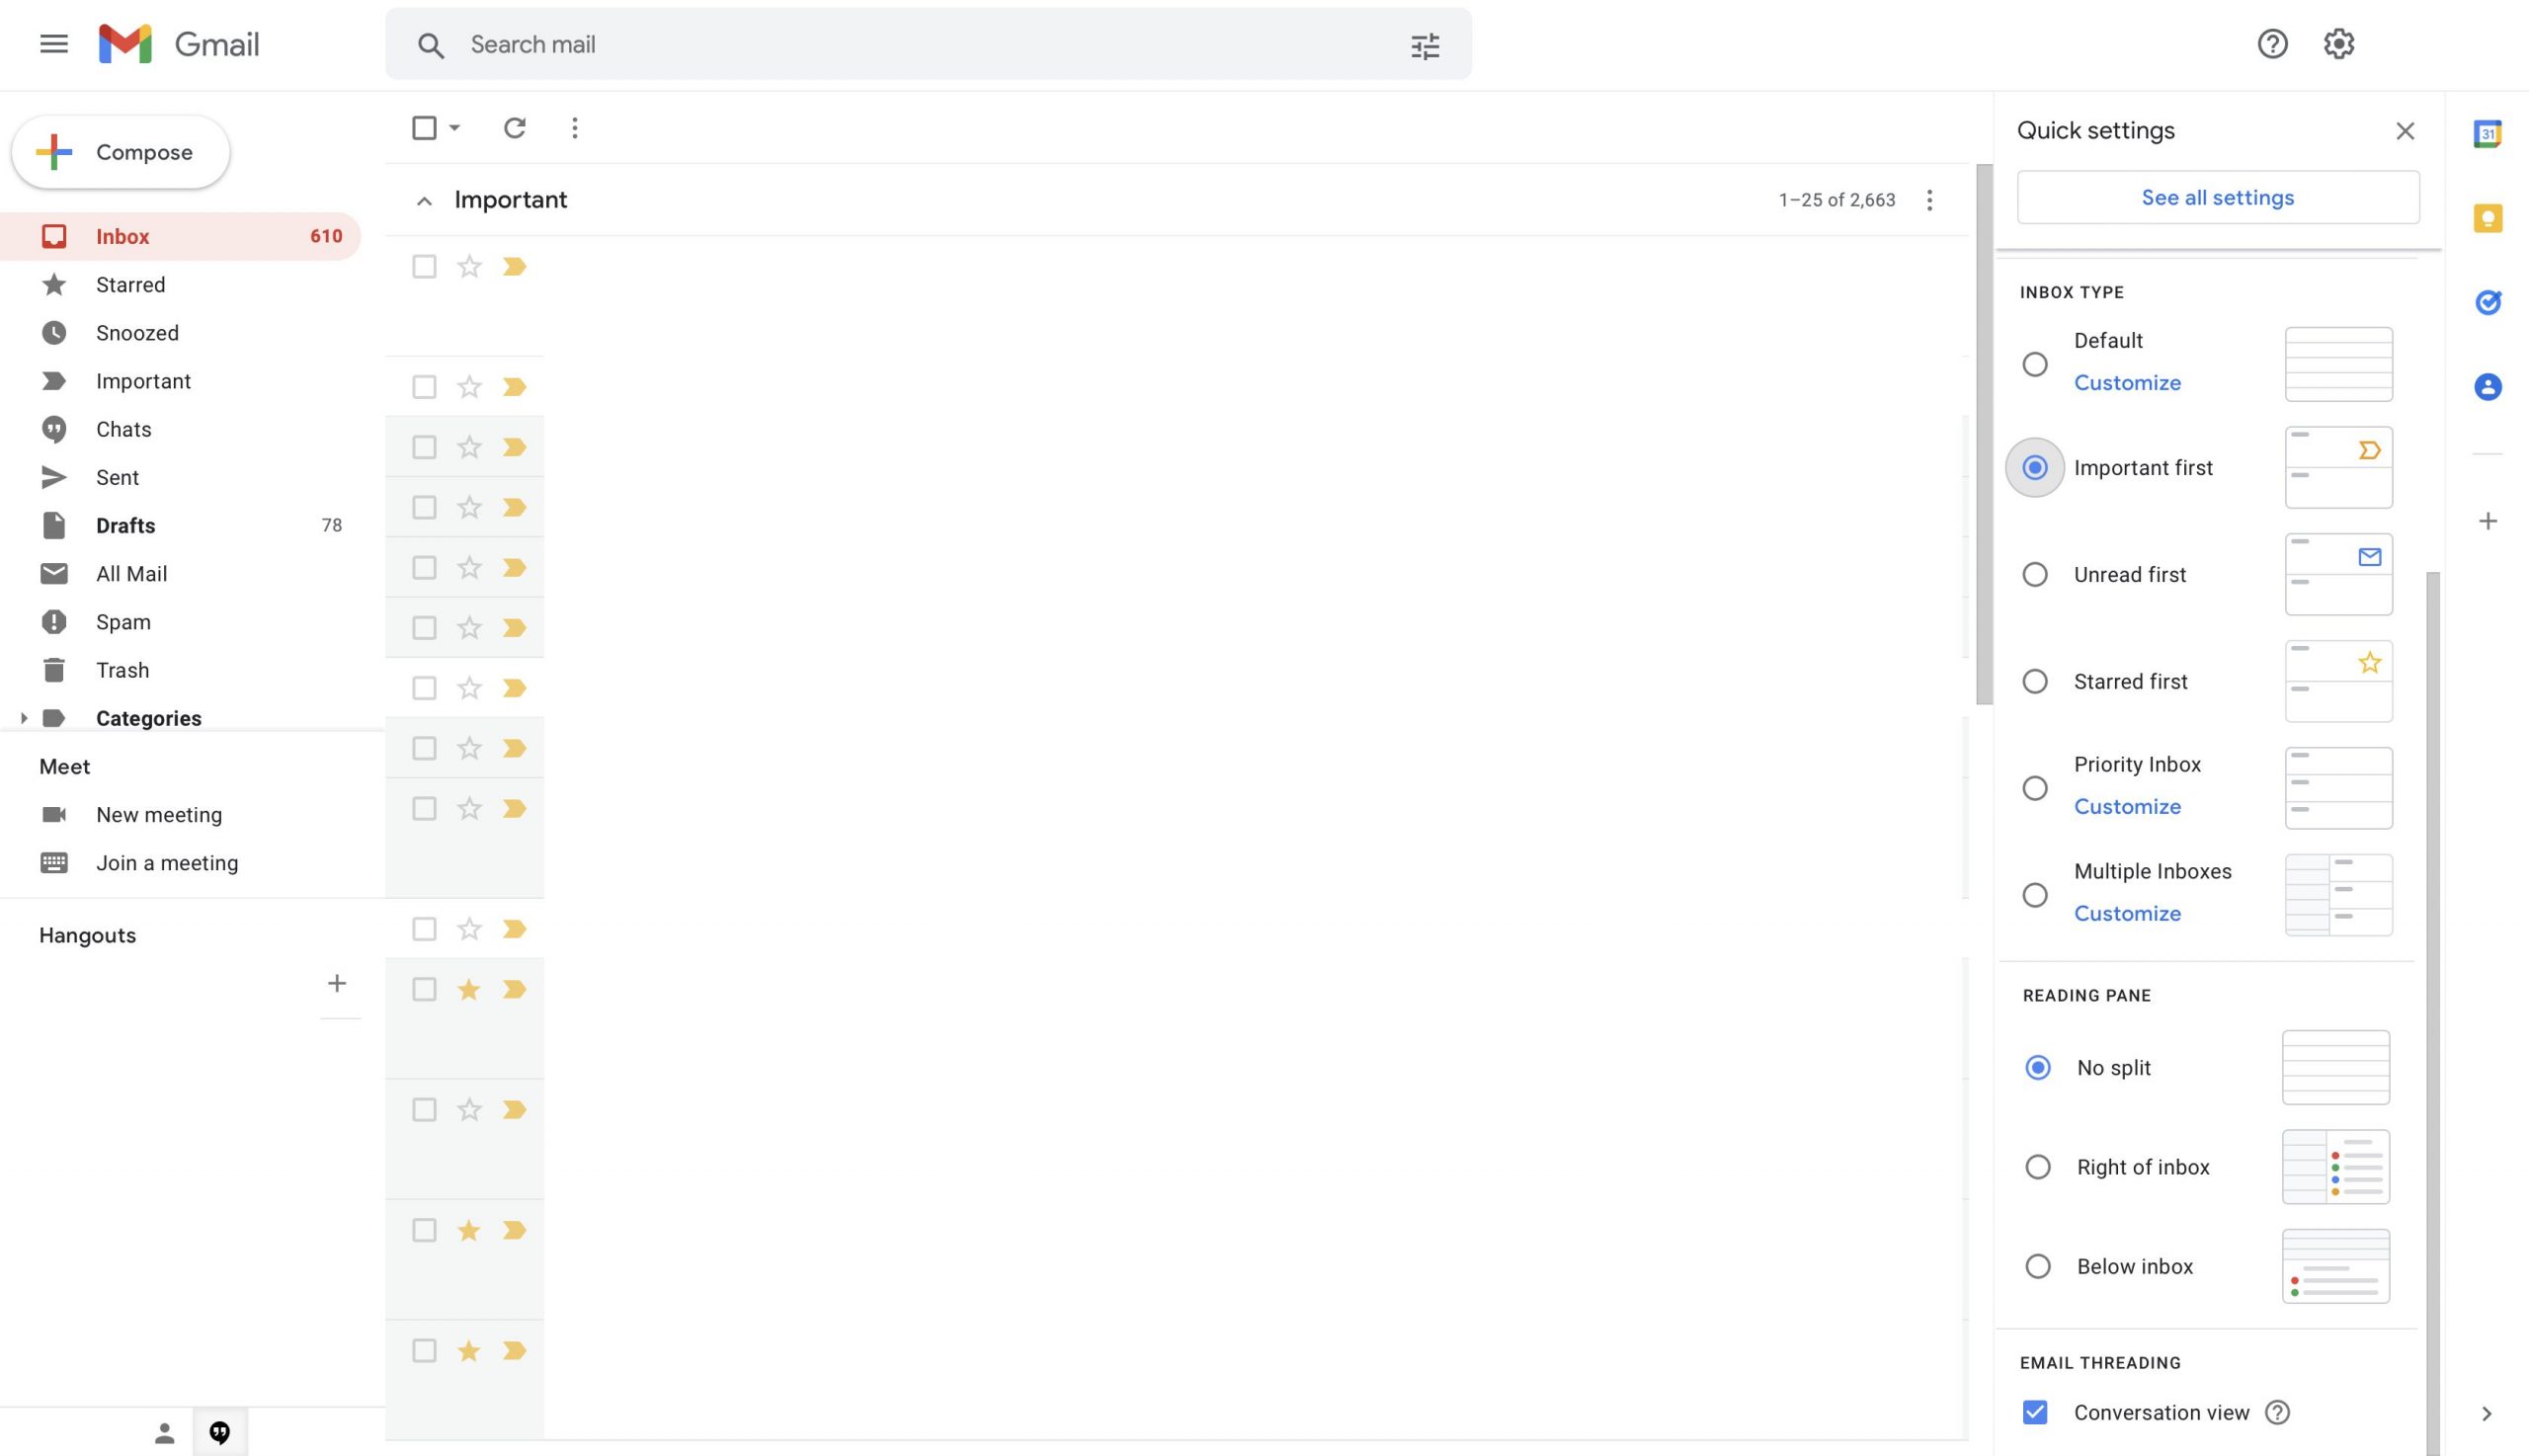
To choose what kind of mailbox you have, click the drop-down menu next to “Inbox type.” There are many choices.
- A tab called “Default” puts your emails in the same vertical tabs that you’ve seen before. “Important first,” for example, puts your emails in the first vertical tab. Then “Unread first,” for example, puts your emails in the second vertical tab. Then “Starred first,” for example, puts your emails in the third horizontal tab.
- “Priority Inbox” and “Multiple Inboxes” each make separate parts of your email, and you can scroll down to see each one. (We’ll talk about how to change both of these later in this article.) If you choose a different type of Inbox, the next few steps will be a little different.
- Choose “Default inbox setup.” Under “Inbox type,” next to “Categories,” you can check or uncheck boxes to decide how your emails are grouped. It’s possible to hover your mouse over the names of each category to see what kind of emails will be put in that tab. To make your email show up in one tab, you can uncheck all of the boxes. But you can’t uncheck Primary. To make sure any emails you star show up on the main page, you can choose to “Include starred emails.” This means any emails you star will also show up on the main page, no matter what other category they belong to. It’s also possible to turn off “Bundling in Promotions.”
Also Read: How To Join Google Meet Call-In Gmail
- All three options for “Important first,” “Unread first,” and “Starred first” are very similar to each other. To change how many emails show up in each section of your inbox, click the Options button and choose how many emails you want in each section.
- Important first or the “Priority Inbox” option lets you change how Gmail counts your unread emails. You can choose whether that number shows just the important ones, all of them, or a ratio of them to all of them.
- You can also add a reading pane, but only if you’re not in the Multiple Inboxes setting. “Enable reading pane” must be checked before you can choose where the reading pane should be placed.
- Choose whether Gmail shows yellow tabs next to emails that are important or if it does this automatically based on how you use Gmail.
- If you don’t want to change the filters at the bottom of the page, you can choose not to. “Filters & Blocked Addresses” is where you can change these filters.
- As soon as you’re done, click “Save Changes.”
HOW TO CONFIGURE PRIORITY INBOX:
Make sure you choose “Priority” if you want to use the drop-down menu next to each option in “Inbox sections.” There, you can choose which categories you want and which you don’t, how many messages from each section to include, and whether you want to hide a section when it’s empty.
- Go to the Label tab at the top of your Settings menu. There, you can add a new section by clicking on the plus sign.
- “Create new label” is at the bottom of the menu. Click that button.
- A pop-up window will appear. Type in a name for your label in the box. In the next step, you’ll have to click “Create.”
- Go to the “Inbox” tab. Click “Options” next to a section of your inbox and choose what you want to do with it.
- “More options” is in the drop-down menu. Click on it.
- Select the label from the drop-down menus that appear when you do this.
- At the bottom of the menu, click “Save changes.”
Also Read: Best Tips To Stop Spam On Gmail
HOW TO SET UP MANY INBOXES:
- Then, choose Multiple Inboxes as the type of Inbox that you want to choose.
- Your inboxes will need to be set up first. To do this, you’ll need to enter each category as a search operator, such as is: starred or is not read. You can make as many sections as you want.
- You can add a label for each category in Section Name
- Count how many emails you want to show up next to “Maximum page size.”
- To move the sections around, change the “Multiple Inbox position” setting there.
Hence these are the ways you can make the layout change and make it according to your need.
Also Read: How To Block Email Address In Gmail


