


 Header Through Cloudflare")


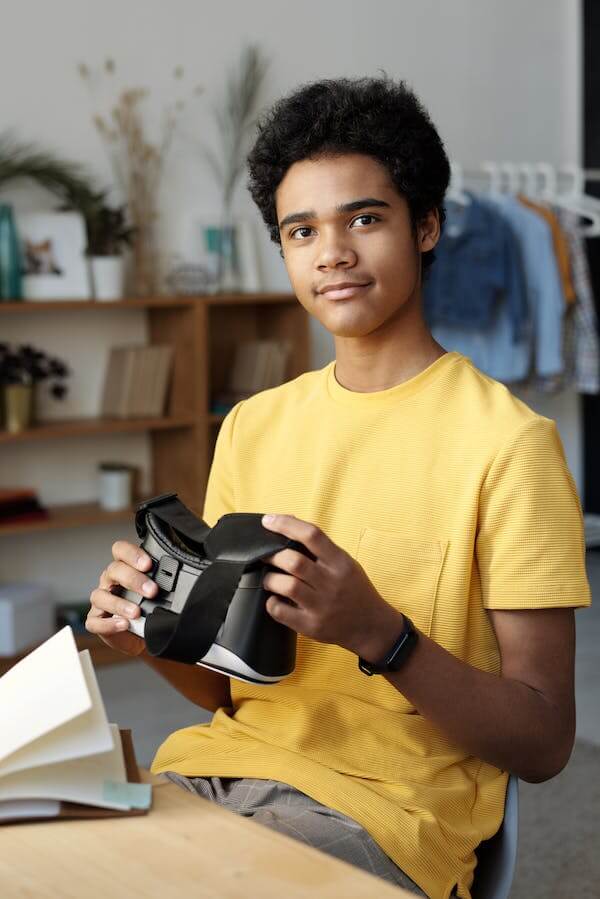
Do you want to learn how to install the Oculus Quest 2 Elite strap and jump into playing your favorite games? Then you’re in the right place. The Meta Quest 2 is unique in its own way. Not just because it is the only excellent standalone VR headset one can buy but because this gadget keeps getting better with every passing year.
Meta keeps pushing out major updates for both its hardware as well as software. The Quest 2 supports 120 Hertz refresh rate in some games, delivering better visuals than before. Furthermore, it can connect to a PC wirelessly and makes it easy for users to play games like Half Lyf Alyx which are unavailable on the Quest store.
iOS device users are able to export their VR fitness stats, from the Occulus Move app, over to the Apple health app. As an owner of one of these headsets, it will only make you happier except for the part where you need to set up a Facebook account to use them.
Features of Oculus Quest 2 Elite Strap
The soft strap is great when you need to repeatedly switch it on and off again VR. Slightly on the filmy side, it is unable to support the weight of the headset which can be a put-off when you are wearing the headset for long. This is where users can invest a little more to make their VR gaming experience better by buying the Oculus Quest 2 elite strap.
This strap distributes the weight of the headset evenly even for those with large noses. Once it is secure, you don’t need to keep readjusting it every ten minutes and can focus on the game. Furthermore, even if you don’t play games that don’t require movement, the elite strap is just a better option.
How to install Oculus Quest 2 Elite Strap?
- First, take the strap out which is already attached to the VR.
- To do that, apply some pressure on the outside and the strap will snap out.
- Do it carefully to ensure nothing breaks. Further, you also have to remove the strap attached to the front.
- If you have any trouble taking out the front strap, gently put pressure on the eyewear and remove it. This will remove the resistance on the VR and you will easily be able to take the strap out.
- The next step is to replace the older strap with the Elite strap. Place the rough texture part down and the other part will go up.
- Further, it will snap right to make it tight. Open it so that it can install on the front part and then place the eyewear.
- Then comes the battery part. Look at where your cable is going to go and that’s how you will know which one is on the right-hand side.
- Pop it back in just like you did when you had to remove the strap.
- Do it for both sides and if you see any gap, just move it up.
- Again, pop it in and there will be a click sound.

So now your Occulus is all set up for you to wear it and log in to Quest 2. Remember to plug in the 3.5 mm wire to the headphone jack and you will get a completely new headset.
Conclusion
Get the Anker charging cradle for the Quest 2 and its two wireless controllers might just be what you need. Even though it’s priced at one hundred dollars, it offers a simple way to secure your gear. Furthermore, instead of having to align the USB C plug, with the port, the cradle includes a clever magnetic mechanism, that slots into the headset charging. This way you only need to align it with the cradle for it to be secure and begin charging. The kit also includes two rechargeable battery packs, one for each controller, so they are always topped up.


