


 Header Through Cloudflare")


Windows has a huge user base and different users utilize the Windows operating system to fulfill their different needs. If you believe the reports, the Windows 10 64 bit version has been leading the list of the best operating systems for playing games.
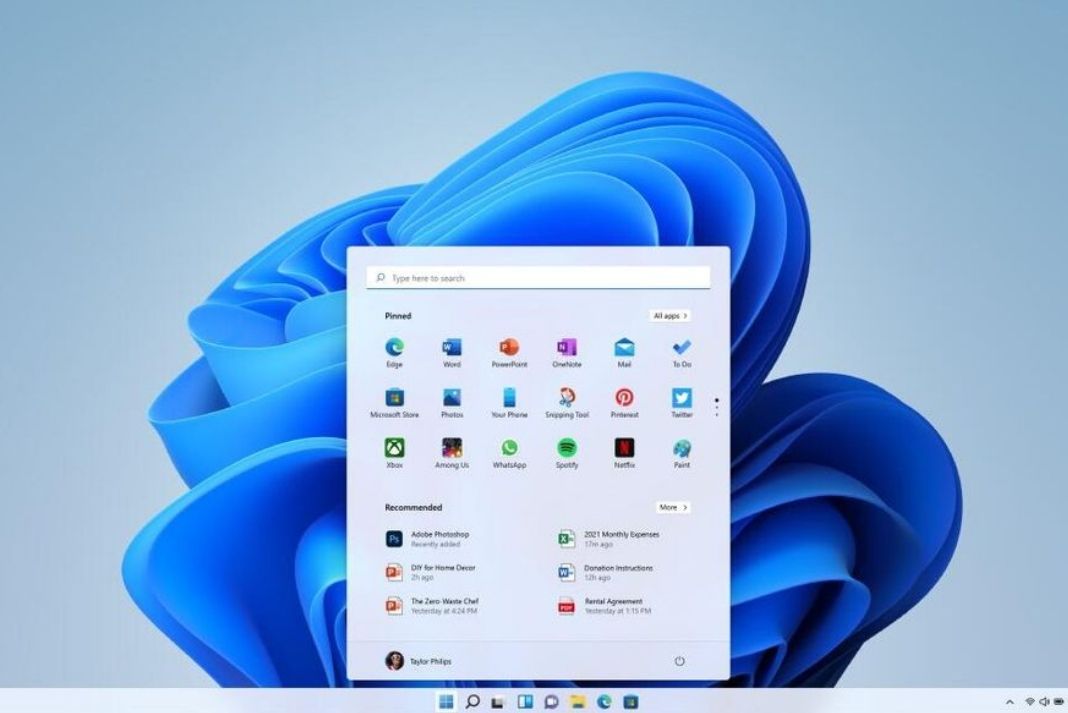
Microsoft has recently presented its latest upgrade of Windows and specified that it will be a promising OS for gaming, thanks to features like Direct Storage and Game Moe. Windows users are quickly switching to the latest Windows 11 to make use of the latest features released by Microsoft.
If you are someone who mostly uses their Windows operating system for playing single-player or multi-player games, then you should check out Windows 11. But bear in mind, the actual performance of Windows 11 to support games will depend on your Computer’s performance. Hence it is essential to optimize your Windows 11 PC to make use of it to the fullest.
Also Read: How To Fix ‘This App Can’t Open’ Error In Windows 11
In this article, we’ve put down some effective Windows 11 optimization tips to prep your PC for gaming.
Upgrade to the latest version of Windows 11
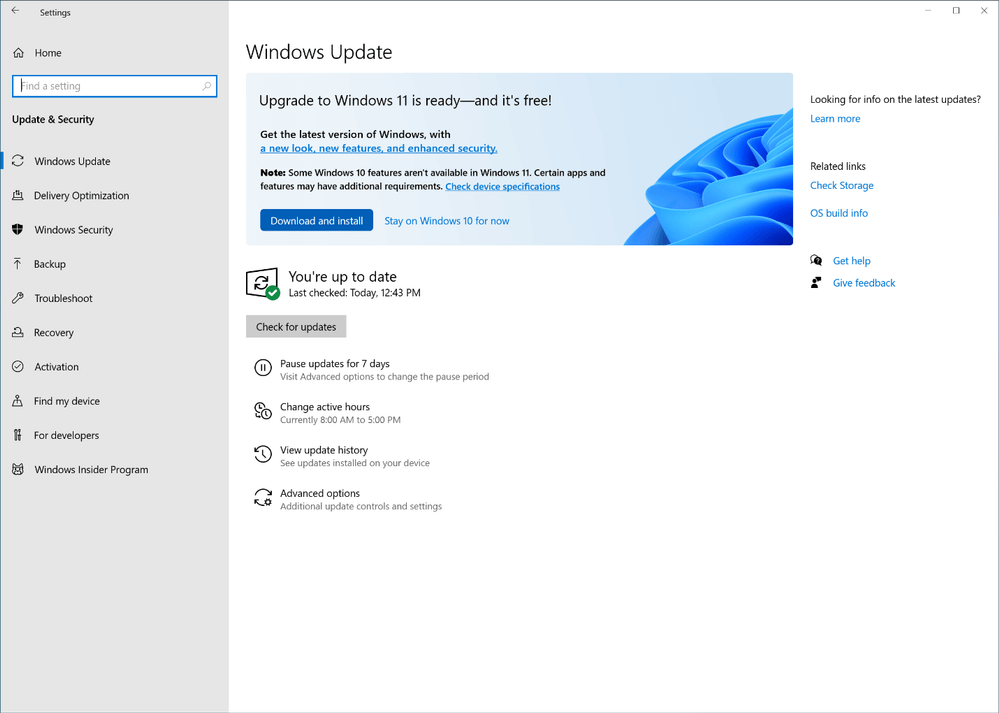
The easiest and the most important factor to fulfil is that your Windows 11 should be upgraded to the latest build released by Microsoft. If you’re running one of that Insider or preview builds, you should consider this factor more than others.
This is so because Windows 11 has just been released and Microsoft is busy fixing bugs, improving performance and stability by releasing patches to rule out any issues. If you are an online gamer, then upgrading your Windows is most important so that you can get security patches.
Update the Graphics Drivers of your PC
If you are a well-versed gamer, you’d know the importance of having a graphics card installed on your PC. You can also have it installed explicitly or you may have it integrated into the APU. If this is the case then you will get the driver updates along with the Windows update.
If you have an external graphic card such as AMD or Nvidia, you will have to visit the manufacturer’s website to download the updated driver.
Also Read: How To Boot Windows 11 In Safe Mode
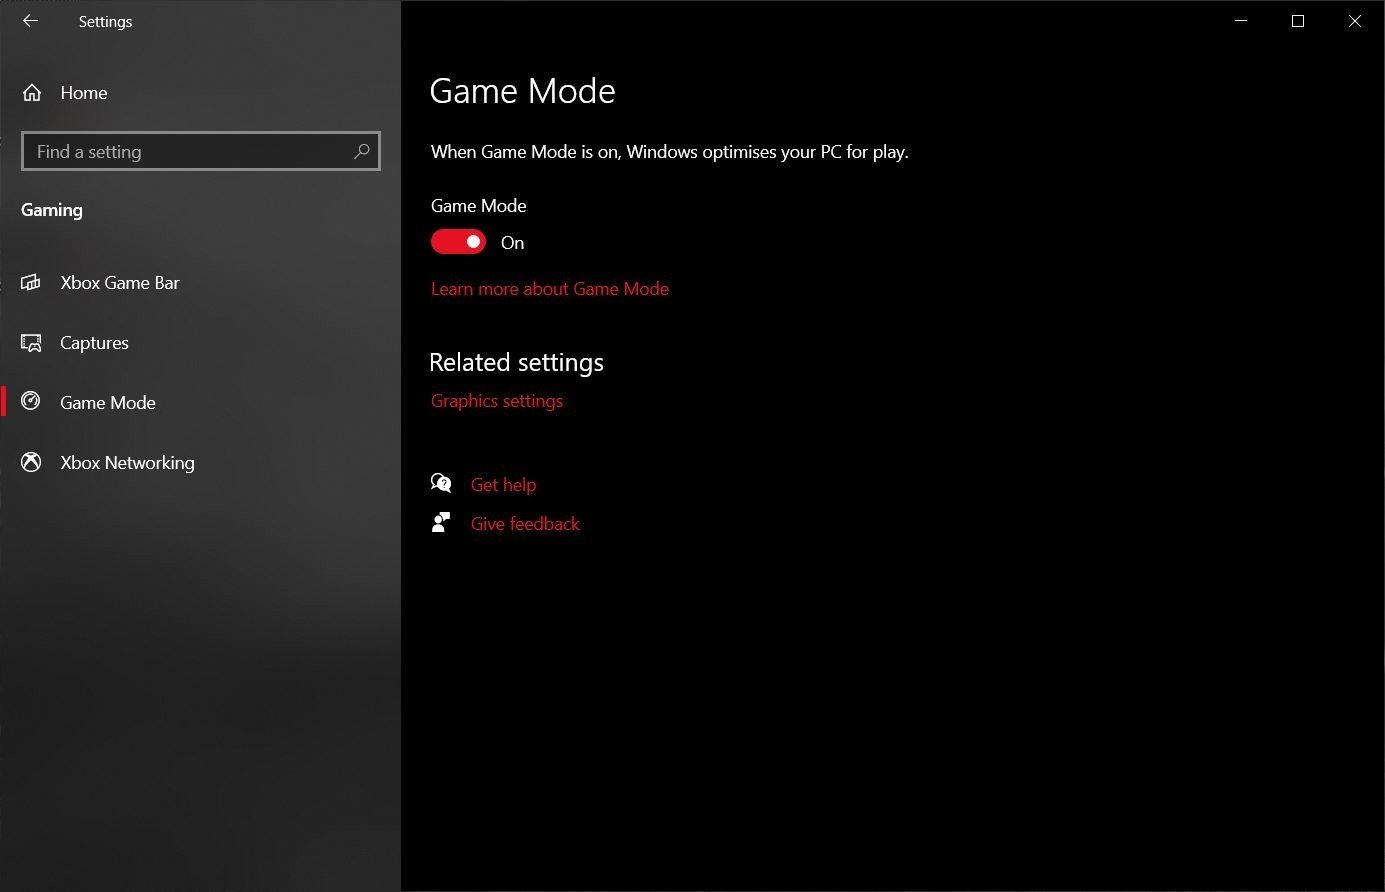
Enable the Game Mode in Windows 11
The game mode was first launched in Windows 10 and since then it has been constantly improved. It is advisable to enable the Game Mode during the gaming sessions as it improves the performance on the PC with very outdated hardware. When the Game Mode is turned on, the performance is improved in several ways such as the background apps being restricted and other apps being blocked from running or are given low priority than the gaming components.
Let’s see how to enable the very effective game mode on your Windows 11 PC:
- Head to the Windows 11 Settings app and choose the Gaming option from the left pane.
- In the Gaming windows, look for the Game Mode and click it.
- Finally, turn on the toggle for Game Mode so that this feature is enabled.
- Now that you’ve successfully enabled the game mode on your PC, the performance is likely to be improved.
Read: How To Fix Google Chrome Lagging On Windows 11?
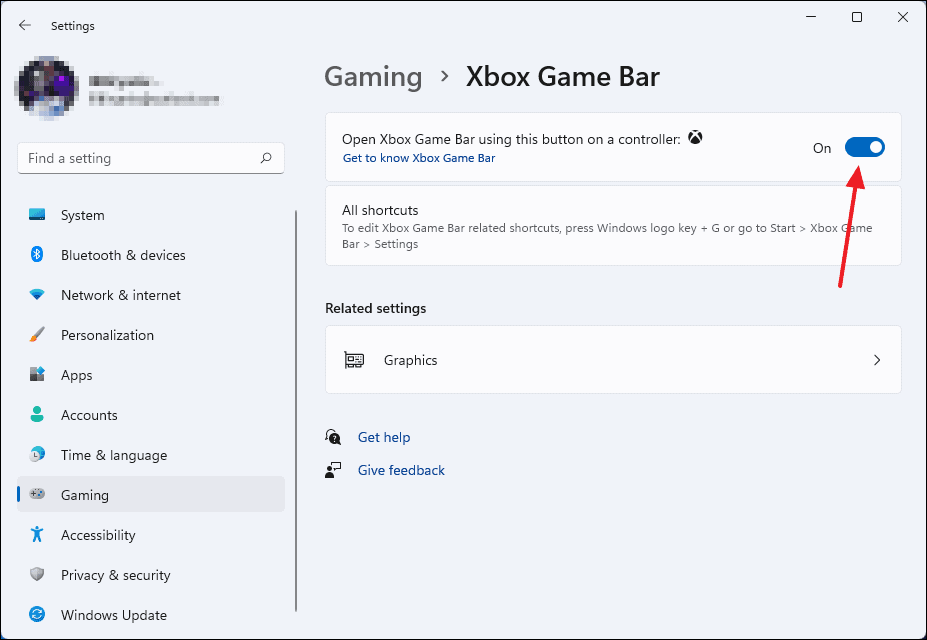
Turn Off Xbox Game Bar
Just like Nvidia ShadowPlay, Xbox Game Bar lets to record your gameplay. However, this feature is bulky and utilizes a huge chunk of CPU and memory on your Windows 11 PC. So if you don’t use this feature, it is best to get rid of it.
Let’s see how to uninstall Xbox Game using PowerShell:
- First of all, you need to search for PowerShell in the Windows 11 Search bar.
- Now right click it and choose the ‘Run as administrator option from the context menu.
- Choose ‘Yes’ from the User Access Control Pop-up.
- Now copy-paste the following command in the Windows Powershell and press the enter key.Get-AppxPackage Microsoft.XboxGamingOverlay | Remove-AppxPackage
- Now you’ve successfully uninstalled the Xbox Game Bar from your Windows 11 PC.
You can also disable the background process if you do not feel like uninstalling it.
Get rid of the Temporary Files
Removing temporary files and cache from your Windows 11 PC improves performance in general. So you should try to get rid of the temporary files from your Windows 11 PC.
- To delete temporary files from Windows 11 PC, open the cmd window.
- To do it, hit the Windows and R keys together.
- Now type temp in the search bar of the command prompt and hit the enter key.
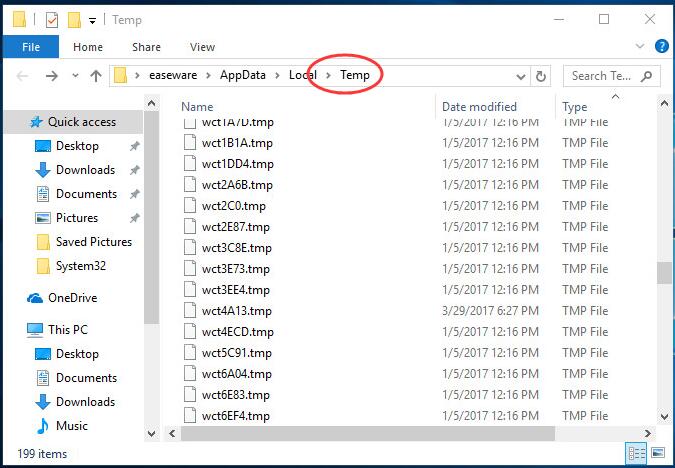
- Now you’ll be taken to the folder which stores all the temporary files.
- Use the Ctrl+A shortcut keys to select all the junk files and press the DEL key to get rid of them forever.
Also Read: How To Manually Setup Proxy Server In Windows 11?
Conclusion
These are some of the best practices you should follow to optimize your Windows 11 to get the best performance while playing games on it. Apart from the ones listed above you should also uninstall the unnecessary apps from your system so that your system is less bulky. Know some other methods to improve the performance while games? We’ll be happy to know!


