


 Header Through Cloudflare")


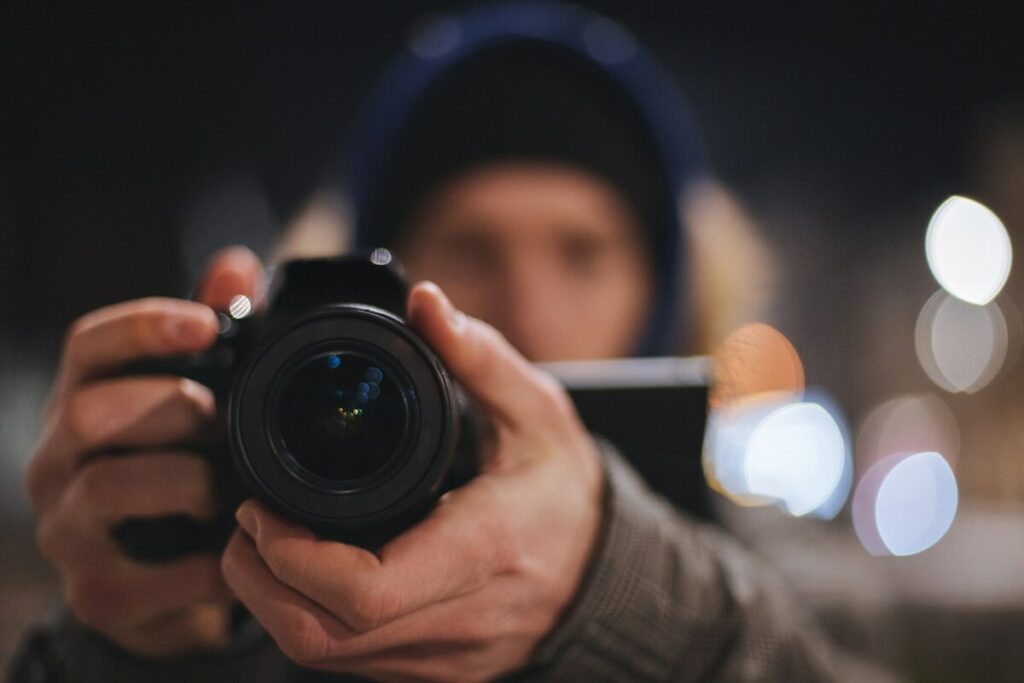
When you take photos with your phone or camera, quite often you may get a blurry picture. There are many different causes of such pictures. Perhaps when your camera was set to autofocus, the focus point was placed incorrectly. Maybe there’s anything wrong with your equipment and your lens doesn’t produce the sharpest possible images.
Regardless of the cause, being able to enhance your images indicates that you have a plan of action. In this article, we’ll offer some tips and tricks for how to fix blurry pictures when shooting and while post-processing. Let’s get started!
Tricks to Fix Blurry Photos While Shooting
Often you can prevent the appearance of blurry photos, even at the stage of photographing. We will share with you a few tips that will help you take clearer pictures. Sometimes you may need special equipment, but in most cases, everything is solved much easier. Let’s see how to make a picture not blurry while preparing for a photo session.
1. Keep your camera steady
Make sure you are standing correctly if you are shooting handheld. To minimize vibration as much as possible, attempt to either hold your breath or exhale extremely slowly. If you let out half of your breath before exposure, all the better.
You can try using a nearby stable surface to help you maintain your balance. You can reduce camera shake by resting your elbows on a ledge or leaning against a wall.
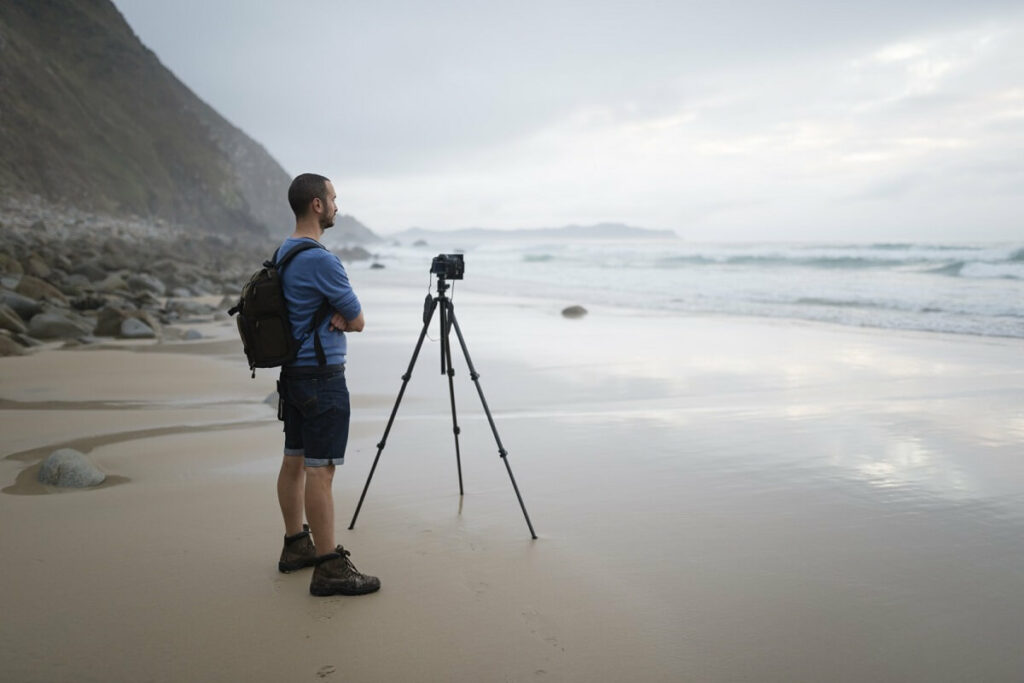
2. Use a tripod
A tripod is necessary if you want to take the highest-quality pictures possible. Since the shutter speed won’t be an issue, you can shoot with a tiny aperture and a low ISO when using a tripod. Getting your focus in order will also be beneficial. Besides, ensure that your tripod is fixed to a stable surface.
3. Pay attention to the focus
Focus also plays an important role. Verify that the object in the photo that your focus point is aimed at is the proper one. The camera will focus on the background if you accidentally point at it while taking a portrait. Aim at the subject and halfway press the shutter button to focus before snapping the picture.
Use autofocus or manual focus to ensure that the subject is in sharp focus. Pay attention to the depth of field, especially when photographing subjects with varying distances. Adjust the focus and aperture accordingly.
4. Don’t raise the ISO too high
The higher your ISO is, the more noise your photo will have. On closer inspection, your object will begin to appear blurry as a result of excessive noise. Taking a series of pictures of the same scene at various ISOs is a useful technique to test your camera’s ISO.
5. Shutter Speed
Ensure that your camera’s shutter speed is fast enough to freeze the motion. Adjust the shutter speed based on the subject’s movement. As a general guideline, use a minimum shutter speed of 1/60th of a second for handheld shots and increase it for fast-moving subjects.
6. Aperture
Select a narrower aperture (higher f-stop value) to increase the depth of field. This helps in keeping more of the scene in focus. Be mindful that narrower apertures may require longer exposure times, which can increase the risk of camera shake. Adjust other settings accordingly.
7. Burst Mode and Continuous Shooting
Use burst mode or continuous shooting mode when capturing fast-moving subjects to increase the chances of capturing a sharp image.
8. Proper Lighting
Ensure adequate lighting to maintain faster shutter speeds and avoid using high ISO settings. Use external lighting sources, such as flashes or reflectors, if necessary.
You may like to read: How to take Long Exposure photo in iPhone 15, iOS 17?
Tricks to Fix Blurry Photos Post-processing
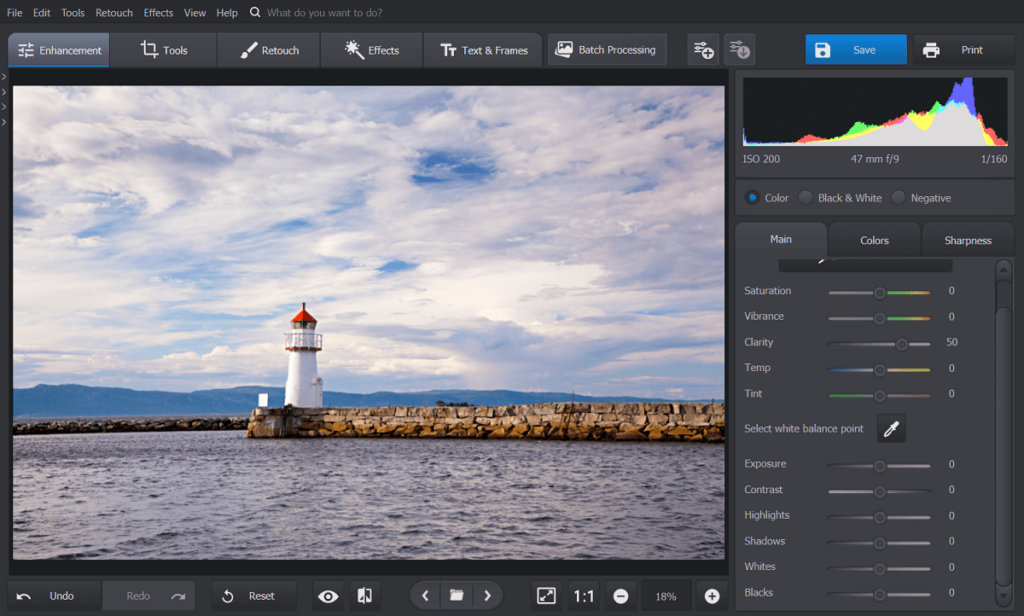
However, not always during the shooting everything goes smoothly. It may seem to you that your photos are quite clear, but when you come home and see them on the big screen, everything turns out differently. But this problem can be solved! It is important to find a reliable image editor that will have all the necessary functions to improve the quality of photos. We will look at some tools using the example of PhotoWorks.
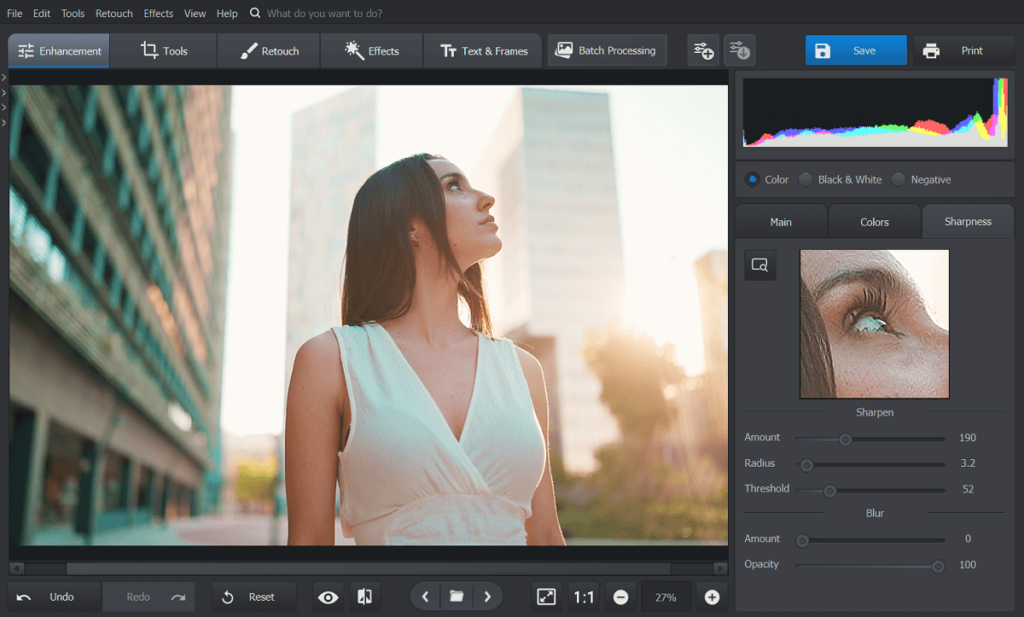
1. Use the Sharpness tool
The majority of blurry pictures can be fixed with PhotoWorks’ Sharpness tool. Besides, you have the chance to experiment with various parameters to get the best outcome for your photograph. This distinguishes this feature from other alternative sharpening options.
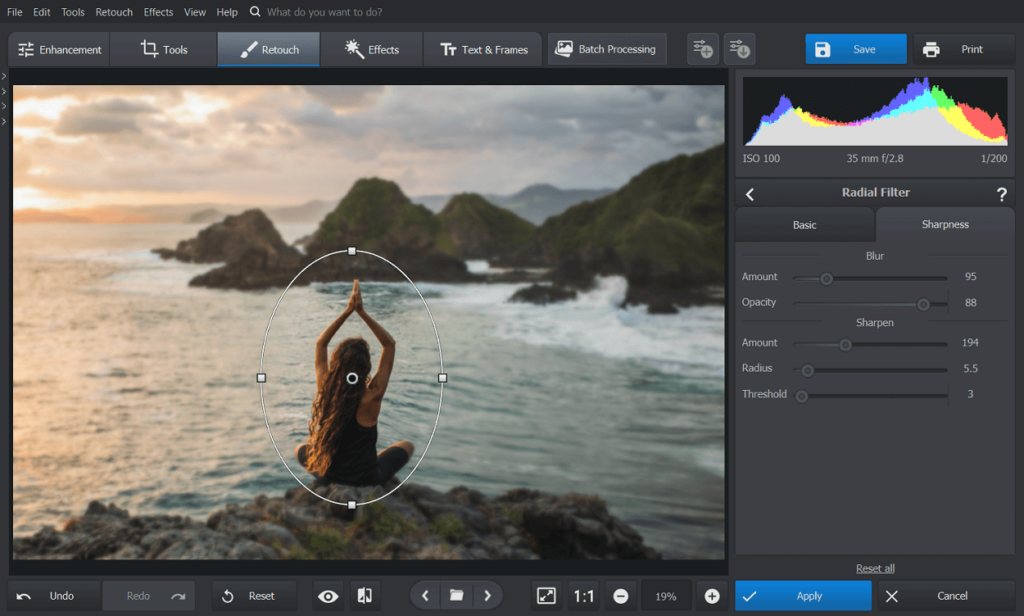
2. Try out the Radial Filter
Want to clear up a blurry photo and make it look more artistic? Then, you should try the Radial Filter. The Radial Filter aids in highlighting and sharpening an extensive area. Moreover, with its help you may add vignettes, draw attention to your major subjects, produce stunning sun flare, and so much more.
3. Check the Clarity tool
The Clarity tool is used to boost the midtone contrast throughout the entire image, whereas the Sharpness tool emphasizes the borders between adjacent sections. If you don’t want to draw attention to spots, wrinkles, or other skin defects, don’t increase Clarity in portraits.
These are just a few tools that you can use to make your picture sharp. However, PhotoWorks has other features that can help you improve the quality of your images. Want to explore how to make a picture less blurry? Just follow the link to find additional information on other tools and how to use them.
Final Words
Now you know how to easily make a picture less blurry in different ways. It’s not difficult to sharpen a picture at all, and you can do it right away. Just take all the information above into account and be sure that every blurry picture can be fixed with ease.


