Transferring screenshots from a Nintendo Switch to a Mac is needed for many different reasons. For instance, use screenshots to create films or other material, and share gameplay moments on social media or with friends. Or if you simply want to back up the screenshots to a different device for storage. There are various methods you can attempt if you wish to transfer screenshots or videos from your Nintendo Switch to your Mac.
More importantly, the main firmware for the Switch and Switch Lite has been updated. Further, bringing with it many improvements and new features. This includes the capacity to send screenshots from your console to a smartphone or computer. In the past, you could put up to four screenshots on Twitter at once or save them in your internal Micro SD card, and turn off your Switch. And transfer the card to a PC to copy your valuable recorded gaming experiences. In this article, we’ll show you how to use more practical methods to move screenshots and videos from your Nintendo Switch to your Mac.
Important: Before you start this procedure, make sure your Nintendo switch updates to the current version. To update your Nintendo: Simply, just choose System located in the side panel and tap System Update.
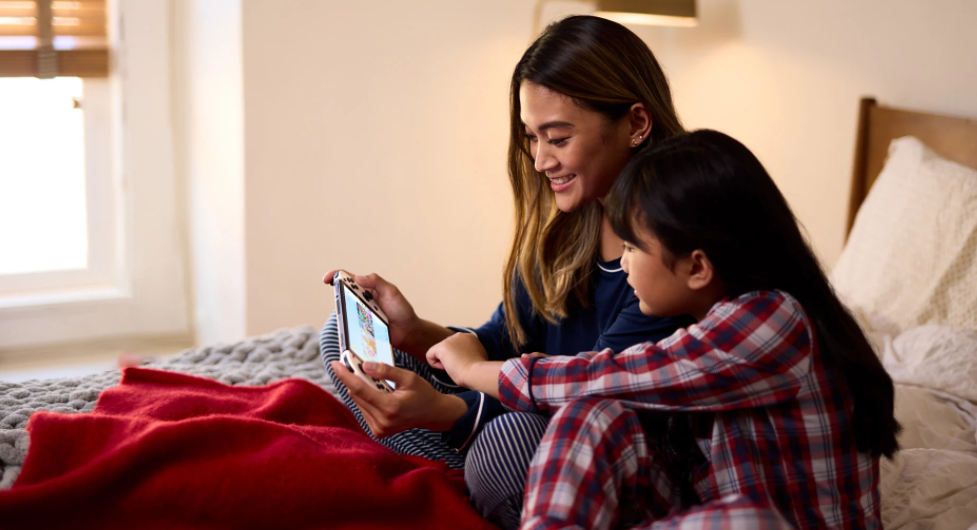
Transfer Screenshots and Video Captures to a Mac Via a USB Cable
Note: Windows OS supports Media Transfer Protocol (MTP), but iOS does not, hence the feature Copy to a Computer through USB Connection cannot function with iOS.
To avoid this issue, you can download the software “download and install Android File Transfer“ on your Mac. This tool supports the Media Transfer Protocol (MTP) that the Switch uses to send photographs over USB. Since Macs don’t come with support for this protocol, Google came up with this tool. Now, it is easy for you to transfer screenshots or videos to your Mac.
Follow the Steps to Share Screenshots and Videos via USB Cable
To start with transferring your screenshot and videos, plug the USB-C cable into the bottom of your Nintendo Switch and then into a USB port on your Mac to initiate transferring media
- On your Nintendo Switch’s Home Menu, Tap on Settings and then Click on Data Management present in the Side Pane
- Now, you need to locate Manage Screenshot and Videos in the Data Management section
- You will see a Copy to a Computer via USB Connection, simply tap on the option
- Then, your Computer and the Switch will attempt to connect. A “Connected to the Computer” prompt will show up if it successfully connects.
- Now, you need to open the tool you downloaded earlier. There you will same titles of folders that you have on your Nintendo. In those folders, you will see different screenshots and videos of your game. Also, you can find the screenshots you took in Nintendo in the “Other” folder.
- Now, select the files or folder you want to transfer by dragging them and dropping them onto your desktop window.
- By dropping them on your Desktop, the files will automatically copy to your Mac. When you are finished transferring your desired screenshots and videos just tap on Disconnect on your Nintendo screen and close the Android File Transfer tool on your system.
In case your USB stops working or due to some reason you could not able to download the mentioned software or any other mishap happens you can try another method mentioned below.
Also Read- 15 Best Upcoming Nintendo Switch Games
Transfer Screenshots and Video Captures to a Mac Via a microSD
Transferring files by switching electronic storage media is an outdated approach that is perhaps the most time-consuming but simple.
Any Mac that does have a built-in reader will only support the larger SD format, so you’ll need some sort of converter or hub that can read microSD cards. The finest MacBook Pro USB-C hubs all come with a microSD card reader.
transfer screenshots or videos to MicroSD
The screenshots may be already present on the microSD card if you had one inserted when you took them. If not, then the Switch has stored your screenshots in internal memory if you took them without first adding a microSD card. You must first copy them to a microSD card to move them away from the Switch.
To copy all screenshots and videos from your Nintendo to microSD, you need to:
- Go to System Settings on your Switch located on the home screen which has a sun icon
- On System Settings, you will see Data Management. Simply, scroll down and in the Data Management and click on Manage Screenshots and Videos
- There, set your Save Location to microSD and after that, move on to the System Memory Option and tap on it
- Now you will see two options choose Copy All Screenshots and Video to microSD Card
- Finally, a prompt will show up after the copying process is complete.
For selecting screenshots or videos, you need to:
- Go to your home menu, and select Album
- After that, choose Sharing and Editing
- Now, choose Only This One or you can also Send a Batch.
- After you choose your desired photos, on the left side of the screen, a menu will appear. Press “Copy” and then press “A.”
- Finally, you will be asked through a prompt if you want to copy the selected items. Simply, tap Copy, and your files will then be copied.
Also Read- Here’s What You Can Expect In The Nintendo Switch OLED Model
Now on to transferring Screenshots or Videos from microSD to your Mac
- Turn off your Switch. Make sure to turn it off entirely to avoid receiving a warning about potential data loss.
- Now, you have to remove the SD card and mount it into your Mac sad card reader
- Now, you have to wait for the device to appear in Finder. Further, by using Finder or any file software of your preference, you can now transfer your screenshot or videos to your Mac.
Additionally, an SD card is a separate volume, copying files is generally the default setting when transferring data, as opposed to moving data. Besides, if the files on your SD card are no longer needed, be sure to remove them.
That’s all! Hopefully, now you will be able to share your screenshots and videos to your Mac and make some amazing content with it to show off your gaming skills.
Also Read- 5 Elden Ring Alternatives For Nintendo Switch


