


 Header Through Cloudflare")


One of the newest additions to the iPhone and iPad is the ability to get time-sensitive notifications. The new Focus feature in iOS 15 and iPadOS 15 from Apple allows these alerts to bypass the screen, much like active notifications. These alerts come from the people and apps that you have designated as most significant to you, as the name suggests.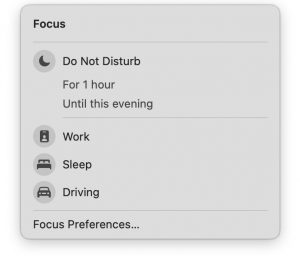
You’re trying to get some work done on your Mac, but you keep getting interrupted by alerts, some of which are more serious than others. The challenge is finding a balance between blocking off non-essential alerts and letting the important ones through. The Mac’s Focus tool is perfect for this purpose.
Focus, a revamped version of “Do Not Disturb,” can be found in macOS Monterey. While Do Not Disturb is still an option, you now have more control over when and how it activates with Focus. This is especially helpful if you want to use it when you’re asleep or behind the wheel.
One further perk of Focus mode is that it automatically synchronizes your settings across your Mac, iPhone, iPad, and Apple Watch. As an illustration, activating the “Do Not Disturb” mode on your iPhone will have the same effect on your Mac. The process is outlined below.
1# New “Focus” Function
As was said before, Apple’s Focus function is based on the company’s Do Not Disturb app for mobile devices. You may customise alerts to fit your schedule or current activities. The app’s goal is to let you concentrate or enjoy some downtime without distractions. In the settings, you can select which apps and contacts will trigger notifications and which will be archived for later review.
2# Update Your Mac
Before proceeding, make sure that you’re using a version of macOS that is at least 12.0 (Monterey). Select About this Mac from the Apple menu (located in the top left) to see what version of OS X you’re running. To get the most recent version of macOS, click Software Update if the window displays an older OS version.
3# Focus mode must be activated
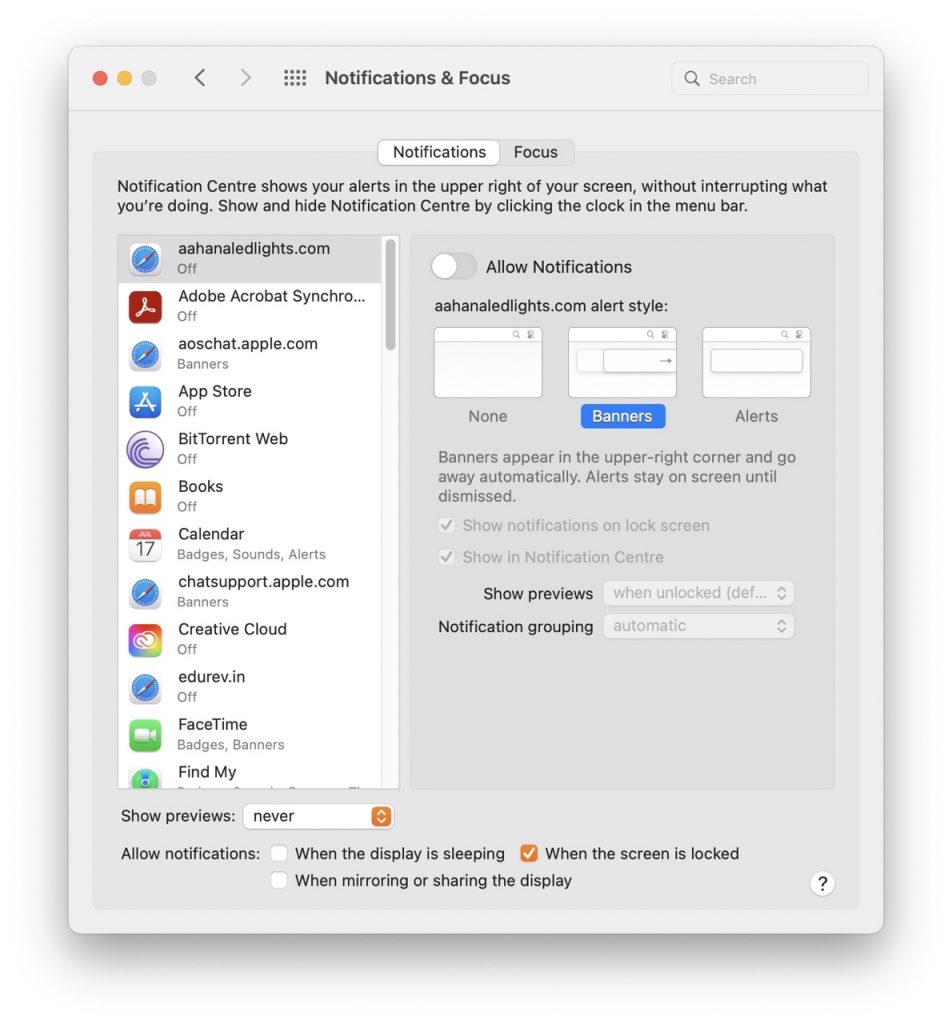
The Focus settings pane can be accessed via System Preferences > Notifications & Focus. There are six preset customization options available for the functionality. While “Do Not Disturb” is always on, you can also tailor your settings for while you’re driving, working out, sleeping, or otherwise occupied.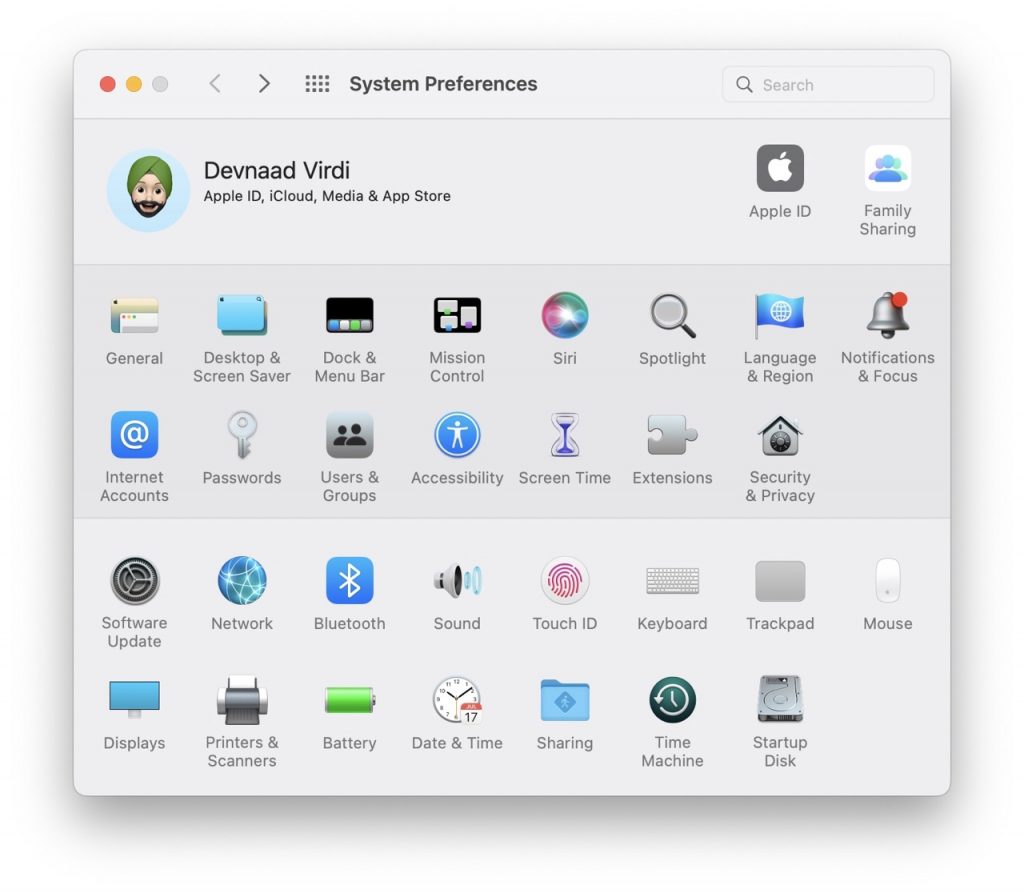
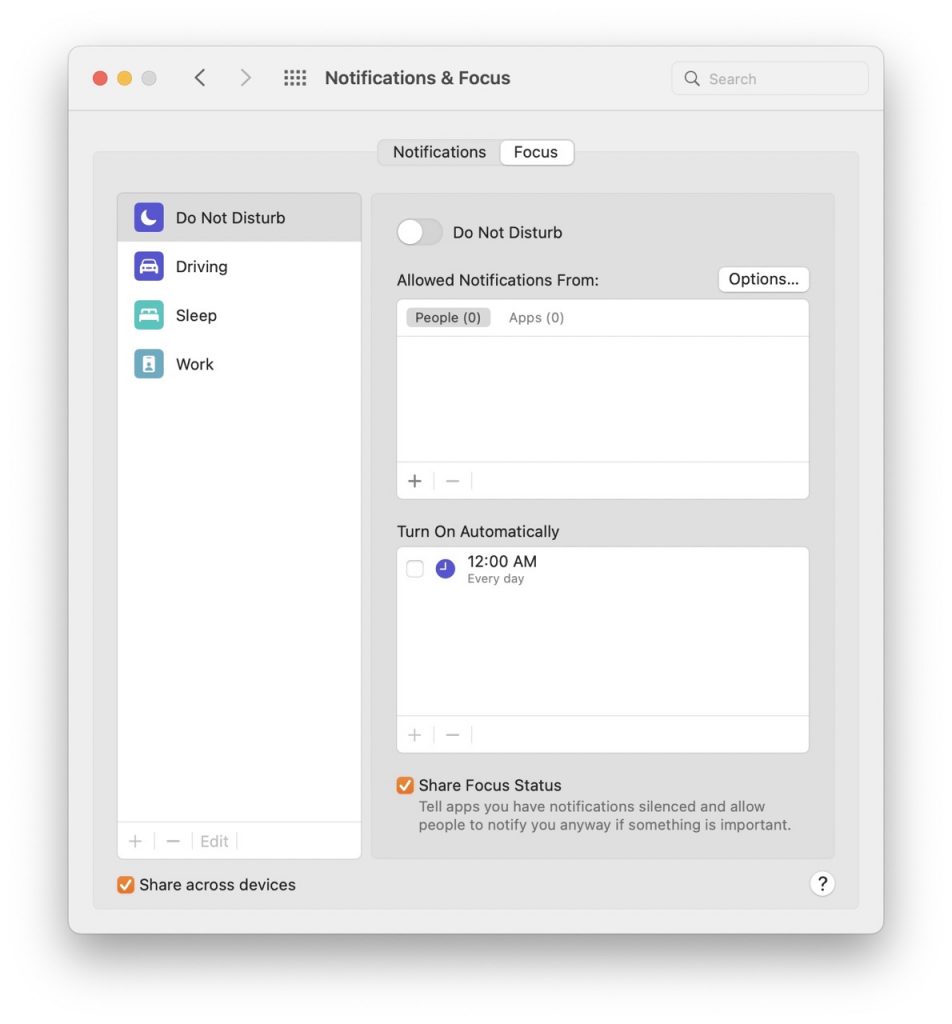
- To receive alerts just from certain people, turn on Do Not Disturb and make your selection. Simply click the addition (+) icon next to Allowed Notifications From and enter the contact(s) you’d like to get notifications from outside of the block. To include the chosen person in the list, click the Add button. When you want to delete a contact, just click the minus (-) button next to their name.
- Step two involves picking which apps can send you notifications. Select the Apps menu item, then tap the plus sign (+). Add the apps you want by selecting them from the list and then clicking the Add button. Select the app you want to uninstall, then hit the minus (-) button.
- Select more tweaks by clicking the Options button. Keep Peace! In this section, you can choose to activate or deactivate Permit time-sensitive alerts, which means you’ll receive messages that specify a time and date, like an appointment or a reminder.
- Check the box labelled Allow calls from and select either Everyone, All Contacts, or Favorites from the drop-down menu. If you want to assume that calls from the same number are emergencies, you can turn on Allow repeated calls.

You can set up circumstances under which Do Not Disturb will activate automatically. Select time, location, or app-based criteria by clicking the plus (+) sign in the Turn on Automatically section.
- Select Add Time-Based Automation if you need it to activate at a predetermined time each day. Set the times and days that Do Not Disturb will be active. To finish, select the plus sign and click it.
- A location-based schedule can be created by selecting Add Location Based Automation after clicking the addition sign (+). To add a new location, browse to the one you want, then click “Add.” Select Add App Based Automation after clicking the plus (+) sign to set up a timetable for a chosen app. To add an app, choose one from the list and then click the Add button.
- Select the schedule(s) you’d want to use by checking the box next to Turn On Automatically and deselecting the box next to it to disable the schedule(s). Select the timetable you want to delete, then hit the minus (-) button. With a single click, you can activate Do Not Disturb mode simply by activating the toggle at the very top of your screen. If you don’t cancel it, it will start working according to the timetables you provide.
- In addition, if you want individuals who try to contact you to know that you have activated Do Not Disturb, you can select the option labeled Share Focus Status. If you want your iPhone, iPad, or Apple Watch to use the same Focus settings as your Mac, you’ll need to enable “Share between devices.”
4# Setting up ‘time-sensitive’ alerts on an iPhone
Launch the Settings menu on your iPhone to configure and manage ‘time sensitive’ alerts:
- Focus can be found toward the bottom of the options menu.
- Focus allows you to select from a number of predefined categories, some of which include “Driving,” “Sleep,” “Work,” and others.
- Once you’ve decided on a subset, you can toggle its status, pick and choose which people and apps should send you alerts, and even fiddle with the subset’s timing.
- Apple lets you make your own focus group categories, such as “fitness,” “gaming,” “reading,” and so on.
- To make a new focus group with a specific name and icon, click the + symbol in the ‘Focus’ section of the settings.
The best way to disable “time-sensitive” alerts
To undo some of the constraints you’ve imposed on yourself using the Focus function, launch the “Settings”:
- To turn off ‘Time Sensitive’ notifications for a specific app, go to that app’s Notifications settings by tapping the menu button and scrolling down to the appropriate section.
- You may turn off time-sensitive app notifications by selecting the app in question and then disabling the slider.
Conclusion
I hope this post will help you in turning off sound for your notifications. In that case, you may always post your inquiries in the article’s dedicated comments section. If yes, please show your support by forwarding this article to your loved ones.


