


 Header Through Cloudflare")


Widgets in Windows 11 are a bunch of dynamic and interactive panels that provide at-a-glance information. And quick access to diverse features, such as weather, news, sports, calendar events, and more. Widgets are designed to be accessed smoothly, either by tapping on the Widgets button on the Taskbar, utilizing the Windows key + W keyboard shortcut, or swiping from the left side of the screen.
Once opened, the widgets interface slides in from the left flank of the screen. Thus displaying personalized information and updates in real-time. Widgets in Windows 11 are customizable, authorizing users to add or remove widgets as per their preferences.
Nonetheless, even when not in use, widgets can still consume system resources, as indicated by the presence of 7 or more widget processes running in Task Manager. To optimize system performance, it is recommended to suspend the widgets processes when they are not actively being utilized.
In case you do not wish to utilize Widgets, several options are available. You can opt to disable Widgets through Windows settings to remove the Widgets icon from the Taskbar. However, if you’re not fond of this feature and wish to uninstall it wholly from your computer, then you’ll need to follow the step-by-step guide provided below.
Also Read- How To Add Or Remove Widgets In Windows 11
Uninstall Widget using Powershell in Windows 11
To uninstall the Widgets feature on Windows 11, follow these steps:
Step 1: Begin by right-clicking on the Start menu and choosing PowerShell. After that make sure to select the Administrator (Windows Powershell) option.
Step 2: Now, in the PowerShell window, paste or jot down the following command and press Enter to Run it:
winget uninstall "Windows web experience Pack"
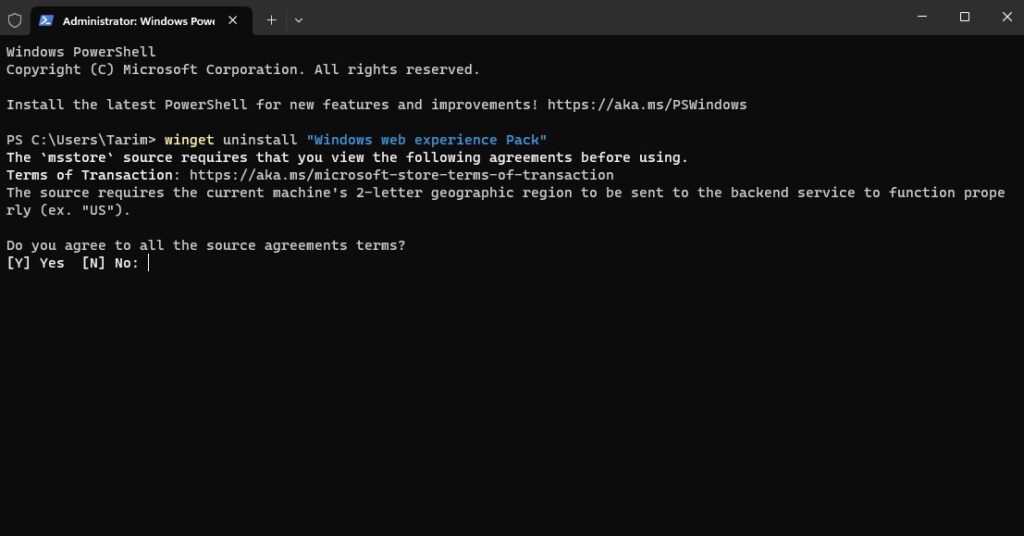
Step 3: Finally, if you prompt to accept the terms, press the Y key and then press the Enter button to start the uninstallation process.
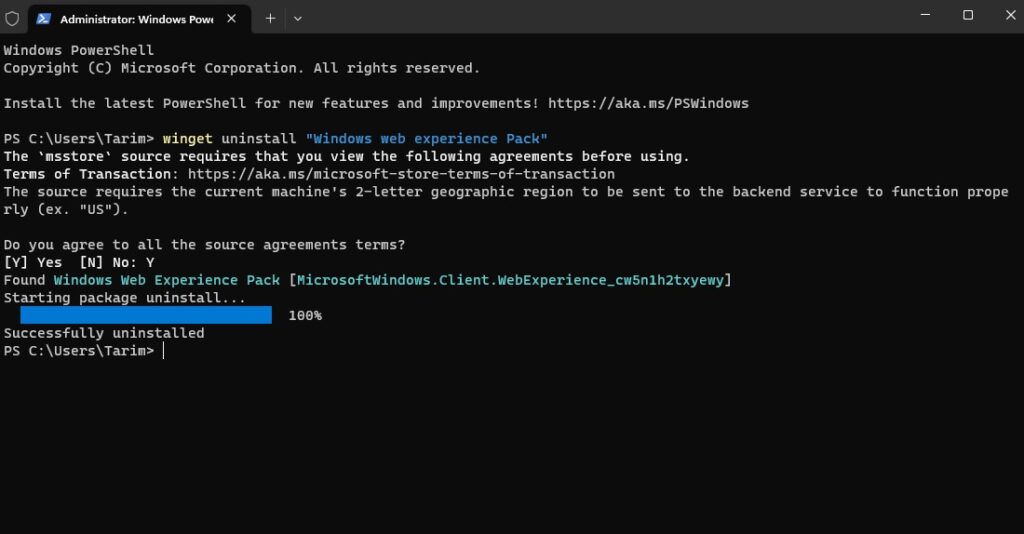
Once you have finished following the necessary procedures, the Widgets dashboard will be eliminated from your Windows 11 system. As a result, the option to manage the Widgets icon on the Taskbar within the Settings application will not be available to you.
Also Read- How To Enable The Widgets Toolbar In Windows 11
Reinstall Widget in Windows 11
In case you have a change of heart and want Widgets back in your taskbar. There is a method to reinstall the Widgets experience. You can either do so by downloading Windows web Experience again from the Microsoft Store or by utilizing Windows Powershell.
To install using the Windows Powershell:
Step 1: Open Powershell by right-clicking on the Start option and selecting Terminal (Adminal).
Step 2: After that, paste or write down the following command in PowerShell and hit enter to Run it:
winget install --id 9MSSGKG348SP
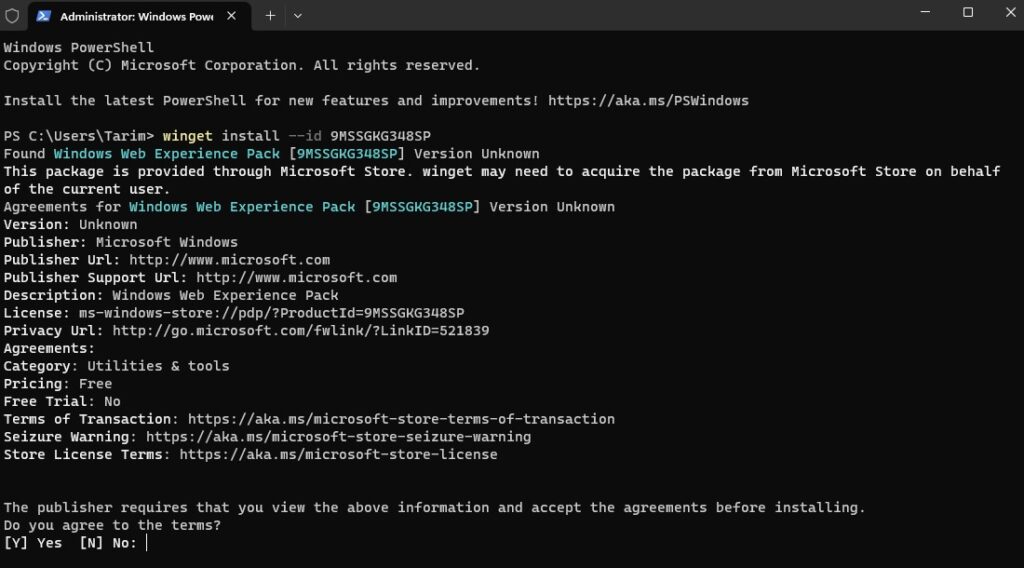
Step 3: Finally, hit Y and then press enter, if prompted to accept the terms.
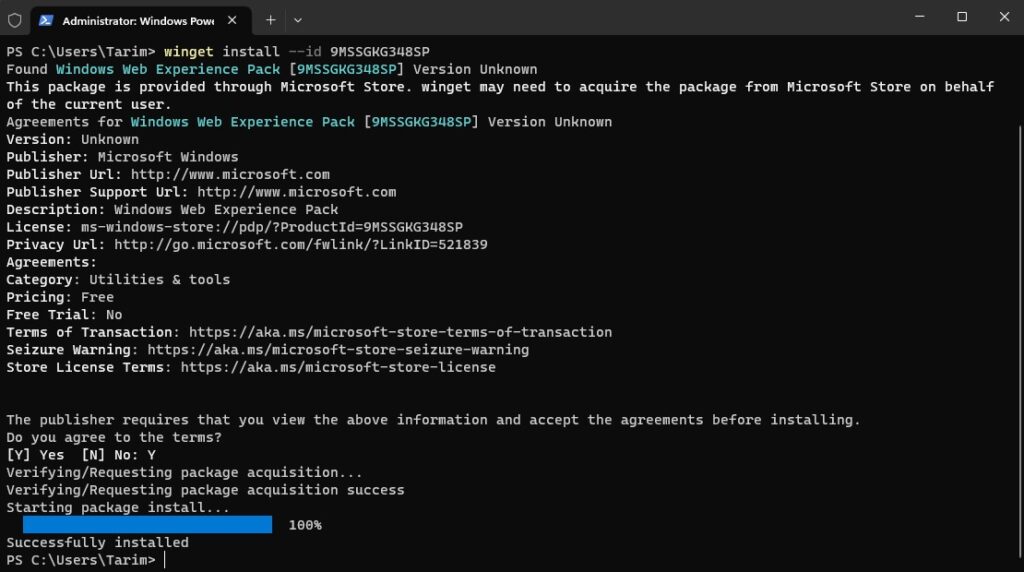
After you have followed the aforementioned steps, you will be capable to utilize the Widgets board feature again in two ways: using the keyboard shortcut Windows key + W or clicking on the button located in the Taskbar.
To install using the Microsoft Store:
To reinstall the Widgets feature on your Windows 11 system, you can head to the Microsft Store link. From there, you can opt to either reinstall or restore the feature by clicking on the “Get” button and proceeding with the installation process.
Also Read- How To Fix Widgets Not Working In Windows 11 Issue
Disable Widget Using Settings on your Windows 11
In case, if you want to remove the widget and not uninstall it completely, you can do it by adhering to the steps given below:
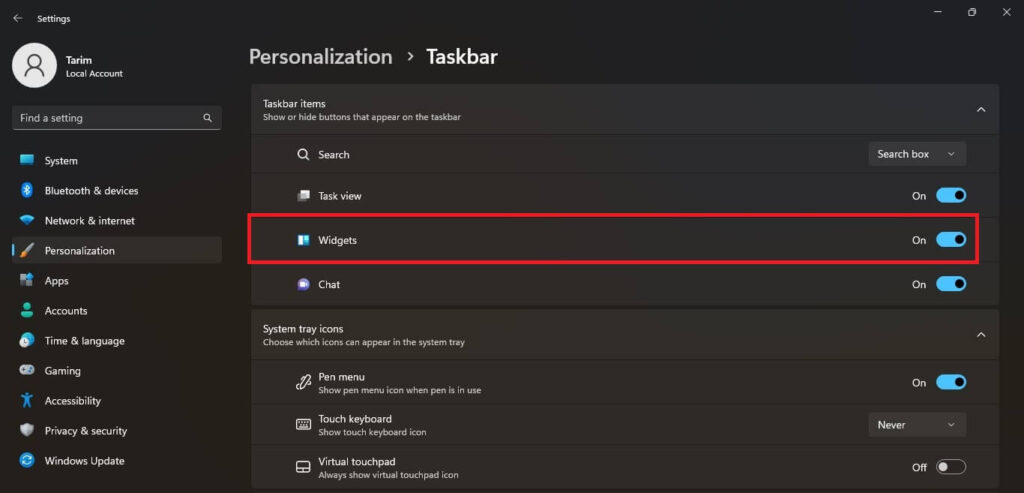
- First, to turn off widgets, simply right-click on the taskbar, and select Taskbar Settings.
- Then navigate to the Taskbar items section and there you will notice the option of Widgets.
- Finally, from there, toggle the Widgets option to the off position. You can turn it on again if you like the Widgets to appear on your Taskbar.
Please be aware that this will remove the widget’s icon from the taskbar, but the widgets processes will continue to run.
Also Read- How To Fix Widgets Not Working In Windows 11?
Conclusion
In conclusion, uninstalling and reinstalling widgets in Windows 11 is a straightforward process that can be accomplished with just a few clicks. Whether you want to uninstall a widget that you no longer need. Or reinstall that you accidentally removed, the steps are easy to follow and can be completed in a matter of minutes. By following the procedure of customizing widgets outlined in this guide. You can easily manage your widgets in Windows 11 and ensure that your desktop remains organized and clutter-free.
In Windows 11, you can access the widgets board by pressing Win + W or hovering over the Widgets button located on the left side of the Taskbar. Once opened, you can add, remove, customize, and rearrange widgets to your liking. However, it’s important to note that widgets can’t be added directly to your desktop.
1. First, to turn off widgets, simply right-click on the taskbar, and select Taskbar Settings.
2. Then navigate to the Taskbar items section and there you will notice the option of Widgets.
3. Finally, from there, toggle the Widgets option to the off position. You can turn it on again if you like the Widgets to appear on your Taskbar.
To uninstall the Widgets feature on Windows 11, follow these steps:
Step 1: Begin by right-clicking on the Start menu and choosing PowerShell. After that make sure to select the Administrator (Windows Powershell) option.
Step 2: Now, in the PowerShell window, paste or jot down the following command and press Enter to Run it:
Step 3: Finally, if you prompt to accept the terms, press the Y key and then press the Enter button to start the uninstallation process.


