


 Header Through Cloudflare")


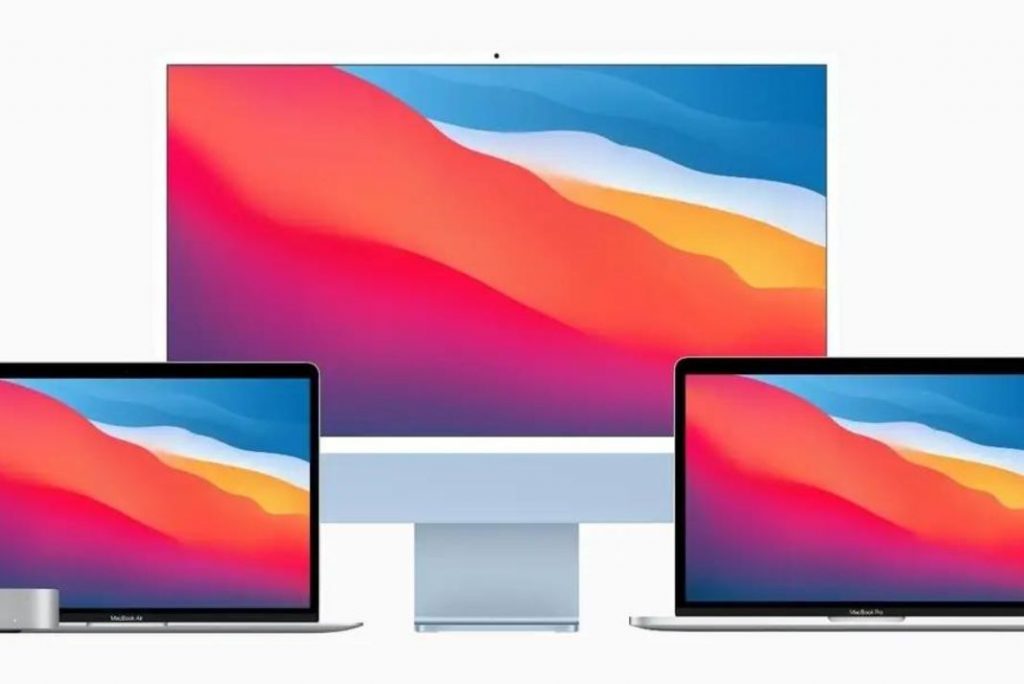
In this step-by-step guide, we will explain how to use an iMac as a monitor for your Macbook Pro.
If you are a professional, you might have come across many situations when you require more than one display screen for your Macbook Pro. It is possible to have an extra display for Macbook Pro if, by any chance, you have an extra iMac laying around.
This is possible using the AirPlay technology, which is now part of Mac, thanks to the macOS Monterey. AirPlay allows you to transfer video signals to some other Mac with any wired setup.
But what if your iMac is too outdated to support the macOS 12 version? Does it mean you will not be able to try this hack? That’s not the case. In this scenario, we will use the good old feature, called target display mode, which will also perform a similar function.
Before we go ahead, let’s see what Macbook supports the AirPlay feature.
Also Read: How To Install macOS Ventura On Mac
Requirements for AirPlay feature
- iMac model: 2019 or later.
- It is recommended to use the MacBook Pro model: 2018 or later. However, if your Mac Pro can AirPlay videos to other devices, you can use it. So, Macbook Pro as old as the 2011 Model support iMac.
- The iMac you intend to use must have the macOS 12 Monterey installed on it.
- The Macbook Pro should be running on 10.8, Lion, or newer if you want to use your iMac as a primary display screen.
- If you wish to use it as a second monitor, 10.9, Mavericks, or newer will do.
- Both Bluetooth and Wi-Fi should be enabled on your device. If not, you should have a type C USB cable.
With this, let’s see how to use the iMac as a Monitor for Your MacBook Pro.
Also Read: How To Make Your iPhone A Webcam For Your Mac
Enable AirPlay Receiver
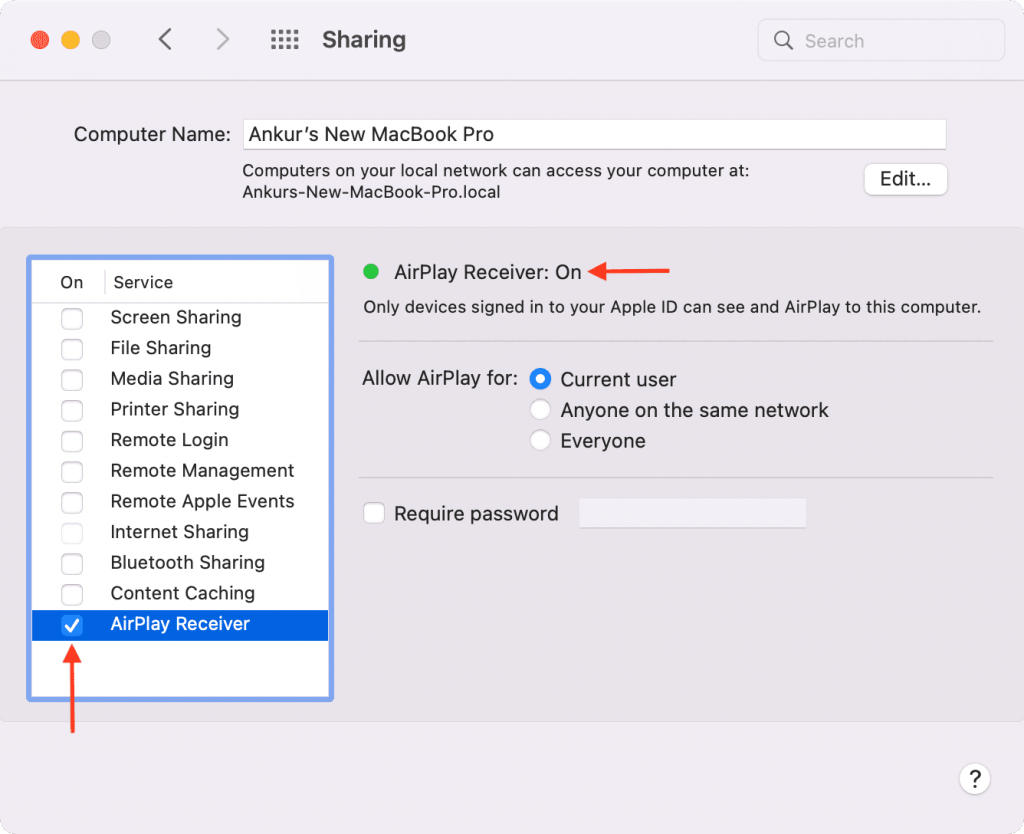
- On your iMac, go to System Preferences and press the Sharing icon.
- Press the AirPlay Receiver icon present in the left pane.
- Choose your preferred choice for the Allow AirPlay option.
- We recommend the current user as it is the most secured option. However, you need to ensure that both the sender and receiver devices should be using the same Apple ID.
Note: If you have a MacBook Pro model previous to 2018, you will only be connected if Anyone is on the same network or if the Everyone option is selected here. Also, you should enable; both Wi-Fi and Bluetooth on both the sending and receiving devices.
- AirPlay will prompt you to provide a four-digit code flashing on the receiving device. However, you should enable the Require password box and provide a password. Doing so will allow you to add an extra layer of security, preventing unauthorized access to your Mac.
A green dot will be near the AirPlay Receiver option in System Preferences. This will indicate that your iMac is ready to act as a monitor for your MacBook Pro.
Also Read: macOS Ventura: 6 Amazing Features Introduced
Prepare your MacBook Pro
Now, it’s time to prepare your Macbook Pro. Make sure that both Wi-Fi and Bluetooth are enabled here.
Note: Your Macbook should use the same Wi-Fi network used by your receiving device.
- You can also use the AirPlay technology with a USB-C cable, but you can only use it on Macs having a USB-C port. After connecting your Macbook Pro with your iMac, it’s time to proceed further.
- If your Mac Pro is running on Big Sur or above, press the Control Center icon, located in the top-right corner. Next, click on the screen mirroring option. Choose iMac from the list of devices.
- If Macbook is using an OS older than Big Sur, tap the Apple icon and then go to System Preferences.
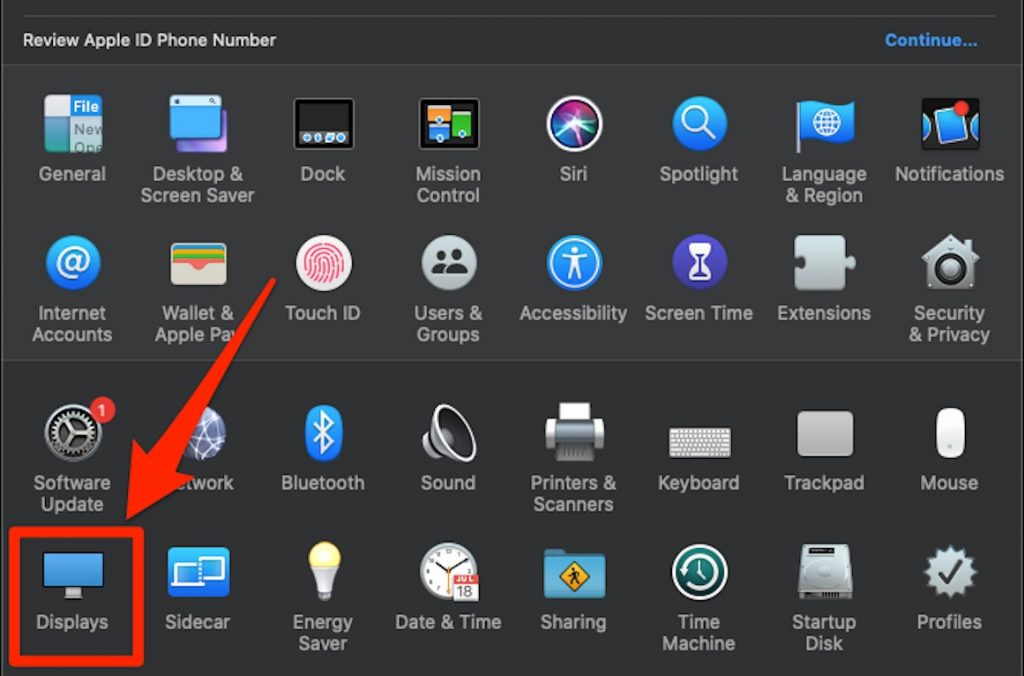
- Next, choose the Displays option and then tick the check box located in the lower-left corner.
- Now all the mirroring options will appear in the menu bar.
- Click on the old mirroring icon present on the top right corner of your screen.
- Now choose your iMac from among the list of other devices.
- When you use this feature for the first time, a four-digit display code is prompted on your iMac, which you have to enter on your Macbook.
- If you have enabled a password on your AirPlay Receiver Mac, you will also be required to enter that password to set up that connection.
- After authentication is successful, you need to press the Accept button visible on the iMac to allow transactions between Macbook Pro and iMac.
- Once you click the Accept button, your MacBook’s screen will appear on your iMac.
Also Read: Installing macOS Monterey Beta On Your Compatible Mac
Conclusion
That’s all in this quick guide, that explains how you can use an iMac as a monitor for MacBook Pro. This hack not only keeps your work organized but also helps you multitask, improving your productivity. If you have any questions in this regard, feel free to ask us in the comments below.
Also Read: Testing Macrium Reflect Restore Using VirtualBox Virtual Machine In Windows 11


