


 Header Through Cloudflare")


When creating your initial Macrium Reflect the image of your system the ultimate check is by checking that the image is complete would be in addition to the reflect rescue media and performing a full restore. You will never like to be put at risk just by testing until there is a situation you want to do for real. In this article, you will learn clearly how to restore a new machine, without taking a risk of destroying your PC. Instead of restoring directly on your PC, restore will be performed in the Virtual Machine (VM). Hyper-V is only present in Windows 11 Pro versions, so you can use Oracle VirtualBox which is a free Open Source software that you can run on both Home and Pro editions.
Also Read: How To Reset And Re-register Settings App In Windows 11
Requirements for this:
All you need is a PC with Windows 11 and the configurations are a minimum of 8GB RAM, preferably using an SSD rather than an HDD. Macrium Reflect v8 and Oracle VirtualBox are installed in your windows 11.
1. Preparing:
If you have not installed the Macrium Reflect v8, first install it and make an image of your PC on an external hard drive. Also if you have not installed the Oracle VirtualBox, download and install that too. Installing this does not need any requirements.
Also Read: How To Download And Install Fonts On Windows 10/11
2. Creating a Reflect rescue media:
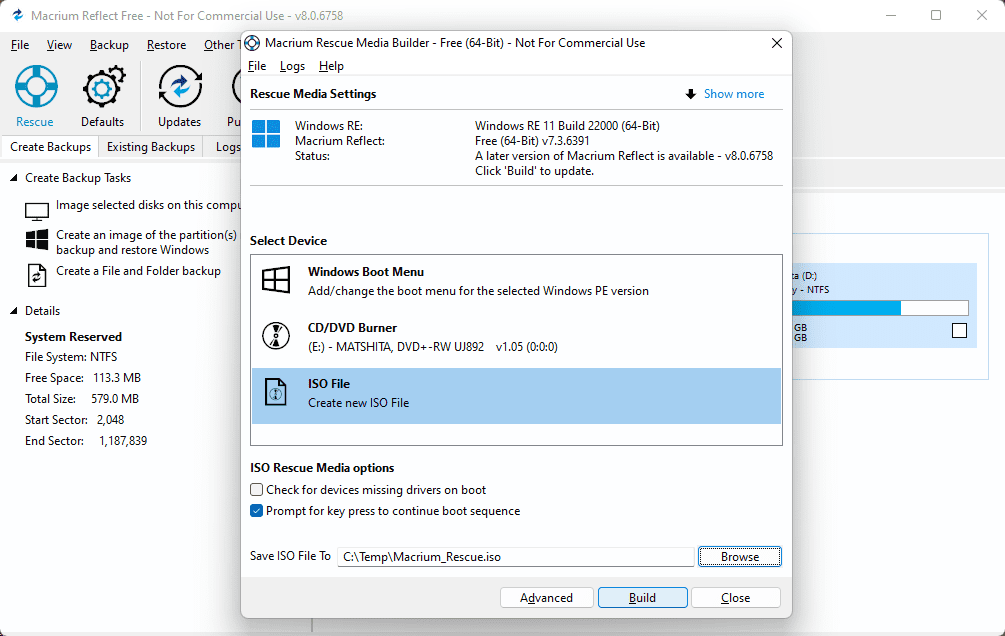
First, you need to boot the machine from the reflect rescue media if you want to restore the Macrium image. You need to make an ISO of the rescue media for a Virtual Machine so that you will be able to attach that to the Virtual Machine’s virtual CD or a DVD drive. To achieve this follow the below step:
Open the Reflect, in the top-left corner of your windows you can see the Rescue icon. Right-click on the rescue icon, and you will get another window, in which that select the ISO File. Now you must set a destination to save it and click on the build option.
3. Create a new VirtualBox Virtual Machine
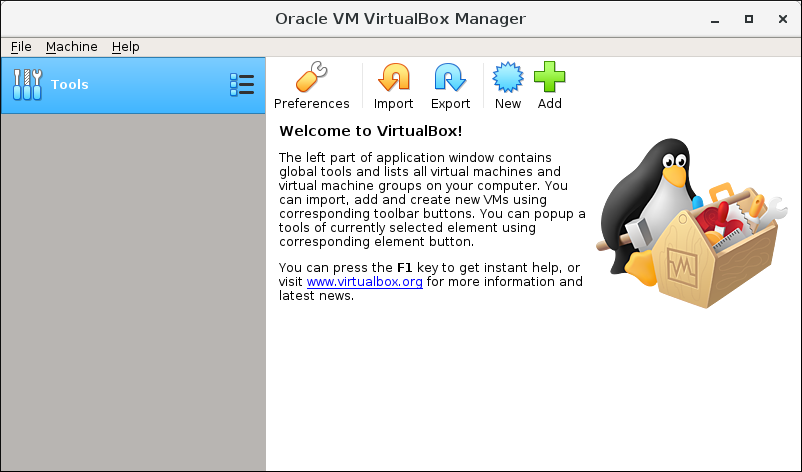
Open your VirtualBox Manager. Click on the New icon which is present at the top and looks like a start symbol. This will open the Create a new virtual machine window in guided mode. Remember you do not need to switch that to expert mode. All the settings are set up by default and will create the virtual machine.
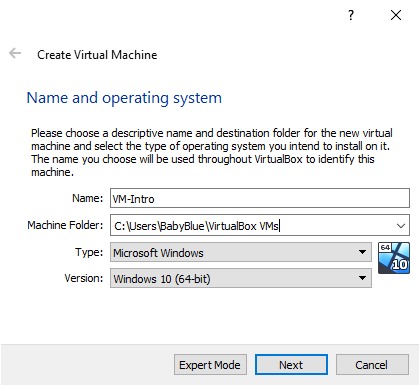
In the Type, column selects the options Microsoft Windows and in the version column select Windows 65-bit. Let the other column remain the same. Now click on the Next. This will create a Virtual machine with EFI enabled. This is suitable for restoring Windows 11 image that is installed on your device.
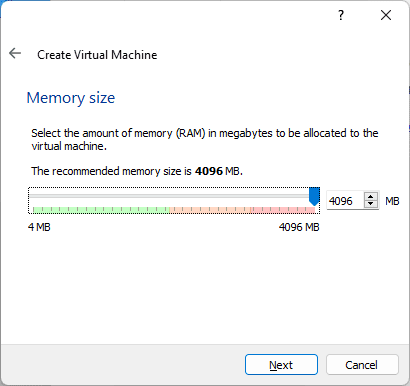
4. Set your RAM for the Virtual Machine:
Your physical RAM should be allocated for the virtual machine. An important point to be noted is that when a Virtual Machine is running, it exclusively uses the RAM, resulting in a reduced amount of RAM in your Window’s Host machine. If you have 8GB RAM then accept the default and click on Next.

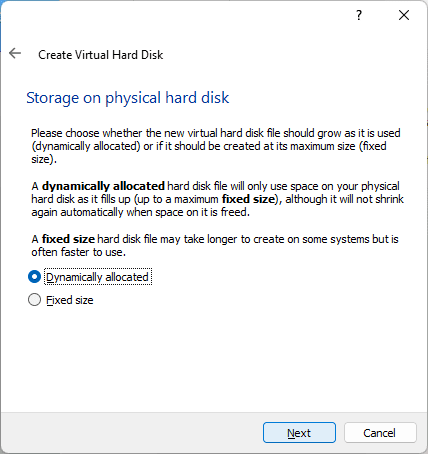
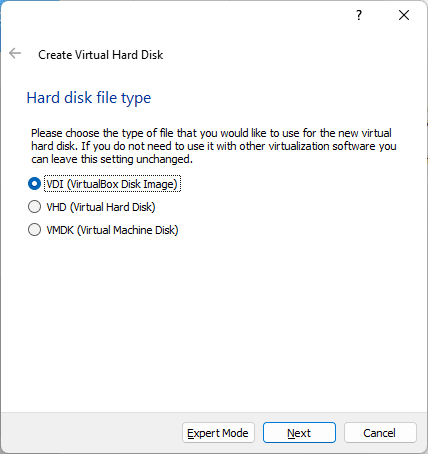
5. Setting the virtual disk for the Virtual Machine
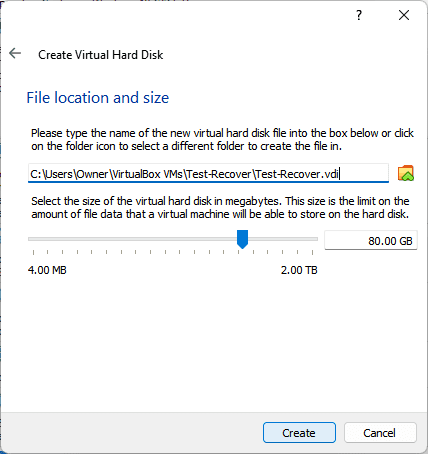
This is the next step where you should set a virtual disk to use the virtual machine. In almost all the steps, it is better to click on Next with the settings which are already set by default. The space which you created must be large enough to hold the total used space from your image. Anyway, the Reflect will resize to fit into the available space, but it should have enough space to hold it.
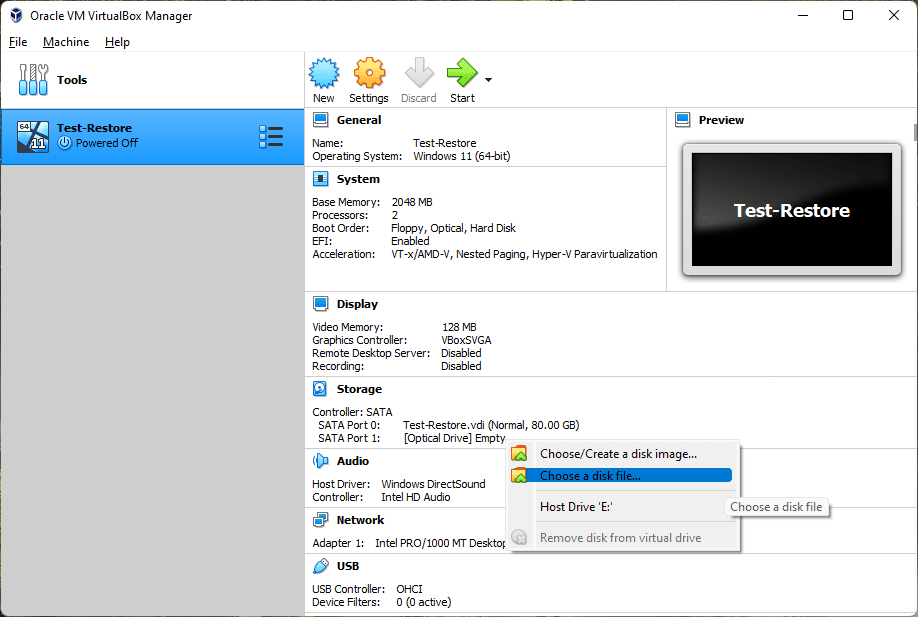
6. Attach rescue media ISO
Now Virtual machine is created but OS is not yet created. To create OS first, you should set it up, so that it can boot it from the Reflect rescue ISO which you already did in step 2. For this, you must insert the ISO into the Virtual Machine’s virtual optical drive. Open oracle virtual machine manager and click on the Settings. Under the Storage, click on the [Optical Drive] Empty, search and find your rescue ISO.
7. Make your Reflect image available to restore
If you want to restore the Macrium Reflect image, your virtual machine must be able to find the Macrium Reflect image. You can do this in a very simple and easy way. Make an HDD that will hold the image which is available as the network share. The virtual machine has a Network adapter, when it boots up it will be able to see all the network shares on your Host Machine.
Now plug in a USB HDD that holds the image in your host machine. In the Share tab, share your drive and allow the share permission for everyone. After this tap and click on the OK button to set it up and to share it, remember to do it on each window. Note down the Network path you are sharing, you will need it in the future.
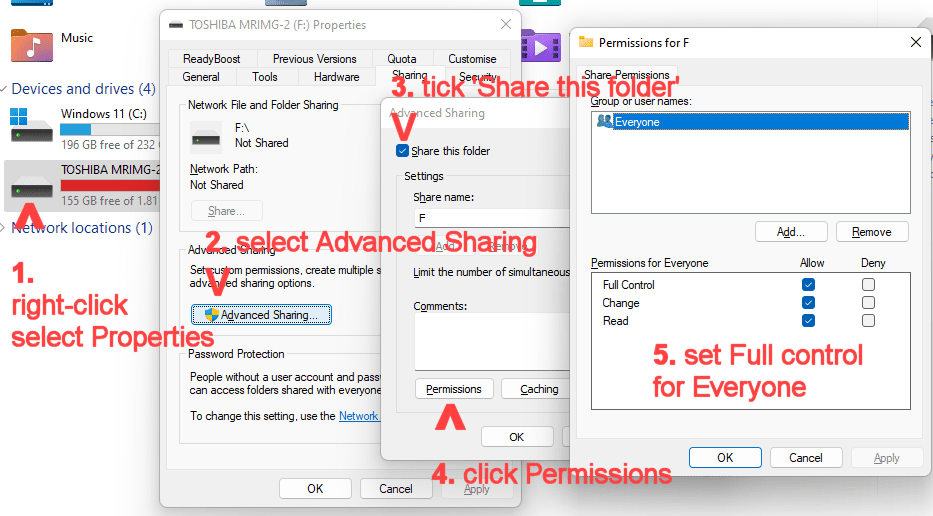
8. Setting of file permissions
If you want to give control to everyone in the security tab, you need to set the NTFS permissions for the drive. First, add up everyone. After adding up, you will some pop-up boxes saying that unable to set permissions for some of the folders. This is normal and you do not need to worry and you can ignore it.
Also Read: How To Install Fonts On Windows 11 For Free?
8. Start your VM
After all these steps, you are ready to start your Virtual machine. On the screen, you will be able to see Press any key to boot from a DVD. Now press any key and you will be able to boot from the Reflect recovery ISO.
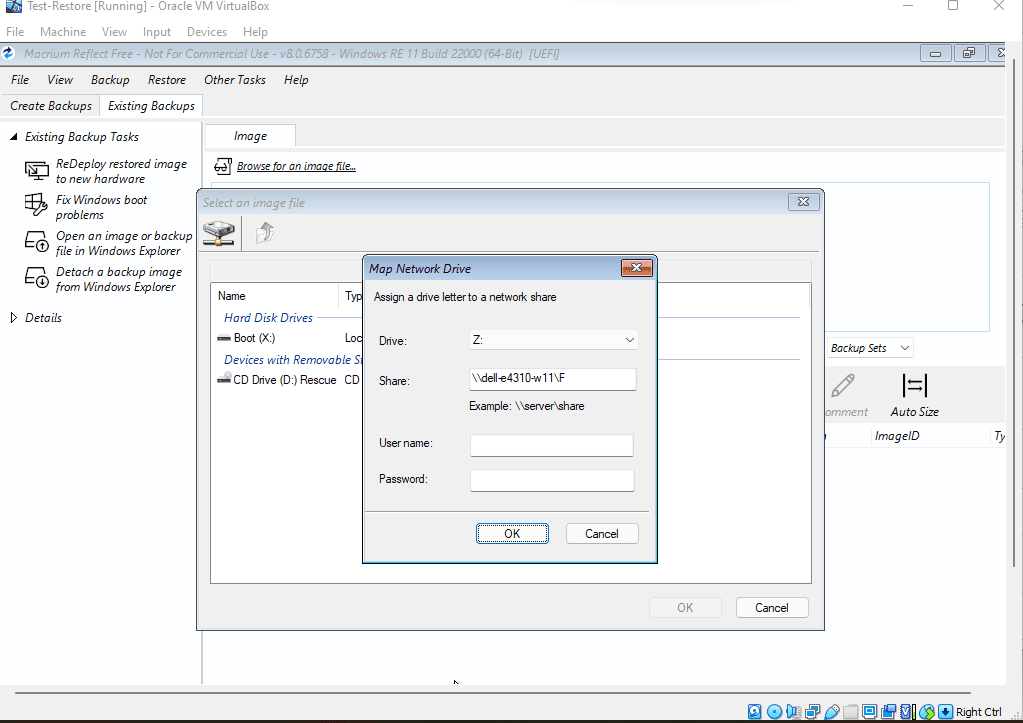
9. Map network drive
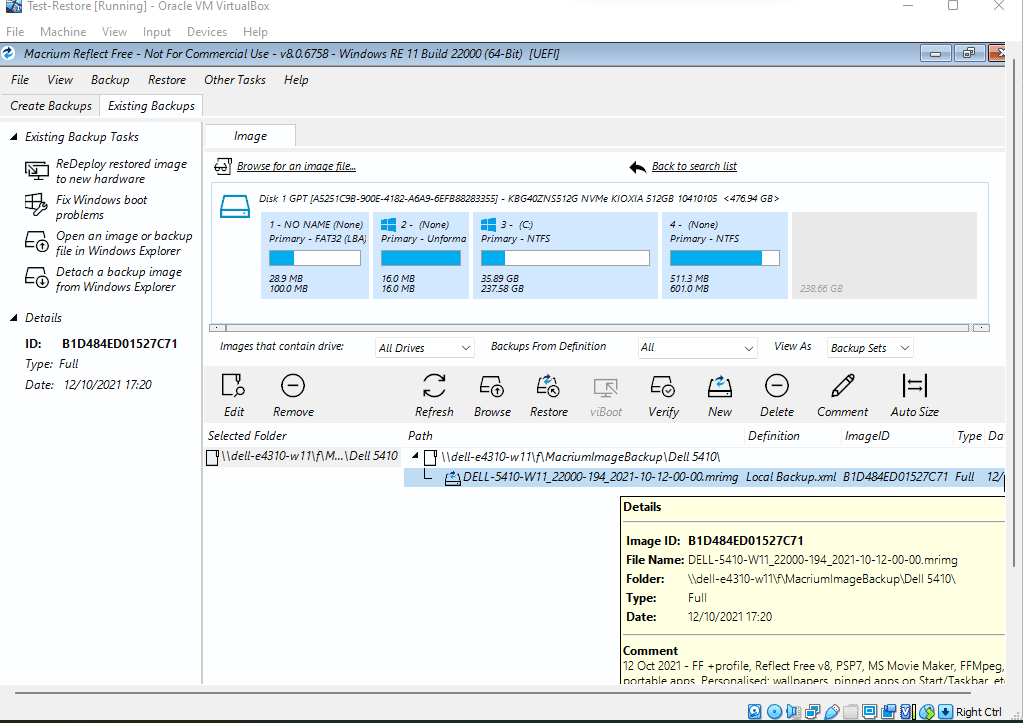
Now click on the Browse for an image file in the right-side panel. Click on the Map Network Drive icon which is present in the top left corner. Earlier you noted the network path, now use that and you do need any username and password. You will be able to find your .mrimg file and now restore it as if you were using a physical machine.
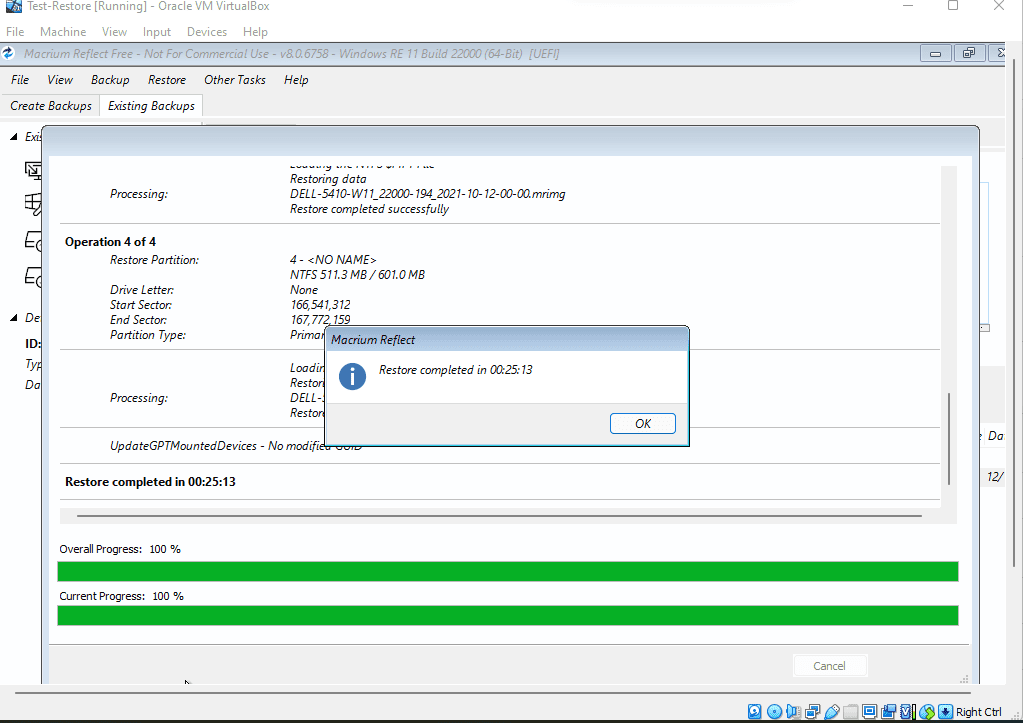
10. Booting the restored virtual machine
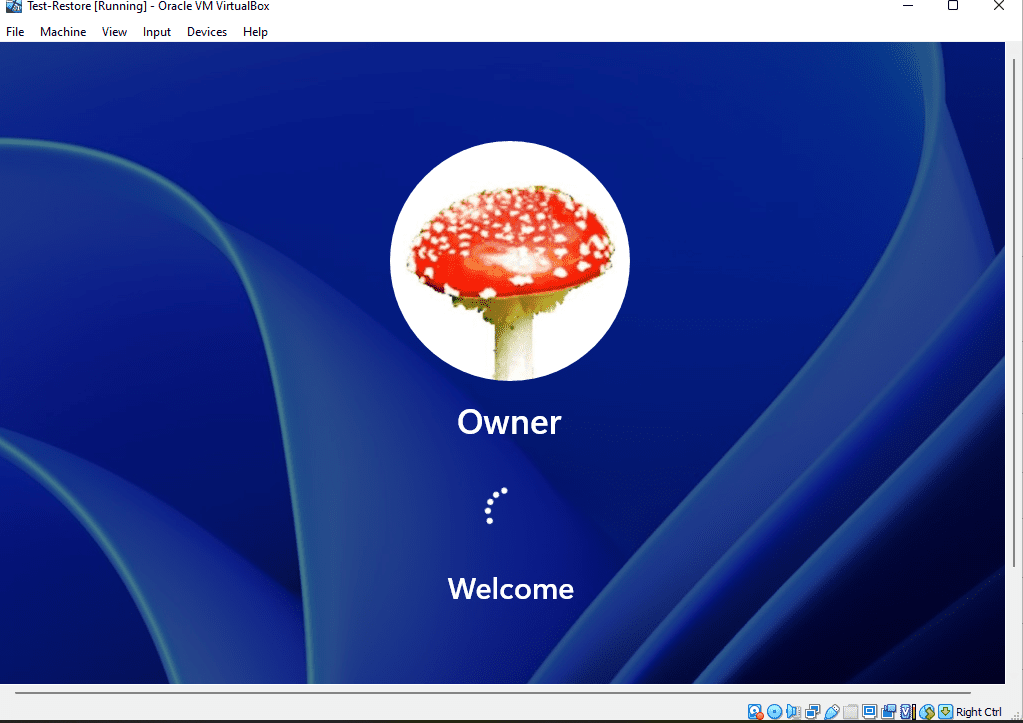
When the Virtual machine is restored, Windows will be able to find changes in its hardware. It takes some time to install the drives. Once installing is finished it will reboot.
11. Tidying up afterward
Before ejecting the Host machine, stop sharing the external HDD after you have finished it. If you want to keep this new Virtual machine, there is an important thing you should keep in mind, as it is a new machine, it will not be activated by your digital license of the Host machine. All the virtual machine has their way to activate.
Read: How To Install Windows 11 On An Android Phone?
Conclusion:
In this article, you got to know how to Test the Macrium Reflect restore using VirtualBox virtual machine. I hope all your doubts are clear and you found it informative.


