


 Header Through Cloudflare")


In the past, people said,” Prevention is better than cure”. In this era of advanced technology, when the world is changing rapidly, this still holds true. Apple laptop and smartphone users are aware of the heavy penalty they have to pay should the slightest of damage happen to the hardware.
In addition, MacBook Pro and Air users are frustrated with the number of trips they have to take to the Apple service center. And let’s not forget the hole in their pocket that follows next. Therefore, it is wise to use Apple’s in-built diagnostics test that can help in determining the health of your Mac’s hardware.

Thus, if your laptop is working fine, for now, you can run the diagnostics to make sure it doesn’t run into a technical problem in between your presentation. Moreover, if your Mac just crashed and you’re panicking, running the diagnostics will help you measure the depth of the damage.
Also Read: How To Use iOS 15’s Built-in Password Authenticator On iPhone And iPad
How To Prepare Your Mac Computer To Run Diagnostics?
Running the in-built diagnostics help to find out which hardware is facing a problem. Furthermore, it will also help you get an idea of what’s happening with your laptop. And if you are someone who doesn’t understand the nitty-gritty of technology, it is easy for computer technicians to take advantage of this negligence.
Therefore, use Apple’s in-built diagnostics before you go to the repair center. To do this:
Step 1: Completely shut down your Mac computer.
Step 2: Remove external peripherals that you do not need to run the diagnostics. It includes the keyboard, mouse, AC power and Ethernet connection.
Step 3: Furthermore, place your laptop on a hard and well-ventilated surface.
Also Read: How To Fix Overheating Issues On MacBook?
Method 1# Run Apple Diagnostics On Apple Silicon
If you are using an iMac, MacBook Pro 2020, MacBook Air 2020, and Mac Mini 2020 with the M1 chip, you can proceed with the following steps:
Step 1: Switch on your Mac computer and simultaneously press down the Power button.
Step 2: A startup options window will appear on the screen, and you can leave the Power button now.
Step 3: A gear icon with an Options label will appear too.
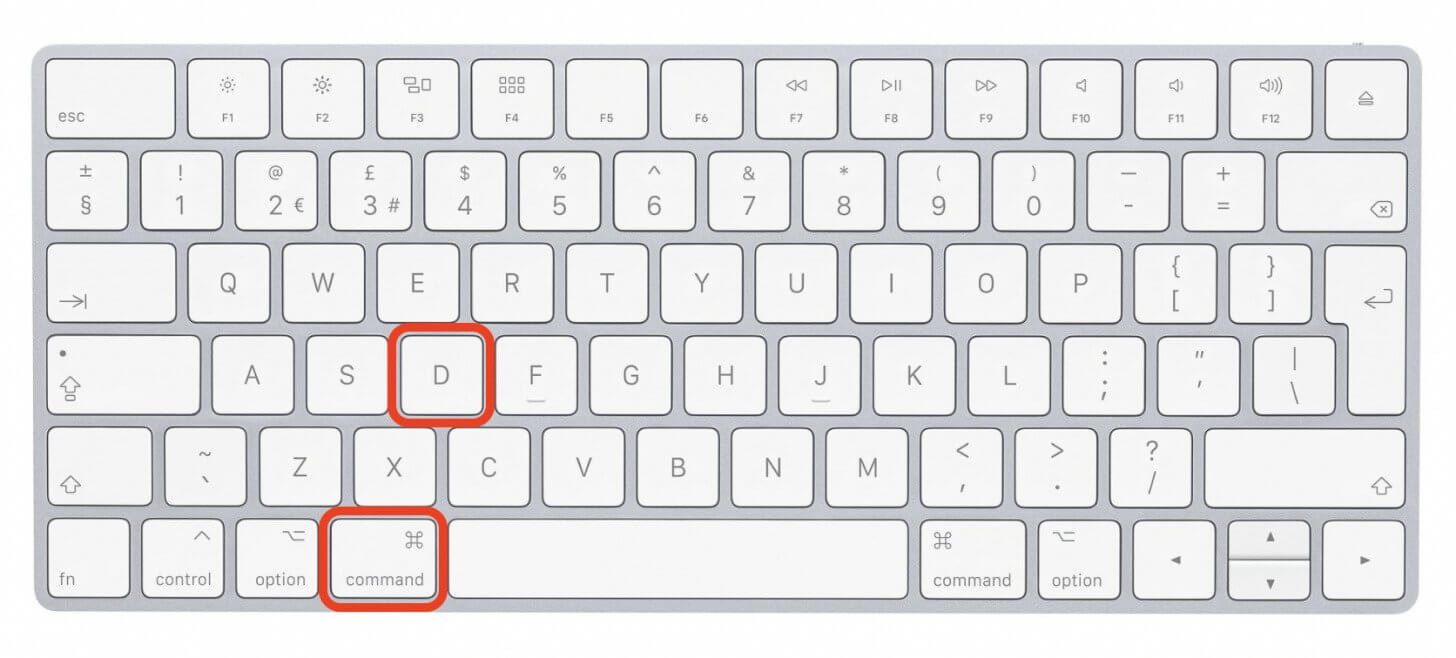
Step 4: From your keyboard, press COMMAND + D.
Method 2# Run Apple Diagnostics On Apple Laptop With Intel Processor
Apple laptops that run on Intel Processor can run diagnostics through the following steps.
Step 1: Once again, switch on your Mac computer.
Step 2: Long press the D key from the keyboard as the computer boots.
Step 3: An option will appear on the screen and ask you to choose a language. After this, you can leave the D key.
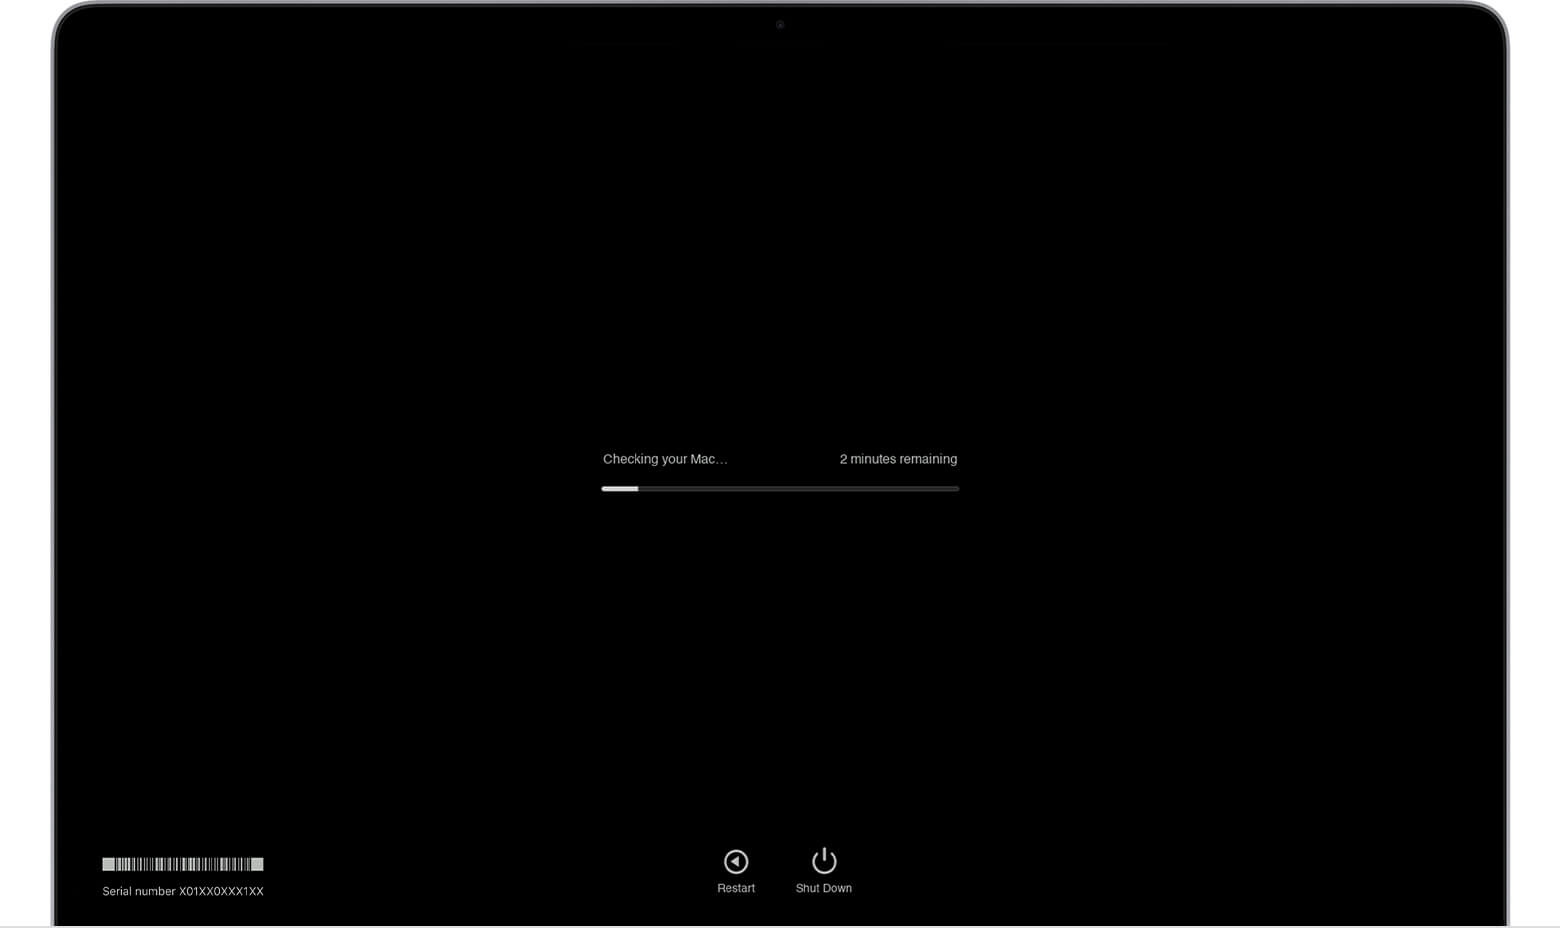
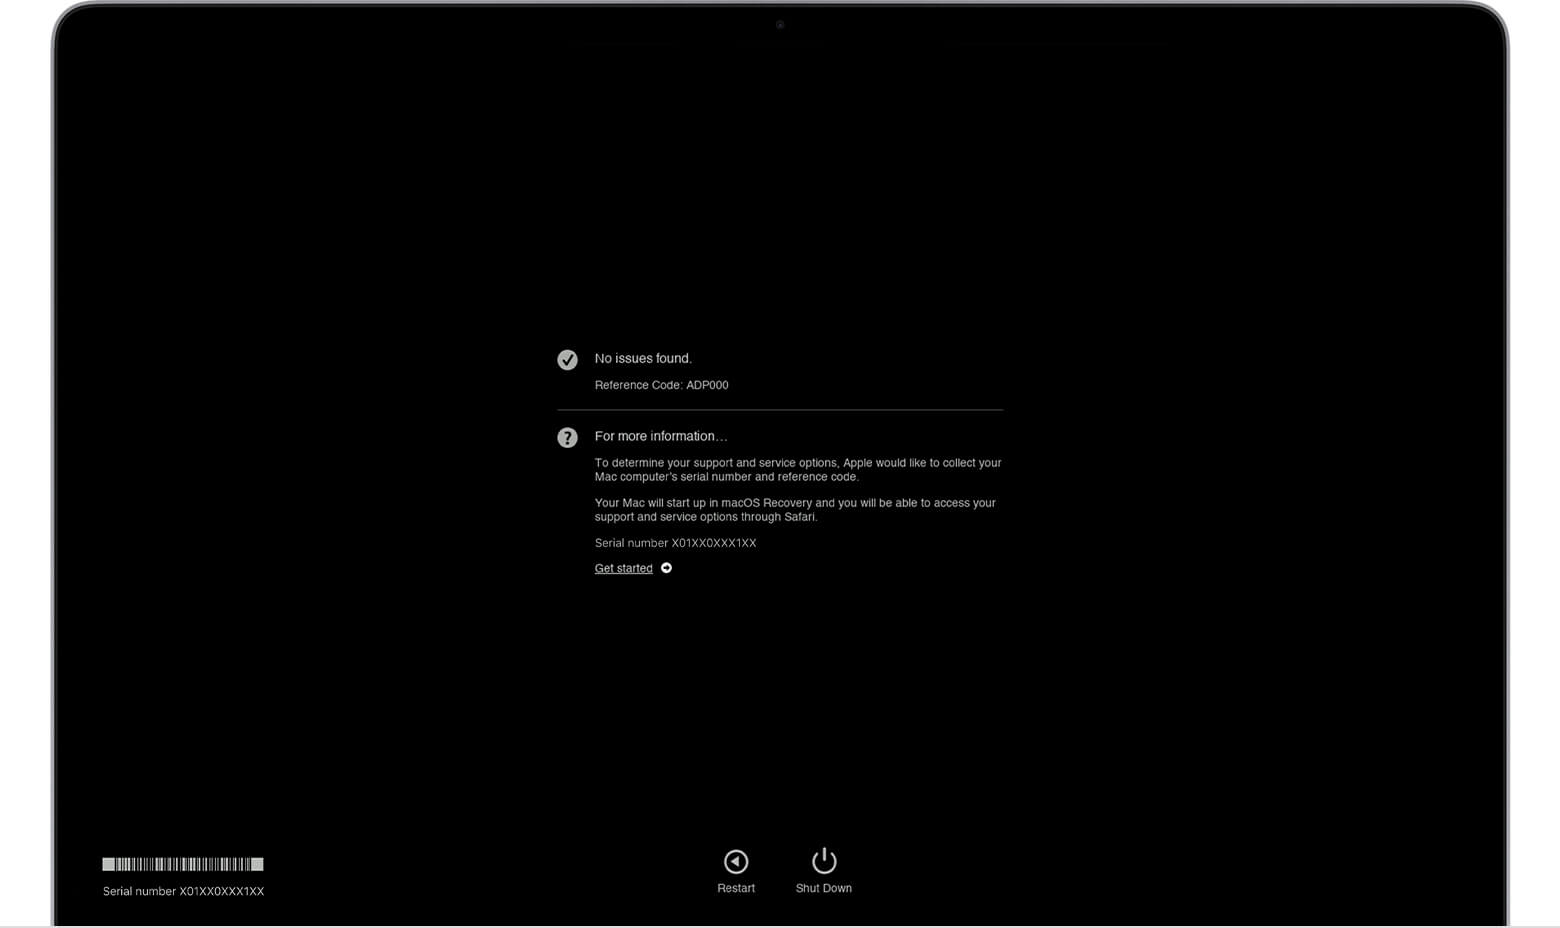
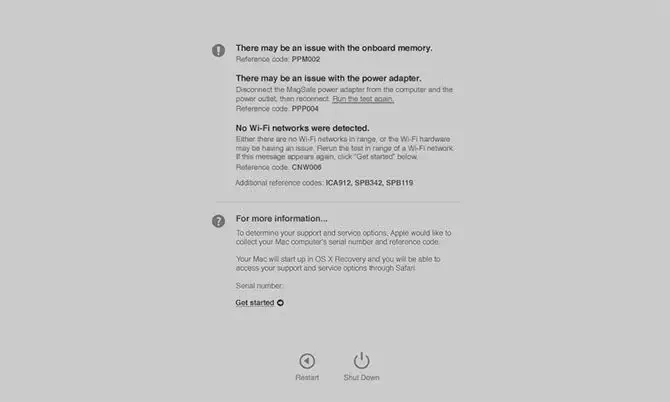
Moreover, wait for some time as your computer runs the diagnostic test. If everything is alright, it will display the message that no issues are found. Else, it will display code or codes through which you can determine the problematic hardware.
Also Read: Best 5 Mobile Apps for Sharing Large Files Instantly
Apple Error Codes And Their Meaning
While Apple does a fine job of putting cryptic error messages that only Apple technicians can decipher, this list will help you understand these better.
- VFF001: Audio Hardware Issue
- VFD006: GPU Issue
- PPT001: Unable To Detect Battery
- PPR001: CPU Issue
- PPM001-105: Computer Memory Issue
- PFR001: Firmware Issue
- NNN001: Unable To Detect Serial Number
- NDD001: USB Hardware Issue
- ADP001: No Error
- 4YDC: Graphic Card Issue
- 4SNS: Sensor Issue
- 4PRC: Processor Issue
- 4MOT: Fans
- 4MLB: Logic Board Issue
- 4MHD: External Disk Issue
- 4MEM: RAM Issue
- 4IRP: Logic Board Issue
- 4HDD: Hard Disk Issue
- 4ETH: Ethernet Issue
- 4AIR: Airport Wireless Card Issue
This list covers nearly all possible codes you might get while running diagnostics. Knowing them will help you to fix them at your home.
Read: How To Print From Your iPad (With And Without AirPrint)
How To Use Apple Hardware Test Over Internet?
Apple can run a hardware test on those laptops that are older too. To do that over the internet and check for hardware health, you can do the following:
Step 1: Switch off your Mac and connect it to an AC source.
Step 2: Boot the Mac and long-press the keys OPTION + D.
Step 3: Wait for a message to appear that will say Starting Internet Recovery, after which you can release it.
Step 4: Select a network from an available drop-down menu.
Step 5: For wireless connections, enter your password and tap Return or Enter.
Step 6: A message saying Starting Internet Recovery will appear after a while on the screen.
Step 7: Meanwhile, Apple Hardware Test gets downloaded on your Mac, and you will see an option to select language.
Step 8: Choose a language and tap on the lower-right corner button.
Also Read: How To Fix An Application That Won’t Start In Mac?
Steps To End The Hardware Testing
Step 1: Tap on the Test button to check which hardware is installed. Using the Hardware Profile tab, you can check the hardware that is getting scanned. It should include all your major hardware components.
Step 2: If your Mac’s information appears incorrect, chances are your device have failed. Else, if everything is correct, you can click on the Hardware Test Tab.
You get two types of testing, namely standard testing and extended testing. If you feel your RAM or graphics card is running into a problem, go for extended testing.
Step 3: Tap on Test. The details of the diagnostics will appear on screen with cooling fans speeding up and down throughout the process.
Step 4: Once the problem is resolved, the status bar disappears, and you will see the results on your screen. If all your hardware is fine, it will display no error code and vice versa.
Once the testing is done and results appear, you can click on Restart or Shut Down.
What To Do If Your Apple Diagnostics Is Not Working For Intel?
While running Apple diagnostics, your computer may run into other problems that will block you from doing so. To fix this issue:
- Turn off firmware passwords before accessing Apple diagnostics.
- Furthermore, run diagnostics over the internet if the disk or startup partition is damaged. You can do so by clicking on OPTION +D.
- At times, external peripherals may block you from accessing the diagnostics. In that case, remove all possible external devices that you don’t need.
Conclusion
Apple diagnostics is an in-built test software that detects all possible problems in major functioning hardware. Furthermore, if you want to repeat the testing, you can click on Tap the test again or once again press COMMAND +R. Click on the R button or press restart to reboot your system.
Moreover, you can shut down your Mac by pressing the S button. From the Apple menu, click on COMMAND +G to open a webpage leading to more information.


