


 Header Through Cloudflare")


In this article, we will see how to fix the Miracast not working in Windows 11.
Support for Miracast is one of the most celebrated features in Windows 11 PC. This feature helps to connect to your PC wirelessly to other devices which comes in handy, especially if you are a professional.
However, users have a constant complaint that they frequently come across Miracast not working in Windows 11 issue. This problem can surely create unpleasant scenarios especially when you need the tool for work purposes. However, worry not, it is incredibly easy to fix the “Your PC or mobile device doesn’t support Miracast.” Error on your PC.
To help tackle the Miracast not working issue in Windows 11, we have presented a list of possible fixes that can help get rid of the issue.
So without much ado, let’s jump straight into the fixes.
Also Read: Connect To Wireless Display with Miracast in Windows 11
Does your Devices Support MiraCast?
Before we head out to fix the issues in MiraCast, it is sensible to make sure the device you are using is compatible with MiraCast.
Here’s what you need to do:
Press the Windows+P shortcut on the screen to launch the wireless display settings.
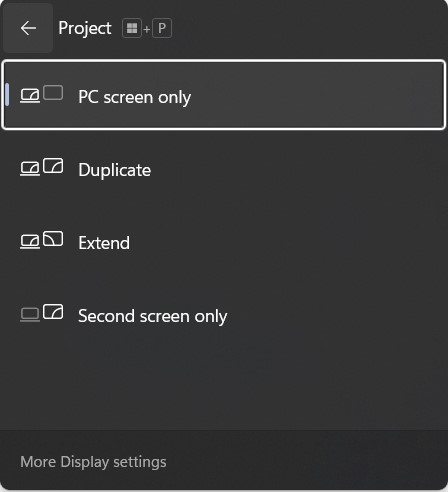
If you get the message saying your device doesn’t support a wireless display, it means your device is not compatible with Miracast. However, you see a list of devices to connect, your device supports MiraCast.
Also Read: How To Use Miracast To Mirror Windows To Roku?
Turn on Wi-Fi
If your device is MiraCast compatible, you should make sure that both devices are connected to the Wi-Fi.
- Since MiraCast uses Wi-Fi direct, there is no compulsion of connecting both the devices to the same network.
- Once done, try using the MiraCast once again and see if it works.
Update Network Drivers
Sometimes, the outdated or corrupt network drivers can also trigger issues in MiraCast. To rule out this cause of the problem, you will have to update or reinstall the network drivers on your Windows 11 PC.
Here’s how to go about it:
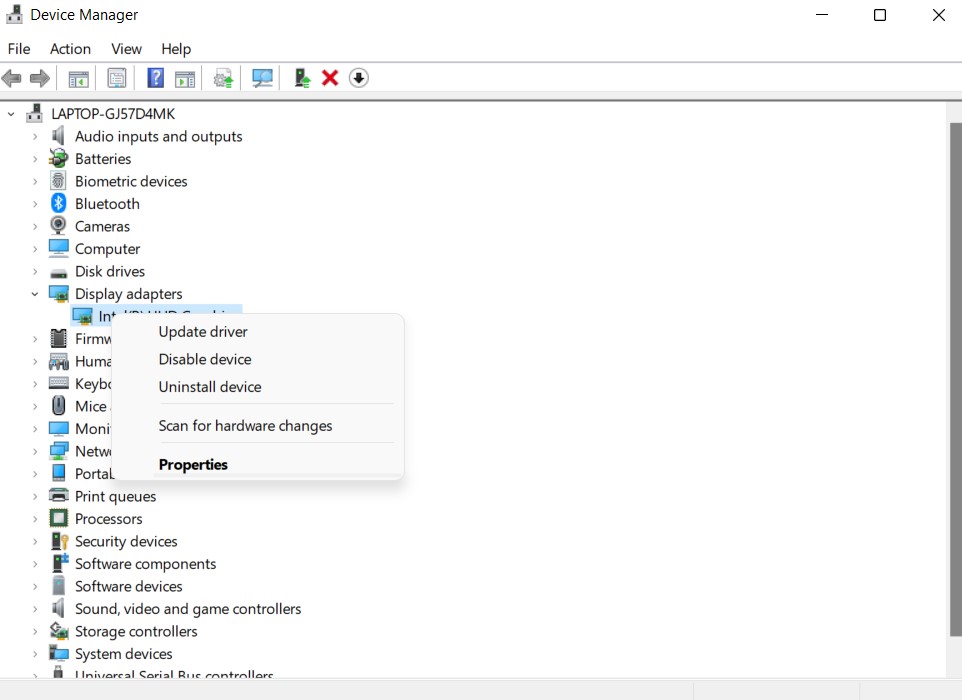
- Launch the Quick Access Menu by pressing the Windows + X shortcut.
- Choose Device Manager from the list.
Also Read: How To Enable Hyper-V In Windows 11?

- Now expand the Network adapters option and then right-click on the adapter listed here and choose the Update Driver option.
- Now Windows will automatically look for the drivers’ update and install it.
If this does not work, double click on Network adapters and then right-click PC’s network adapter. Finally, choose the Uninstall device option. Now go to the Action tab and click on Scan for hardware changes option.
Now reboot your PC and see if the issue is solved.
Also Read: 9 Fixes For Outlook Not Connecting To Server Windows 11
Update or Reinstall the Display Drivers
Apart from the corrupt network drivers, outdated display drivers can also cause issues in Miracast. The only way to tackle this problem is to update or install the display drivers on your Windows 11.
Here’s how to go about it:
- Open the Windows+S shortcut to open the Start menu and type Device Manager in the search bar.
- In the Device Manager window, expand the Display Adapters option and then choose the Update Driver option from the context menu of the Display Adapter.
- Next, choose the Search automatically for updated driver option from the Windows pop-up.
- After this, see if the MiraCast is working as intended. If not, you will have to reinstall the display adapters using these steps:
- Launch the Device Manager once again and then click on the Uninstall Device option from the context menu of the network adapter.
- Now scan for hardware changes from the Action tab and then reboot your Windows 11 PC to apply changes.
Run Windows’ Troubleshooters
If none of the methods were successful until now, it’s best to take the help of Windows’ Troubleshooters. To troubleshoot issues with MiraCast we have to use the Internet Connections troubleshooter and Hardware troubleshooter.
- Launch the Windows+I shortcut to bring up Windows 11 Settings.
- Now click on Troubleshooters in the right pane and then choose the Additional Troubleshooters option from the new window.
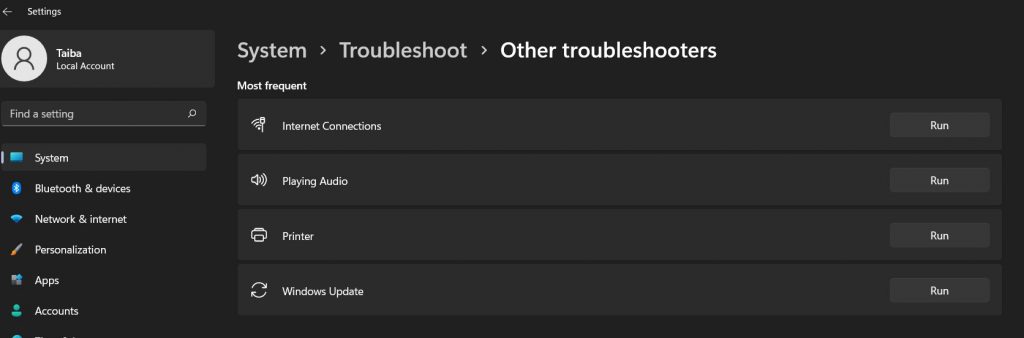
- Next, look for the Internet Connections troubleshooter and press the Run button next to it.
- After this, choose the Hardware and Devices troubleshooter and run it similarly.
Update Windows in Windows 11
If nothing worked until now, there is a good chance that you are facing MiraCast issues due to outdated Windows 11. To make this feature run smoothly, you will have to install the latest update rolled out for your device. Doing so will not only help remove obstacles that are hindering the feature, but it will also improve the performance.
Here’s how to update your Windows 11 PC:
- Use the Windows+I shortcut to open Settings and then click on the Update & Security option.
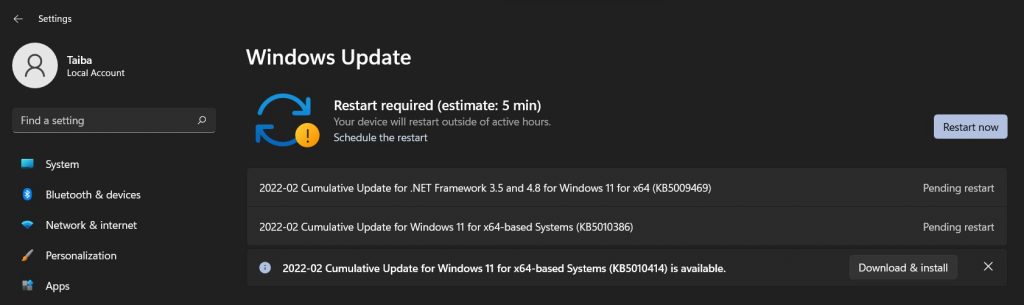
- Next, choose Windows Update and then click on Check for updates button.
- When the process gets completed, go ahead and see if the issue is resolved.
Also Read: How To Fix Wi-Fi Disconnecting Problem In Windows 11?
Conclusion
That’s pretty much it! If your device is compatible, hopefully, the Miracast Not Working issue on Windows 11 will be resolved by now. If you know some other methods that can work for you, don’t forget to mention them in the comment box down below.


