


 Header Through Cloudflare")


![[Interview] The Future of Screen Experiences ②: From Watching to Understanding With Vision AI Companion](https://www.hawkdive.com/media/samsung-tvs-and-displays-vision-ai-companion-interview_thumb932-218x150.jpg "Exploring Vision AI Companion: Transforming Screen Experiences for Users")


Windows 11 is the latest version of Microsoft Corporation’s iconic Windows operating system. It brings many new features, as well as improved security and a streamlined user interface. Additionally, Hibernate mode is an incredibly useful feature available in many modern operating systems, including Windows and Linux. Moreover, it offers many advantages over traditional shutdowns, including the ability to save running apps and processes, preserve battery power, and reduce startup times.
One of the major benefits of hibernate mode is that it preserves the state of your computer when it is powered off. This means that when you turn your computer back on, all of the open apps and processes will be restored to the exact state in which you left them. Hence, no need to worry about losing your unsaved work or having to manually restart all of your apps.
Besides, Hibernate mode also helps to conserve battery power, as it will turn off your computer more quickly than a traditional shutdown. This is particularly useful if you need to power off your computer in an emergency. Furthermore, it reduces boot times by bypassing some of the startup processes that are normally required.
Hibernation is a feature that allows a computer to save all the open applications and files to the hard drive before powering down. Therefore, this is beneficial if you need to power off your computer quickly, as you will be able to resume exactly where you left off. But if you are not familiar with the latest version, you may be wondering how to enable or disable hibernation in Windows 11. Here are the steps you need to take to add hibernation in Windows 11.
Also Read: Hands-On Paint 3D App For Windows 11
Windows 11: How to Add Hibernation
Step# 1
Open the Start Menu and select Search.
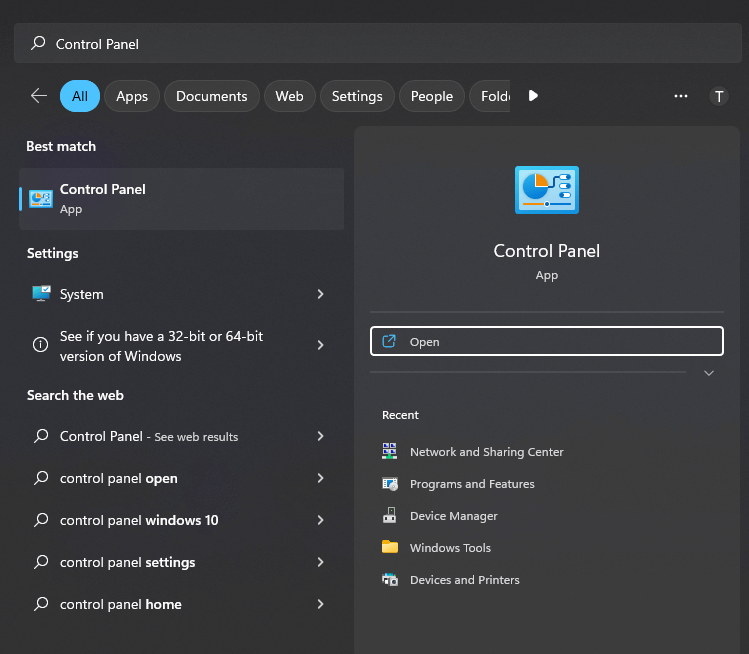
Step# 2
Write Control Panel in the search box and open it from the results.
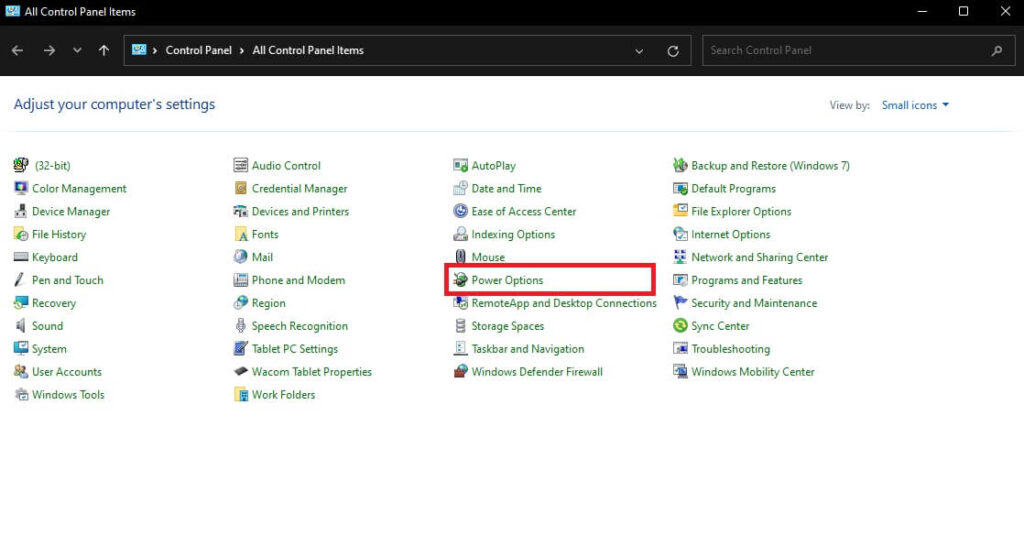
Step# 3
Choose Power Options from the Control Panel window.
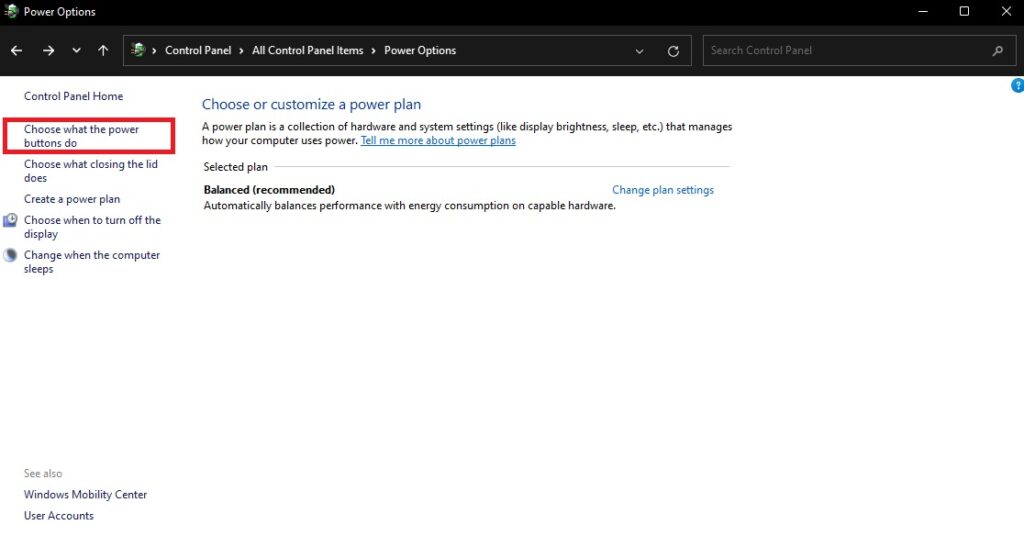
Step# 4
Select Choose what the power buttons do from the Control Panel window.
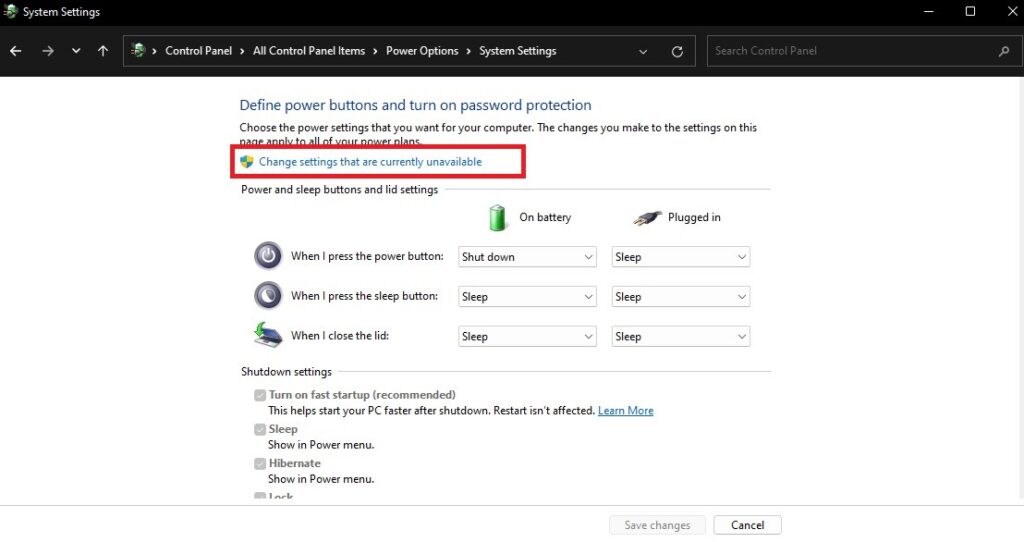
Step# 5
In the Power Options portion, press on “Change settings that are currently unavailable“.
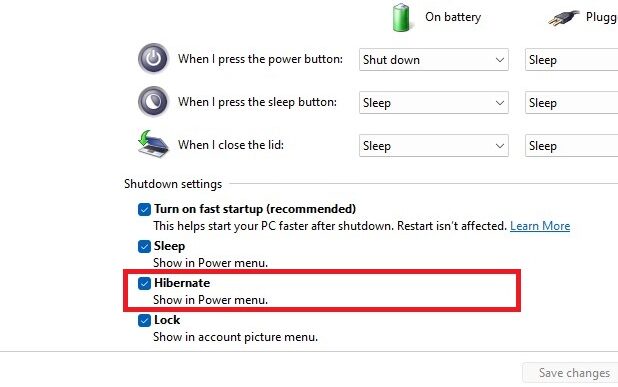
Step# 6
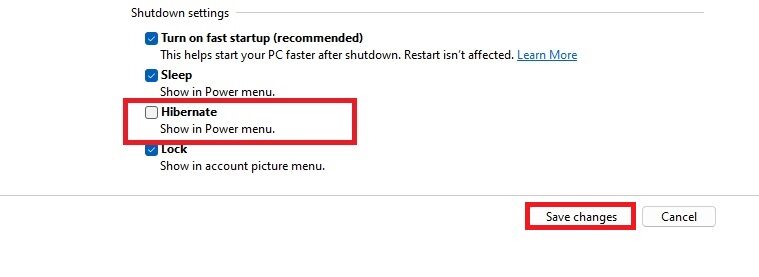
Under Shutdown settings, find the option for “Hibernate” and select it.
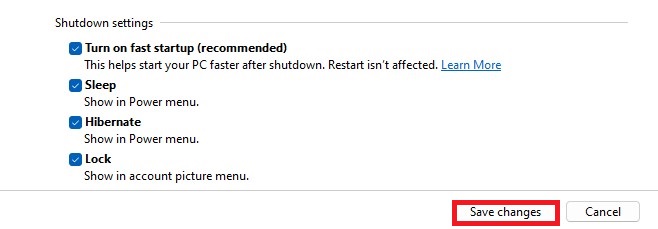
Step# 7
Click on “Save changes” to apply the changes.
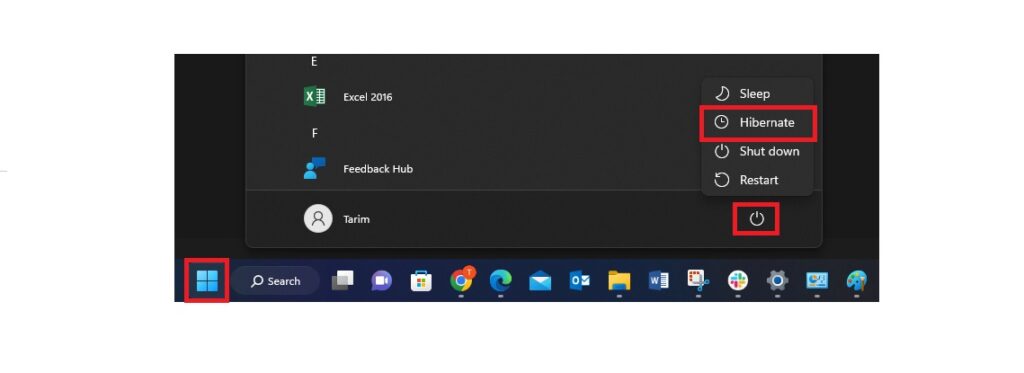
Finally, you can hibernate your PC using the Start menu or the Windows logo key + X combination on your keyboard.
Ultimately, by adding the hibernate option to the power menu, you can easily put your device to sleep at any moment. Simply open the Start menu and left-click the “On/Off” button. The hibernate option will now be available in the pop-up menu along with other choices such as Sleep, Shut down, and Restart.
Note: The steps may vary slightly depending on your Windows version and the configuration of your device.
Also Read: How To Enable The Widgets Toolbar In Windows 11
How to make a hibernation file in Windows 11 using the command prompt
If you are unable to enable the hibernation mode in Windows, it may be due to the hibernation file being missing. Thus, it can cause the “Hibernate” option to not appear in the Power Options. Hence, to resolve this issue, you can try creating the hibernation file manually using the Command Prompt. To do this:
Step# 1
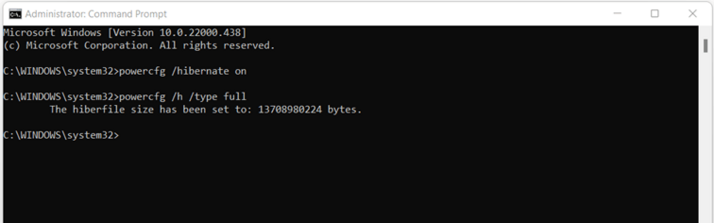
After searching Command Prompt and select Run as administrator.
Step# 2
Jot down the following command: powercfg /hibernate on, then Press Enter.
Also Read: How To Fix Kodi Not Starting In Windows 11
Step# 3
The hibernation file can now be created after activation on standby. To achieve this, write the following command: powercfg /h /type full
The prompt will show you a text after the file is successfully created that includes the number of bytes the file contains. Moreover, you need to put the tool away. If you completed the previous steps properly to activate Windows 11’s hibernation mode, “Hibernate” should now be visible in the Power Options.
This should create the hibernation file and enable the hibernation mode on your Windows device.
Windows 11: How to Remove Hibernate
You can remove the button from the power options and at any time disable Windows 11’s hibernation mode. To execute this, just open the power options as previously described, and uncheck the box next to “Hibernate”. Don’t forget to “Save changes”.
Also Read: Apps Won’t Restore In Windows 11- Issue Solved


