


 Header Through Cloudflare")


Do you want to downgrade from the latest macOS Monterey to Big Sur or Catalina? Then you’re not alone, as many users are doing the same. Earlier in 2021, Apple introduced Monterey with new features that looked very promising. The stunning design and upgraded apps inspired users to get the beta version of the operating system.
However, the thrill died down after the same users complained of instability and bugs. They all wanted to roll back to their older operating system, either Big Sur Catalina or Sierra. It happened somewhere around June-July when Monterey was not officially ready for release.
Later this year, Apple released the official version, and it was available for download widely. However, the same problem popped up for many users who could no longer stand the annoying bugs and loopholes.
From Final Cut Pro not working on sounding problems and Safari crashing constantly, users want to give up on Monterey for now.

Thus, if you too want to jump into the bandwagon after sending countless emails to the Apple Support team and sacrificing your weekends to travel to the customer care store, then this blog post is for you.
Must Read: How To Fix FCP 10.6 Not Working On MacOS Monterey?
What You Need To Downgrade From macOS Monterey To Big Sur?
Before we get started, it is important that you first create a bootable macOS Big Sur or Catalina install drive. Once you have it, take note of this. You have to boot off of that USB on both the M1 Apple Silicon Mac and an Intel Mac.
Furthermore, if your Mac is from 2015 -2017, you do not have the T2 security chip, and you can boot right to the USB installer with no issues. However, if your Mac is from 2018 – 2020 with a T2 security chip, you have to boot into recovery and turn off external boot protection. Only after that will you be able to download the Big Sur.
On an M1 mac, there are two ways you can do it. First, you can install it with a USB installer. Second, you can use a second mac and an IPSW file to downgrade it for under eight minutes.
It is a quick method, but most people do not have a spare mac to do that. Thus, if you too do not have a second mac, read further to do it with a USB installer.
Downgrade From Monterey To Big Sur: On An Intel Mac
Before proceeding with the downgrading process, you should back up your data using Time Machine. Later on, you have to erase all the existing data so a backup will keep your data safe.
Shut down the Mac and boot into recovery.
Step 1: Make sure that you plug in your USB installer beforehand and one version of Big Sur.
Step 2: Furthermore, click on the Apple icon and click on Restart.
Step 3: Click on Restart again while holding down the Option button on your keyboard.
Step 4: Give it a minute after the chime sound till the Boot picker selection screen appears.
Step 5: Furthermore, you will be able to see all your external bootable USBs.

If your Mac is from 2015 – 2018, you can directly boot into the installer. All you have to do is erase and reinstall macOS. However, if you are performing it on a 2018 – 2020 mac, you have to make sure that the external boot protection is off. Once that is off, you too can move directly to the installer.
How To Boot From The Installer?
Step 1: After selecting the installer, hold down the R command from your keyboard, and it will boot right into the internal recovery date.
Step 2: Furthermore, once you are in recovery mode, go to Utilities, and select Security Utility.
Step 3: Enter your administrator password and select Allow Booting from external or removable media. After that, you have to reboot by holding down the Option button on your keyboard.
Step 4: Furthermore, you will be in the selection screen where you can directly boot to your USB installer to Big Sur.
Step 5: Remember to verify the startup disk before booting to Big Sur. After that, you have to erase the disk and reinstall macOS Big Sur.
Read: How To Unlock AirPlay For Monterey On Mac?
Reinstall macOS Big Sur
Step 1: Click on Disk Utility and click on Continue. Tap on the data drive and click on Erase.
Step 2: Furthermore, click on Erase volume group and tap on Done.
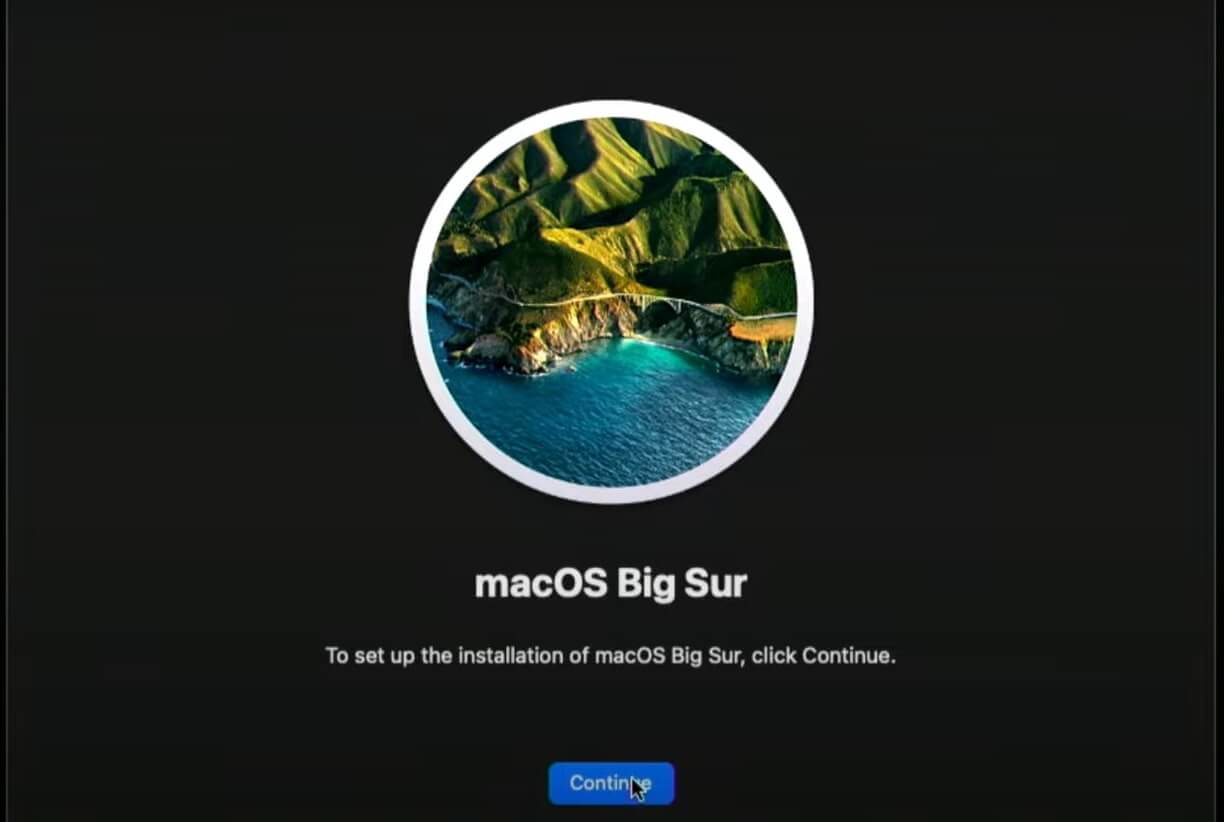
Step 3: Quit Utility and click on Install macOS Big Sur. Click on Continue.
Step 4: Moreover, click on Continue, Agree and tap on Agree again to confirm.
Step 5: Select Macintosh Hard Drive and click on Continue.
Step 6: Now wait for the download to complete and continue the login process.
By following this method, you can downgrade to macOS Big Sur if you want to return to Catalina or Mojave, the same process. The only difference is instead of Big Sur; you will have Catalina or Mojave in the USB installer.
Downgrade From Monterey To Big Sur: On M1 Apple Silicon Mac

There are two ways to downgrade from Monterey to Big Sur on an M1 MacBook. First, if you have a second mac, you can restore over DFU and Apple IPSW files within ten minutes. However, follow these steps if you don’t have a spare laptop to do the same.
Should Read: How To Install macOS Monterey On Windows PC?
Boot To macOS Recovery
Step 1: Go to the Apple icon and click on Shut Down.
Step 2: Hold down the power button after shutting down your Mac.
Step 3: After that, you have to power it back on. So wait for five seconds and hold down the power button. You should hear a chime sound, and the startup options appear.
Step 4: Furthermore, you can let go of the power button as you will see it load up all the options available on the boot screen.
Step 5: You will see the options appear first, and then it will load all the startup disks from the USB installer.
Step 6: Click on the version you want, 11.4 and click on Continue.
Step 7: After the download is over, tap on Continue again and click on Agree. Moreover, you have to click on Agree twice to confirm.
Step 8: Furthermore, click on Install macOS Big Sur and tap on Quit Installer macOS.
Step 9: Tap on Disk Utility and click on Continue.
Step 10: Click on Macintosh hard drive and then click on Erase. Tap on Erase again and finally click on Done.
Also Read: How To Install macOS Monterey On Unsupported Mac?
Downgarde From macOS Monterey To Big Sur
Step 1: Click on Disk Utility and tap on Quit Disk Utility. Wait for some time to activate the Mac.
Step 2: Furthermore, click on Exit to recovery and click on Continue.
Step 3: Agree to the terms and conditions by clicking on Agree. After this, you will find the highlighted selection to Macintosh HD.
Step 4: Tap on it and click on Continue. Wait for some time for the macOS USB to install from the USB to this internal drive.
Step 5: Moreover, it will reboot the installer and take you to the setup assistant.
Conclusion
There is a caveat to downgrading from macOS Monterey to Big Sur with a USB installer. After you do this, the Big Sur installer does not downgrade macOS recovery on M1 devices.
Thus, it would help if you booted it back to recovery, which you can do by going to the startup disk menu. Click on it, and you will see that Monterey detects the system installed on the main drive.
Therefore, even though you have installed macOS Big Sur on the main drive, macOS recovery is still the same Monterey.
It’s alright, but if you have to reboot into recovery in the future and reinstall again over the internet, it will bring back macOS Monterey.
At that time, the only way you could get back to Big Sur was with Apple configuration.
Read: How To Install macOS Monterey Using Oracle VirtualBox?


