


 Header Through Cloudflare")


Do you want to know how to get Handbrake for your MacBook so that you can convert video files? In this article, I will share why Handbreak is becoming increasingly popular and why every user should give it a try.
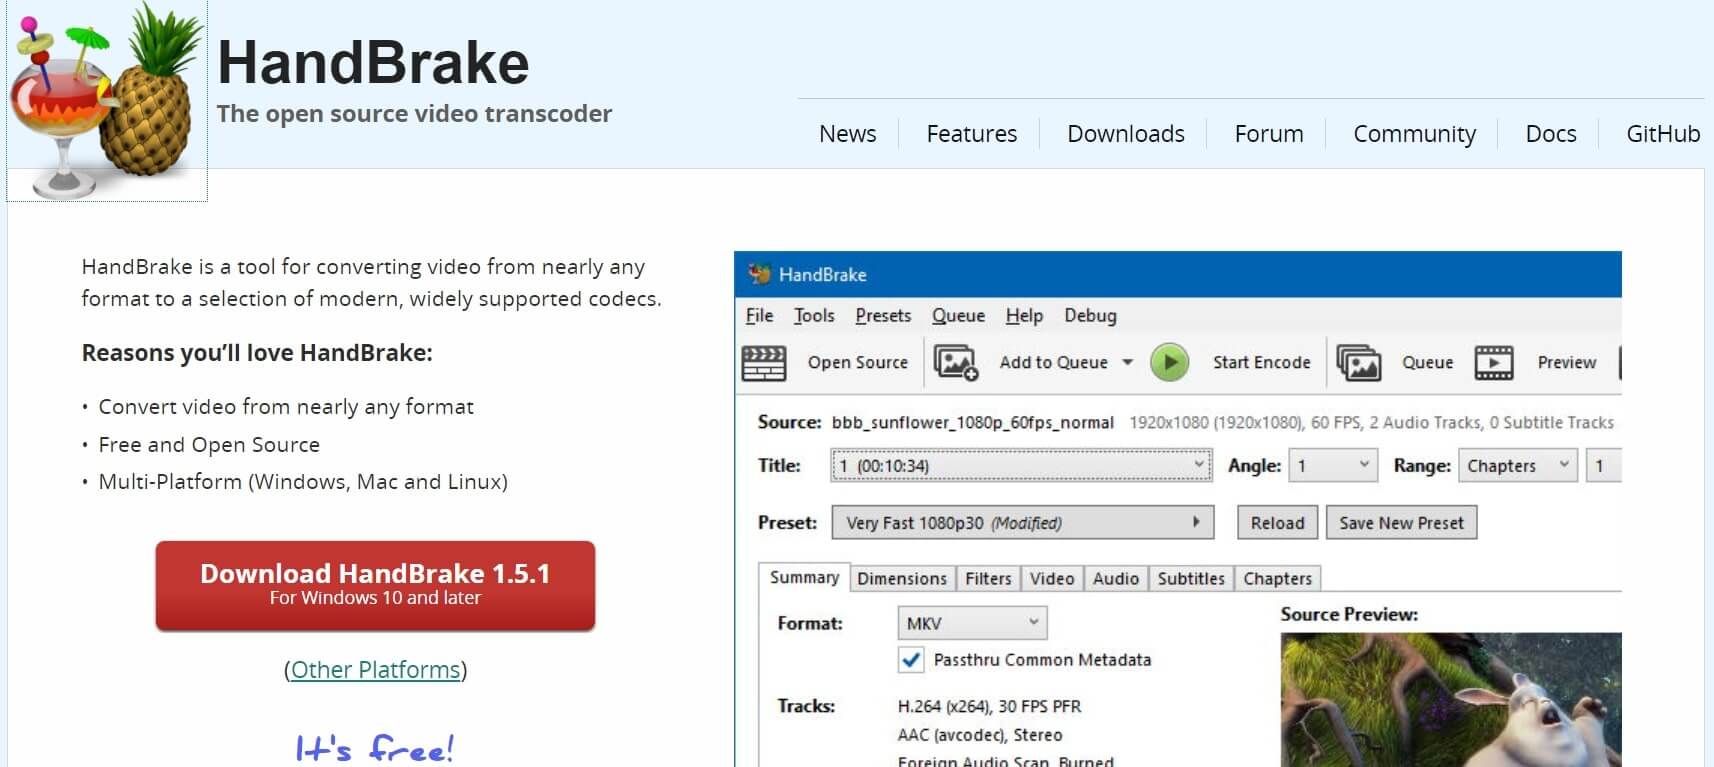
A handbrake is open-source software that is free to use for anybody. You don’t need to crack its code or pay a heavy sum of money to purchase it. Primarily you can use Handbrake to compress the file size of your videos without reducing the quality.
You can use Handbrake in all operating systems like Windows, Linux, Mac to create free videos. It is a handy tool that can convert a video from its original format to the one you want. Creators of this software say users can use it as a post-production tool.
Must Read: How To Run Emulator For M1 Macbook
Advantages Of Using Handbrake On Your MacBook?
The Handbrake software can do the following:
- Convert your original formatted videos to MP4 or MKV.
- Since subtitles are stored as text, it preserves them during the conversion process.
- Mixes a number of audio channels to produce a lower number of channels
- Crops video and resizes it to fit your requirement
- Passes through various audio files without needing to convert
- Interlace and telecine creates artifacts that need removing, which Handbrake can do
Misunderstandings About Handbrake For MacBook
Oftentimes, users think that Handbreak is equivalent to a video editor like iMovie or Adobe Editor. Below there are a few things that this software does not engage in.
- Create cocktails
- Offer Blu-ray, AVCHD, and DVDs.
- Does not let video pass without conversion to their smaller sized file
- Join/combine video clips into one large video file.
- It does not protect videos from plagiarism.
Moreover, Handbreak does not work for videos with Digital Rights Management or DRM.
How To Download And Install Handbrake In MacBook?
Step 1: Go to Chrome/Safari browser and type handbrake download. Tap on entering.
Step 2: Click on the first link to open. For mac, click on macOS (Download 64-bit).
Step 3: Furthermore, click on Start Downloading and tap on Open Folder after completing the process.
Step 4: Go to the downloads folder and double-click on the Handbrake exe file.
Step 5: Moreover, click on Next, again tap on Next. Now add it to your Applications folder by dragging and dropping it into it. It will start the copying process.
Step 6: Launch it by clicking on it. However, it is not from an identified developer, so right-click and choose Open.
Step 7: After that, it will provide you with a standard interface and ask you the source you would like it to convert.
Step 8: Therefore, if you already have the file you want to convert on your computer, choose it and click on Open.
Step 9: It will become a source, and Handbrake will scan it.
Step 10: Furthermore, it will give you a recommended destination with options to choose from the right-hand side.
The options include iPad, Apple TV, Android, Android tablet, Windows Phone etc. If you are an advanced user, you can also change
the format type video codec older codec insert subtitles picture setting preview window to check and see what you have created
Furthermore, when you have completed uploading the Video, click on Start from the top-left to start conversion.
Read: 5 Steps To Fix Crackling Sound From Apple TV App In M1 MacBook Pro 2021
How To Compress Video Files Without Losing Quality Using Handbrake In MacBook?

Step 1: Launch Handbrake and choose a video file from your computer.
Step 2: After the video is uploaded on the Handbreak software, select Web Optimized.
Step 3: Go to dimensions and select Cropping to Custom.
Step 4: Choose the top, left, right, and bottom dimensions to zero.
Step 5: Make your width and height to 720p or 1080p. Furthermore, go to Video and select Same as Source for Framerate.
Step 6: Adjust the quality of the video as per your requirement. Furthermore, if the Video is dark, you can slide it to the higher side. And if it’s high quality with bright lights, you can decrease it.
Step 7: Go to audio and set it according to the source video. However, if you want to compress the audio quality, you can set it low.
Step 8: After making all the changes, click on Browse and save it on your desktop or files. Give it a name and click on Save.
Step 9: Furthermore, click on Start Encode and wait for some time to finish the process. Once done, it will display a message at the bottom saying Queue finished.
Step 10: Now, you can open the new compressed video file and check if it’s working with your specifications.
Conclusion
In addition to these steps, here’s a tip. While using Handbrake, you need to remember that it is not for copying original videos and making them your own. If you do that, it might get a copyright claim and strict action against your content.
Furthermore, it is ideal for keeping your display as 22 on the slider scale unless you want to lower it down further. In that case, your Video will not be good enough to watch.
Should Read: How To Fix Macbook Air M1 Randomly Shutting Down Issue


