


 Header Through Cloudflare")


Taking screenshots is easy in the windows, but screen recording is not as easy as how you take the screenshot. You can easily screen record in Windows 11 with the built-in tool present in windows 11 even without downloading extra software or any third-party applications.
Also Read: 10 Best Game Screen Recorders For PC!
How To Screen Record On Windows 11 Without Downloading Software
Screen road With the Xbox Game Bar :
You have a built-in tool called Xbox Game bar which lets you take the screenshots and also the screen record MP4 videos. Xbox Game bar is available in windows 11 by default. It is mainly to record the gaming sessions, but it will also work on the apps and windows. There is only one app in which it does not work which is File Explorer and also when you are on your desktop.
Make sure you are not on your desktop. Open any window or the app you wish to record the screen other than the File Explorer. Press Windows+G together on your keyboard to launch or open the Xbox Game Bar. At the top of the window screen, the Xbox Game bar will appear.
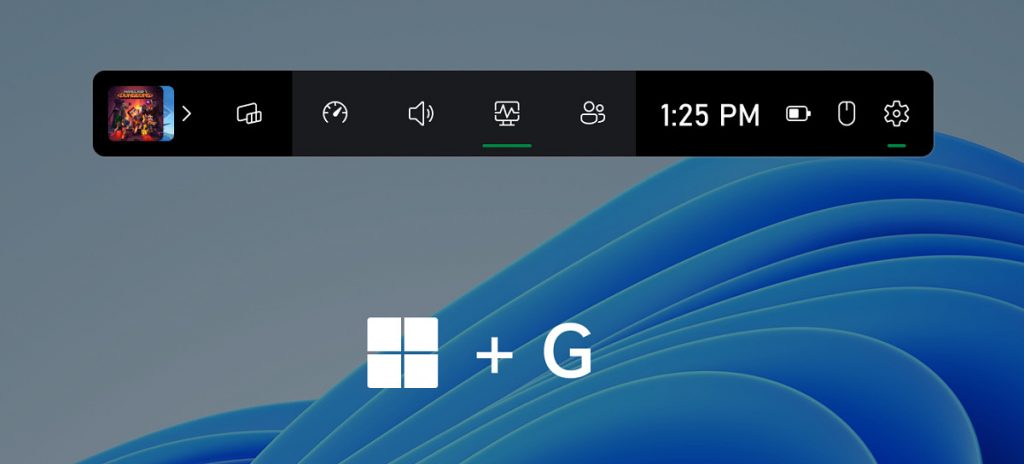
At the game, bar click on the Capture option which looks like a camera icon to capture the window.

If you cannot see the capture option, Click on the widget icon, and you will get a list of options. Click on the star icon beside the Capture option to make it the bookmark.

When you click on the Capture icon, you will get a floating pop-up window. Click on the Start Recording option to record the screen. It will start to record the screen. Make sure that the Microphone is turned on so that voice also will be recorded. You can also press Wind+Alt+R together on your keyboard after the Xbox game bar is open.

To stop screen record, on the floating pop-up window click on the stop recording option. This will automatically save the video file in your system. To see the captured window, click on the Show all captures which are present at the bottom of the floating pop-up window.

Also Read: XDA Basics: How To Record Your Screen In Windows 11?
Record the Screen on Windows 11 with Microsoft PowerPoint
Another method of recording the screen on your Windows 11 is through Microsoft PowerPoint. This is a very easy method. For students, this is very simple and they can easily record through Microsoft PowerPoint. Some school students get an office subscription for the Microsoft PowerPoint from their college or schools. This is not the built-in tool but this is from the same windows company, so this is safe to use to record the screen.
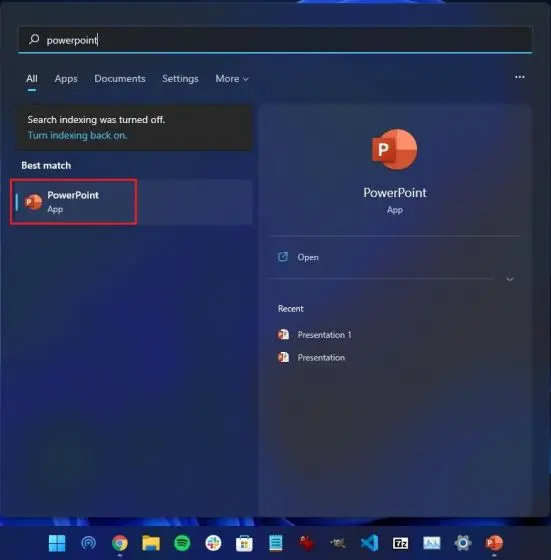
Click on the search bar and type for the Microsoft Powerpoint and click on open.
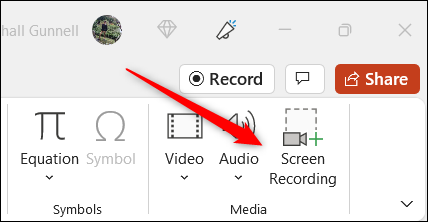
From the Menu bar click on the Insert tab. At the top right corner of the insert tab, search for the Screen recording and choose the screen recording option.
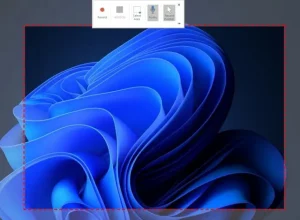
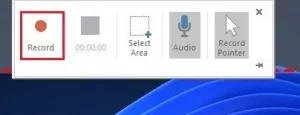
Now your PowerPoint gets close and a small pop-up window will appear. In right select the Record pointer option.

When you click on the Record Pointer, it will allow you to select the particular area in which you want to record on the screen. Just drag the mouse and select the area. The microphone is turned on by default. Here it will also allow you to record your own voice through the same method while you are recording the screen.
After selecting the area, choose the Record button on the pop-up box. If you want to stop recording just press win+Shift key+Q together on your keyboard. You can also choose the pause option and also resume it later by clicking the Play option. When you are recording the menu bar or the pop-up windows will be disappeared and when you want to again the menu bar just move your mouse to the top of the screen.
After you finish recording, the file will be automatically added to the PowerPoint Presentation. If you want to download the recorded video, right-click on the video and select the Save Media As option in the list.
Save Media As window will open. In the right sidebar choose the location or the file in which you want to save the file. The file will be saved and downloaded in MP4 format. Then at the bottom click on the Save button.

Conclusion :
This is how you can Screen Record in windows 11 Without the help of third-party applications or without downloading any other software. Just follow the steps mentioned in the article and you can easily screen record in your windows. I hope this article will clarify your doubt and you get the information you needed.
Also Read: https://www.hawkdive.com/10-best-game-screen-recorders-for-pc/


