


 Header Through Cloudflare")


If you can’t afford the smart speaker powered by Alexa, there is no need to be sad! It is possible to use Alexa on your Windows 11 PC. You can control your smart devices, set reminders, and do so much more with Alexa running on Windows 11.
In the modern world like today, Alexa needs no introduction. In case you were living under the rock, Amazon’s Alexa is the smartest digital assistant that you can ever have to help you get things done. This cloud-based virtual assistant comes with a smart speaker and lets you do so much! It can play music, remind you of the tasks, efficiently control the smart devices in your home and that’s not the end.
The essence of Alexa apps is the tasks that they can perform. To ask Alexa to do these tasks, you need to have its official app. Alexa is capable of performing tens of thousands of tasks like ordering food, playing games, listening to podcasts, and more. But this digital assistant does not always need a smart speaker to operate. With Windows 11 officially supporting the Android apps, it is now possible to operate the Alexa app on your PC as well.
Also Read: How To Add An Extra Taskbar To Windows 11
When you will operate the Alexa app from your Windows 11 PC, you can switch on or off the lights, turn on the smart devices and even change the lighting of the smart bulbs according to your choice.
If you think downloading and setting up the Alexa app on your Windows 11 PC is a complicated task, you are mistaken. Using the Alexa app on your PC is a piece of cake. So without much ado, let’s see how to get things done!
Also Read: How To Review And Delete Your Alexa History And Recordings
How to Download and Set Up Alexa on your Windows 11 PC
You need to download the Alexa App from the official Microsoft Store on your Windows 11 PC. Then you will have to set it up using your Amazon account. Let’s see how to do these tasks easily:
Firstly, you will have to launch the Start menu on your Windows 11 PC and type ‘Microsoft Store’. Click on the Microsoft Store app in the search result to open it.
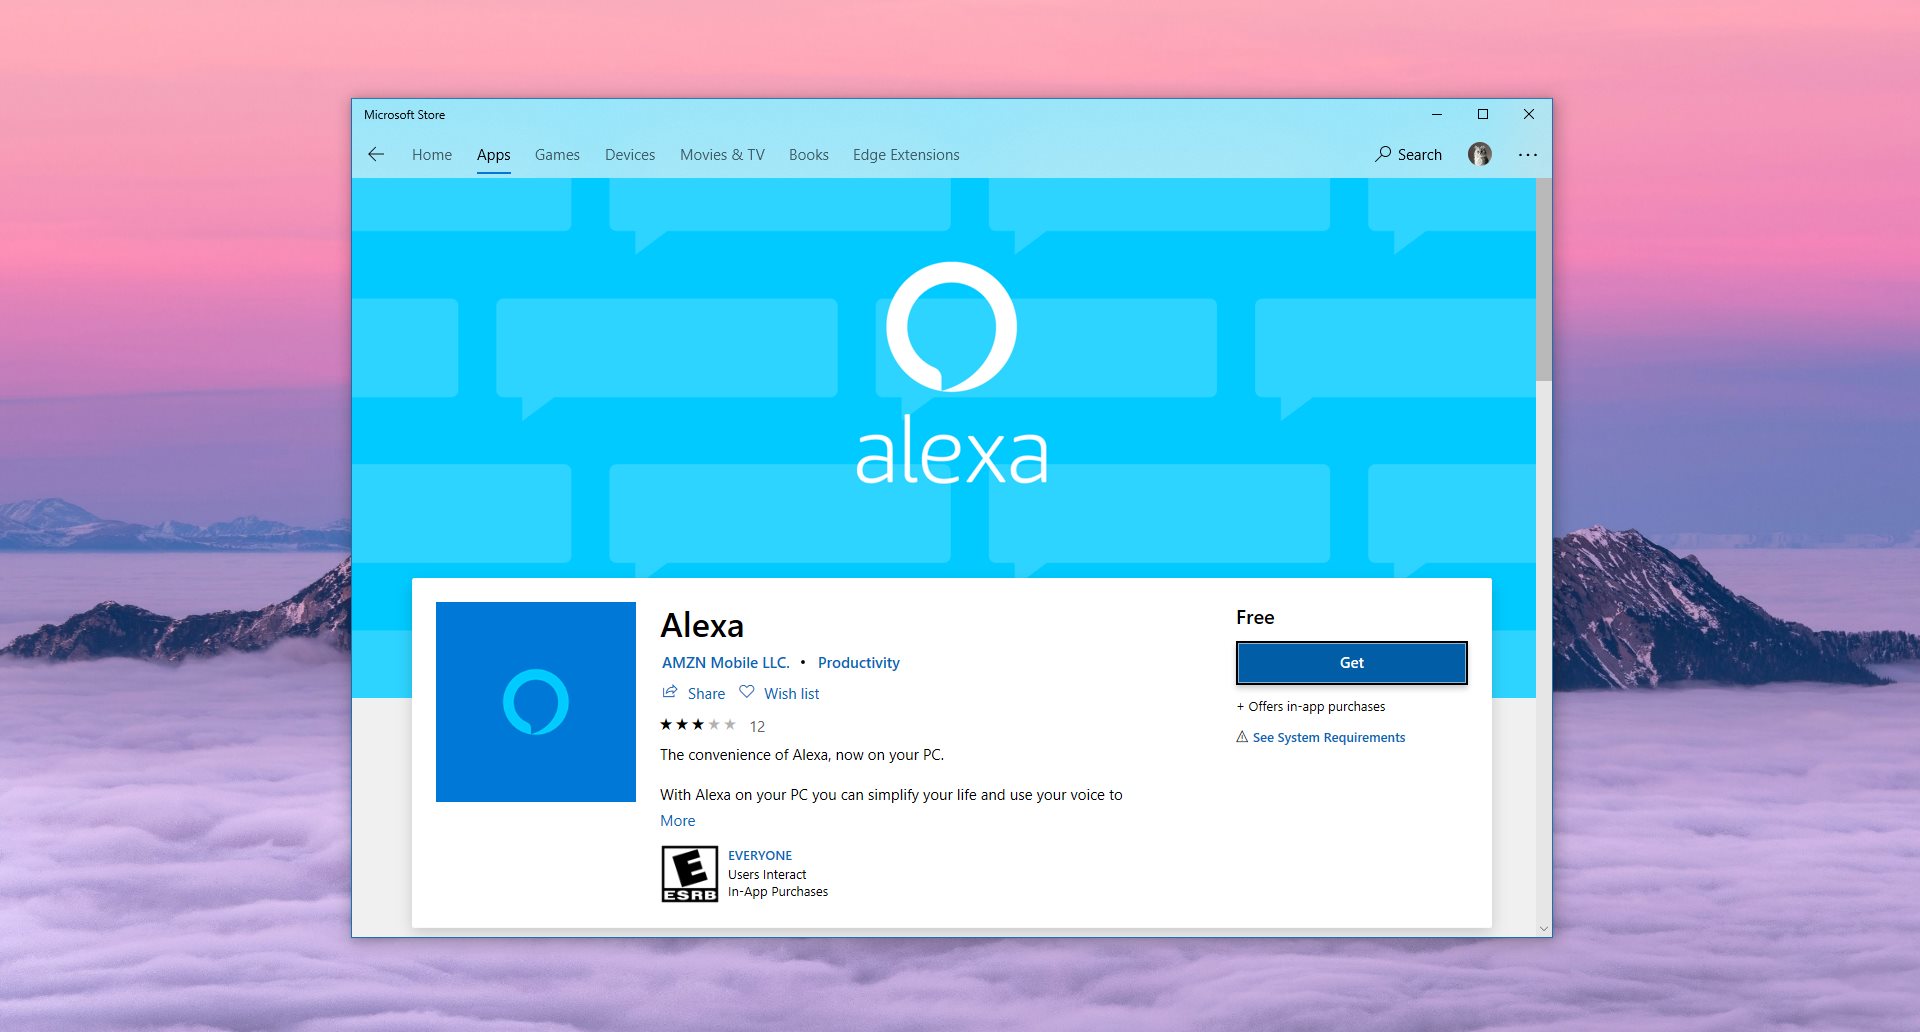
When in the Microsoft Store, look for the Search box. Now type Alexa here and press the enter key to initiate the search.
Now you will see the Alexa app in the search result. You will see a Get button on the Alexa tile. Press the button to begin downloading the app on your PC running on Windows 11.
Wait for the download to complete; it may take a few minutes depending on your internet connection. When the Alexa app is downloaded and installed, close the Microsoft Store.
Now go back to the Start menu and type Alexa in the search bar. Click on the Alexa App in the search result to launch it.
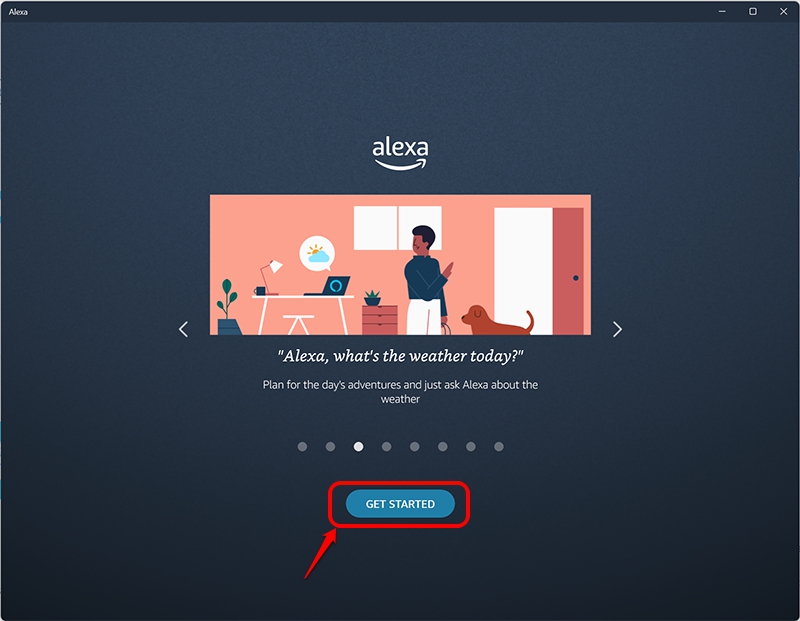
Press the Get Started button and begin setting up the Alexa app.
Now you will see the sign-in screen in the Alexa app. If you have an existing Amazon Account, enter its user id and password in the text box. If you do not have an account, press the ‘Create a new account’ and sign up for Amazon.
After successfully signing in to your account, press the ‘Agree & Continue’ button that you will see on the ‘Terms and Conditions’ page.

After this, a new page will open up. Here you need to turn on the switch for the ‘Wake Word’ if you want to use the ‘Alexa handsfree’ feature. When you decide to use Alexa hands-free feature, you can summon Alexa by saying a call word.
After enabling Alexa handsfree, press the ‘Allow’ button below to reach the next step of the process.
In the next step, you will get an option to pin the Alexa app in the taskbar. If you want to do it, tick the checkbox for ‘Pin app in the taskbar’.
Finally, click the ‘Finish Setup’ button to finish the setup process of Alexa.
A prompt will appear on the screen seeking permission to pin Alexa on the taskbar. Press the Yes button to give permission.
Also Read: How To Make Network Connections Metered On Windows 11
Use the Alexa App on your Windows 11 PC
Now that the Alexa app is set up on your Windows 11 PC, it’s time to make the best use of it.
When you will launch the Alexa app after setting it up, you will see a welcome note appear on the screen. Press the ‘Get Started’ button below it to go to the next screen.
Next, a pop-up will appear on your PC about the ‘Alexa Communications’. Press the Agree button to proceed to the new page.
Press the ‘Next’ button on the Alexa app to enable the Show Mode. This feature will turn your PC into a full-screen smart display. If you don’t want to enable the Show Mode, hit the X icon that is present on the right corner.
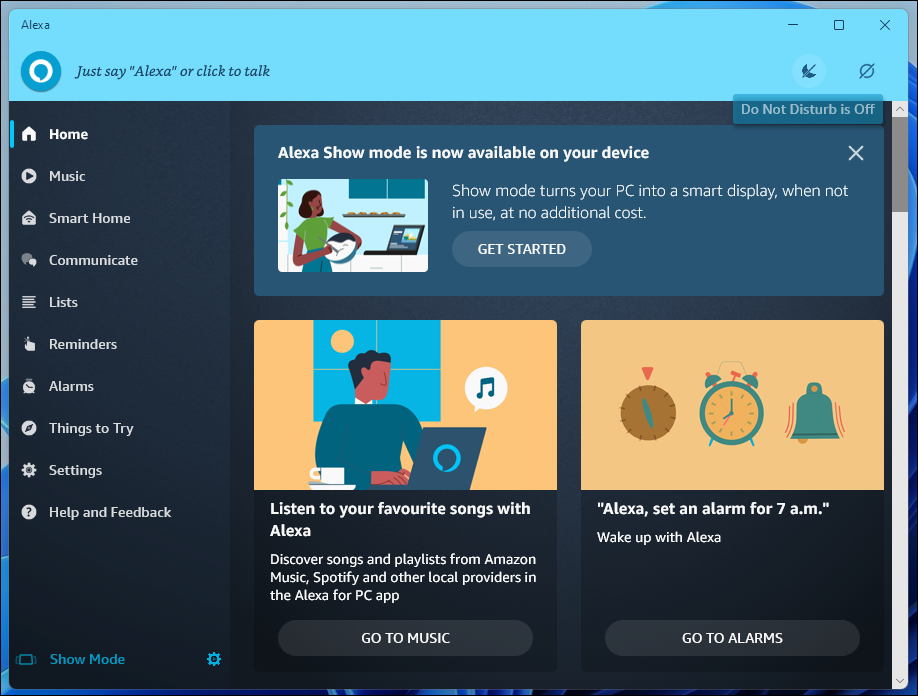
Now if you’ve enabled the ‘Show Mode’ on the previous screen, you will see the ‘Show Mode Settings’ on the next screen.
Press the ‘Enable Show Mode’ to access the home screen of the Alexa app.
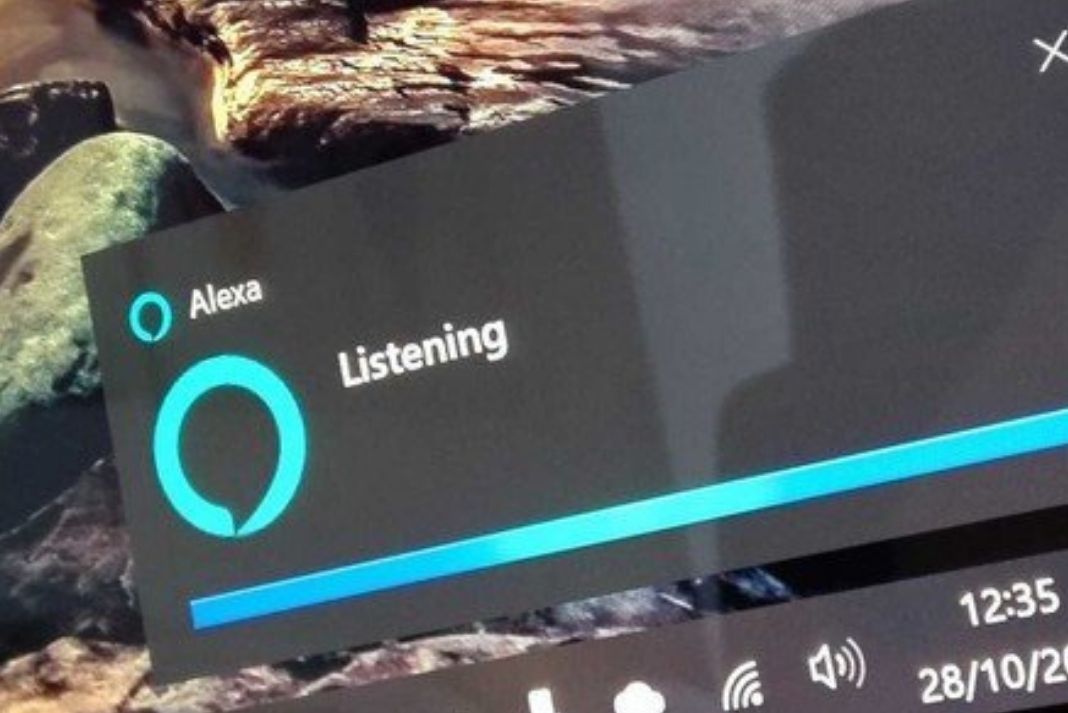
If you’ve turned on the hands-free virtual assistant mode of Alexa, you need to say the word ‘Alexa’ followed by the command that you’ve specified in the ‘Wake Word’ option.
In case you have not configured Alexa as hands-free virtual assistant mode, click the Alexa icon on the left corner and start speaking.
If you want to set an alarm or a reminder on your PC, say something like, “Alexa, set up an alarm for 10 AM tomorrow”. Similarly, to set up the reminder say “Alexa, remind me to get groceries at 10 PM today“. When you will say these phrases, Alexa will set up the alarm for the said time and it will remind you at the exact time you’ve mentioned.
To confirm the action, go to the alarm and reminder tab of the Alexa app and you will see the alarms and reminders in the list.
How to modify the Alexa Settings on Windows 11 PC
It is also possible to tweak the settings in the Alexa app according to your requirements.
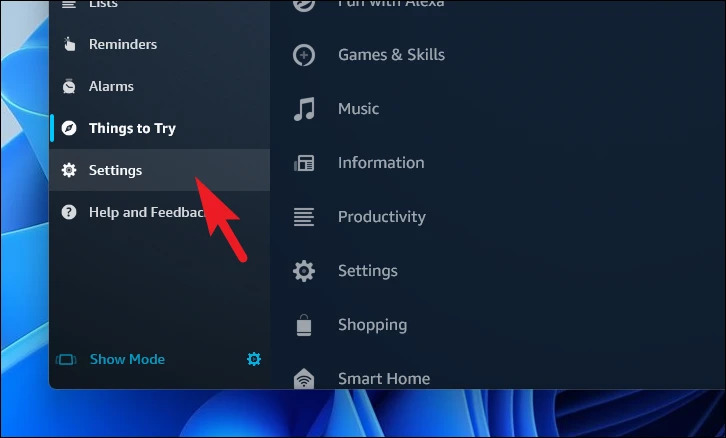
If you are not happy with the current settings, move to the Settings tab in the left pane of the Alexa app.
If you want Alexa to work even without unlocking your PC, go to the ‘Alexa on PC’ section.
Keep scrolling and look for the ‘Wake Word’ category. Now turn on the toggle for the ‘Respond while locked’ option present in the right corner.
It is also possible to enable/disable the sounds in the Alexa app. To do so, go to the Alexa on PC tab and then go to the ‘Apps Sounds’ section.
Now move the switch next to it to the off position. If you want to disable both the sounds, the one before and after requesting Alexa, tick the check box for both of these options you see here.
If you want to turn on the ‘Drop In’ feature on your Windows 11 PC, go to the communication category in the Settings tab. Now turn on the toggle for the Drop-In future.
Finally, if you want to log out of the Alexa app or want to use the app with any other Amazon account, keep scrolling downwards until you reach the ‘Amazon account’ tab.
Now click on the ‘Sign Out’ button present here to log out of the current account.
Conclusion
That’s pretty much it! So that’s how you can use the Alexa app on your Windows 11 PC. As you can see, installing and setting up the Alexa app on your PC is pretty straightforward. With this, signing off.
Also Read: How To Install RSAT On Windows 11 PC


