


 Header Through Cloudflare")


In this comprehensive guide, we have explained the step-by-step process to use iMessage on Windows 11 if you have an iPhone. It’s finally possible to stay in touch on a Windows 11 using iMessage! It has always been frustrating for iPhone users who use Windows computers because they need a strong ecosystem for these products. Windows users, unlike Mac users, could not respond to phone messages directly from their computers without interfering with their work; instead, they had to grab their iPhones. Up until this point. However, Windows 11 users no longer have to deal with these letdowns.
You can now use iMessage on your Windows 11 PC and the Intel Unison software to sync your iPhone with it. Come on, let’s get started.
Also Read: How To Change Text Cursor Blink Rate in Windows 11
iMessage for Windows 11
A platform called “iMessage for Windows” allows you to connect your iMessage services to a Windows computer. In the past, iMessage was only accessible with a Mac computer.
However, we have a few methods through which you can install iMessage on your Windows 11 device. After that, you’ll be able to send and receive messages on a Windows laptop or computer.
Note: Exclusive to Apple only! The iPhone, iPad, and Mac are the only platforms supporting Apple’s iMessage. They don’t create software for other customers. There are unofficial alternative ways to obtain iMessage for Windows, so don’t worry. Let’s learn how to download and utilize iMessage on Windows now!
Method 1: Intel Unison
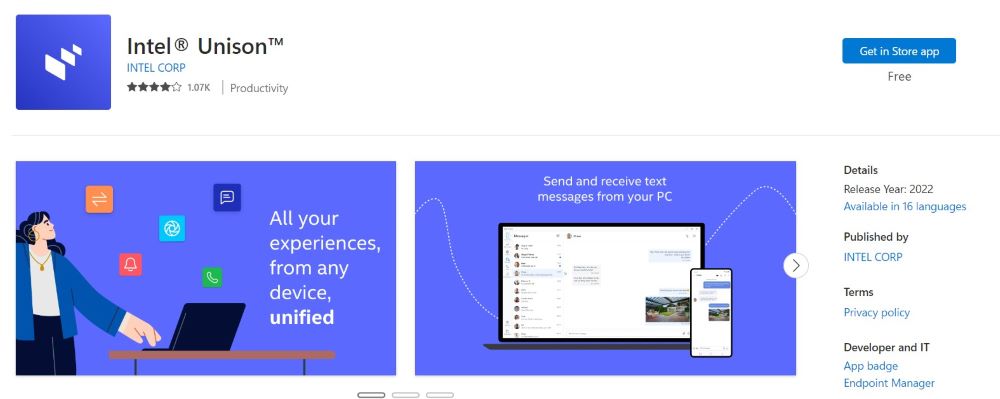
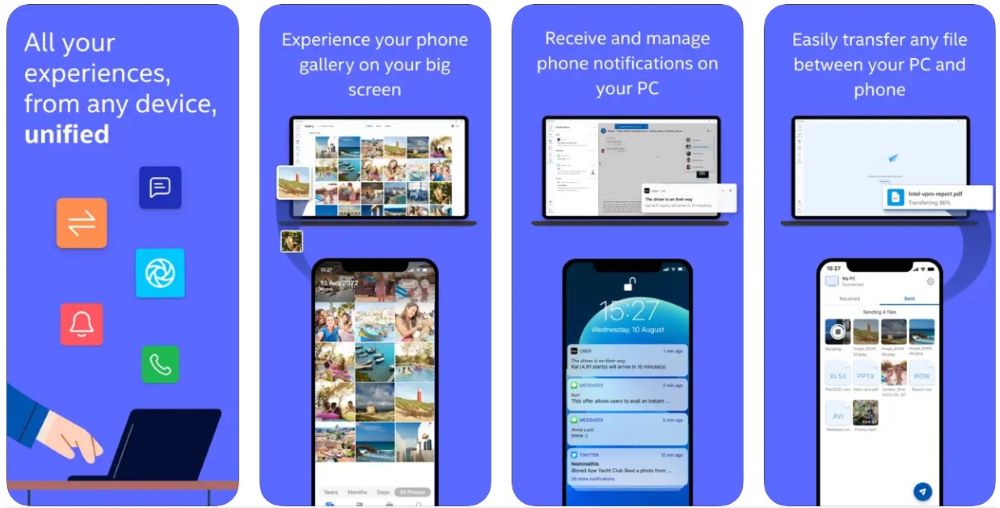
You can now use iMessage on your Windows 11 PC and sync your iPhone using the Intel Unison program. You can share files on your Windows 11, send and receive messages and notifications, and use Intel Unison.
Although the Windows “Phone Link” app currently fulfills the same function, it didn’t manage to sync the computer with iOS-based phones. Fortunately, Intel Unison flawlessly eliminates these issues.
You must now install the software on both devices and pair them to use iMessage on your Windows 11 PC. You may finish the process quickly if you follow the directions below.
Also Read: How To Turn On or Off Hide Pointer While Typing in Windows 11
Download and Install Intel Unison on Windows 11
On the Microsoft Store, you may get the Intel Unison app. However, using the Store app’s search feature might not be possible in some nations. If that applies to you, you must visit the website and download the app.
- Launch your browser and navigate to apps.microsoft.com/store/intelunison first.
- Click the “Get in Store app” option after that. Your screen will display an alert as a result.
- Click the “Open Microsoft Store app” button after that. This will cause your PC to launch the Store.
- To download and install the software on your PC, click the “Get” button now.
- Launch the software on your Windows PC next, and then select “Accept & proceed.”
- Now, you may decide whether to share statistics anonymously by clicking the “Allow” button or the “Don’t Allow” button. The pairing page will now be available after Unison successfully installs it on your PC.
- To access your Contacts, Photos, Local Network, and Bluetooth, the app would now need your permission. The “Let’s go” button must be tapped to grant access. This will sequentially display several alerts on your screen.
- Tap the “OK” button after that from the alert.
- Click the “Allow Access to All Photos” option after that. Tap the “Select Photos” button to access specific photos.
- Afterward, select “Allow” or “Don’t Allow” to proceed. The choice is entirely yours, and it has no impact on the user experience.
Also Read: How To Save Windows Spotlight Images In Windows 11
Install Unison on your iPhone
Unison is just as quick and straightforward to download from the Software Store as any other app. Start by going to the App Store on your device, either from the Home Screen or the App Library.
- To proceed, click the ‘Search’ tab in the bottom right corner.
- Then, enter “Intel Unison” in the search box and press “Search” on the on-screen keyboard.
- To download the app on your smartphone, click the “Get” option in the search results and authenticate.
- Now open the Intel Unison app on your iPhone and select “Accept & Continue” from the menu.
- Afterward, select “Allow” or “Don’t Allow” to proceed. The choice is entirely yours, and it has no impact on how the user experience.
- To access your Contacts, Photos, Local Network, and Bluetooth, the app would now need your permission. The “Let’s go” button must be tapped to grant access. This will sequentially display several alerts on your screen.
- Tap the “OK” button after that from the alert.
- Click the “Allow Access to All Photos” option after that. Tap the “Select Photos” button to access specific photos. Afterward, select “Allow” or “Don’t Allow” to proceed. The choice is entirely yours, and it has no impact on the user experience.
#2. Connect your iPhone to a Windows 11 computer
It’s straightforward to connect your iPhone to a Windows computer. All you have to do to connect your iPhone to the computer is provide your iPhone with the necessary rights and either scan a QR code or enter a text-based code.
- Before continuing, make sure your Windows computer and iPhone are Bluetooth-enabled.
- Once you’ve permitted everything on your iPhone, tap the “Scan QR code” button. Click the “Use text code instead” option if not.
- Use your iPhone to scan the QR code on your Windows PC’s screen, or use the “Use text code instead” button.
- Enter the text-based code on your screen in the iPhone companion app if you choose that option.
- After that, click the “Confirm” button on your Windows PC to confirm the device link.
- You will get a notification on your iPhone when the pairing is successful; tap ‘Allow’ to continue.
- After that, open the Settings app on your iPhone and select the “Bluetooth” option.
- To continue, hit the I icon on the linked Windows PC tile.
- Then, to ensure you receive all notifications from your PC, turn on the toggle for the “Show notifications” option.
Sending iMessage from a Windows computer
Sending iMessages should be simple once you’ve granted all the required permissions and synced your iPhone with your Windows machine.
- Click the “Send messages” tile on your Windows Unison app’s home screen.
- If you are getting a message asking you to allow Bluetooth notifications, click “Approved.”
- If no discussions are open, select the “New conversation” icon to start a new one.
- Then, on your keyboard, input the contact name you want to send an iMessage to.
- Now type the message into the text box and send it.
You have now successfully sent an iMessage using a Windows computer from your iPhone.
Also Read: How To Add Or Remove Hibernate On The Power Menu In Windows 11
Other ways of downloading iMessage for Windows 11
There are more complex ways to use Apple’s iMessage on a PC. Although there isn’t a standalone iMessage app for Windows, there are numerous workarounds you can try to use iMessage on Windows 11. Some below-listed tips may require a Mac, while others may require payment.
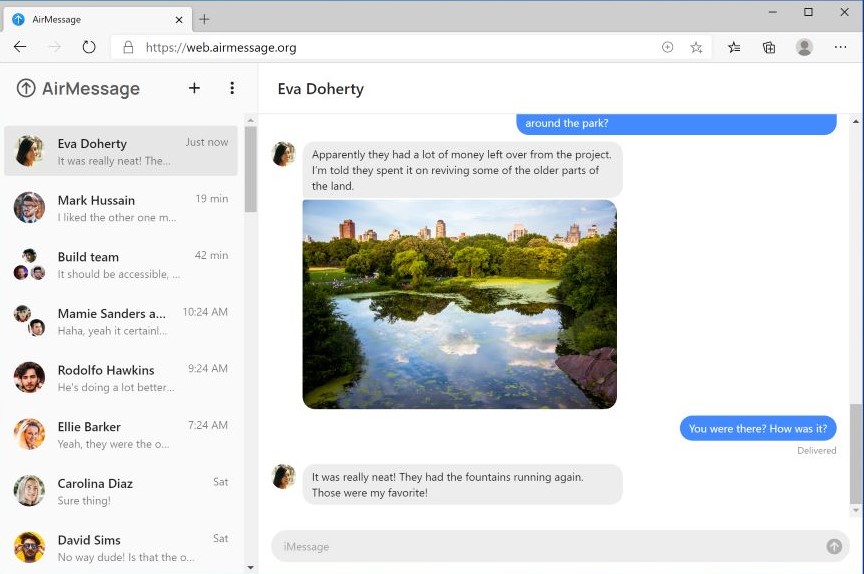
AirMessage Web
Any current PC browser can be used to access iMessage on Windows 11. All you have to set up an AirMessage server on your MacBook, connect it to your Google Account, and you’re done. Launch Airmessage Web and sign in using a Google account to access iMessage. Using AirMessage Web, you may send, receive, and exchange messages.
Chrome Remote Desktop
Follow these steps to use iMessage on a Windows computer.
● On a Windows 11 computer and a Mac computer, download the Chrome Remote Desktop Chrome Extension.
● On both Mac and Windows, add the CRD Extension to Chrome.
● To access the remote access website on both PCs, click the CRD icon.
● Download the Remote Access file for Windows or Mac from this page.
● Put Chrome Remote Desktop Host.pkg on your Mac computer.
● On a Windows PC, install the Remote Access file similarly.
● In Mac, activate Remote access, enter a pin, and finish the setup.
● Generate the Access Code by selecting Remote Support.
● Go to the Remote Support tab in Windows and enter the access code produced on the Mac.
iMessage can now be accessed remotely on a Windows computer.
Also Read: The Galaxy Book3 Series, Samsung’s Latest Flagship Windows 11 PC Lineup
Utilizing the Cloud Service Cydia
The iOS smartphone and Windows 11 must be connected to the same Wi-Fi. Using Cydia is a different method for downloading iMessage on Windows. A jailbroken iPhone is required for this technique.
It is possible to bypass the limitations that Apple places on its chipsets with an iPhone that has been jailbroken. Therefore, you can use iMessage on your Windows 11 computer if you have a jailbroken iPhone.
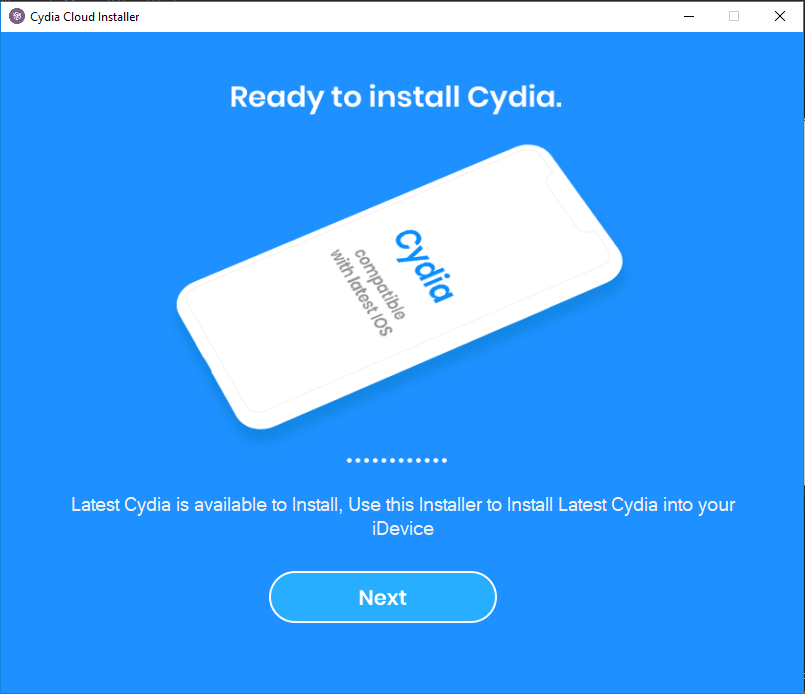
● On your iOS device, go to CydiaFree.com and download Cydia.
● To enable a new profile after installation, visit Settings and navigate to General.
● Enter your username and password.
● Now enter the IP address into the web browser on your computer.
● To finish the setup, click Enter and enter the login and password.
Now, you can connect on iMessage for Windows 11.
Also Read: 8 Best Fixes For Windows 11 PC Going To Sleep Randomly
Conclusion
Customers have been waiting for a long time for the ability to connect their iPhones to their Windows PC. Users will finally be able to enjoy seamlessness across these devices thanks to Intel, who introduced Unison into our life and made sure that the app is fluid.


