


 Header Through Cloudflare")


NTFS or New Technology File System is a widely used format to read and write files on Windows. Mac users, however, can only read an NTFS formatted drive but cannot do anything beyond that. Thus, in today’s blog post, we will discuss how to go about tackling this issue so that you can use an NTFS formatted drive on your macOS Big Sur.
Also Read: How To Use SharePlay In FaceTime On iPhone
1. How To Write On A NTFS Formatted Drive On MacOS Using Terminal?
Even though Apple has brought in a number of changes and upgrades to its operating system, it has not done much to use an NTFS drive. However, if you follow these steps, you can use the New Technology File System to read, write and manage your files.
Step 1: Open the Terminal and copy the command Sudo nano/etc/fstab and paste it.
Step 2: The command prompt will ask for your administrator password. Enter the password correctly.
Step 3: Furthermore, it will open a new window. In this, you have to copy the second command, which is LABEL = NAME none NTFS rw.auto.nobrowse.
Step 4: Now, replace the word NAME with the name of the NTFS drive you want to write.
Step 5: Save the command by pressing Ctrl + O and then tap on the Enter key.
Step 6: Moreover, you can exit by pressing Ctrl + X.
Step 7: Eject the USB drive and reconnect it.
Step 8: Click on Go from the desktop screen and select Click on the go to folder.
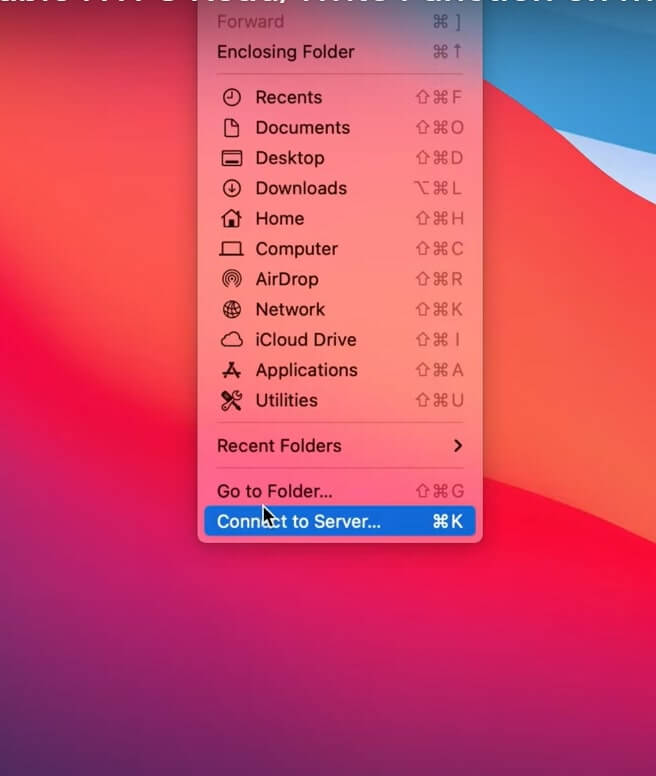
Step 9: Enter /volume in Go to the folder dialog box. And tap on the Enter key.

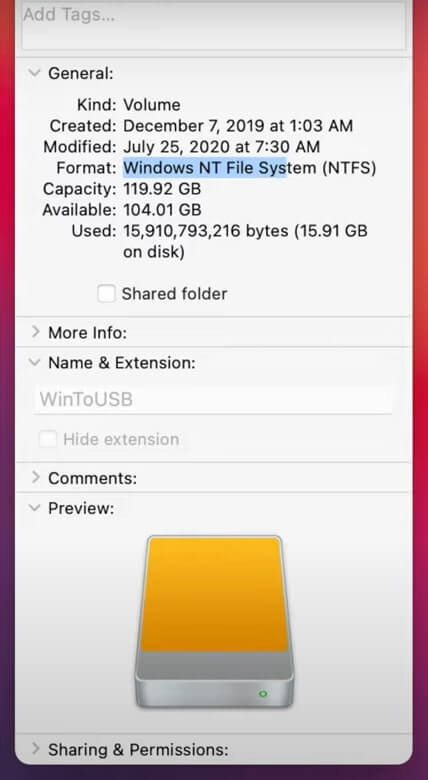
Step 10: Now, you will see your file next to Big Sur and Hard drive. Open your drive and right-click on the space.
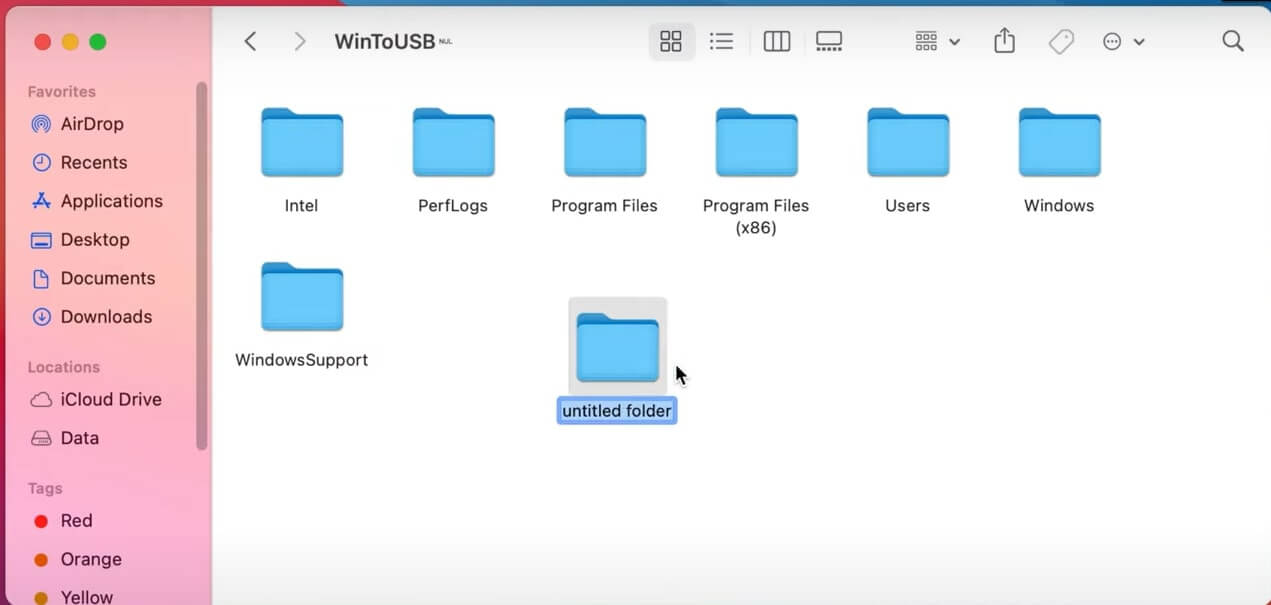
Thus, you will get the option to create a new folder. Now you can go ahead with creating as many folders as you want or copy-paste and edit.
Also Read: How To Fix Mac Black Screen Of Death?
Additional Tip For Mac
Moreover, this is your sure shot solution to making the NTFS files writable on macOS Big Sur. In addition, if your external drive is not responding or malfunctioning after pressing this command, remove the command from the fstab file.
You can do this by going to the Terminal again, typing the same command we discussed above, and entering the administrator password. Remove the second command you entered before and save by clicking on Ctrl O. Furthermore, press Ctrl X4 to exit.
Also Read: How To Set Up A VPN On Mac In 2021?
2. Reformat To exFAT/Fat32
Even though you cannot write on NTFS files directly, mac OS Big Sur can write on exFAT/FAT32 files. Follow the steps below to concert the NTFS drive to one of these.
Step 1: From the NTFS drive, copy the files you want to write.
Step 2: Go to Finder and select the Applications folder. Moreover, select Utilities and Disk Utility under this section.
Step 3: From the left side panel of Disk Utility, tap on NTFS.
Step 4: From the menu, click on Disk Utility.
Step 5: A drop-down menu will appear. Choose exFAT or FAT32. Then click on Erase.
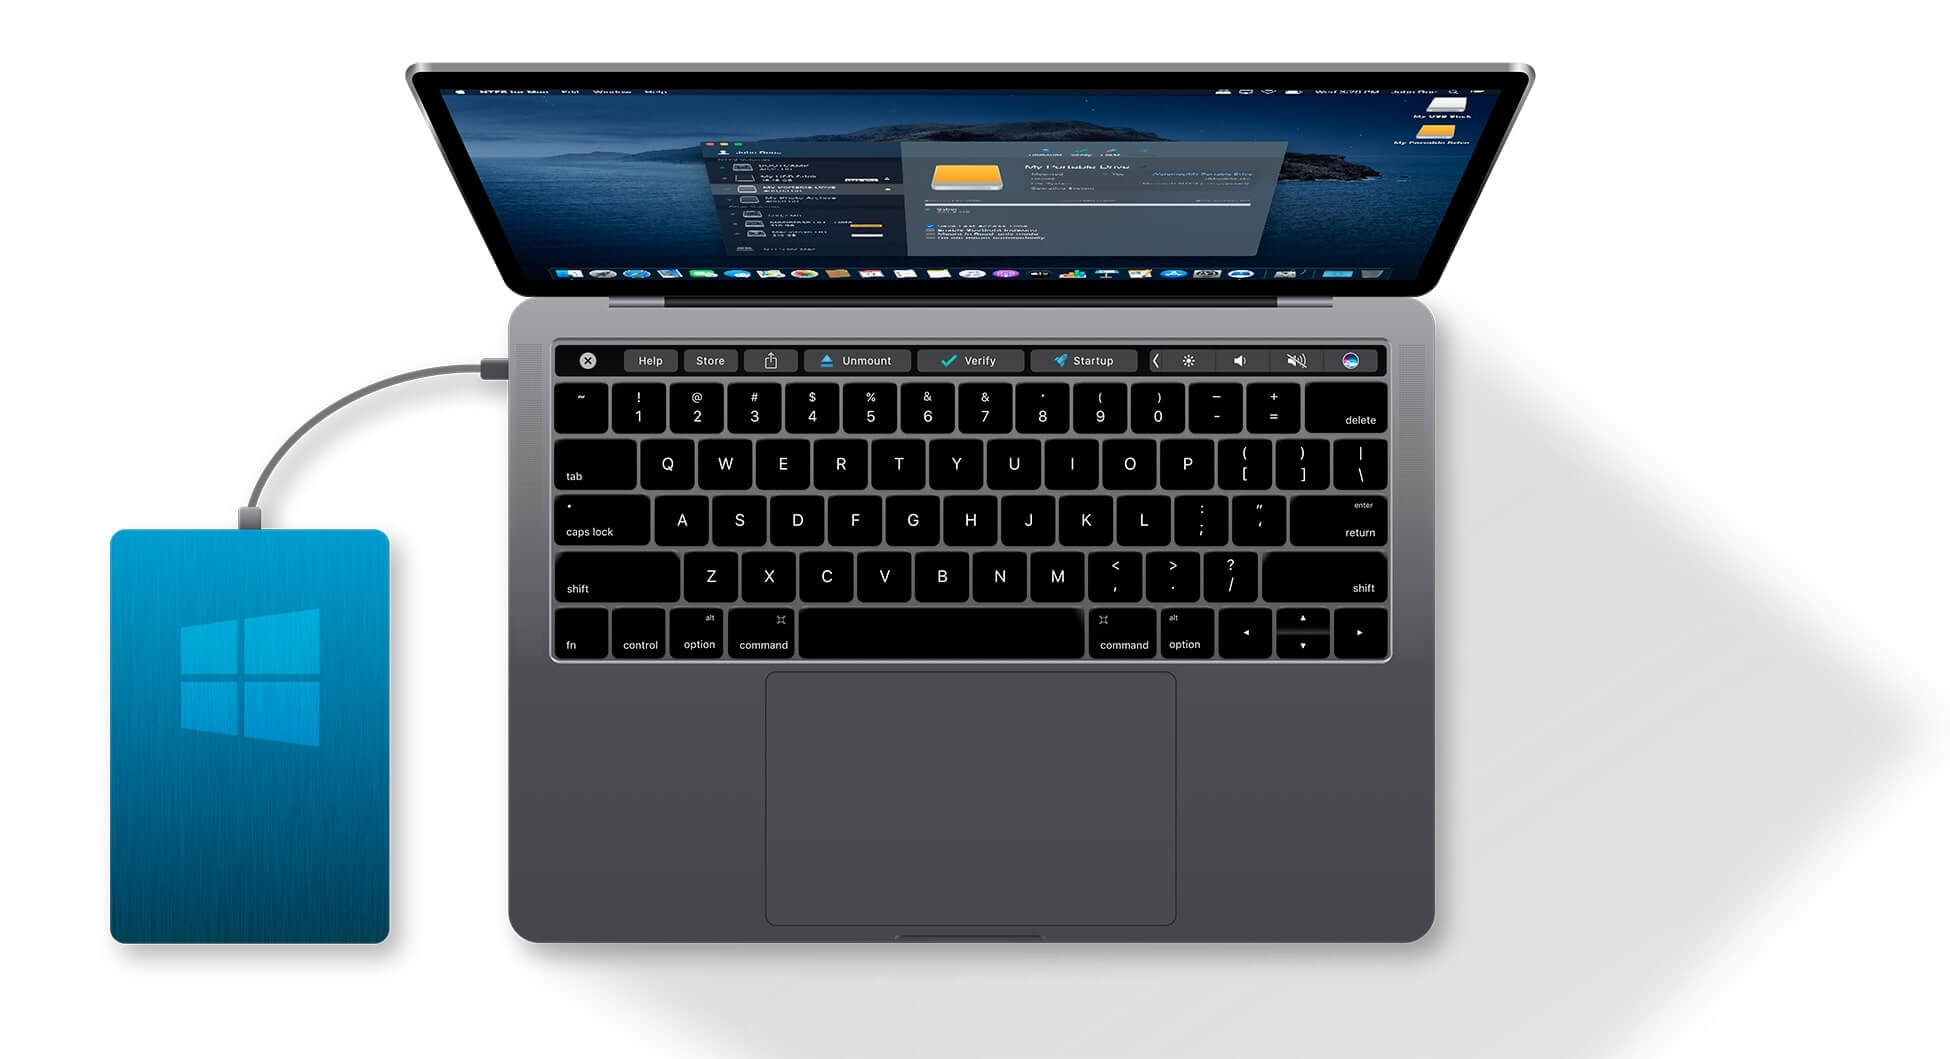
3. Use Third-Party NTFS Files For MacOS Big Sur
Apart from the above two methods, third-party NTFS software can help read and write such files. It is easy and quick, while the other two are slightly complex and time-consuming, in my opinion.
So let’s check out a few software that is currently available in the market.
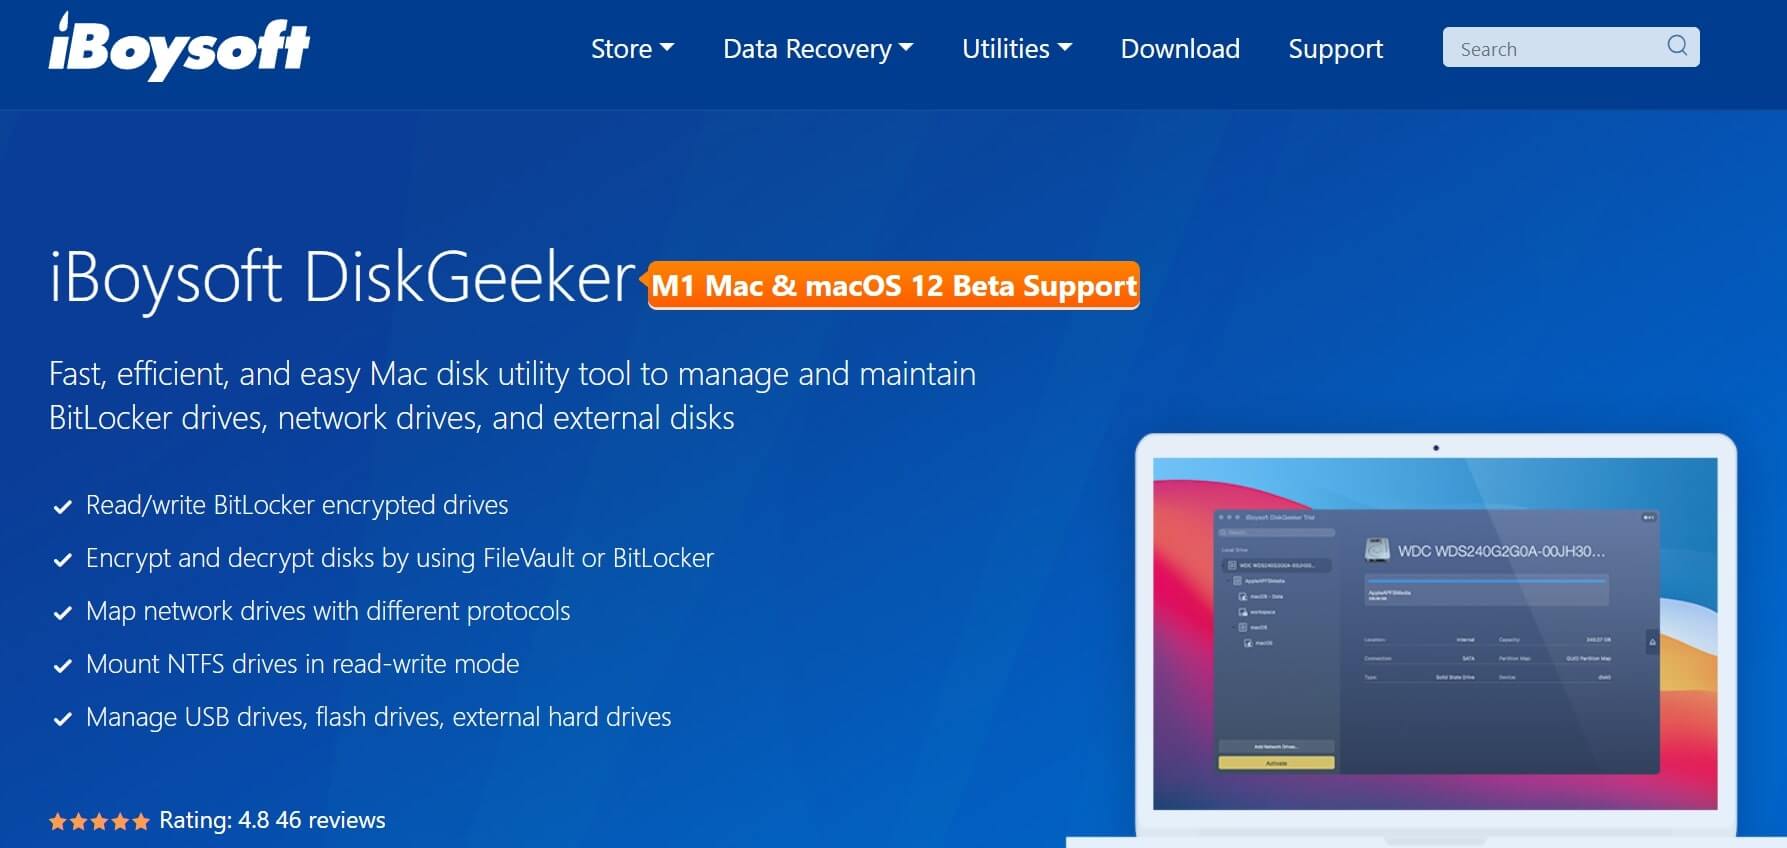
- iboysoft.com: This software can efficiently help copy, delete, edit, and transfer NTFS files between mac OS Big Sur and Windows. Moreover, it does all of this without reformatting the drive.
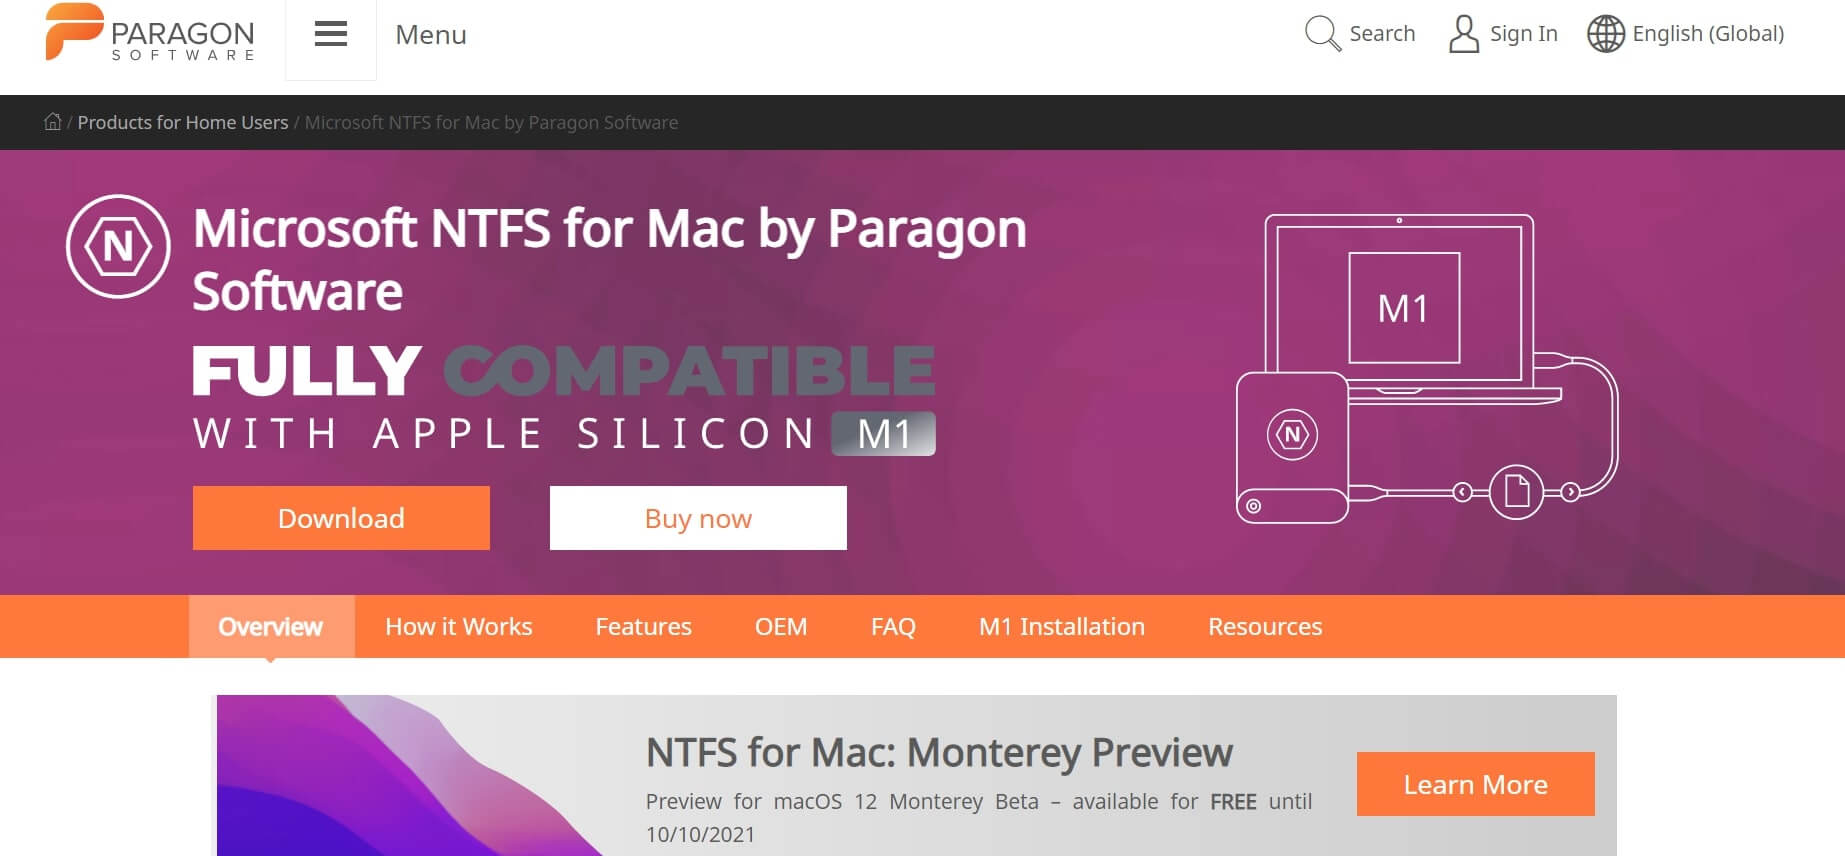
- Paragon Software: It is six times faster than any other NTFS software in the market and comes with powerful features. You can transfer data safely without any hassle. Moreover, it supports not only the latest macOS version but also all other older mac versions.
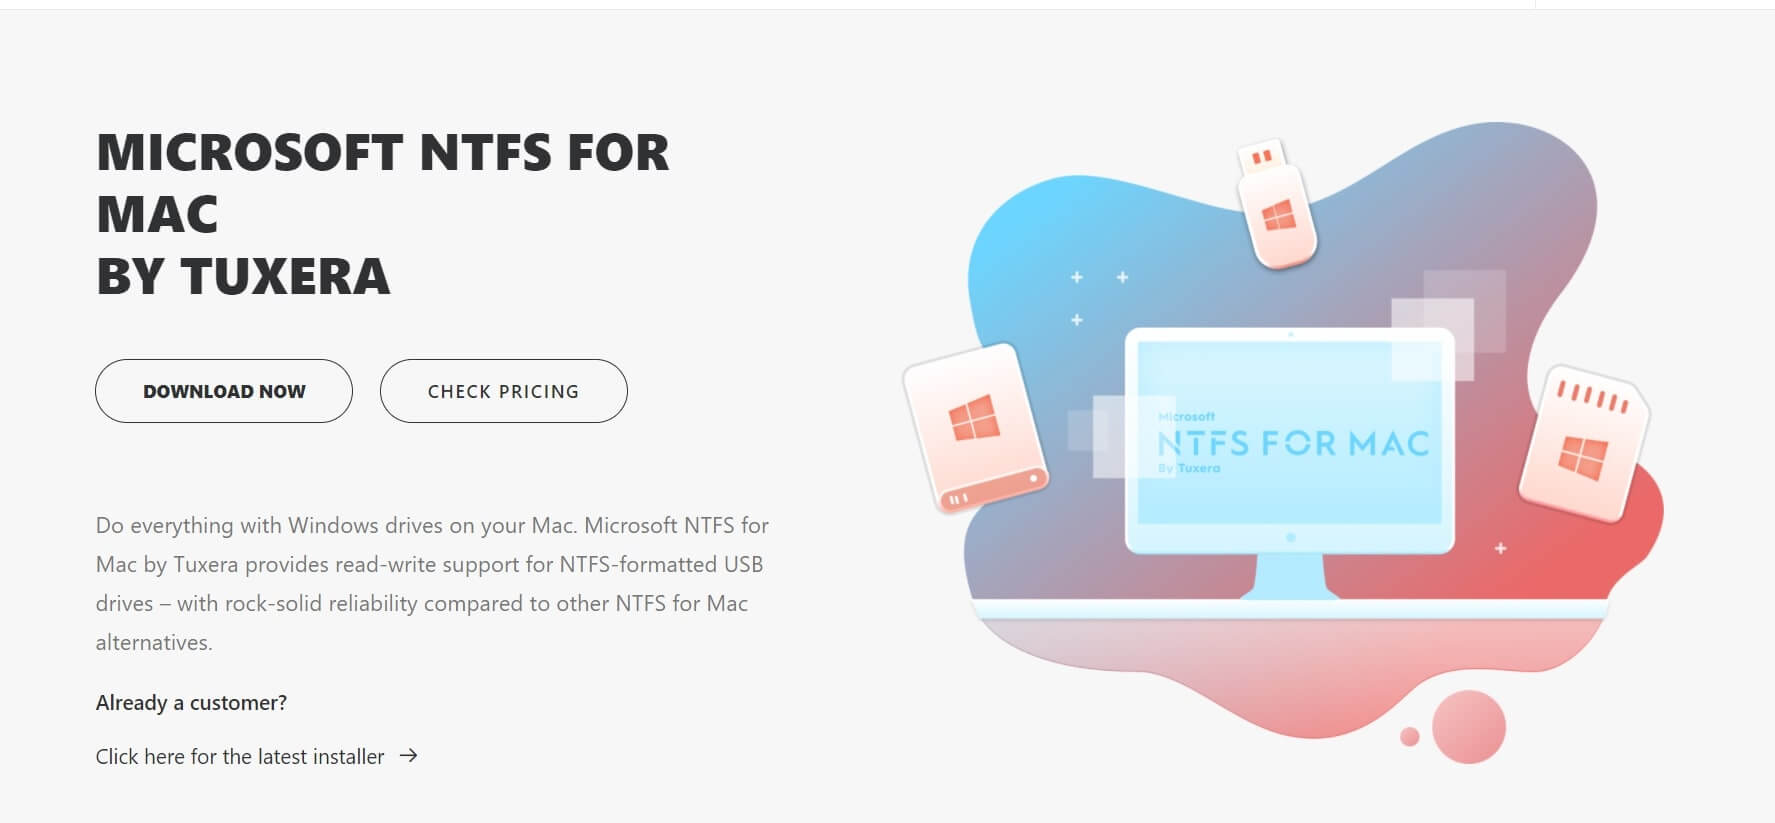
- ntfsformac.tuxera.com: With Tuxera, you can do everything with your NTFS drive on Mac that you do in Windows. With ease, you can open, delete, move, or copy files from the Windows NTFS formatted USB drive. Moreover, it comes with advanced features to check and repair files too.
Conclusion
In addition to all the above software, you can also look for OSXFUSE, Mounty For NTFS, NTFS 3G, NTFS Mounter and M3 BitLocker. You should try to write on NTFS files from your Mac because it is more secure in comparison to another file system. Moreover, the journaling feature helps in keeping track of all files created, deleted by you.
Also Read: How To Fix Mac Not Charging?


