


 Header Through Cloudflare")


You can alter the sequence in which your computer attempts network connections if you use the internet or a network via a variety of methods (such as Ethernet or Wi-Fi, for example). Also, if you have numerous active connections, your computer will first try the top-ranked connection before moving on to the others in descending order. Virtual private network (VPN) connections cannot be moved up or down in priority because they already take precedence over non-VPN connections.
Regarding this, reorder of the wifi network in macOS ventura, one of the users mentioned a query in which she said, she has three networks in the same space—A, B, and C—and wants her laptop to automatically join B first, C if B is unavailable, and A if C is unavailable. She also stated that she did not want to uncheck auto-join since she preferred that her Mac automatically join all networks in the desired sequence.
In this article, we have gathered a list of some of the fixes that users suggested. You can try each one of them and find out which one works for you.
Also Read- Quick Action Touch Bar Not Working In macOS Ventura [Fixed]
Solution: Drag your Preferred Network via Mac Settings
This is a method that was mentioned in the macOS guide on how you can reorder the network service you use on your Mac. Down below are some steps you need to follow to resolve this issue.
- In your Apple menu, head to Settings on your mac.
- Tap on the Network located in the sidebar by scrolling down.
- There, you will see the 3 dots symbol which is the Action menu, simply, click on it.
- Now, choose a service provider and Drag your wifi network in the order you like.
- Finally, click OK to save changes.
Also Read- Cannot Install Any .pkg Files In macOS Ventura
Some Fixes suggested by Apple Forum users:
#1.Using Terminal
One of the users mentioned on the Apple forum that if networks A and B are remembered as they were previously configured. Also, you can list your favorite networks and modify the order using the command line in Terminal if you are trying to set it up now that you are on Ventura.
The network interface en0 will as a norm assign to the Wi-Fi device by MacBooks. n most cases, desktop Macs allocate Wi-Fi to en1 instead. Hence, listing the preferred wifi networks in the Terminal by executing the command below will do. Keep in mind that priority remains given to the top entry over the lower entries.
To do that, you can follow the example given in the Apple forum by the user.
Also, replace the titles in the examples according to your networks titles
Step 1: Jot down or copy the following command in the terminal
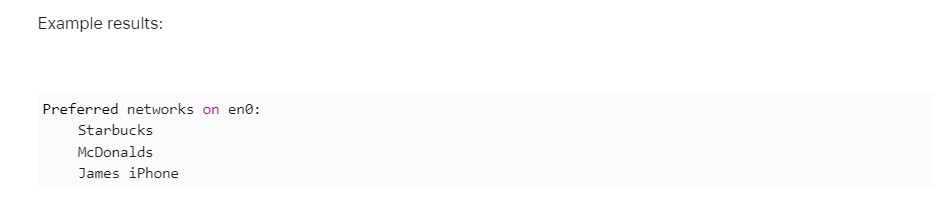
“networksetup -listpreferredwirelessnetworks“
Step 2: After entering that you will see all the connected networks on your mac. The user on the Apple forum gave the example of Mcdonald’s and Starbucks. So, if you want Mcdonald’s to be preferred over Starbucks, you need to remove the Mcdonald’s first by entering the following command
“networksetup -removepreferredwirelessnetwork en0 McDonalds“
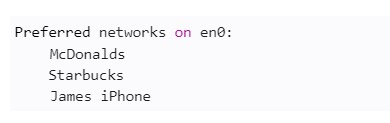
Step 3: Then add once more, but this time with a higher index value (start counting from 0, 1, 2, 3, etc)
See the example below:

Step 4: As you can see in the example below, Mcdonald’s has now been given priority. Also, your other Apple devices can sync with these settings.
This is one of the fixes provided by a user on the Apple forum.
Uncheck the Auto-Join option
Other fixes include unchecking the Auto-join option. You can uncheck it by heading to the Wifi and then clicking on the 3 dots menu option. There you will see the Auto-join option. Simply uncheck the mark and then you can select manually which connection you want your device to connect to.
Final Thoughts
Lastly, it goes without saying that it will choose the signal with the highest reliability and strength. Moreover, individuals have experimented by changing the SSIDs for each band. It will continue to pick up the strongest and most trusted signal.
So far these are the only proper solutions that we would be able to gather. Since Apple itself has not come up with a solution to the above-mentioned issue. We hope that either of the mentioned solutions works out for you. Otherwise, if you know a method that could resolve this issue feel free to use our comment section.
Also Read- Can’t Accept Terms & Conditions After Updating To macOS Ventura: Fixed


